
One of the most common home improvement projects is moving a cable outlet to another wall. This project can be tricky if you’re unfamiliar with the process, but it’s a relatively simple task if you know what you’re doing. In this blog post, we’ll walk you through how to move cable outlet to another wall. We’ll also provide some tips for making the process as easy as possible. Keep reading to learn more.

What Causes a Cable Outlet to Need to be Moved?
You might need to move a cable outlet for a few different reasons. One of the most common reasons is that you’re remodeling your home and need to move the outlet to another location. Another reason might be that you’re moving your furniture around and need to move the outlet to accommodate the new layout. Additionally, you might need to move the outlet if it’s in a location that’s not very convenient or accessible. Lastly, you might need to move the outlet if it’s in an area that’s prone to water damage.
Step by Step How to Move Cable Outlet to Another Wall:
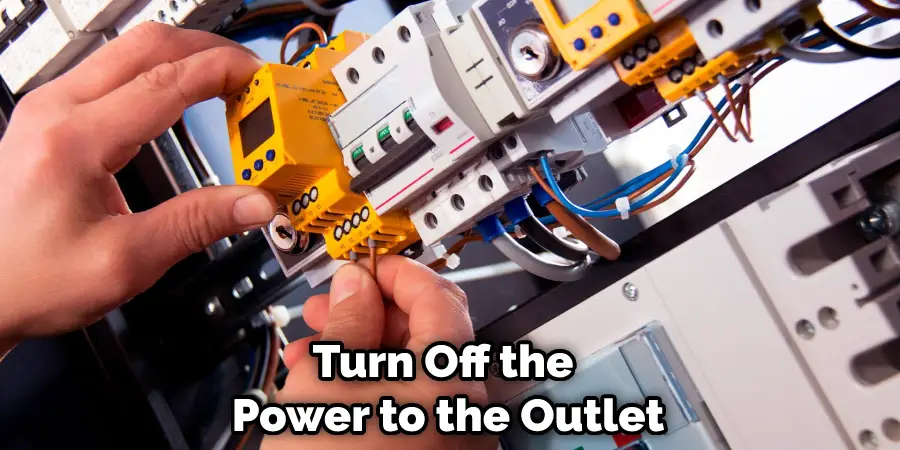
1. Turn Off the Power
The first step is to turn off the power to the outlet. This is because you’ll be working with live electrical wires and don’t want to electrocute yourself accidentally. To do this, first, locate your home’s circuit breaker box. Once you’ve found it, flip the switch for the outlet’s circuit. This will ensure that the power is turned off and you can safely work on the outlet. If you’re unsure which switch controls the outlet, you can flip all the switches until the power to the outlet is turned off.
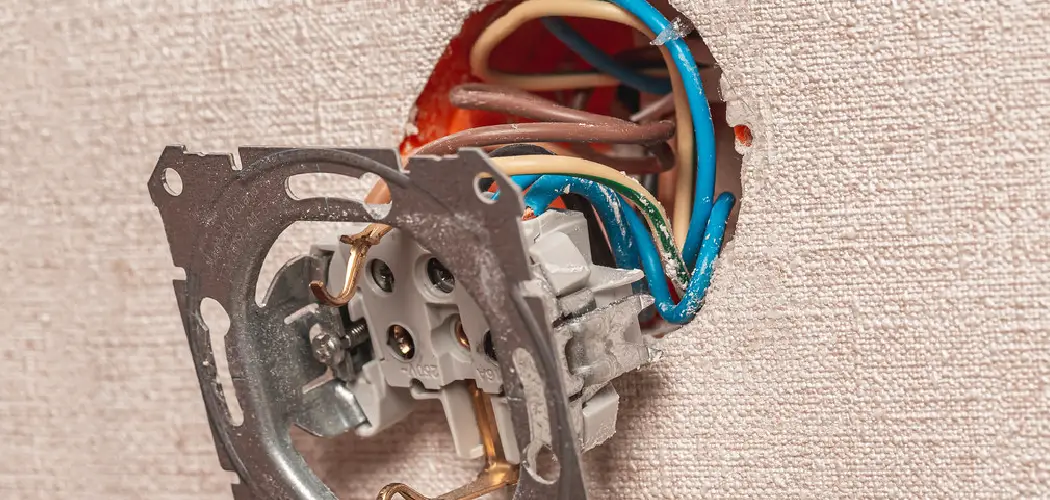
2. Disconnect the Cable Wires
Once the power is off, you’ll need to disconnect the cable wires from the outlet. This is because you’ll be moving the outlet and need to reconnect the wires to the new location. To do this, first, remove the outlet cover. Once the cover is removed, you should see two or three screws holding the outlet in place. Loosen these screws and carefully pull the outlet away from the wall. You should now see the wires attached to the back of the outlet.
3. Measure the New Location
Before you start moving the outlet, you’ll need to measure the new location. This is important so that you know where to put the new outlet and how to run the wires. To do this, use a tape measure to measure the distance from the floor to the new location. First, measure the distance from the floor to where you want the top of the outlet to be. Then, measure the distance from the ceiling to where you want the bottom of the outlet to be. Finally, measure the distance from one side of the outlet to the other. You’ll also need to measure the distance from the nearest wall stud to the new location. These measurements will help you determine where to place the new outlet and how to run the wires.
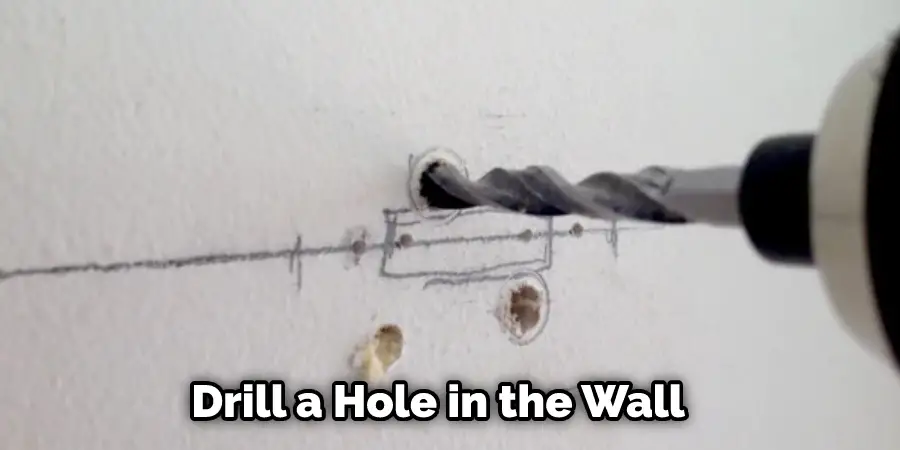
4. Drill a Hole in the New Location
Once you’ve measured the new location, you’ll need to drill a hole in the wall. This hole will be used to run the wires from the old outlet location to the new outlet location. To do this, first, use a drill bit to drill a hole in the wall. The size of the hole will depend on the size of the wires you’re using. If you’re unsure what size bit to use, you can ask a hardware store employee for help. Avoid drilling through any studs in the wall, as this can make it more difficult to run the wires.
5. Pull the Cable Through the Hole
Once you’ve drilled the hole, you’ll need to pull the cable through. To do this, first, attach one end of the cable to the old outlet. Then, feed the other end of the cable through the hole you drilled in the wall. Be careful not to damage the insulation on the cable as you feed it through the hole. If the cable is too long, you can trim it down to size with a pair of wire cutters. Leave a few inches of slack so you can easily connect the wires to the new outlet.
6. Install the New Outlet
You can install the new outlet now that the cable is in place. To do this, first, hold the outlet up to the hole in the wall. Then, use a pencil to mark the location of the screws on the outlet. Next, remove the outlet and drill pilot holes for the screws. Finally, screw the outlet into place and tighten the screws. If the outlet is not flush with the wall, you can use a small piece of wood to shim it in place. Try to avoid over-tightening the screws, as this can damage the outlet.
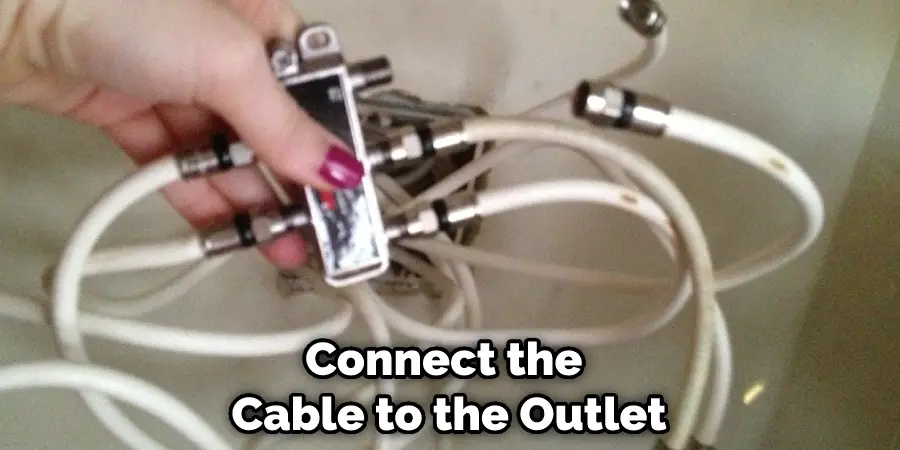
7. Connect the Cable to the outlet
Now you’ll need to connect the cable to the outlet. It’s important to connect the wires correctly so that the outlet works properly. To do this, first, identify the black wire. This is the hot wire and should be connected to the brass screws on the outlet. Next, identify the white wire. This is the neutral wire and should be connected to the silver screws on the outlet. Finally, identify the green wire. This is the ground wire and should be connected to the green screw on the outlet. If your outlet does not have a green screw, you can connect the ground wire to one of the other screws. Once the wires are connected, screw the outlet cover back on.
8. Secure the Outlet to the wall
You can now secure the outlet to the wall. This will help prevent the outlet from being pulled out of the wall. To do this, first, locate the screws on the side of the outlet. Then, use a screwdriver to tighten the screws. Be careful not to over-tighten the screws, as this can damage the outlet. If your outlet does not have side screws, you can use wall anchors to secure it in place. Drive the anchors into the wall and screw the outlet into the anchors.
9. Turn on the power
Now you’re ready to turn on the power. To do this, first, find your circuit breaker box and locate the breaker for the outlet. Then, flip the breaker to the off position. Next, use a voltage tester to test the wires in the outlet box. Once you’ve confirmed that the power is off, you can begin connecting the wires to the new outlet. Finally, turn the breaker back on and power on your devices.
10. Test the Outlet
Once the power is back on, you can test the outlet to make sure it’s working properly. To do this, first, plug a lamp into the outlet and turn it on. Then, go to your breaker box and flip the switch for that outlet back on. If the lamp turns on, then the outlet is working properly. If not, you’ll need to fix any loose connections and try again.
11. Patch the Hole in the Old Location
Now that you’ve moved the outlet, you’ll need to patch the hole in the old location. To do this, first, remove the outlet cover and outlet from the old location. Then, use a utility knife to cut around the hole. Next, use a putty knife to apply patching compound to the hole. Finally, use a piece of mesh tape to cover the hole and apply another layer of patching compound. If you’re not sure how to patch a hole in the wall, you can ask a friend or family member for help.
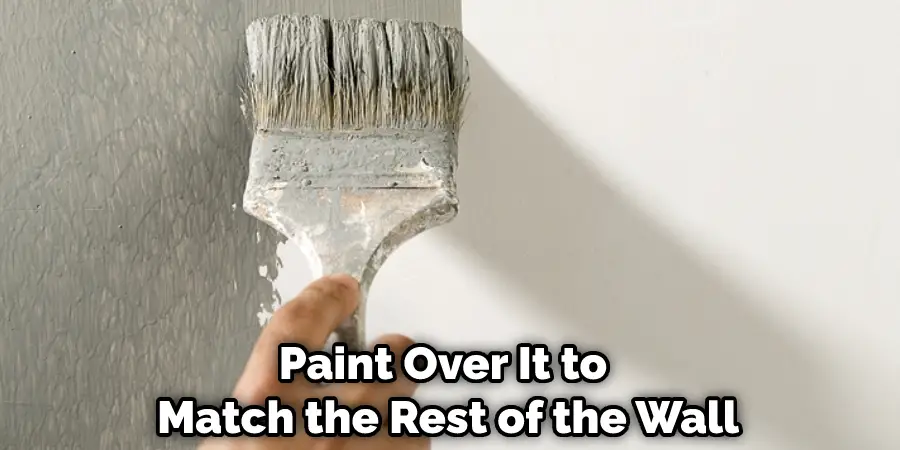
12. Paint the Patch
Once the patching compound has dried, you can paint over it to match the rest of the wall. To do this, first, sand down the patch to create a smooth surface. Then, apply a coat of primer to the patch. Next, use a brush or roller to apply paint to the patch. Finally, let the paint dry completely before replacing the outlet cover.
How Much Does It Cost to Move Cable Outlet to Another Wall?
The cost to move a cable outlet to another wall will vary depending on the size of the hole and the type of wall you’re dealing with. For a small hole in drywall, you can expect to pay around $50. For a larger hole in a brick wall, you may need to pay up to $200. If you hire a professional to do the job, you can expect to pay around $500.
Conclusion
So there you have it! Now you know how to move cable outlet to another wall. Be sure to follow the steps carefully and take your time so that you don’t damage the outlet or the wall. If you have any questions, write them down and ask a professional electrician for help. Good luck!