
Ever found yourself wandering through the house, only to realize someone—perhaps inadvertently—cut power to your Wi-Fi router or switched off that carefully programmed outdoor light? It’s not just annoying; sometimes it’s the straw that breaks the digital camel’s back. There’s the dreaded groan when a device gives up mid-update, or the scramble to get everything back online because someone, maybe even you, flipped the wrong switch.

A surprisingly simple way to sidestep all that hassle: install a basic switch lock. This isn’t exactly high-level carpentry, and you don’t need a truckload of tools. Most people can handle this task with just a screwdriver and a touch of patience. From determining which lock actually fits your switch (a not-always-obvious process) to tips on safe installation, this guide tries to anticipate those small hiccups and second-guesses only a real human could have come up with. In this guide on how to lock a light switch, we’ll provide step-by-step instructions and helpful tips to help you get the job done quickly and easily.
When Might You Need to Lock a Light Switch?
There’s rarely a single right answer, but the situations where a switch lock makes sense tend to pop up in the same handful of places. Take smart home gadgets: smart bulbs or security cameras are expected to be plugged in at all times. If someone kills the switch, that’s the end of automation until you wander over and fix it.
Children bring their own challenges. A young child flicking switches for fun—or, worse, turning on an appliance like a garbage disposal—can be risky. Adults sometimes need a little help too; in offices, warehouses, or data rooms, switch covers are a way to keep certain systems running without interruption. Absolutely foolproof? Nothing is. But a properly installed guard makes casual mistakes less likely.
Types of Light Switch Locks
The market, such as it is, doesn’t overwhelm with variety, but what exists does the job.
Toggle Switch Guards:
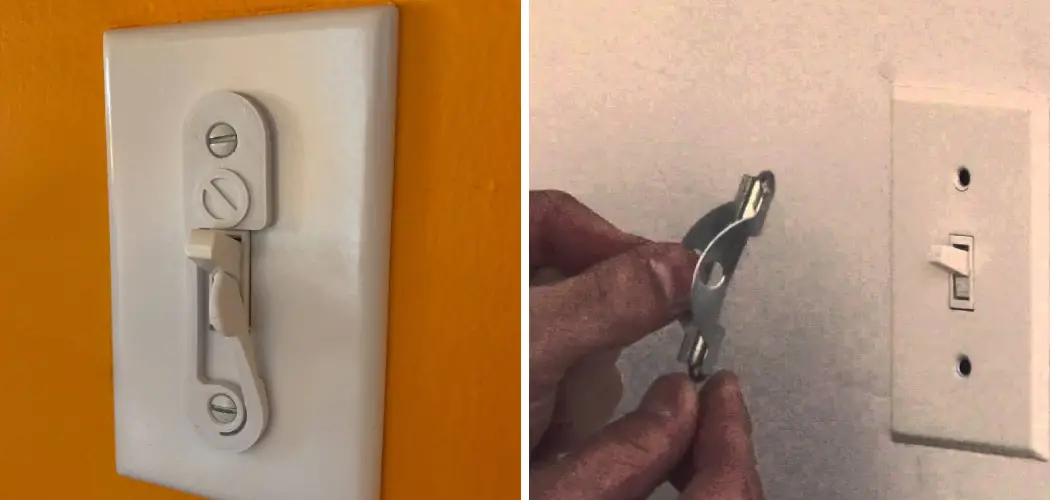
Usually a clear or silvery bit of plastic or metal, these are designed for the classic, upright switches that have been in American homes for decades. The installation is just a couple of screws. The guard stops up-and-down movement unless you’re determined (and know how to access the small side opening).
Rocker Switch Covers:
Flat, rectangular switches—often called “Decora”—require covers that snap or screw into place, creating an extra shell that most fingers can’t budge accidentally.
Magnetic Switch Covers:
The solution favored by renters or anyone who might need to undo the change as quickly as it was made. These use magnets, not screws, to stick to your existing plate. They pop on or off in seconds—useful, but perhaps less durable for long-term use.
7 Simple Step-By-Step Guidelines on How to Lock a Light Switch
Step 1: Identify Your Switch Type
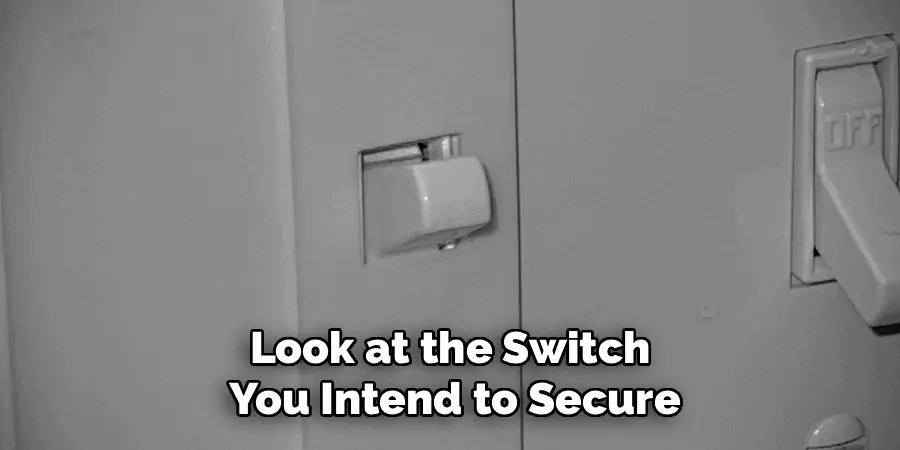
This step, while bland, actually matters. Look at the switch you intend to secure. Does it have a small lever (toggle) or a big, flat paddle (rocker)? These details drive which product you need. Not sure? Snap a photo on your phone before you forget and end up browsing the hardware aisle in confusion. Selecting the wrong guard won’t just waste time—it can bend, crack, or even scratch your current plate.
Step 2: Choose the Right Lock
Now armed with your switch details, you’re not quite finished with decisions. Those who own their homes and want the fix to last, gravitate toward screw-in options. Toggle and rocker guards tend to blend into existing hardware if chosen carefully.
For renters, or anyone hesitant to put holes in walls, a magnetic alternative slips right onto the plate with barely a fuss. Some designs offer a little slot for a pen or key, allowing you to flip the switch without removing the whole guard—a small but sometimes essential feature to check for.
Step 3: Gather the Necessary Tools
Preparation here pays off in time saved later. Most jobs require just a regular screwdriver—flathead or Phillips, depending on your switch plate. Resist the urge to grab a power drill. Over-tightening is the bane of plastic switch covers everywhere, and a cracked cover is uglier than the original problem.
It’s worth mentioning the non-contact voltage tester. While unscrewing a wall plate is rarely hazardous, confirming that no power flows through with a simple beep brings peace of mind. If you’re anything like me, you’ll misplace a small screw at least once every five minutes—have a bowl or dish handy to corral them.
Step 4: Turn Off the Power Supply
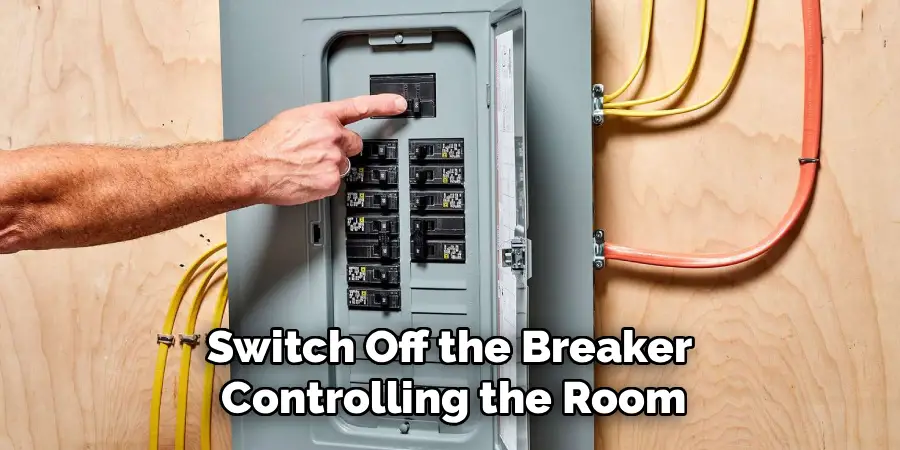
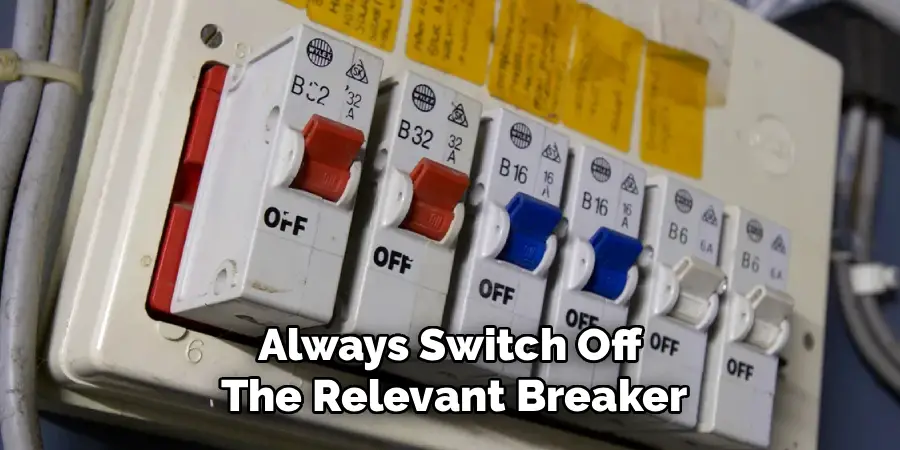
Some might argue this is overkill for such a minor project. Still, do yourself a favor: switch off the breaker controlling the room before doing anything to electrical fixtures. Find your box, spot the relevant breaker, and kill the juice. Afterward, try the switch. If the light stays off, you’re set to proceed. Nervous? Double-check with your voltage tester.
Step 5: Remove the Existing Wall Plate Screws
With the electricity off, gently unscrew the switch plate. For most toggles, two screws—one top, one bottom—hold things together. As the screws come free, don’t let the plate clatter to the floor; if it does, the whole mechanism might shift, creating another mini-hurdle. Most installs don’t need the whole plate removed—just enough access to slide the new hardware into place. Save any original screws; some covers use what’s already there, while others come with replacements.
Step 6: Install the New Switch Lock
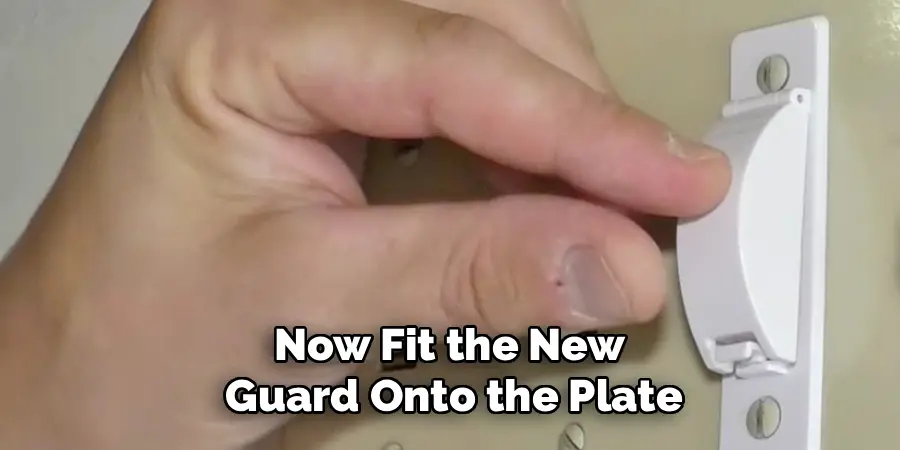
Now fit the new guard onto the plate. Align the holes carefully, double-checking the switch is properly set in the “on” or “off” position you intend to keep. Feed the screws through both the guard and plate, hand-tighten until snug, but avoid heroic efforts. Turning too far causes flexing or cracking, and replacements are rarely on hand.
Step 7: Test the Lock and Restore Power
At this point, double-check your work. Try to move the switch—ideally, you’ll find it firmly blocked. Any looseness usually points to a misalignment or a screw not quite tight enough. Fix any issues now, not after everything’s back together.
Once satisfied, trek back to the breaker and restore power. The real test comes when you (or someone else) tries to disturb your setup and finds the switch stubbornly unyielding. Connectivity should be safe—even if someone gets fidgety with the wall switch.
Following these steps on how to lock a light switch, you can keep your light switch locked and secure from unwanted usage. This is particularly beneficial for households with children or public spaces where lights should not be turned on without permission.
Safety Considerations
Electrical safety really isn’t optional. It takes only a momentary lapse to turn a minor project into a bigger problem. Always switch off the relevant breaker, and don’t muscle a screw if it feels cross-threaded—forcing it can chew up the housing or, worse, damage wiring.
If you notice any scorch marks, mixed-up wires, or anything that seems off behind the plate, resist the DIY urge and call a licensed electrician. Wet hands and electrical work? That combination’s never a good idea, so dry up before starting.
Maintenance and Troubleshooting
There’s little ongoing effort required to keep a switch guard doing its job. Every once in a while, check that the screws are still snug. Doors can rattle walls more than expected, and small impacts sometimes shake parts loose over time.
Wipe the guard down every so often with a damp towel to clear fingerprints or dust. Skip harsh chemical cleaners—clear plastic, especially, gets cloudy with repeated scrubbing in strong solutions. If you find your switch still moves with the guard in place, the simplest explanation is usually correct: you got a cover for the wrong switch type, and swapping it for the right one should solve the problem.
Frequently Asked Questions
Q1: Can I Install a Switch Lock on a Dimmer?
You can—but not with standard toggle or rocker guards. Dimmers need their own kind of cover, typically a bigger box that fits over the whole switch. This prevents accidental bumps or twist adjustments, which is the whole idea.
Q2: Are Light Switch Locks Permanent?
No, and that’s by design. You can remove most guards quickly; magnetic covers slip off instantly, screw-in versions come away with a screwdriver. Restoration to the original look takes just a few minutes.
Q3: Will a Switch Lock Damage My Wall Plate?
If handled properly, installing and removing a switch guard shouldn’t cause damage. The most common mishap is overusing a power driver and cracking the plastic plate. Tighten with a manual screwdriver, stop when snug, and the plate should survive intact.
Conclusion
In the end, installing a light switch lock is one of those small home improvements that gives a surprising feeling of control. Whether your priorities revolve around maintaining a network connection, keeping a porch lit, or making sure the kids don’t get too curious, a switch guard adds a layer of quiet assurance.
Go step by step, pay attention to details, and your home’s switches—and all the precious devices connected to them—should stay exactly as you intend. Thanks for reading this guide on how to lock a light switch.

Rick is a handyman who grew up helping his dad with his business. He learned a lot from him about how to fix things, and also about how to work hard and take care of business. These days, Rick is still into fixing things- only now, he’s doing it for a living.
Rick is always looking for new ways to help people grow and develop. That’s why he started contributing to this blog: to share all his experience and knowledge so that he can help people who are interested in DIY repair.