
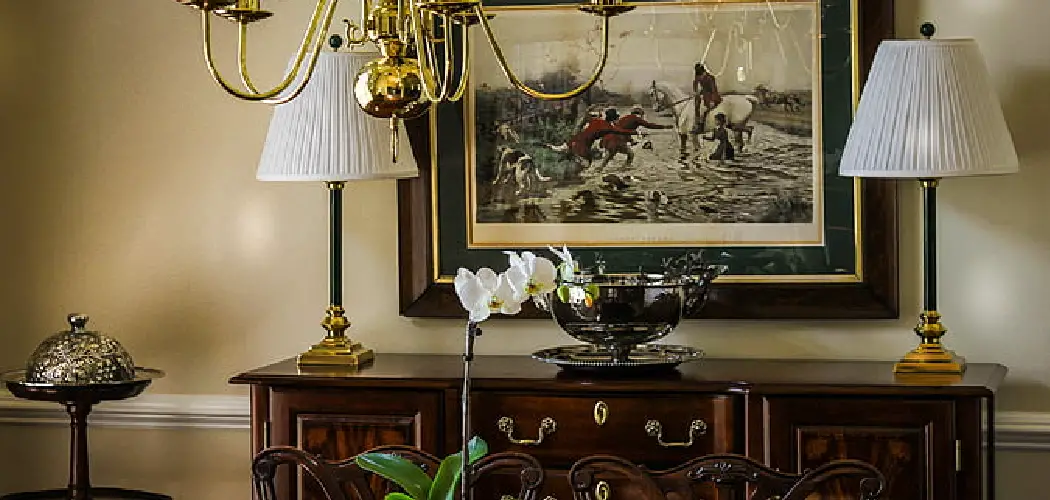
A sideboard is one of the most versatile pieces of furniture in your home, yet it often gets overlooked when the styling begins. Whether it sits in your dining room, hallway, or living space, this flat-topped storage unit gives you a perfect canvas for showing off your personality. Learning how to decorate a sideboard helps you turn a plain surface into a warm, eye-catching focal point that ties the whole room together. The good news is that you do not need a designer’s budget or years of experience to get it right.
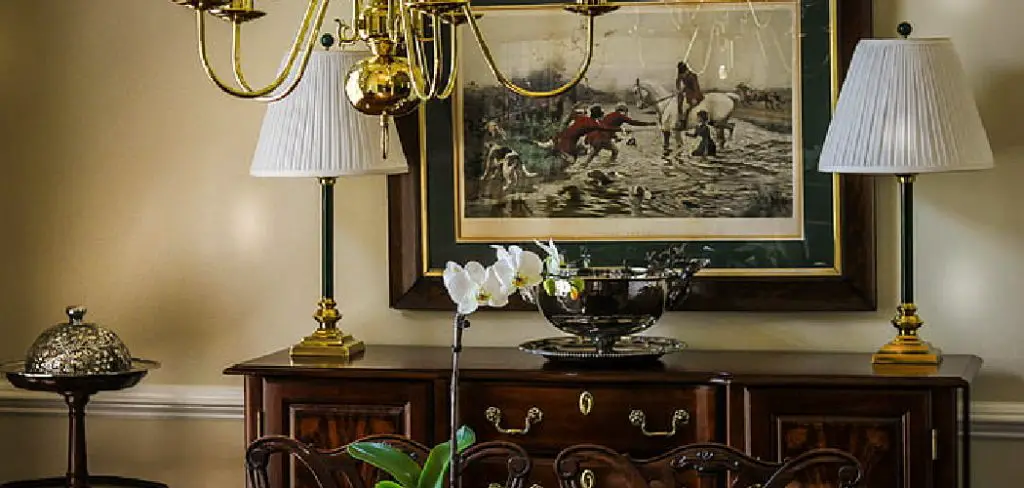
This guide walks you through the process one clear step at a time, so anyone can follow along with confidence. You will discover how to balance height, color, and texture, choose pieces that feel intentional, and avoid the clutter that often creeps in. By the end, you will have a practical framework you can adapt to any style or season. Grab a few favorite objects, clear your surface, and let’s build something you will love looking at every single day.
Why Decorating A Sideboard Matters
A well-styled sideboard does more than look pretty. It shapes how a room feels the moment you walk in. Because the surface sits at eye level, it naturally draws attention, which makes it a powerful tool for setting the tone of your space. A thoughtful arrangement adds warmth, personality, and a sense of care that store-bought rooms often lack.
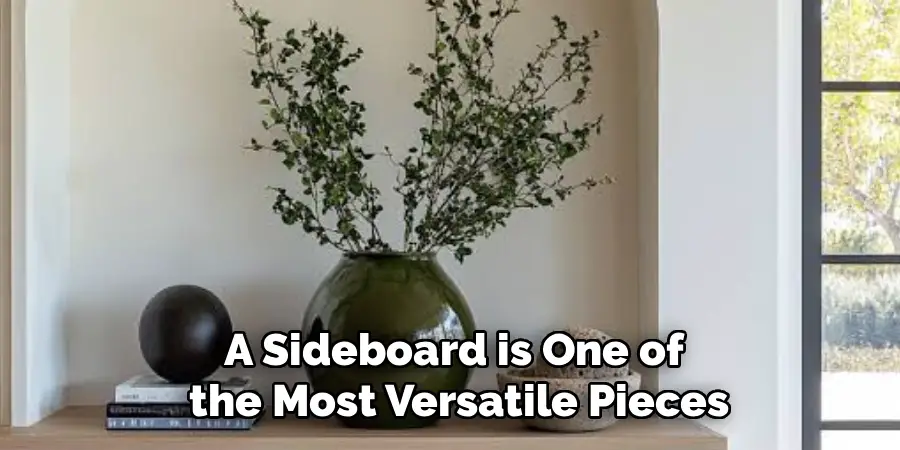
Beyond looks, this piece works hard for you. It offers hidden storage, a landing spot for daily items, and a place to display things you treasure. Styling it well means you get beauty and function together, so nothing feels wasted. It also gives you an easy, low-cost way to refresh your home for holidays or seasons without buying new furniture. Small changes here deliver a big visual payoff.
Step-by-Step Guide To How to Decorate a Sideboard
Step 1: Clear The Surface And Start Fresh
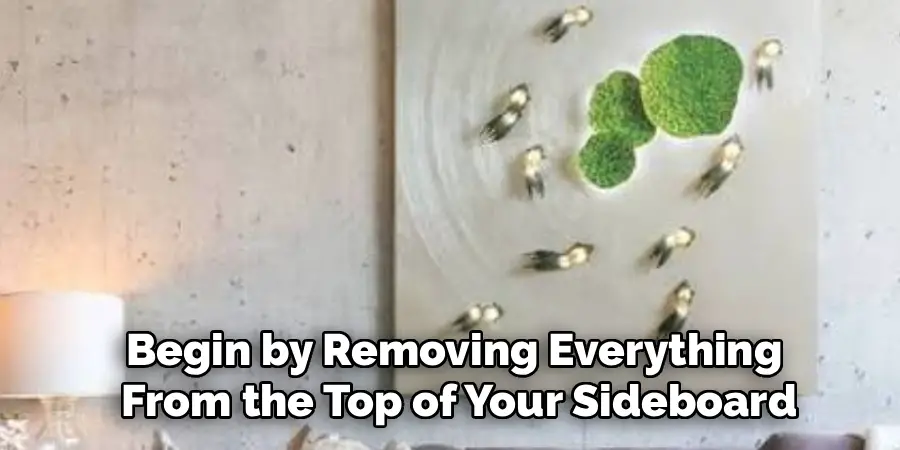
Begin by removing everything from the top of your sideboard, including mail, keys, and stray odds and ends. A blank surface lets you see the true shape and size of what you are working with, which is far easier than styling around existing clutter. Give the top a quick wipe so your finished look feels clean and cared for.
Once it is empty, take a moment to study the space around it. Notice the wall height above, the width of the piece, and how much light hits it during the day. This quick assessment helps you plan an arrangement that fits the proportions of your room rather than fighting against them.
Step 2: Anchor The Space With A Large Piece
Every good arrangement needs a starting anchor, and this is where you decide how to decorate a sideboard with real impact. Choose one large item to sit behind or on the surface, such as a framed print, a round mirror, or a piece of leaning art. This tall element fills the empty wall space and stops the display from looking flat or lost against a big blank area.
Place this anchor slightly off-center rather than dead middle, since a bit of asymmetry feels more natural and relaxed to the eye. Lean it against the wall or hang it just above, then build everything else around this central focal point.
Step 3: Build Height With Varied Objects
With your anchor in place, add objects of different heights to create movement across the surface. Tall items like vases, lamps, or candlesticks work beautifully on one side, while shorter pieces balance the other. This variation stops the eye from getting bored and gives your display a pleasing, layered rhythm.
Think of it like arranging a small skyline where peaks and valleys keep things interesting. A common beginner mistake is lining everything up at the same level, which flattens the whole look. Instead, mix a tall stack of books topped with a small object beside a taller lamp, so your groupings rise and fall in a gentle, intentional flow.
Step 4: Group Items In Odd Numbers
Designers lean on a simple trick when they decide how to decorate a sideboard, and that trick is the rule of odd numbers. Groupings of three or five objects tend to feel more balanced and natural than pairs, which can look stiff and overly matched. Odd clusters invite the eye to wander and create a casual, collected charm.
Try arranging items in small triangles, placing the tallest piece at the back and shorter ones in front. Keep related objects close so they read as one intentional vignette rather than scattered pieces. This grouping approach brings order to your surface while still feeling effortless and warm.
Step 5: Add Texture And Natural Elements
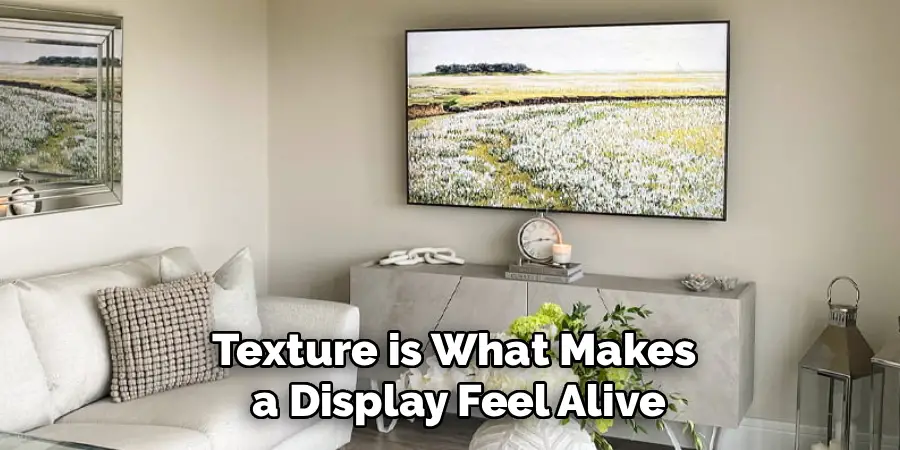
Texture is what makes a display feel alive rather than staged. Mix smooth ceramics with rough woven baskets, glossy glass with matte stone, and hard metals with soft greenery. These contrasts add depth and keep your arrangement from feeling one-note or overly polished.
Natural elements work especially well here. A trailing plant, a small bud vase with fresh stems, or a bowl of seasonal fruit brings life and color to the space. Greenery also softens the hard edges of furniture and frames, which helps everything feel connected. If you struggle with live plants, a quality faux stem gives you the same visual warmth with far less upkeep.
Step 6: Layer In Personal And Meaningful Touches
Now bring in the pieces that make the space truly yours. A small stack of favorite books, a framed photo, a travel souvenir, or a handmade bowl adds personality that no store display can copy. These personal touches turn a generic arrangement into a story about who you are and what you love.
Be selective, though, since too many small keepsakes can quickly tip into clutter. Choose two or three meaningful items and give them room to breathe. Tuck a photo beside your anchor art or set a treasured object on a stack of books, so each piece feels displayed with purpose rather than simply stored on the surface.
Step 7: Edit, Step Back, And Refine
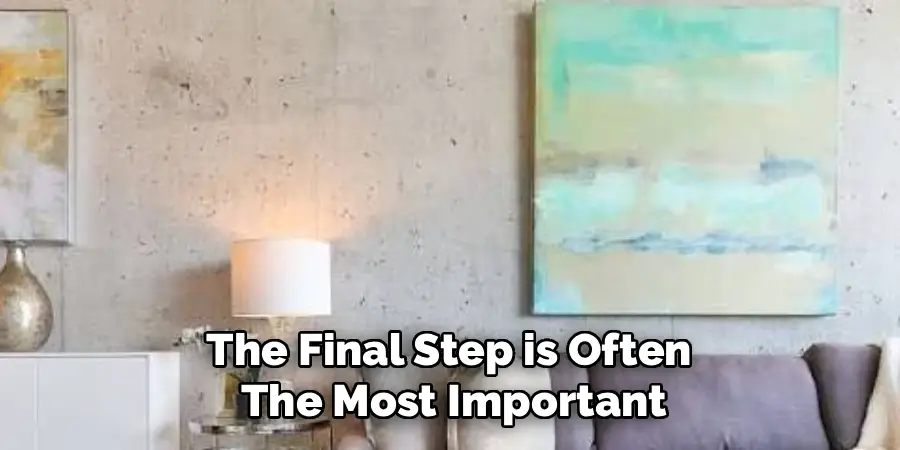
The final step is often the most important, yet it is easy to skip. Once everything is placed, step back several feet and view your arrangement as a whole. Ask yourself whether it feels balanced, whether any spot looks crowded, and whether your eye moves comfortably across the display.
Remove one or two items if the surface feels busy, since negative space is just as valuable as the objects themselves. Shift pieces a few inches, swap a color that clashes, or adjust the height of a grouping until it clicks. This editing habit is what separates a rushed setup from a display that looks styled by a pro.
Frequently Asked Questions
What Are The Best Items To Put On A Sideboard?
The best items combine beauty and balance. Start with one large anchor like art or a mirror, then add height with a lamp or vase, texture with a woven basket, and life with greenery or fresh flowers. Finish with a few personal touches such as books or framed photos. Aim for a mix of shapes and materials, and always leave some open space so the surface never feels crowded.
How Do I Avoid Making My Sideboard Look Cluttered?
Clutter usually comes from too many small objects competing for attention. Group items in odd numbers, keep related pieces together, and give each grouping room to breathe. Stick to a limited color palette so everything feels cohesive, and resist the urge to fill every inch. When in doubt, remove one or two items and step back. Empty space is a design choice that makes your chosen pieces stand out.
Should Sideboard Decor Match The Rest Of My Room?
Your decor should complement the room without matching it perfectly. Pull one or two colors from your existing furniture, rugs, or wall art to create a sense of connection. Then add contrast through texture or a single bold accent so the display feels fresh rather than flat. The goal is harmony, not a copy-paste look. A little variety keeps the space feeling collected, personal, and thoughtfully put together.
How Often Should I Change My Sideboard Styling?
There is no strict rule, but many people refresh their arrangement with the seasons or major holidays. Swapping a few items every few months keeps the space feeling current and gives you an easy, low-cost way to update your room. You can simply change the greenery, rotate a piece of art, or add seasonal touches. Small, regular tweaks are enough to keep the display lively without a full redo.
What Is The Rule Of Three In Decorating?
The rule of three is a design principle stating that items grouped in threes feel more visually pleasing than pairs or single objects. Odd numbers create balance while still feeling relaxed and natural to the eye. To apply it, cluster three objects of varying heights into a loose triangle, placing the tallest at the back. This simple technique brings instant structure and charm to almost any surface arrangement.
Conclusion
Styling a surface you pass by every day is one of the easiest ways to make your whole home feel more polished and personal. Now that you know how to decorate a sideboard, you have a clear, repeatable process to follow. Start with a clean slate, anchor the space with a large piece, build height and texture, group in odd numbers, and always edit until the arrangement feels just right. Each step builds on the last, so you never have to guess what comes next.
The best part is that this is a low-risk, high-reward project you can adjust anytime. Try one grouping today, live with it for a few days, and tweak it as your taste changes. Trust your eye, lean on these simple rules when you feel stuck, and most of all, have fun making the space your own. Your beautifully styled sideboard is only a few thoughtful touches away.

Rick is a handyman who grew up helping his dad with his business. He learned a lot from him about how to fix things, and also about how to work hard and take care of business. These days, Rick is still into fixing things- only now, he’s doing it for a living.
Rick is always looking for new ways to help people grow and develop. That’s why he started contributing to this blog: to share all his experience and knowledge so that he can help people who are interested in DIY repair.