
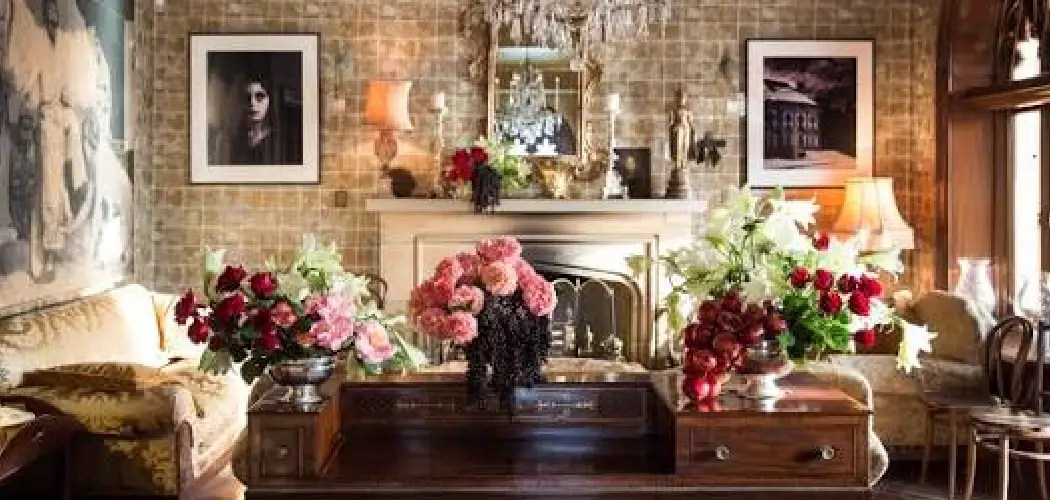
A chandelier already draws the eye, but add fresh blooms and it becomes the showstopper of any room. Whether you are planning a wedding, hosting a dinner party, or simply refreshing your dining space, flowers bring softness, color, and life to an otherwise fixed fixture. The good news is that you do not need florist training to pull this off. Learning how to decorate a chandelier with flowers is a beginner-friendly project you can complete in an afternoon with a few simple supplies and a little patience.
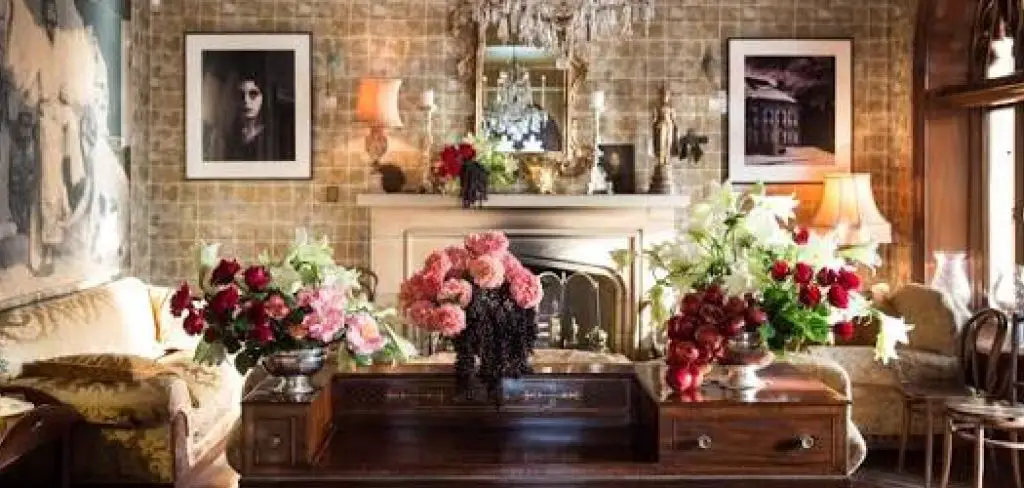
This guide walks you through the entire process, one clear step at a time. You will discover which flowers hold up best, how to secure them safely, and how to arrange them so the finished look feels balanced rather than cluttered. We will keep things practical and approachable, so even if you have never touched floral wire before, you will feel confident by the end. Think of this as your friendly starting point, with each stage building on the last so you never feel lost or overwhelmed.
Why Decorating A Chandelier With Flowers Matters
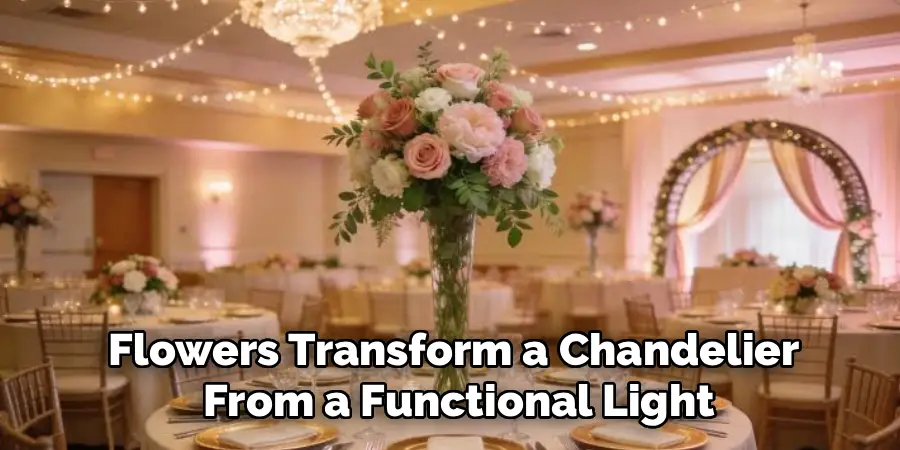
Flowers transform a chandelier from a functional light into a memorable centerpiece. That instant lift matters most during special events, where guests notice details and photos capture every angle. A floral chandelier creates a focal point that ties your whole color scheme together, making the space feel intentional and warm.
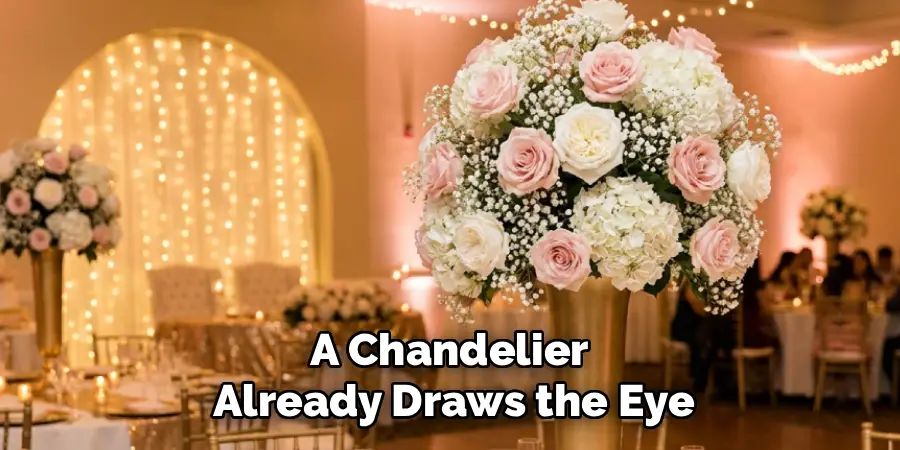
Beyond looks, this project is budget-friendly and flexible. You can swap seasonal blooms, mix fresh and faux, or scale the design up or down to fit your room. It also rewards creativity at any skill level, so beginners and seasoned decorators alike get satisfying results. Best of all, the effect feels custom without the custom price tag, giving your home or venue a designer touch that reflects your personal style and the mood you want to set.
Step-by-Step Guide to How to Decorate a Chandelier With Flowers
Step 1: Assess Your Chandelier and Space
start by taking a good look at your chandelier and the room around it. note the shape, the number of arms, and how much weight the frame can comfortably hold, since real flowers and greenery add up quickly. measure the height from the fixture to the table or floor so your finished design leaves plenty of clearance. think about the overall style you want too, whether that is romantic and lush or light and airy. understanding these details upfront helps you choose the right amount of flowers and prevents overloading the fixture, which keeps your project safe and your results looking polished from the very first attempt.
Step 2: Choose the Right Flowers and Greenery
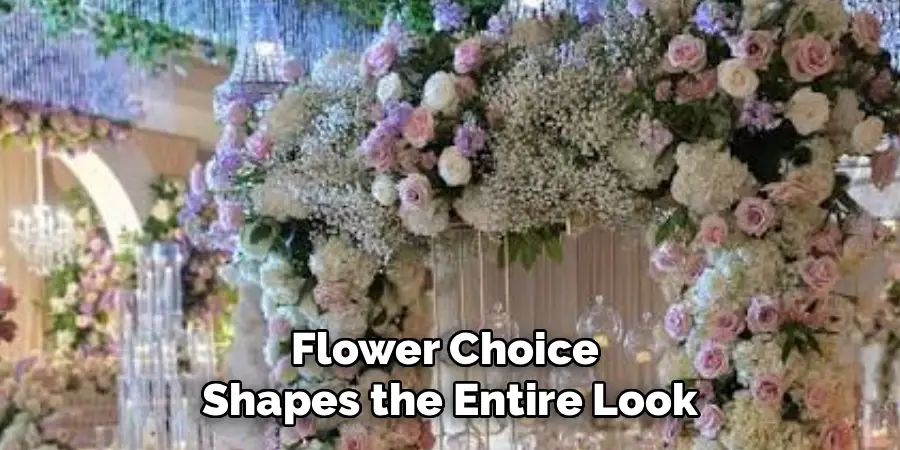
your flower choice shapes the entire look, so pick blooms that suit both your style and your conditions. sturdy flowers like roses, carnations, and chrysanthemums hold up well out of water, while eucalyptus, ivy, and ferns add trailing greenery that softens edges. if your event runs long or the room is warm, consider mixing in high-quality faux stems that will not wilt. stick to two or three main colors so the design feels cohesive rather than busy. buy a few more stems than you think you need, because having extras on hand makes the arranging step far easier and less stressful.
Step 3: Gather Your Tools and Materials
before you climb a ladder, collect everything within easy reach. you will want floral wire, floral tape, sharp scissors or clippers, zip ties, and small water tubes if you plan to use fresh blooms. a drop cloth protects your table from stray leaves and water drips. having a sturdy step stool or ladder is essential for safe, comfortable access. lay out your flowers, greenery, and tools on a nearby surface so you are not climbing up and down repeatedly. this bit of preparation saves time and keeps your momentum going, so the fun part flows smoothly without frustrating interruptions.
Step 4: Build a Green Base First
knowing how to decorate a chandelier with flowers begins with a strong foundation of greenery. start by weaving your longest trailing stems, like ivy or eucalyptus, around the arms and central column of the fixture. secure them at intervals using floral wire or discreet zip ties, wrapping snugly but not so tight that you crush the stems. let some pieces drape naturally toward the table for a soft, cascading effect. this green layer hides your wires and hardware while creating a lush backdrop. take your time here, because a full, even base makes every flower you add later look far more professional and intentional.
Step 5: Add Your Focal Flowers
with your greenery in place, begin tucking in your main blooms. work in small clusters of odd numbers, since groups of three or five look more natural than pairs. distribute your largest flowers evenly around the fixture first, then fill gaps with smaller ones to balance the overall shape. use floral wire to attach each stem to the frame or nestle it firmly into the greenery. if you are using fresh flowers, slip the ends into water tubes to keep them perky. step back often to check the design from different angles, adjusting as you go so no single side feels heavier than the others.
Step 6: Refine the Shape and Fill Gaps
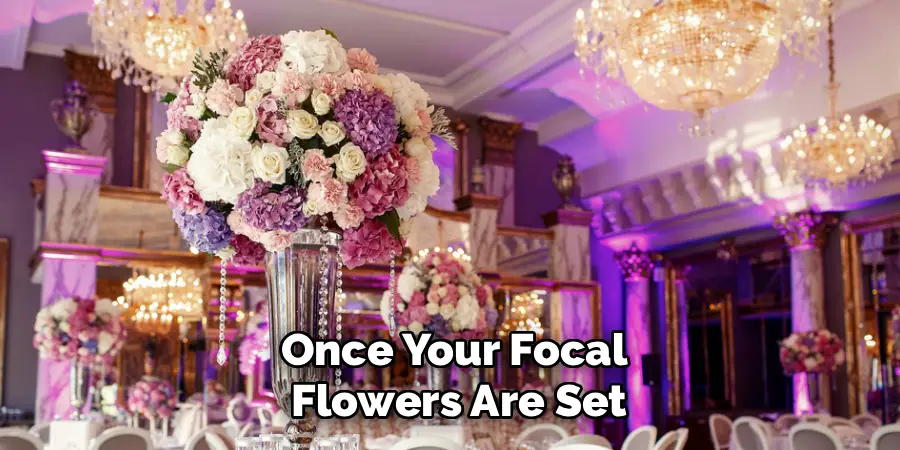
once your focal flowers are set, focus on refining the overall silhouette. look for bare spots, awkward gaps, or areas that feel lopsided, then fill them with extra greenery or a few reserved blooms. gently bend and reposition stems to create graceful lines that flow with the chandelier rather than fighting it. trim any leaves or petals that stick out oddly or look wilted. this stage is all about balance and detail, so trust your eye and keep adjusting until the arrangement feels full yet effortless. a few thoughtful tweaks here make the difference between a good result and a truly stunning one.
Step 7: Secure, Inspect, and Maintain
the final step in how to decorate a chandelier with flowers is making sure everything stays put and stays fresh. give each stem a gentle tug to confirm it is secure, and tidy up any visible wires or tape. if you used fresh blooms, mist them lightly with water and top up the water tubes before guests arrive. keep the fixture away from direct heat to slow wilting. for longer events, have a few backup stems ready for quick swaps. a final walk-around lets you catch anything you missed, so your beautiful creation looks its best from every seat in the room.
Frequently Asked Questions
How Long Will Fresh Flowers Last on a Chandelier?
Most fresh flowers last between four and twelve hours out of water, depending on the variety and room temperature. Sturdy blooms like roses and carnations hold up longest, especially when placed in small water tubes. To extend their life, keep the room cool, avoid direct heat from bulbs, and mist the petals lightly. For all-day or multi-day events, mixing in quality faux stems is a smart, worry-free choice.
Do I Need to Turn Off the Chandelier Lights?
It is wise to switch off and cool down the bulbs before you start, both for safety and to protect your flowers. Warm bulbs can wilt fresh blooms quickly and may pose a fire risk if greenery sits too close. Once your arrangement is complete, keep flowers a safe distance from any heat source. Using cooler LED bulbs is a great option, since they stay comfortable to the touch.
Can I Reuse the Flowers Afterward?
Fresh flowers are usually best enjoyed for a single event, though you can often repurpose them into table arrangements once you remove them. Faux flowers, however, are wonderfully reusable and can be stored flat in a box for future gatherings. Greenery like eucalyptus can also be dried and reused for a rustic look. Gently detach everything, clean off any tape or wire, and store pieces carefully to keep them in good shape.
What if My Chandelier Is Very Delicate or Antique?
For fragile or antique fixtures, prioritize gentle, non-damaging methods. Skip heavy stems and choose lightweight blooms and greenery instead. Use soft floral wire or reusable ties rather than anything adhesive that could harm the finish. You can also build your design on a separate lightweight frame or garland that simply rests over the chandelier, avoiding direct pressure. When in doubt, test one small area first and keep the total weight as light as possible.
How Many Flowers Will I Actually Need?
The amount depends on your chandelier size and how full you want the look. As a rough guide, a medium fixture with a moderately lush design needs around fifteen to twenty-five stems plus a generous bundle of greenery. For a fuller, more dramatic effect, plan for more. Always buy a few extra stems to cover mistakes or gaps. Starting with greenery first also helps you gauge how many blooms you truly need.
Conclusion
Turning a plain light fixture into a floral centerpiece is easier than it looks once you break it into simple, manageable stages. You now know how to decorate a chandelier with flowers from start to finish, beginning with assessing your space and choosing sturdy blooms, then building a green base, adding focal flowers, refining the shape, and securing everything for a lasting finish. Each step supports the next, so you can move at your own pace and adjust the design to match your style and skill level.
The real beauty of this project is how forgiving and flexible it is. Do not stress over perfection, because small imperfections add charm and character. Gather your supplies, pick your favorite blooms, and give it a try for your next gathering or simply to brighten your everyday space. Once you see the transformation and the smiles it earns, you will feel proud of what you created and ready to experiment with new colors and styles.

Rick is a handyman who grew up helping his dad with his business. He learned a lot from him about how to fix things, and also about how to work hard and take care of business. These days, Rick is still into fixing things- only now, he’s doing it for a living.
Rick is always looking for new ways to help people grow and develop. That’s why he started contributing to this blog: to share all his experience and knowledge so that he can help people who are interested in DIY repair.