
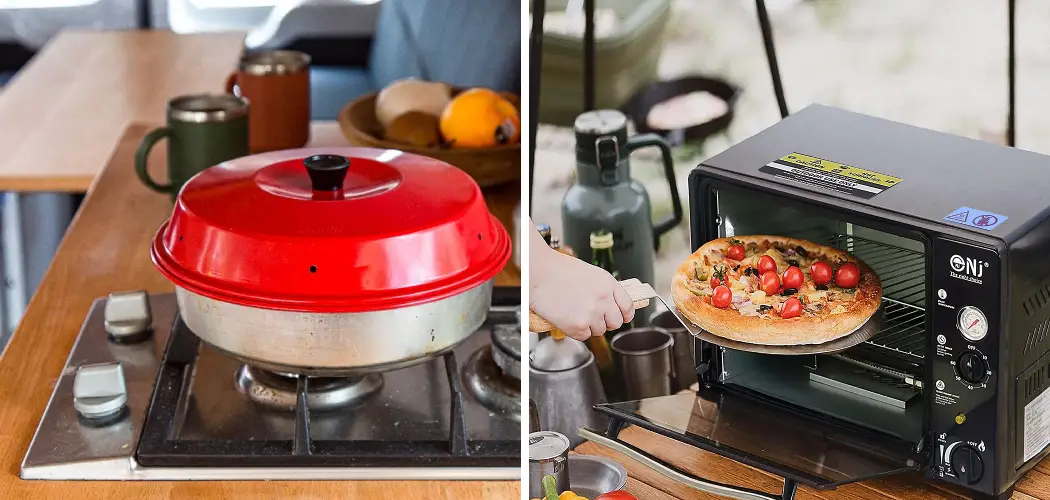
There’s something magical about cooking a meal in your camper—the aroma of fresh-baked bread or a bubbling casserole while you’re surrounded by nature. But if you’ve ever stood in front of your camper oven, unsure how to safely light it, you’re not alone. Many new RV owners feel intimidated by the process, especially when dealing with propane appliances.
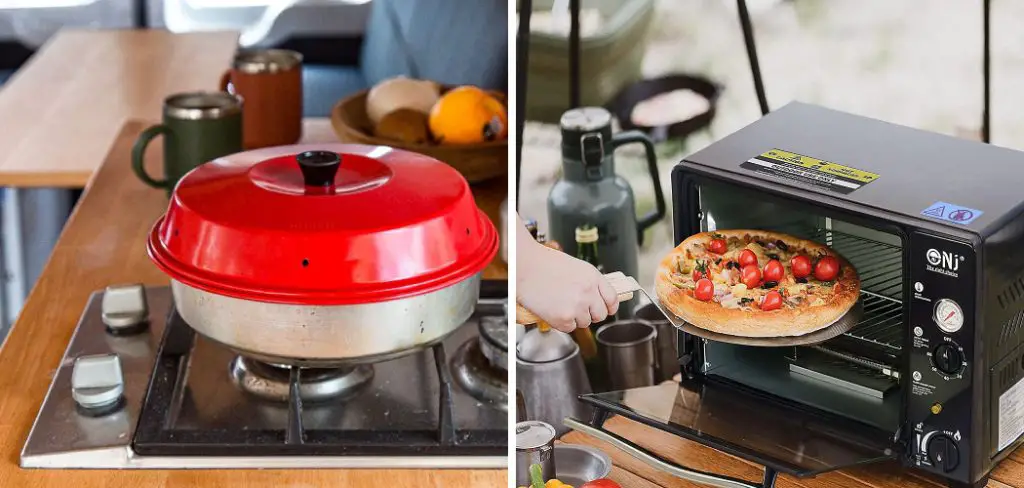
Learning how to light a campfire oven properly is an essential skill for any camping enthusiast. Not only does it ensure you can prepare hot meals on the road, but it also helps you avoid potentially dangerous situations like gas leaks or improper ignition. Whether you’re a first-time camper or simply need a refresher, this comprehensive guide on how to light camper oven will walk you through everything you need to know to confidently and safely light your camper oven.
Materials You’ll Need
Before you start, make sure you have the following materials on hand:
- Propane tank (filled)
- Matches or a lighter
- Paper towels or a rag
- Oven cleaner (optional)
7 Simple Steps on How to Light Camper Oven
Step 1: Check Your Propane Supply
The first thing you need to do is verify that your propane system is ready to operate. Head outside to your propane tank and check that the main valve is open by turning it counterclockwise. If your camper has been in storage or the tank was recently refilled, you may need to bleed the lines to remove any air pockets.
Listen carefully for any hissing sounds around the connections, which could indicate a leak. If you smell gas or suspect a leak, do not attempt to light the oven. Instead, turn off the propane immediately and have the system inspected by a qualified technician. Once you’ve confirmed everything is secure and the propane is flowing properly, you can move to the next step with confidence.
Step 2: Prepare the Oven
Open the oven door fully and remove any racks, pans, or items that might be stored inside. This gives you clear access to the burner and pilot light assembly at the bottom of the oven. Look for any debris, dust, or residue that may have accumulated—a clean burner ensures proper ignition and even heating.
Locate the pilot light opening, which is typically at the rear or center of the oven floor. Some models have a small metal tube or opening, while others may have a more visible pilot assembly. Familiarize yourself with your specific model by consulting the manual if needed. This preparation step is crucial because attempting to light a dirty or obstructed oven can lead to uneven flames or ignition failure.
Step 3: Turn On the Gas Supply to the Oven
Find the oven’s gas control knob, usually located on the front panel near the temperature dial. This knob typically has settings including “Off,” “Pilot,” and various temperature numbers. Turn the knob to the “Pilot” position and hold it down. This action opens the gas valve and allows propane to flow to the pilot light.
You’ll need to hold this knob down for the entire lighting process, so get into a comfortable position. Holding the knob down keeps the gas flowing and prevents the safety mechanism from shutting off the gas supply before the pilot light is established. Some models require you to hold the knob for 30 seconds to a full minute after ignition to allow the thermocouple to heat up properly.
Step 4: Ignite the Pilot Light
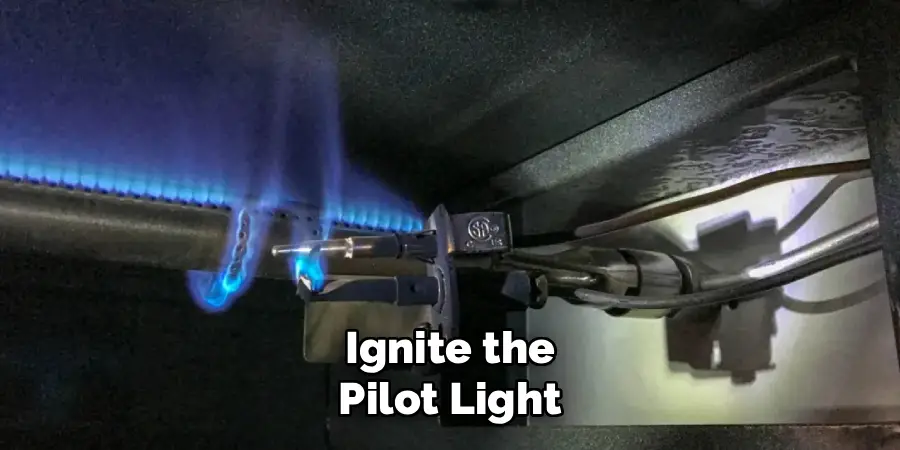
While continuing to hold down the gas control knob, use your long-reach lighter or match to ignite the pilot light. Carefully insert the flame through the pilot light opening at the bottom of the oven. You should see a small blue flame appear at the pilot assembly—this is your pilot light.
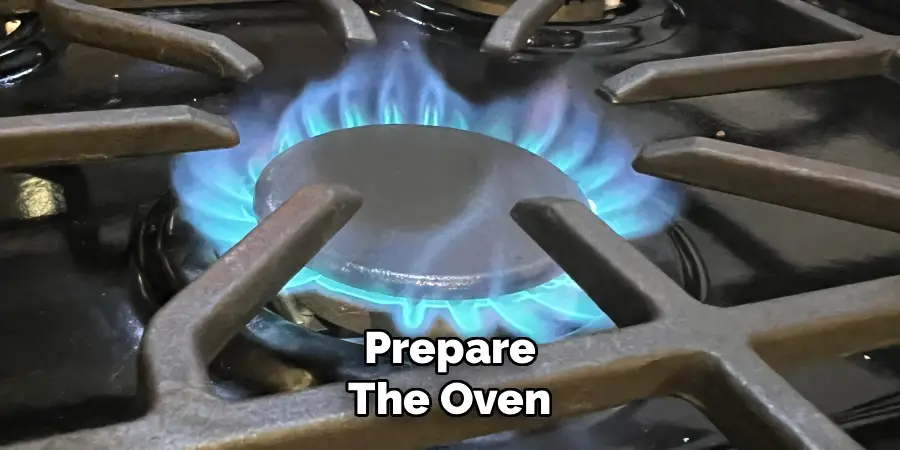
If the flame doesn’t catch immediately, don’t panic. Release the knob, wait a few moments for any accumulated gas to dissipate, and try again. Never continue holding the gas valve open for extended periods without ignition, as this can cause dangerous gas buildup. Once you see a steady blue flame, continue holding the knob down for at least 30 to 60 seconds to ensure the thermocouple heats up sufficiently.
Step 5: Test the Pilot Light
After holding the knob for the recommended time, slowly release it while watching the pilot flame. If the flame stays lit, your pilot light is successfully established. If it goes out immediately, you’ll need to repeat the lighting process, this time holding the knob down for a longer period before releasing.
A properly functioning pilot light should burn with a steady blue flame about half an inch to one inch tall. If the flame is yellow, orange, or flickering excessively, this could indicate a problem with the gas mixture or a clogged pilot orifice. In such cases, turn off the gas and consult your manual or a technician before proceeding.
Step 6: Set Your Desired Temperature
Once the pilot light is burning steadily, you can turn the oven control knob from “Pilot” to your desired temperature setting. As you turn the knob, you should hear the main burner ignite—this creates a larger flame that will heat your oven to the selected temperature. The main burner should light within a few seconds of turning the knob.
Watch through the oven door window or with the door slightly open to confirm that the main burner has ignited properly. You should see an even flame across the burner, typically blue with possibly some yellow tips. If the burner doesn’t light, turn the knob back to “Pilot,” wait a moment, and try again.
Step 7: Monitor the Oven
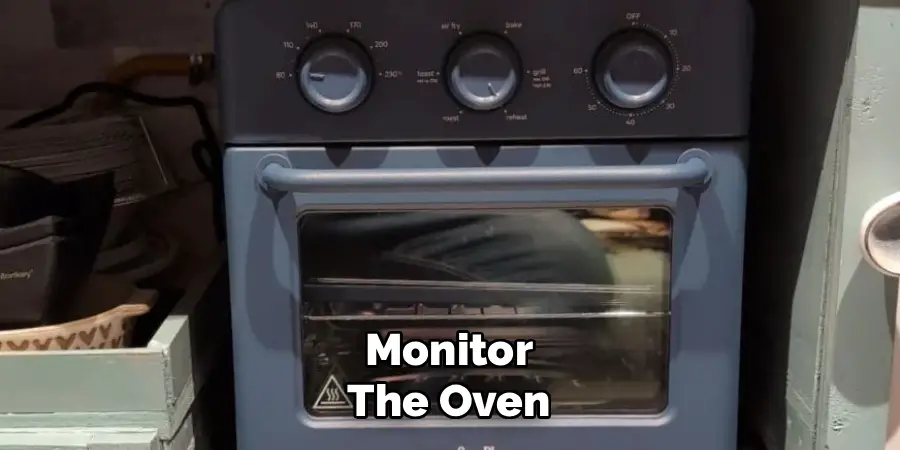
Give your oven about 10 to 15 minutes to preheat to the desired temperature. During this time, stay nearby and check periodically to ensure everything is functioning correctly. You can verify the temperature with an oven thermometer if you want to ensure accuracy, as some camper ovens can run hotter or cooler than the dial indicates.
Listen for the sound of the burner cycling on and off—this is normal as the oven maintains temperature. If you smell gas at any point during operation, immediately turn off the oven, shut off the propane supply, ventilate the camper, and investigate the source before using the oven again.
Following these steps on how to light camper oven will help you safely and effectively use your oven while on the road. It’s important to always be cautious when using any gas appliance, so make sure to regularly check for leaks and malfunctions.
Common Mistakes to Avoid
One of the most frequent errors is not holding the gas control knob down long enough after ignition. The thermocouple needs time to heat up, or the safety mechanism will shut off the gas flow. Another common mistake is trying to light the oven immediately after a failed attempt without waiting for the accumulated gas to clear, which can create a dangerous situation. Many people also forget to check for obstructions or debris in the burner area, leading to poor ignition or uneven heating.
Additionally, attempting to use the oven without ensuring the propane tank has adequate pressure can result in weak flames that won’t maintain temperature. Finally, never try to force or bypass any safety mechanisms—they exist to protect you from gas leaks and other hazards.
Frequently Asked Questions
Q: Why Won’t My Camper Oven Pilot Light Stay Lit?
A: The most common reason a pilot light won’t stay lit is that the thermocouple isn’t getting hot enough to signal the gas valve to remain open. This usually happens when you don’t hold the control knob down long enough after ignition—try holding it for a full minute or longer.
Another possibility is that the thermocouple itself is dirty, damaged, or misaligned, preventing it from properly sensing the pilot flame. In some cases, low propane pressure or a partially closed tank valve can cause insufficient gas flow to maintain the pilot. If you’ve tried holding the knob longer and the problem persists, the thermocouple may need cleaning or replacement by a qualified technician.
Q: Is It Normal for My Camper Oven to Smell Like Gas When First Lighting It?
A: A slight gas odor when initially lighting your camper oven is relatively normal, as there may be a small amount of gas that escapes before ignition occurs. However, this smell should dissipate quickly once the pilot is lit and should never be strong or persistent.
If you notice a strong gas smell, or if the odor continues after the oven is lit and running, turn off the gas immediately and investigate. Check all connections for leaks using a soap and water solution—bubbles will form at any leak points. Never ignore a persistent gas smell, as this indicates a potentially dangerous leak that requires professional attention before you use the oven again.
Q: How Often Should I Clean My Camper Oven’s Pilot Light Assembly?
A: You should inspect and clean your camper oven’s pilot light assembly at least once per camping season, or more frequently if you use your oven regularly. Dust, debris, and food particles can accumulate over time and interfere with proper ignition and flame quality.
Before cleaning, always turn off the propane supply and allow the oven to cool completely. Use a soft brush or compressed air to gently remove any buildup around the pilot orifice and burner ports. Avoid using sharp objects that could damage the components or alter the size of the gas orifices, as this can affect performance and safety. Regular maintenance will ensure your oven lights easily and operates efficiently throughout your camping adventures.
Conclusion
Lighting your camper oven doesn’t have to be an intimidating task. By following these seven straightforward steps on how to light camper oven and taking proper safety precautions, you can confidently prepare delicious meals wherever your travels take you. Remember that patience is key—rushing through the process or skipping steps can lead to frustration or safety issues. Always keep your camper’s manual handy for model-specific guidance, and never hesitate to consult a professional if you encounter persistent problems or suspect a gas leak.
Now that you know how to safely light your camper oven, it’s time to put this knowledge into practice. Start with simple recipes to build your confidence, and soon you’ll be baking everything from morning muffins to evening casseroles with ease. Ready to take your camping culinary skills to the next level? Check out our collection of camper-friendly recipes designed specifically for RV ovens, and discover how satisfying outdoor cooking can truly be.

Rick is a handyman who grew up helping his dad with his business. He learned a lot from him about how to fix things, and also about how to work hard and take care of business. These days, Rick is still into fixing things- only now, he’s doing it for a living.
Rick is always looking for new ways to help people grow and develop. That’s why he started contributing to this blog: to share all his experience and knowledge so that he can help people who are interested in DIY repair.