
LED strip lights have transformed the way we illuminate our homes, offering vibrant colors and customizable ambiance at the touch of a button. But what happens when that button stops working? A malfunctioning LED light remote can be frustrating, leaving you stuck with one color or unable to control your lights at all.

The good news is that fixing an LED light remote is often simpler than you might think. Most remote issues stem from easily solvable problems like dead batteries, connectivity glitches, or minor technical hiccups. In this comprehensive guide on how to fix led light remote, we’ll walk you through seven straightforward steps to diagnose and repair your LED light remote, helping you restore full control of your lighting setup without the need for expensive replacements or professional assistance.
Tools and Materials You’ll Need
Before we dive into the steps for fixing your LED light remote, it’s important to gather all the necessary tools and materials. This will ensure that you have everything you need on hand to successfully troubleshoot and repair your remote.
Here are some of the most common tools and materials you’ll need:
- Replacement batteries (if needed)
- Small screwdriver
- Cotton swabs or a soft cloth
- Rubbing alcohol or electronic cleaner
- A well-lit workspace
It’s always a good idea to have spare batteries on hand in case they are the root cause of your remote issues. Additionally, having a small screwdriver can be useful for opening up the remote if needed.
7 Simple Step-By-Step Guidelines on How to Fix LED Light Remote
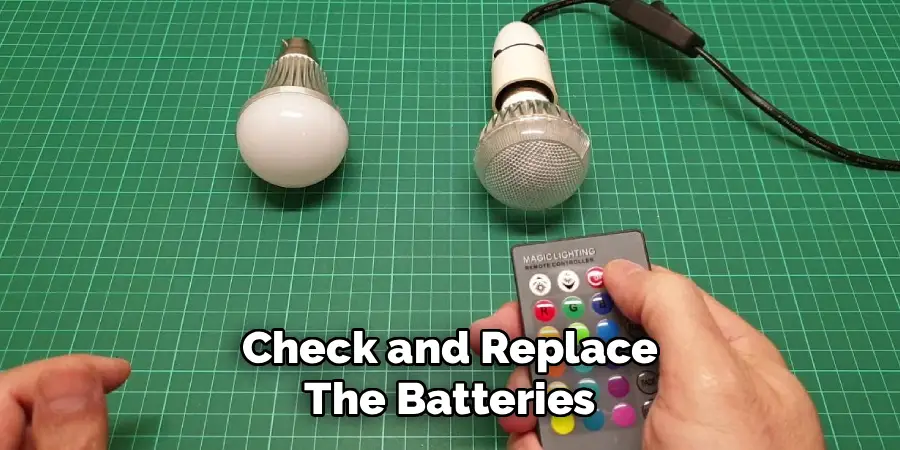
Step 1: Check and Replace the Batteries
The most common culprit behind a non-responsive LED light remote is simply dead or weak batteries. This should always be your first troubleshooting step, as it’s the easiest problem to solve and the most frequent cause of remote failure.
Start by opening the battery compartment on the back of your remote. Most remotes have a small sliding cover or a panel secured with a tiny screw. Remove the old batteries and inspect them for any signs of corrosion, such as white or green crusty deposits around the terminals. If you notice corrosion, this indicates the batteries have been leaking and may have damaged the remote’s internal contacts.
Even if the batteries look fine, replace them with fresh ones of the correct type and rating. Make sure you insert them with the correct polarity—positive and negative terminals must align with the markings inside the battery compartment. After replacing the batteries, test all the remote buttons to see if functionality has been restored.
Step 2: Clean the Battery Contacts
Over time, dust, moisture, and oxidation can accumulate on the metal contacts inside your remote’s battery compartment, creating a barrier that prevents proper electrical connection. This is particularly common in humid environments or if the remote has been stored for extended periods without use.
Remove the batteries from the remote and examine the metal contacts closely. If you see any discoloration, residue, or corrosion, it’s time for a thorough cleaning. Dip a cotton swab in isopropyl alcohol and gently scrub each contact until it’s shiny and clean.
For stubborn corrosion, you may need to use a small amount of pressure, but be careful not to bend or damage the contacts. If corrosion is severe, you can carefully use fine-grit sandpaper or a pencil eraser to remove it, followed by cleaning with alcohol. Allow the contacts to dry completely—isopropyl alcohol evaporates quickly, but give it a few minutes to be safe. Once dry, reinsert fresh batteries and test the remote again.
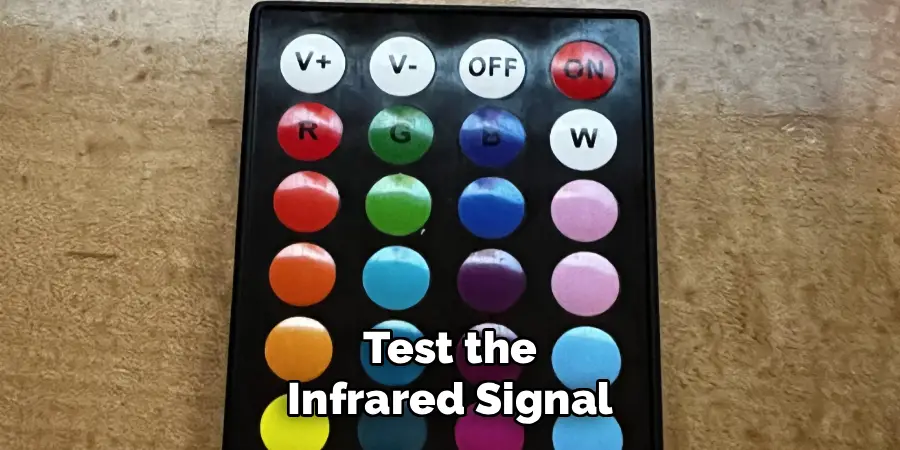
Step 3: Test the Infrared Signal
Many LED light remotes use infrared (IR) technology to communicate with the receiver, similar to television remotes. If your remote has power but isn’t controlling the lights, the infrared emitter might be malfunctioning. Fortunately, there’s a simple way to check if your remote is sending an IR signal.
Turn on your smartphone camera and point the remote’s IR emitter (usually a small bulb at the top of the remote) directly at the camera lens. Press any button on the remote while watching your phone’s screen.
If the remote is working properly, you should see a purple or white light flashing from the IR emitter on your phone’s display—this light is invisible to the naked eye but visible through most smartphone cameras. If you don’t see any light, the remote’s IR emitter may be broken, or there could be an internal circuit problem. If you do see the light flashing, the issue likely lies with the receiver unit rather than the remote itself.
Step 4: Reset the Remote and Receiver Connection
Sometimes the communication link between your remote and the LED light receiver becomes disrupted, similar to how Bluetooth devices occasionally need re-pairing. Most LED light systems have a reset or pairing function that can re-establish this connection.
The reset process varies by manufacturer, but typically involves turning off the power to your LED lights at the switch or power source, waiting 10-15 seconds, then turning them back on. Within a few seconds of powering on, you’ll need to press a specific button combination on the remote—commonly the “ON” button, the brightness up button held for several seconds, or a dedicated pairing button.
Consult your LED light system’s manual for the exact procedure, as it varies significantly between brands. Some systems require you to press buttons in a specific sequence or hold certain buttons for a designated period. If successful, the lights should flash or change color to indicate the connection has been re-established. Test all remote functions to ensure everything is working correctly.
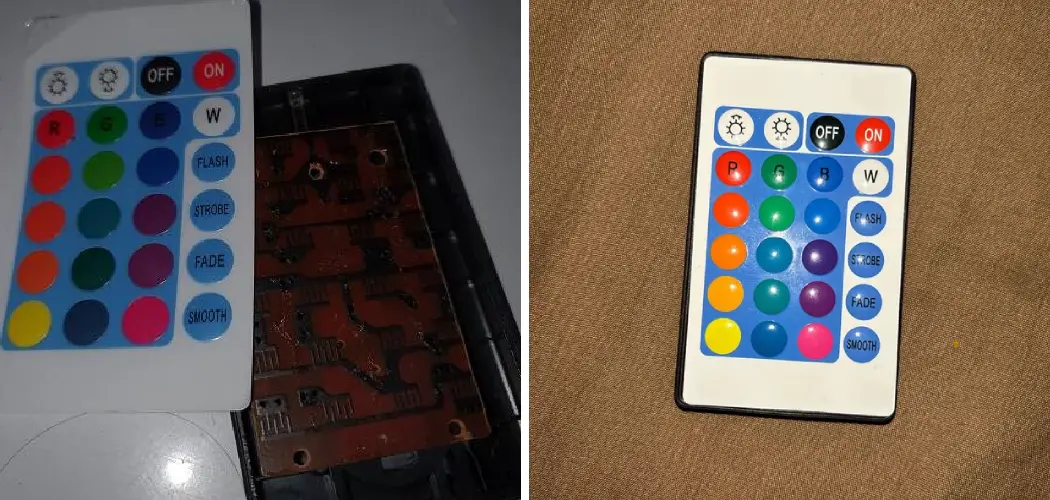
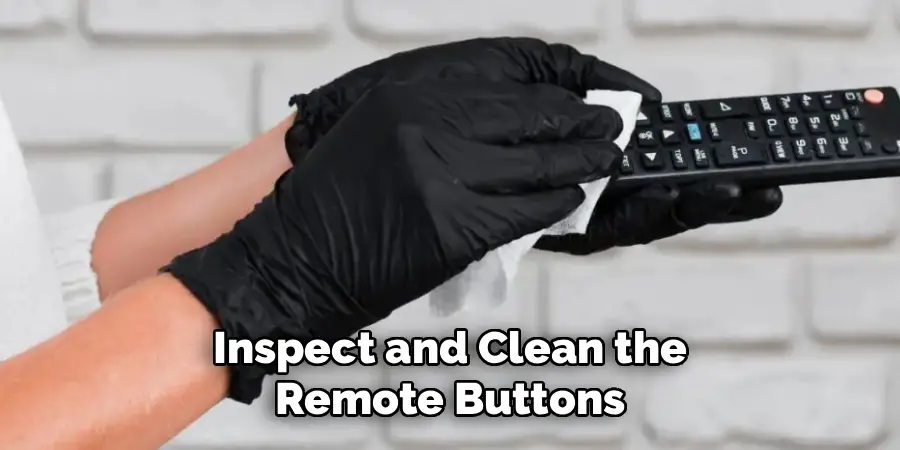
Step 5: Inspect and Clean the Remote Buttons
Physical wear and tear on the remote buttons themselves can prevent proper operation. Over months or years of use, dirt, dust, and sticky residues can accumulate under the button membrane, making buttons unresponsive or requiring excessive force to activate.
If specific buttons aren’t working while others function normally, the remote buttons may need cleaning. Carefully open the remote casing—this typically requires removing small screws from the back and gently prying the case apart. Take a photo of the circuit board and button placement before disassembly so you can reassemble it correctly. Once open, remove the rubber button pad and clean both sides with a lint-free cloth dampened with isopropyl alcohol.
Also clean the conductive pads on the circuit board where the buttons make contact—these are usually dark circular or oval areas that correspond to each button. If the conductive coating on the button pad has worn away (they may appear faded or light-colored), you can sometimes restore conductivity by placing small pieces of aluminum foil or conductive tape behind worn buttons. Reassemble the remote carefully, ensuring all components are properly aligned.
Step 6: Check the Receiver Unit
If your remote appears to be functioning correctly but the LED lights still aren’t responding, the problem may lie with the receiver unit rather than the remote itself. The receiver is the small box that connects between your power source and LED strip, and it interprets the signals from your remote.
First, ensure the receiver is getting power by checking that it’s properly plugged in and that the power outlet is working. Look for any indicator lights on the receiver—many models have a small LED that illuminates when powered. Inspect all the connections between the receiver, power supply, and LED strip, making sure they’re secure and not corroded.
Try unplugging the receiver from its power source, waiting 30 seconds, and plugging it back in—this power cycle can sometimes resolve glitches. If the receiver has been exposed to moisture or physical damage, it may need replacement. Test whether the lights work with manual controls if your system has them, as this can help isolate whether the receiver or just the wireless communication is problematic.
Step 7: Replace or Upgrade the Remote
If you’ve exhausted all troubleshooting steps and your remote still doesn’t work, it may be time for a replacement. Fortunately, LED light remotes are relatively inexpensive and widely available, with many universal options that work across multiple brands.
When shopping for a replacement remote, first try to find one specifically designed for your LED light brand and model—this ensures complete compatibility with all features. If an exact match isn’t available, look for universal LED strip light remotes, which are designed to work with most standard controllers.
These typically cost between $8 and $25 and can be found at electronics stores or online retailers. Some universal remotes require programming or pairing, so be prepared to follow setup instructions carefully. Alternatively, consider upgrading to a smart LED controller that connects to your home Wi-Fi network, allowing you to control your lights via smartphone app or voice commands through systems like Alexa or Google Home. While more expensive initially, smart controllers eliminate the need for a physical remote entirely and offer expanded functionality.
Following these steps on how to fix led light remote, you can easily troubleshoot and resolve any issues you may be having with your remote. Remember to always refer to the user manual for specific instructions and make sure to follow all safety precautions when working with electronic devices.
Common Mistakes to Avoid
When fixing your LED light remote, steer clear of these common pitfalls. Don’t mix old and new batteries together, as this can cause uneven power distribution and potential leakage. Avoid using excessive force when opening the remote casing, as plastic clips can break easily—use a plastic pry tool rather than metal implements. Never use water or harsh cleaning chemicals on electronic components; always use isopropyl alcohol with a concentration of 70% or higher.
Don’t assume the remote is broken without testing the receiver and connections first, as the problem often lies elsewhere in the system. Finally, avoid purchasing the cheapest replacement remotes without checking compatibility, as some may lack features or frequency ranges needed for your specific LED system.
Do You Need to Use Professionals?
For most LED light remote issues, professional assistance isn’t necessary. The troubleshooting steps outlined in this guide can be completed by anyone with basic technical skills and don’t require specialized training or equipment.
The majority of remote problems stem from simple issues like dead batteries or loose connections that homeowners can easily resolve themselves. However, there are situations where professional help might be warranted. If your LED lighting system is integrated into a larger smart home setup with complex wiring, or if you’re dealing with high-voltage installations rather than low-voltage LED strips, consulting an electrician ensures safety.
Additionally, if you’ve attempted all troubleshooting steps without success and suspect a deeper electrical issue with your home’s wiring or power supply, professional diagnosis can prevent potential hazards. For basic LED strip light remote repairs, though, DIY fixes are perfectly appropriate and cost-effective.
How Much Will It Cost?
The cost of fixing an LED light remote varies considerably depending on the specific problem and solution required. At the low end, if your issue is simply dead batteries, you’re looking at $3 to $8 for a pack of replacement batteries. Cleaning supplies like isopropyl alcohol and cotton swabs add minimal cost, usually under $5 if you don’t already have them. If you need a replacement remote, expect to spend between $8 and $30 for a standard infrared remote, with brand-specific remotes sometimes costing slightly more.
Universal remotes typically fall in the $10 to $20 range. Should you need to replace the entire receiver unit, costs generally range from $15 to $50, depending on the wattage capacity and features. Smart LED controllers with Wi-Fi connectivity represent the higher end of the spectrum at $25 to $80, but they offer enhanced functionality that may justify the investment. Professional electrician services, if needed, would cost $75 to $150 per hour, though this is rarely necessary for simple remote issues.
Frequently Asked Questions
Q: Why Is My LED Light Remote Not Working Even With New Batteries?
A: If your LED light remote isn’t working despite fresh batteries, several factors could be at play. The battery contacts inside the remote may be corroded or dirty, preventing proper electrical connection even with new batteries installed. Try cleaning these contacts thoroughly with isopropyl alcohol and a cotton swab.
Another common issue is that the remote and receiver have lost their pairing connection, which can happen after power outages or if the system has been unplugged for extended periods. Refer to your manufacturer’s instructions for the specific re-pairing procedure. Additionally, the infrared emitter on the remote itself may be damaged—test this using your smartphone camera as described in Step 3. If you see no light when pressing buttons, the internal circuitry may be faulty, requiring remote replacement.
Q: Can I Use Any Remote With My LED Lights?
A: While universal LED light remotes exist and work with many systems, not all remotes are interchangeable. LED lighting systems operate on different radio frequencies and use various communication protocols, meaning compatibility isn’t guaranteed. The safest approach is to purchase a remote specifically designed for your LED light brand and model, as this ensures all features will work correctly.
However, if you can’t find an exact replacement, many universal remotes are designed to work with standard IR (infrared) or RF (radio frequency) receivers commonly used in LED strip lights. When shopping for a universal remote, check that it operates on the same frequency as your receiver (typically 433MHz or IR), supports the same voltage, and offers the functions you need. Some trial and error may be necessary, though most retailers accept returns if compatibility issues arise.
Q: How Do I Know If the Problem Is With the Remote or the Receiver?
A: Determining whether your remote or receiver is at fault requires systematic testing. Start by using your smartphone camera to check if the remote is emitting an infrared signal—if you see the IR light flashing when you press buttons, the remote is at least partially functional. Next, try controlling the LED lights using any manual controls on the receiver itself, if available;
if manual controls work but the remote doesn’t, the issue likely lies with the remote or the wireless communication. If possible, test your remote with a different receiver of the same model, or try a different remote with your receiver—this quickly isolates the problem component. Additionally, power cycle your receiver by unplugging it for 30 seconds and plugging it back in, as this can resolve receiver glitches. If, after these tests, you still can’t pinpoint the issue, the problem may be with the wireless pairing between devices, requiring a reset procedure specific to your LED system’s brand.
Conclusion
Fixing an LED light remote doesn’t have to be complicated or expensive. By following the seven straightforward steps outlined in this guide on how to fix LED light remote—from replacing batteries and cleaning contacts to resetting connections and testing signals—you can resolve most common remote issues without professional help. Remember that patience and methodical troubleshooting are key; work through each step carefully rather than jumping to conclusions about what needs replacing.
Whether your remote simply needed fresh batteries or required more involved cleaning and repair, you now have the knowledge to handle these issues confidently. Don’t let a malfunctioning remote rob you of the colorful, customizable lighting experience you deserve. Grab your tools, follow these steps, and get your LED lights back under your control today.
Rick is a handyman who grew up helping his dad with his business. He learned a lot from him about how to fix things, and also about how to work hard and take care of business. These days, Rick is still into fixing things- only now, he’s doing it for a living.
Rick is always looking for new ways to help people grow and develop. That’s why he started contributing to this blog: to share all his experience and knowledge so that he can help people who are interested in DIY repair.