
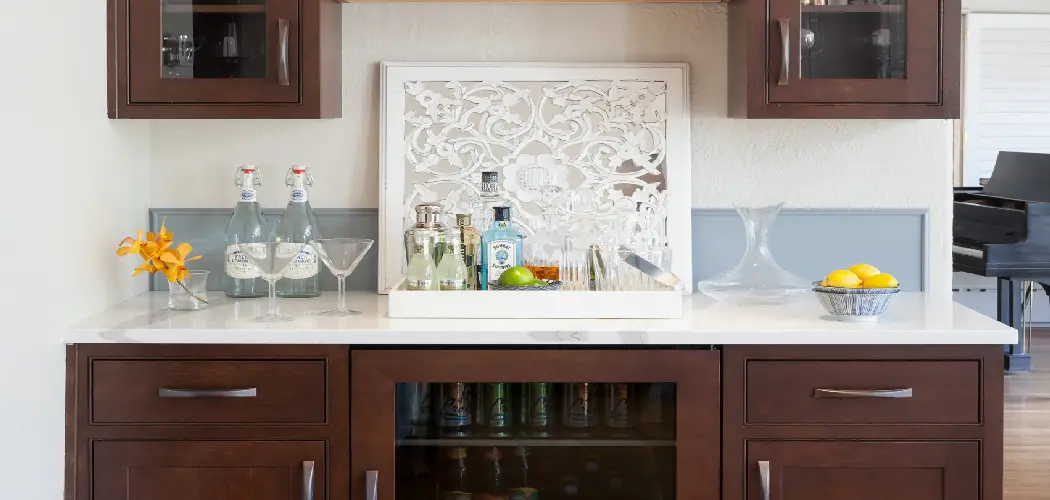
A dry bar is a stylish spot in your home for mixing drinks and entertaining guests, minus the plumbing of a wet bar. Think of it as a dedicated little nook with shelves, a countertop, and space for your favorite glasses and bottles. The best part? You don’t need a sink or running water to make it shine.
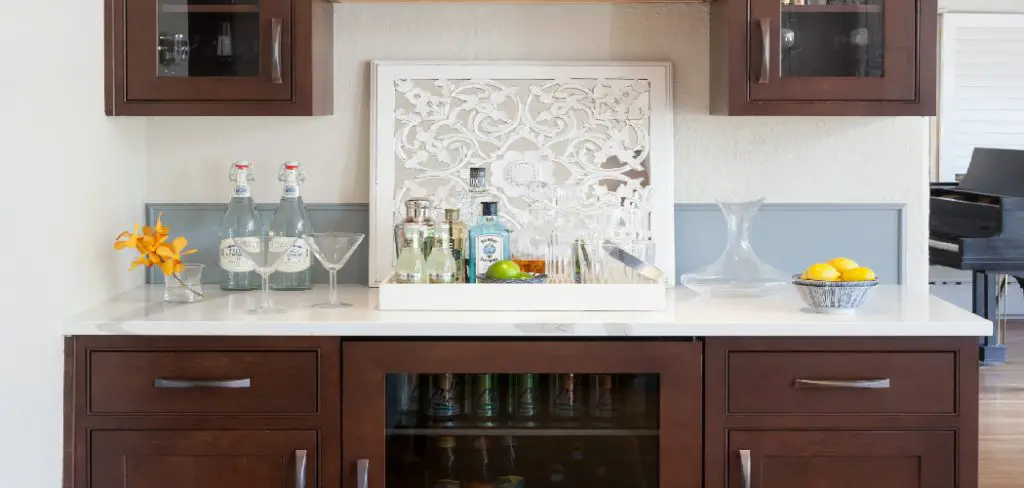
If you’ve ever wondered how to decorate a dry bar that looks polished and welcoming, you’re in the right place. Whether you’re working with a small corner cabinet or a full built-in setup, the right touches can turn an empty surface into the heart of your gatherings. From smart lighting to clever storage and eye-catching accents, decorating a dry bar is easier than you might think. This guide breaks everything down into simple, doable steps. You don’t need a designer’s budget or fancy skills, just a few good ideas and a little creativity. Let’s get your bar ready to impress.
Why Decorating a Dry Bar Matters
A well-styled dry bar does more than hold your bottles. It creates a focal point that makes your space feel intentional and grown-up. When guests walk in, a thoughtfully arranged bar signals that you’ve put care into your home, and it instantly sparks conversation.
There’s a practical side too. Good styling keeps everything organized, so you can find your shaker, glasses, and garnishes without digging through clutter. A functional layout means smoother pour and happier hosting. Beyond that, a beautiful bar adds personality to your room, reflecting your taste through color, texture, and the pieces you choose to display. It’s a small area that delivers big impact, blending form and function in one tidy spot. With a little effort, your dry bar becomes both a practical workstation and a design feature you’ll love showing off.
Step-by-Step Guide to How to Decorate a Dry Bar
Step 1: Choose the Right Location
Start by picking a spot that fits your lifestyle and flow. A dry bar works best in a dining room, living room, or even a wide hallway where guests naturally gather. Look for a surface that’s away from heavy foot traffic but still easy to reach during a party. Consider proximity to an outlet if you plan to add lighting or small appliances.
The goal is balance. You want the bar close enough to entertaining zones that it feels useful, yet tucked in a way that keeps the room open. Measure your available space carefully before committing, since a cramped corner can feel awkward and limit your styling options later.

Step 2: Pick a Cohesive Color Palette
Color sets the entire mood of your bar. Decide whether you want something moody and dramatic, like deep navy and brass, or light and airy with whites and natural wood. A clear palette ties every element together and keeps the space from looking thrown together.
Once you settle on two or three main colors, carry them through your accessories, glassware, and backdrop. You might paint the wall behind the bar a rich accent shade or add a peel-and-stick wallpaper for texture. Knowing how to decorate a dry bar with a consistent color story helps your bottles, trays, and decor feel curated rather than random. Stick to your chosen tones for a polished, intentional finish.
Step 3: Add Smart Storage and Shelving
Storage keeps your bar both beautiful and usable. Floating shelves above the counter give you room to display bottles and glasses while keeping the surface clear. If you have a cabinet, use the interior for items you’d rather hide, like extra napkins, openers, and backup supplies.
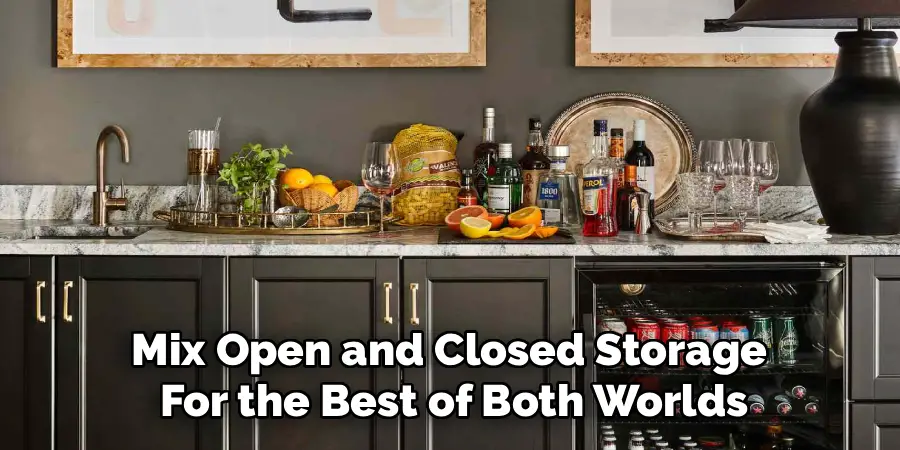
Mix open and closed storage for the best of both worlds. Open shelving shows off your prettiest pieces, while drawers and cabinets tuck away the clutter. Stack a few barware books or arrange matching canisters to add height and interest. Think about how often you reach for each item, then place your everyday essentials within easy grabbing distance and save higher shelves for decorative or rarely used pieces.
Step 4: Display Glassware and Bottles With Style
Your glassware and bottles are the stars of the show, so arrange them with care. Group similar glasses together, like wine glasses in one cluster and tumblers in another, for a clean, organized look. Tall bottles can sit toward the back, with shorter ones in front so nothing gets hidden.
Try arranging items in odd numbers, which naturally feels more pleasing to the eye. A small mirrored tray under your favorite spirits adds a touch of luxury and catches the light beautifully. Don’t overcrowd the surface, since a little breathing room makes each piece feel special. Rotate seasonal bottles or themed glasses to keep the display fresh and exciting throughout the year.
Step 5: Layer in Lighting
Lighting transforms a plain bar into an inviting retreat. If your bar sits against a wall, consider adding under-shelf LED strips or a pair of small wall sconces for a warm glow. A table lamp works too, giving you soft ambient light without needing to wire anything.
Warm-toned bulbs create a cozy, welcoming feel that’s perfect for evening gatherings. For extra sparkle, place a few battery-powered puck lights inside a glass-front cabinet to highlight your prettiest bottles. Layering different light sources adds depth and lets you adjust the mood depending on the occasion. Just be sure any lighting near liquids is rated safely and positioned where it won’t get knocked over.

Step 6: Bring in Texture and Greenery
Texture keeps your bar from feeling flat and lifeless. Add a woven basket, a marble coaster set, or a metal ice bucket to mix materials and create visual interest. A small piece of art or a framed print behind the bar gives the eye somewhere to land and reinforces your style.
Greenery brings everything to life. A small potted plant, fresh herbs in a cute pot, or a low vase of flowers softens the hard edges of bottles and glass. Even a faux plant works if natural light is limited. These finishing touches add warmth and make the space feel curated and homey rather than purely functional and stiff.
Step 7: Personalize With Finishing Touches
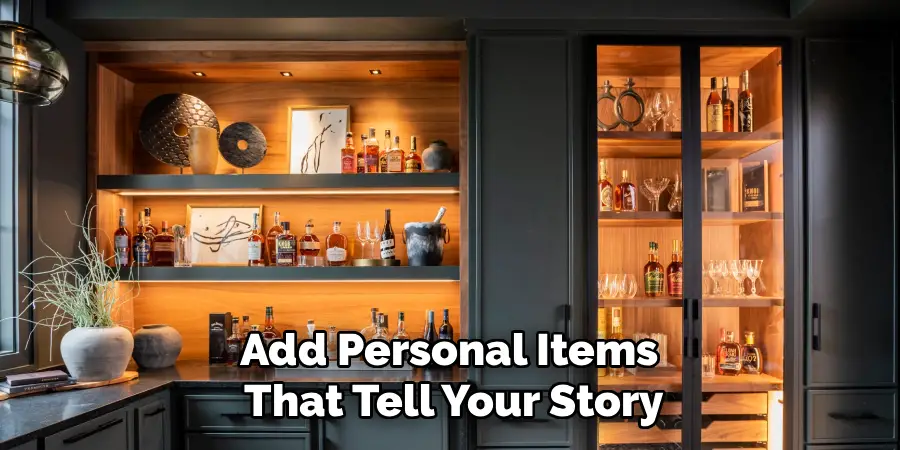
This final step is where your bar truly becomes yours. Add personal items that tell your story, like a cocktail recipe book passed down through your family, vintage glassware from a flea market, or a sign with a fun drink-related quote. These details spark conversation and make the space memorable.
Keep a few practical extras within reach too, such as cloth napkins, a stylish bottle opener, and a set of coasters. Balance the decorative with the useful so the bar stays ready for action. Step back and review the whole setup, then tweak anything that feels off until the arrangement looks and feels just right to you.
Frequently Asked Questions
What Is the Difference Between a Dry Bar and a Wet Bar?
A dry bar has no sink or running water, making it simpler and cheaper to set up. It typically includes a counter, storage, and space for bottles and glasses. A wet bar includes plumbing with a sink and faucet, which requires professional installation. Dry bars offer flexibility since you can place them almost anywhere, while wet bars are fixed to a spot with water access.
How Much Does It Cost to Set Up a Dry Bar?
Costs vary widely depending on your choices. You can create a simple setup using a console table and existing glassware for under a hundred dollars. A mid-range bar with new shelving, lighting, and accessories might run a few hundred. Custom built-in cabinetry can cost much more. The beauty of a dry bar is its flexibility, letting you start small and upgrade pieces gradually as your budget allows.
What Should I Put on a Dry Bar?
Stock your bar with the essentials for easy entertaining. Include a mix of spirits, mixers, and a few favorite glasses suited to your go-to drinks. Add practical tools like a shaker, jigger, bottle opener, and coasters. Then layer in decorative touches such as a small plant, a tray, and ambient lighting. Balance function with style so the bar looks great and works smoothly during gatherings.
How Do I Decorate a Small Dry Bar?
Small spaces benefit from vertical thinking. Use wall-mounted shelves to free up counter space and keep the surface uncluttered. Choose a few standout pieces rather than crowding many items together. Mirrors behind the bar create an illusion of more depth, while light colors keep the area feeling open. Stick to a tight palette and a handful of multipurpose accessories to maximize both beauty and function.
Where Should I Place a Dry Bar in My Home?
The ideal spot depends on how you entertain. Dining rooms and living rooms are popular choices since they sit near where guests gather. A wide hallway, a converted closet, or an empty corner can also work beautifully. Look for a location with a nearby outlet if you want lighting, and make sure there’s enough room for people to move around comfortably while serving drinks.
Conclusion
Creating a beautiful bar at home is simpler than it seems once you break it into manageable steps. Start by choosing the right location and a cohesive color palette, then build out smart storage, style your glassware, and layer in warm lighting. Finish with texture, greenery, and personal touches that reflect who you are. Each step builds on the last to create a space that’s both gorgeous and genuinely useful for hosting.
Now that you know how to decorate a dry bar with confidence, it’s time to roll up your sleeves and get started. Gather your favorite pieces, play with the arrangement, and have fun making the space your own. Your guests will notice the effort, and you’ll love having a stylish spot ready for every toast and celebration. Cheers to your beautiful new bar.

Rick is a handyman who grew up helping his dad with his business. He learned a lot from him about how to fix things, and also about how to work hard and take care of business. These days, Rick is still into fixing things- only now, he’s doing it for a living.
Rick is always looking for new ways to help people grow and develop. That’s why he started contributing to this blog: to share all his experience and knowledge so that he can help people who are interested in DIY repair.