
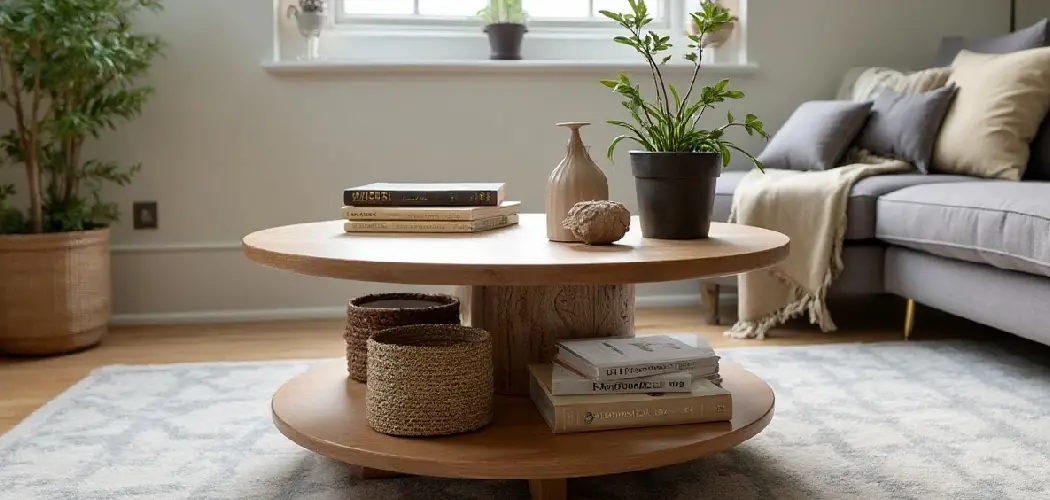
A coffee table is one of the hardest-working pieces in any living room, but the space below it often goes to waste. Adding a lower shelf changes that completely, giving you a handy spot for books, magazines, baskets, or a tray of decor. If you’ve ever wondered how to attach bottom shelf to coffee table without hiring a pro, you’re in the right place. This project is friendlier than it sounds, and you don’t need a workshop full of fancy gear to pull it off.
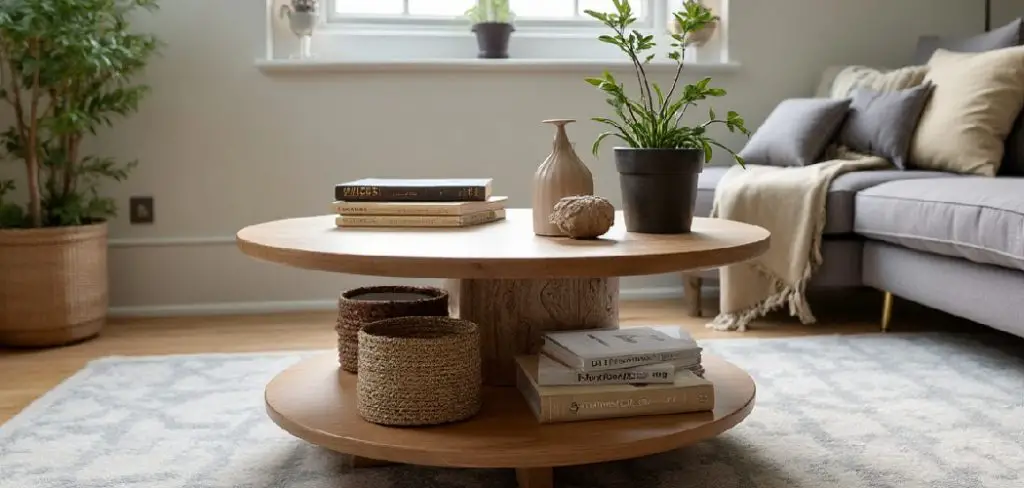
With a few common tools, some basic wood, and a little patience, you can turn a plain table into a smart, two-tier storage piece in an afternoon. We’ll walk through measuring, choosing materials, cutting supports, and fixing everything in place so it holds firm. Whether you’re a first-time builder or someone who likes a good weekend fix-up, these clear steps will guide you from start to finish. Let’s get that empty space working for you.
Why Adding a Bottom Shelf to Your Coffee Table Matters
A lower shelf does more than fill empty space. It doubles your storage without taking up a single extra inch of floor, which is a big win in small living rooms and apartments. You get a tidy home for remotes, coasters, board games, and the stack of books that always seems to pile up.
There’s a style benefit too. A two-tier table looks balanced and intentional, instantly upgrading a basic design into something that feels custom. It also keeps clutter off the top surface, so your table stays clean and ready for guests. Add in the satisfaction of building something with your own hands, and a small shelf delivers real value for very little cost or effort.
Step-by-Step Guide to How to Attach Bottom Shelf to Coffee Table
Step 1: Measure the Space Beneath Your Table
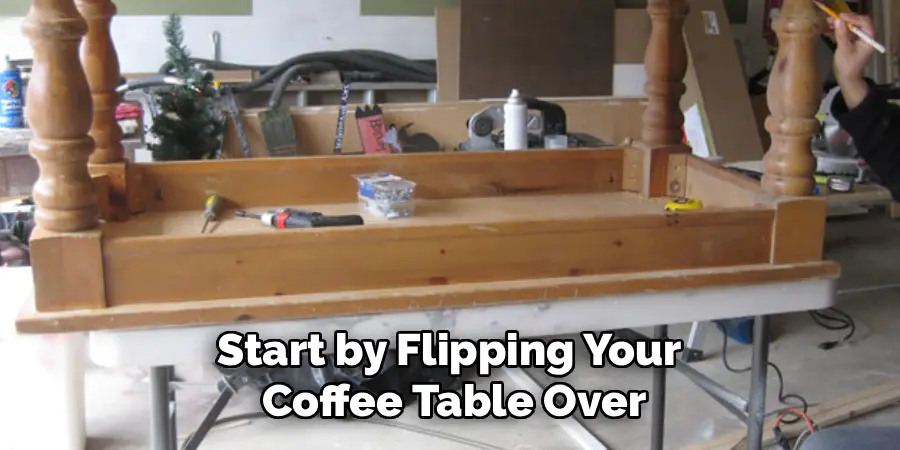
Start by flipping your coffee table over or crouching down to study the area under the top. Grab a tape measure and record the length and width between the legs, since these numbers decide how big your shelf can be. Measure at the exact height where you want the shelf to sit, because legs sometimes taper or angle outward.
Write everything down and double-check each figure. A shelf that’s even half an inch too wide won’t slide into place. Note the distance from the floor too, leaving enough clearance so the shelf doesn’t crowd the lower legs. Careful measuring here saves you from frustrating cuts and wasted wood later on.
Step 2: Choose the Right Materials
Now pick the wood and hardware that fit your table’s weight and look. For the shelf itself, a piece of plywood, solid pine board, or reclaimed wood all work beautifully. Match the thickness to the load you plan to store, since thicker boards hold heavier items without sagging over time.
You’ll also need support pieces, often called cleats, that hold the shelf up along the inner edges of the legs. Square wooden strips work perfectly for this. Round out your supplies with wood screws, wood glue, sandpaper, and a finish that matches your table. Choosing quality materials from the start gives you a shelf that feels sturdy and looks like it belonged there all along.
Step 3: Cut the Shelf and Support Cleats
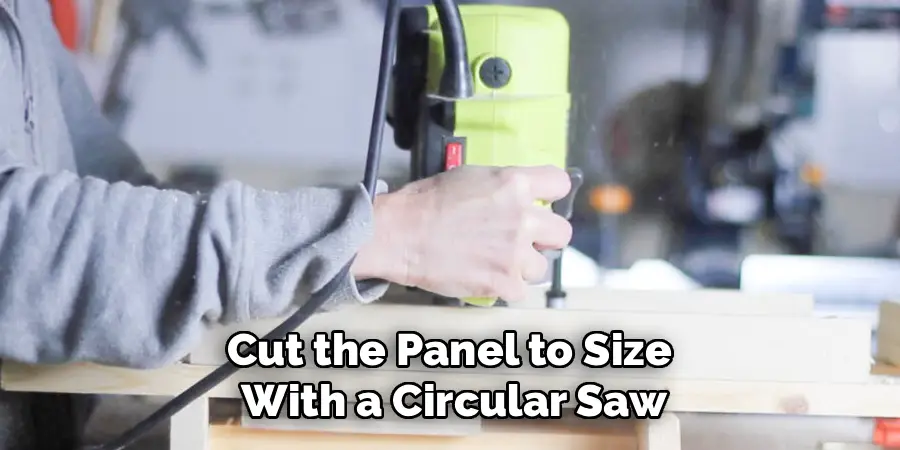
With your measurements ready, mark your cuts clearly on the shelf board using a pencil and a straight edge. Cut the panel to size with a circular saw or hand saw, working slowly so the edges stay clean and straight. If your table has legs in the corners, you may need to notch each corner of the shelf so it fits snugly around them.
Next, cut four support cleats to match the inner length and width of the leg openings. These strips form the frame that carries the weight. Sand every cut edge until smooth, removing splinters and rough spots. Test-fit each piece before moving on, since a quick check now prevents headaches during assembly.
Step 4: Mark and Position the Support Cleats
Decide on the exact height for your shelf, then mark that line on the inside of each leg using a level so everything sits perfectly even. An uneven shelf looks sloppy and lets items slide, so take your time with the pencil here. Hold each cleat against its mark and trace its position for reference.
This is the stage where learning how to attach bottom shelf to coffee table really pays off, because accurate placement is the secret to a solid result. Use a small spirit level across opposite cleats to confirm they line up. Once all four marks match and look level from every angle, you’re ready to fasten the supports in place.
Step 5: Attach the Support Cleats to the Legs
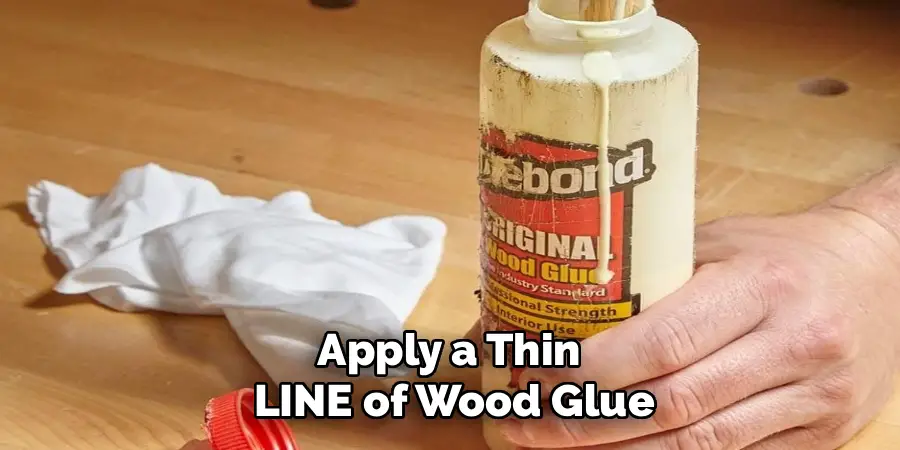
Apply a thin line of wood glue along the back of the first cleat, then press it firmly against its marked spot on the leg. Hold it steady while you drive two or three wood screws through the cleat into the leg, spacing them evenly for a strong grip. Pre-drilling small pilot holes stops the wood from splitting, especially near the ends.
Repeat this for all four cleats, checking your level again after each one goes in. Wipe away any glue that squeezes out with a damp cloth before it dries. The cleats should feel rock solid when you give them a gentle push, ready to bear the weight of your new shelf.
Step 6: Set and Secure the Shelf
Carefully lower your cut shelf board onto the cleats, easing it past the legs and into position. It should rest flat and snug, with the notched corners hugging each leg. If it sticks anywhere, lift it out, sand the tight spot, and try again rather than forcing it down.
Once it sits evenly, fasten it to the cleats from above using short wood screws, placing one near each corner and a couple along the longer sides. Knowing how to attach bottom shelf to coffee table securely means anchoring the panel so it can’t shift or rattle. Test it with your hand, pressing down and side to side to confirm there’s no wobble before the final touches.
Step 7: Sand, Finish, and Style
Give the whole shelf a final sanding, smoothing the surface and softening any sharp edges so nothing snags or scratches. Wipe away the dust with a clean, slightly damp cloth and let it dry fully. Now apply your chosen finish, whether that’s stain, paint, or a clear sealer, matching it to the rest of the table for a seamless look.
Let the finish cure according to the product directions before placing anything on top. Once it’s ready, style your new shelf with books, a woven basket, or a small plant. Step back and admire your work, because you’ve just added real function and charm to a piece you use every single day.

Frequently Asked Questions
What Tools Do I Need for This Project?
You’ll need a tape measure, a pencil, a level, and a saw to cut your wood. A drill or screwdriver handles the screws, while sandpaper smooths every edge. Wood glue adds extra hold, and a damp cloth helps with cleanup. Most of these items already live in a basic home toolkit, making this an affordable weekend project that doesn’t require any specialized or expensive equipment.
How Much Weight Can the Lower Shelf Hold?
Weight capacity depends on your materials and how securely you fasten everything. A sturdy plywood or solid wood shelf supported by glued and screwed cleats can comfortably hold books, magazines, and decor weighing several pounds. For heavier loads, choose thicker boards and add an extra center cleat for support. Avoid overloading it, and always test the shelf gently before trusting it with anything valuable or heavy.
Can I Add a Shelf to a Glass or Metal Table?
Yes, though the method changes a little. Glass and metal tables can’t take wood screws the same way, so you’ll often use brackets, clamps, or adhesive-rated hardware designed for those surfaces. Metal frames may allow bolting with the right drill bit. Always check the manufacturer’s guidance and pick fasteners suited to the material, since drilling glass without proper tools can crack it and ruin the table.
Do I Need Woodworking Experience to Do This?
Not at all. This project is genuinely beginner-friendly, relying on simple cuts, basic measuring, and a handful of screws. If you can use a tape measure and a screwdriver, you can complete it. Taking your time with measurements and test-fitting each piece matters far more than experience. Many first-time builders finish this project successfully and feel proud of the polished, professional-looking result they create.
How Long Does the Whole Project Take?
Most people finish in two to four hours, not counting drying time for glue and finish. Measuring, cutting, and attaching the cleats go fairly quickly once you have your materials ready. The finish stage often takes the longest because stain or paint needs time to cure. Plan for an afternoon of hands-on work, then let everything dry overnight before loading up your brand-new shelf.
Conclusion
Building a lower shelf is one of those small upgrades that delivers big rewards, giving you extra storage, a cleaner tabletop, and a more stylish piece of furniture. By measuring carefully, choosing solid materials, leveling your cleats, and fastening everything firmly, you end up with a shelf that looks built-in and holds strong for years. Now that you understand how to attach bottom shelf to coffee table from start to finish, the only thing left is to gather your tools and dive in.
Pick a free afternoon this weekend, grab your tape measure, and turn that empty space into something useful. You’ll be surprised how much pride comes from a project this simple, and your living room will thank you for the smart, handsome addition.

Rick is a handyman who grew up helping his dad with his business. He learned a lot from him about how to fix things, and also about how to work hard and take care of business. These days, Rick is still into fixing things- only now, he’s doing it for a living.
Rick is always looking for new ways to help people grow and develop. That’s why he started contributing to this blog: to share all his experience and knowledge so that he can help people who are interested in DIY repair.