
Monster LED lights have become a popular choice for homeowners and enthusiasts looking to add dynamic lighting to their spaces. Whether you’re decorating a gaming room, setting up ambient lighting for your home theater, or creating an eye-catching display for a party, knowing how to connect multiple Monster LED light strips together can transform your space into something truly spectacular.

This comprehensive guide on how to connect monster led lights together will walk you through everything you need to know about connecting Monster LED lights together. From understanding the different types available to following detailed step-by-step instructions, you’ll have all the information necessary to create a seamless lighting setup that perfectly suits your needs. By the end of this article, you’ll be equipped with practical knowledge and troubleshooting tips to ensure your installation goes smoothly and your lights function flawlessly.
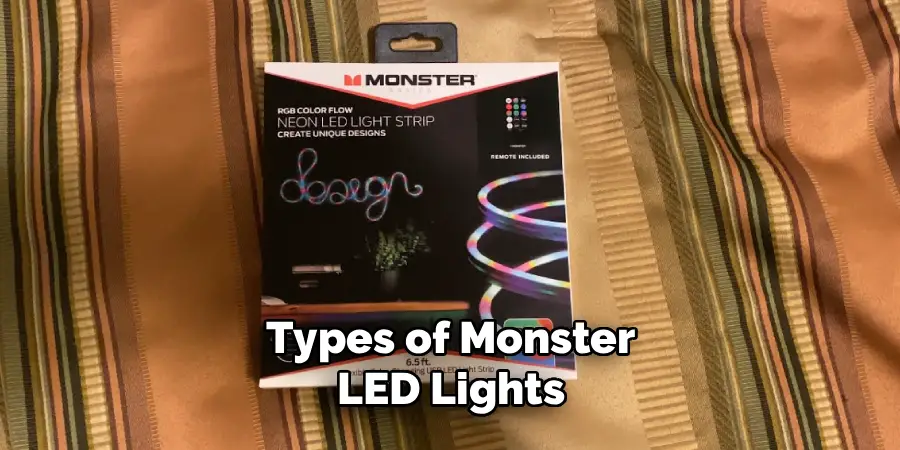
Types of Monster LED Lights
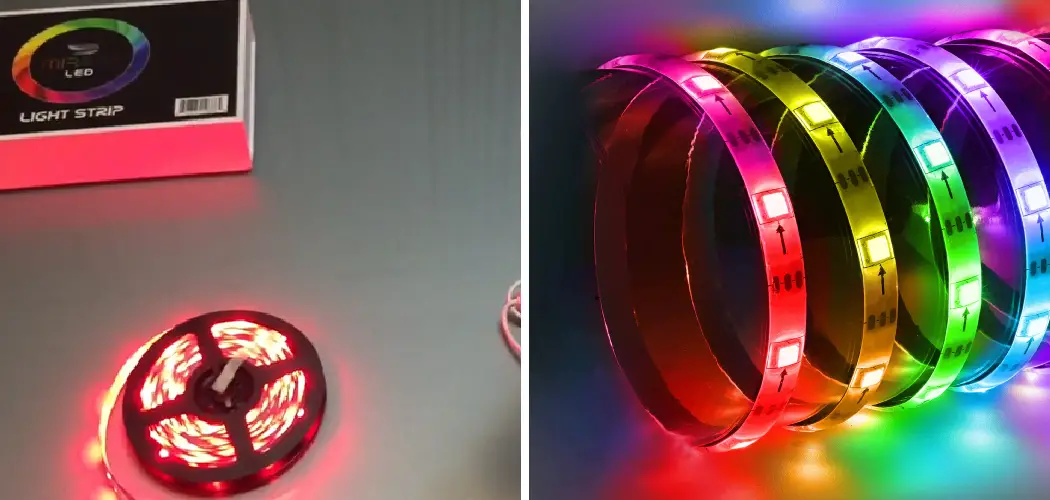
Before diving into the connection process, it’s important to understand the different types of Monster LED lights available on the market. Monster offers several varieties, including RGB color-changing strips, single-color strips, and smart LED strips that can be controlled via smartphone apps or voice commands. RGB strips are the most versatile, allowing you to customize colors and create dynamic lighting effects. Single-color strips provide consistent illumination in one hue, perfect for task lighting or subtle accents. Smart LED strips offer advanced features like scheduling, scene creation, and integration with home automation systems.
Each type of Monster LED light comes with specific connectors and compatibility requirements. Some models feature pin connectors that allow direct strip-to-strip connections, while others require extension cables or additional accessories. Understanding which type you have will determine the connection method you’ll need to use. Most Monster LED light packages include the necessary components for basic installations, but expanding your setup may require purchasing additional connectors, power supplies, or controllers.
Tools and Materials You’ll Need
To properly install and use Monster LED lights, you’ll need a few tools and materials. These may include:
- Screwdriver or drill (depending on your mounting method)
- Wire cutters/strippers
- Electrical tape or wire connectors
- Extension cables (if needed for strip-to-strip connections)
- Power supply
- Controller (if using RGB lights)
- Ladder (if installing on high ceilings)
Be sure to check the specific requirements of your light kit to ensure you have all the necessary tools and materials before beginning installation.
Safety Precautions
Working with LED lights is generally safe, but taking proper precautions ensures both your safety and the longevity of your lighting system. Always start by reading the manufacturer’s instructions thoroughly, as different Monster LED light models may have specific requirements or warnings. Never attempt to modify or cut LED strips except at the designated cut marks, which are usually indicated by scissor symbols or dotted lines along the strip.
Before beginning installation, ensure the power supply is unplugged. Never connect or disconnect LED strips while power is flowing through them, as this can damage the strips or create a short circuit. When mounting strips, avoid placing them in areas where they’ll be exposed to excessive heat, moisture, or direct water contact unless they’re specifically rated for those conditions. If you’re installing lights in a bathroom or outdoor area, verify that your Monster LED lights have the appropriate IP rating for moisture resistance. Additionally, never exceed the maximum run length specified by the manufacturer, as overloading a single power supply can cause overheating or reduce the lifespan of your lights.
7 Simple Step-By-Step Guidelines on How to Connect Monster LED Lights Together
Step 1: Plan Your Layout
Before connecting any lights, create a detailed plan of where you want your LED strips to go. Measure the total length you need to cover and map out how the strips will run along walls, under cabinets, or around furniture. This planning phase is crucial because it helps you determine how many strips you’ll need and where connections will occur.
Consider factors like power outlet locations, corners that may require special connectors, and whether you’ll need to run strips across doorways or around obstacles. Sketch your layout on paper, noting measurements and connection points. This visualization will help you identify potential challenges before you start the physical installation. Remember that most LED strips have maximum run lengths, typically ranging from 16 to 32 feet per power supply, so you may need multiple power sources for longer installations.
Step 2: Prepare Your Surfaces
Clean installation surfaces are essential for proper adhesion of LED strips. Use alcohol wipes or a mild cleaning solution to remove dust, grease, and debris from any surface where you’ll be mounting the strips. Allow surfaces to dry completely before proceeding, as moisture can prevent the adhesive backing from sticking properly.
For surfaces that are particularly challenging, such as textured walls or certain plastics, consider using additional mounting options beyond the built-in adhesive. Mounting clips designed specifically for LED strips provide extra security and can be especially useful for installations on ceilings or vertical surfaces. If you’re mounting strips in an area that experiences temperature fluctuations, extra securing methods will prevent the strips from falling as the adhesive weakens over time.

Step 3: Connect the First Strip to the Power Supply
Begin your installation by connecting your first LED strip to the power adapter. Most Monster LED lights feature simple plug-and-play connectors that snap or slide into place. Align the connector pins with the corresponding slots on the LED strip, ensuring proper polarity. The connectors are typically designed to only fit one way, preventing incorrect installation.
Once connected, plug the power supply into an outlet to test the strip before permanently mounting it. This test ensures your strip is functioning correctly and that the power supply provides adequate voltage. If the lights don’t turn on, check that all connections are secure and that the power outlet is working. Some Monster LED systems include inline switches or controllers that must be in the “on” position for the lights to function. After confirming the strip works properly, unplug the power supply before proceeding with installation.
Step 4: Mount the First Strip
With your first strip tested and ready, carefully peel back a small section of the adhesive backing—don’t remove it all at once. Starting at one end of your planned layout, press the strip firmly against the prepared surface. Work slowly, gradually peeling more backing away as you progress along your mounting surface. This method prevents the strip from sticking prematurely in the wrong position and minimizes air bubbles under the strip.
Apply firm, even pressure along the entire length of the strip to ensure good adhesion. Pay special attention to corners and edges where the strip is most likely to pull away over time. For strips mounted on ceilings or in high-traffic areas, consider using mounting clips at regular intervals for additional security. If your layout includes corners, use appropriate corner connectors designed for LED strips rather than bending the strip at sharp angles, which can damage the circuits and cause lighting failures.
Step 5: Attach Additional Strips Using Connectors
To extend your lighting beyond the first strip, you’ll need to use connectors designed for linking multiple Monster LED lights together. These connectors come in several varieties, including straight connectors for continuing in the same direction, L-shaped connectors for 90-degree turns, and T-connectors for branching off in multiple directions. Select the appropriate connector type based on your layout plan.
Most Monster LED strip connectors feature a simple clip mechanism. Open the connector, insert the end of your first strip into one side, ensuring the copper contact pads align with the connector pins, then secure it by closing the clip. Repeat this process with the second strip on the other side of the connector. The connection should feel snug and secure. Before mounting the second strip, plug in the power supply again to verify that both strips illuminate properly. This checkpoint saves time by identifying connection issues before permanent installation. If the second strip doesn’t light up, check that both strips are fully inserted into the connector and that the copper pads make firm contact with the pins.
Step 6: Continue Expanding Your Setup
Repeat the mounting and connecting process for each additional strip in your layout. As your installation grows, periodically test the entire system to ensure consistent brightness and color across all connected strips. If you notice dimming in strips that are farther from the power supply, you may be approaching the maximum run length for your system.
For extensive installations spanning multiple rooms or very long distances, you’ll likely need additional power supplies. Rather than trying to run dozens of feet of LED strips from a single power source, position multiple power supplies strategically throughout your layout. Each power supply should connect to the controller or switch so that all strips can still be controlled together, even though they’re powered separately. This approach maintains consistent brightness and prevents overloading any single power adapter.
Step 7: Secure All Connections and Test the Complete System
Once all strips are mounted and connected, go back through your installation to verify that every connection is secure. Gently tug on connectors to ensure they won’t come loose during normal use. Use cable management clips or adhesive cable channels to organize any excess wire and prevent power cords from dangling or creating trip hazards.
With everything secured, perform a final comprehensive test of your complete lighting system. Turn the lights on and off several times, cycle through different colors if you have RGB strips, and test any smart features or remote controls. Walk around your space from different angles to check for any dark spots, color inconsistencies, or strips that have pulled away from mounting surfaces. Address any issues now before considering your installation complete. This thorough final check ensures your Monster LED lights will provide reliable, beautiful illumination for years to come.

Following these steps on how to connect monster LED lights together, you can easily add beautiful and customizable lighting to any space in your home or office. But the possibilities with Monster LED lights don’t end there.
Troubleshooting Common Issues
Even with careful installation, you may encounter some common challenges when connecting Monster LED lights together. If sections of your LED strips aren’t lighting up, first check all connections to ensure they’re fully seated and making proper contact. Loose connectors are the most frequent cause of lighting failures. If tightening connections doesn’t resolve the issue, inspect the copper contact pads on your strips for dirt or oxidation that might prevent electrical contact. A gentle cleaning with isopropyl alcohol can often restore conductivity.
Dimming or color inconsistency across multiple connected strips usually indicates that you’ve exceeded the maximum run length for your power supply. LED strips draw power along their entire length, so the farthest sections receive less voltage than those closest to the power source. The solution is to add additional power supplies at strategic points in your layout, essentially breaking one very long run into several shorter runs that each receive adequate power. Finally, if your smart LED strips aren’t responding to app controls or voice commands, ensure your Wi-Fi connection is stable and that you’ve completed the pairing process according to the manufacturer’s instructions.
Tips for Smooth Installation
Planning ahead makes all the difference in achieving a professional-looking LED light installation. Before purchasing supplies, measure twice to ensure you buy enough strips and the right types of connectors for your specific layout. It’s wise to have a few extra connectors on hand in case you need to adjust your design during installation.
When working with adhesive-backed LED strips, remember that repositioning them repeatedly weakens the adhesive. Take your time to place each strip correctly the first time. If you’re unsure about a particular placement, use removable painter’s tape to temporarily position the strip and verify it looks right before committing to the permanent adhesive.
For installations involving multiple strips, label each connector with small pieces of tape indicating which section it connects to—this makes troubleshooting much easier if issues arise later. Consider creating a simple diagram of your final installation with notes about where power supplies and controllers are located. This reference document will be invaluable if you need to modify or expand your setup in the future.
Frequently Asked Questions
Q: Can I Cut Monster LED Light Strips to Custom Lengths?
A: Yes, Monster LED light strips can be cut to custom lengths, but only at designated cut points marked along the strip. These cut marks typically appear as lines or scissor symbols every few inches and coincide with the copper contact pads. Cutting anywhere else will damage the circuitry and render that section of the strip non-functional. Use sharp scissors or wire cutters to make clean, straight cuts at these marked locations. After cutting, you may need special connectors designed for cut ends if you want to attach additional components or power supplies to the shortened strip.
Q: How Many Monster LED Strips Can I Connect Together?
A: The number of Monster LED strips you can connect together depends on the power capacity of your power supply and the wattage requirements of your strips. Most standard LED strip installations have a maximum run length of 16 to 32 feet per power supply, though this varies by model. Exceeding this limit causes a voltage drop, resulting in dimmer lights or color shifts in strips farther from the power source. For larger installations, use multiple power supplies distributed throughout your layout. Each power supply can support the maximum run length, and you can synchronize them using a single controller to maintain uniform lighting effects across your entire setup.
Q: Do I Need Special Connectors for Corner Installations?
A: Yes, using proper corner connectors is highly recommended for LED strip installations that turn 90 degrees. While it’s technically possible to bend flexible LED strips around corners, doing so stresses the circuits and can cause premature failure, especially with repeated bending.

Corner connectors, also called L-connectors or elbow connectors, provide a clean, secure connection at right angles without putting strain on the strip. These connectors maintain the electrical connection while allowing your lighting to navigate corners professionally. They’re inexpensive and readily available, making them a worthwhile investment for any installation involving directional changes.
Conclusion
Connecting Monster LED lights together opens up endless possibilities for customizing your space with vibrant, dynamic lighting. By following the step-by-step guidelines outlined in this guide on how to connect monster led lights together, you can create a professional-quality installation that delivers consistent, beautiful illumination exactly where you want it. Remember that successful LED lighting projects combine careful planning, attention to detail during installation, and patience when troubleshooting any challenges that arise.
Ready to transform your space with Monster LED lights? Start by mapping out your ideal lighting design, gathering your materials, and following these proven steps to bring your vision to life. Whether you’re enhancing a single room or creating an elaborate multi-room lighting system, the techniques covered here will help you achieve outstanding results that you’ll enjoy for years to come.
Rick is a handyman who grew up helping his dad with his business. He learned a lot from him about how to fix things, and also about how to work hard and take care of business. These days, Rick is still into fixing things- only now, he’s doing it for a living.
Rick is always looking for new ways to help people grow and develop. That’s why he started contributing to this blog: to share all his experience and knowledge so that he can help people who are interested in DIY repair.