
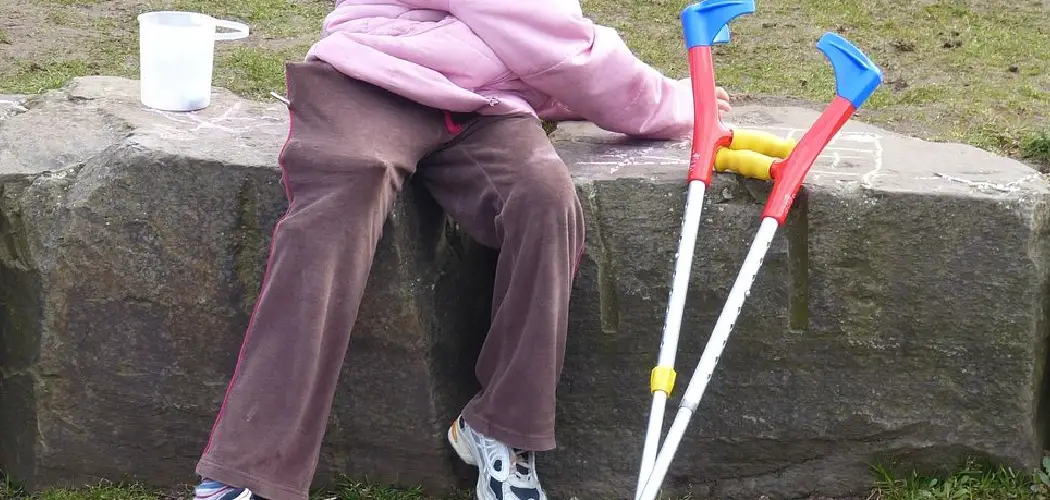
Breaking a bone or spraining an ankle can turn your crutches into unwanted daily companions. But those plain metal or wooden sticks do not have to be boring. Learning how to decorate crutches gives you a fun way to add personality, boost your mood, and even spark friendly conversations while you heal. Whether you are a kid heading back to school, a teen who wants to stand out, or an adult who simply wants a little color in a tough moment, decorating is a low-cost project anyone can try.
The best part is that you do not need special skills or expensive supplies to get started. With a few common craft items and a bit of creativity, you can transform ordinary crutches into something that feels truly yours. This guide walks you through everything, step by step, so you feel confident from the first wrap of tape to the final flourish. Let us turn a frustrating situation into a chance for a little self-expression.
Why Decorating Crutches Matters
Decorating your crutches is about more than looks. When you are stuck relying on a mobility aid, seeing something cheerful every day can lift your spirits and make recovery feel less like a chore. A splash of color or a favorite pattern reminds you that healing has an end point, and it helps you feel more in control.
There are practical perks too. Personalized crutches are easier to spot in a crowded classroom or busy waiting room, so they are less likely to get mixed up with someone else’s. Adding grip-friendly materials can improve comfort during long days. Best of all, a creative touch often invites kindness from others, turning awkward stares into warm compliments and genuine support.
Step-By-Step Guide to How To Decorate Crutches
Step 1: Gather Your Supplies and Clean the Surface
Before any creativity begins, collect everything you need in one spot so you are not scrambling mid-project. Grab washi tape, ribbon, fabric strips, stickers, paint pens, and a roll of double-sided tape. Wipe down the crutch poles with a damp cloth to remove dust and oils, then dry them completely. A clean surface helps your materials stick better and last longer. Take a moment to test how each item feels in your hands, since anything slippery near the grips could affect your balance. Working with a tidy setup makes the whole experience feel calmer, smoother, and much more enjoyable.
Step 2: Wrap the Poles With Colorful Tape
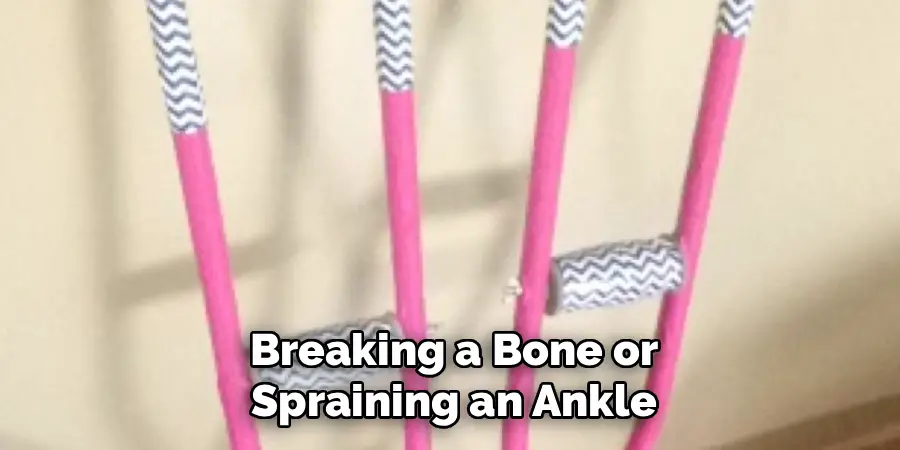
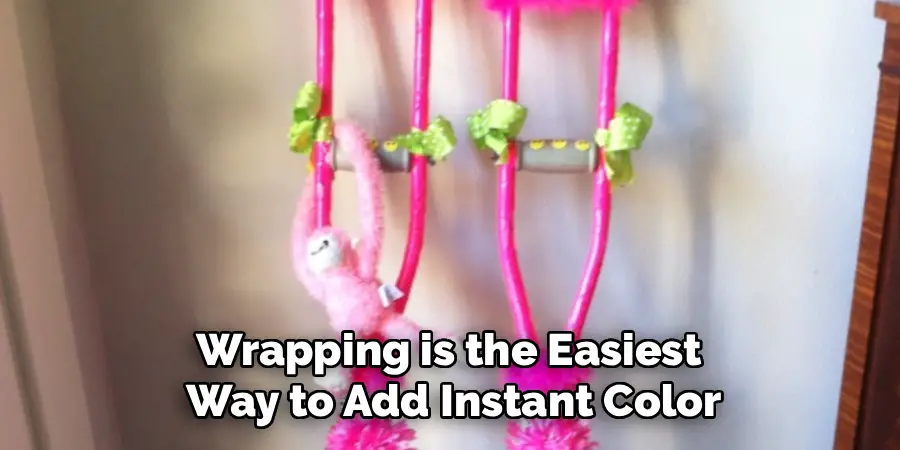
Wrapping is the easiest way to add instant color, and it is perfect for beginners. Start at the top of one pole and wind your washi or fabric tape downward at a slight angle, overlapping each layer just a little to avoid gaps. Keep the tension even so the tape lies flat without bunching. If you want a candy-cane look, alternate two colors as you go. Press firmly as you wrap to seal each section in place. This part of how to decorate crutches is forgiving, so if a strip goes crooked, simply peel it back and try again until it looks just right.
Step 3: Add Ribbon Accents and Bows
Once your base wrap is done, ribbons bring a soft, playful touch. Tie small bows near the top of each pole, or wind a thin satin ribbon between your tape layers for a spiral effect. Secure the ends with a dab of hot glue or a hidden knot so nothing unravels while you move. Choose ribbons that match or contrast your base color for a look you love. Keep bows away from the grips and the rubber feet, since anything dangling there could catcheasily or trip you up. A little planning keeps your design both pretty and practical.
Step 4: Personalize With Stickers and Decals
Stickers let you show off your interests without much effort at all. Pick waterproof vinyl decals if you expect rain or damp weather, since paper stickers peel quickly when they get wet. Space them evenly along the poles, or cluster a few near the top for a bold focal point. You can spell out your name, add favorite characters, or scatter stars and hearts for a cheerful vibe. Rub each sticker down firmly with your thumb to push out air bubbles. Learning how to decorate crutches with stickers is especially great for younger users who want a quick, mess-free way to make things their own.
Step 5: Paint Custom Designs and Patterns
If you feel a bit more adventurous, paint pens open up endless possibilities. Acrylic paint markers work well on metal and wood, and they dry fairly fast with bright, lasting color. Sketch your design lightly first, then trace over it with steady strokes. Polka dots, galaxy swirls, and simple flowers all look fantastic and forgiving for shaky hands. Let each color dry fully before adding another so your lines stay crisp. Once everything is set, seal your artwork with a clear spray finish to protect it from scuffs. This creative layer turns your crutches into a true one-of-a-kind piece you will be proud of.
Step 6: Wrap the Handles for Extra Comfort
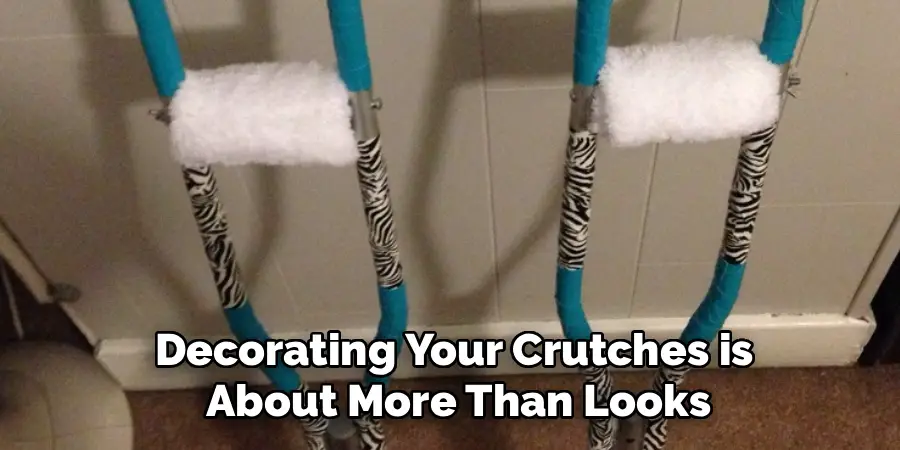
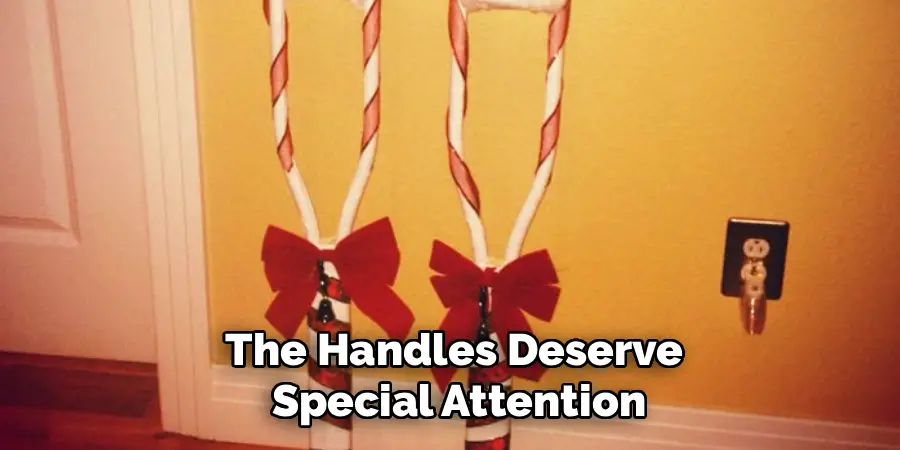
The handles deserve special attention because they carry your weight all day. Wrap them with soft foam grip tape or a strip of cushioned fabric to reduce pressure on your palms. Choose a color that ties your whole look together, then secure the ends tightly so they never slip during use. Avoid bulky layers that could make gripping harder or throw off your control. Test the feel by leaning your weight onto the handles a few times before heading out. A comfortable grip matters just as much as a stylish one, and it keeps your hands happy through the long recovery road.
Step 7: Add Final Touches and Safety Checks
Now it is time to review your masterpiece and make sure everything is safe. Gently tug on each ribbon, sticker, and wrap to confirm nothing is loose or hanging where it should not be. Double-check that the rubber feet remain fully uncovered so they keep their firm grip on the floor. Make sure no decoration blocks the height adjustment buttons or covers the handles in a way that feels awkward. Walk a short distance indoors to test balance and comfort before you go out. These final checks protect you while letting your creative work shine every single time you move.
Frequently Asked Questions
What Materials Work Best For Decorating Crutches?
Washi tape, vinyl stickers, satin ribbon, foam grip tape, and acrylic paint pens are all excellent choices. They are affordable, easy to find, and simple to apply. For lasting results, pick waterproof options if you spend time outdoors. Just avoid anything heavy or slippery near the handles and feet, since comfort and safety should always come first before style.
Will Decorations Affect How My Crutches Function?
They should not, as long as you decorate thoughtfully. Keep the rubber feet uncovered so they grip the floor, and avoid blocking the height adjustment buttons. Do not add bulky layers to the handles that could make holding them awkward. When you follow these simple rules, your crutches stay just as safe and steady as they were before, only far more stylish.
Can Kids Safely Decorate Their Own Crutches?
Absolutely, with a little adult supervision. Stickers, tape, and ribbon are perfect for young hands and require no sharp tools. An adult can handle hot glue or spray sealant if those come into play. Involving kids in the project gives them a sense of control during a stressful time, and it often makes using crutches feel a lot less intimidating and more fun.
How Do I Remove Decorations Later Without Damage?
Most decorations peel off cleanly if you go slowly. Warm the adhesive gently with a hairdryer on low, then lift tape or stickers from one corner. Wipe away any sticky residue with a bit of rubbing alcohol on a soft cloth. For painted designs, a nonabrasive cleaner usually does the trick. Taking your time protects the crutch surface for future use or return.
How Long Do Decorated Crutches Usually Last?
That depends on your materials and how often you use them. Waterproof vinyl and sealed paint can hold up for months, while paper stickers may fade or peel within weeks. Handle wraps might need a refresh if they wear thin. Check your design every few days and touch up any loose spots. A quick maintenance habit keeps your crutches looking fresh throughout your entire recovery.
Conclusion
Turning plain mobility aids into a personal statement is easier than you might expect, and it can genuinely brighten a difficult stretch of recovery. From wrapping poles with cheerful tape to adding comfy handle grips and safety checks, each step builds toward crutches that feel uniquely yours. Along the way, you gain comfort, easy identification, and a welcome boost to your mood. Now that you know how to decorate crutches with confidence, you have everything you need to get creative and make the process fun.
So gather your supplies, set aside an hour, and start experimenting with colors and patterns you love. Do not worry about perfection, since the goal is self-expression and a little joy. Try one idea today, share your results with friends, and let your personality shine on every step of your healing journey.

Rick is a handyman who grew up helping his dad with his business. He learned a lot from him about how to fix things, and also about how to work hard and take care of business. These days, Rick is still into fixing things- only now, he’s doing it for a living.
Rick is always looking for new ways to help people grow and develop. That’s why he started contributing to this blog: to share all his experience and knowledge so that he can help people who are interested in DIY repair.