
Adding lights around your garage door is a simple yet effective way to boost your home’s curb appeal and improve its functionality.

Whether you’re decorating for a holiday, preparing for an outdoor gathering, or simply want to add a warm, inviting glow to your property, this project can make a significant impact. It enhances your home’s exterior, provides extra security, and creates a welcoming atmosphere for guests.
This guide on how to hang lights around garage door will walk you through everything you need to know to complete this project safely and successfully.
What are the Benefits?
Installing lights around your garage door offers several advantages that go beyond simple decoration.
- Improved Aesthetics: Lights can highlight your home’s architectural features and add a touch of elegance. This simple upgrade can transform the look of your garage from purely functional to a stylish part of your home’s exterior design.
- Enhanced Safety and Security: A well-lit exterior deters potential intruders and reduces the risk of accidents. Illuminating the area around your garage door makes it easier to navigate driveways and walkways at night, preventing trips and falls.
- Increased Functionality: Having a bright area around your garage is practical. It helps you see clearly when taking out the trash, unlocking doors, or working on outdoor projects after sunset. It also makes your home feel more welcoming when you arrive after dark.
What Will You Need?
Before you begin, gather the following tools and materials to ensure a smooth installation process.
Materials:
- Outdoor-rated string lights (LED recommended for energy efficiency and durability)
- Outdoor-rated light clips or hooks (plastic, metal, or adhesive-backed)
- Outdoor-rated extension cord (if needed)
- Zip ties (optional, for securing loose wires)
Tools:
- Tape measure
- Pencil or marker
- Step ladder or A-frame ladder
- Level (optional, but helpful for straight lines)
- Drill with appropriate bits (if using screw-in hooks)
- Screwdriver
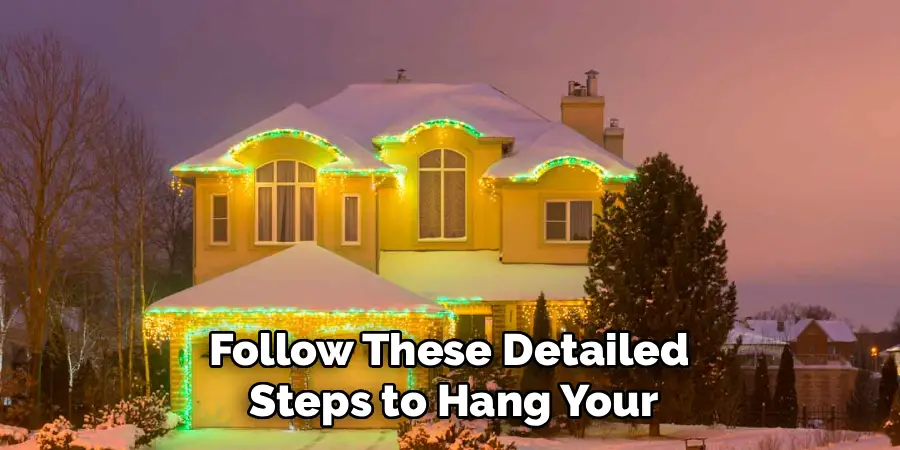
10 Easy Steps on How to Hang Lights Around Garage Door
Follow these detailed steps to hang your lights perfectly. Taking your time with each stage will ensure a professional-looking and secure result.
Step 1: Plan Your Design
Before you climb a ladder, decide on the look you want to achieve. Will you outline the entire door frame, just the top, or create a scalloped design? Consider how the lights will look from the street and how they complement your home’s style. Think about the power source and plan the path of your lights from the outlet to your starting point. This initial planning prevents you from having to make adjustments midway through the project and ensures you have enough lights and clips to complete the job. A simple sketch can help you visualize the outcome and map out the placement of your clips for even spacing.
Step 2: Choose the Right Lights
The most critical choice is the lights themselves. Always use lights specifically rated for outdoor use. Outdoor lights are designed to withstand moisture, temperature changes, and UV exposure. LED lights are an excellent option because they are energy-efficient, long-lasting, and produce very little heat, making them safer to use near materials like wood or vinyl. Consider the bulb size, shape, and color. Larger C7 or C9 bulbs create a bold, classic look perfect for holidays, while smaller mini-lights offer a more subtle, year-round glow. Also, check the length of the light string to ensure it’s long enough to cover the area you planned.
Step 3: Measure the Garage Door Frame
Use a tape measure to determine the total length you need to cover. Measure the top and both sides of the garage door frame where you intend to hang the lights. Add these measurements together to get the total length required. It’s always a good idea to buy a light string that is slightly longer than your measurement to account for any slack or unexpected turns. Knowing the exact dimensions also helps you figure out how many clips you’ll need and how far apart to space them for a balanced look.
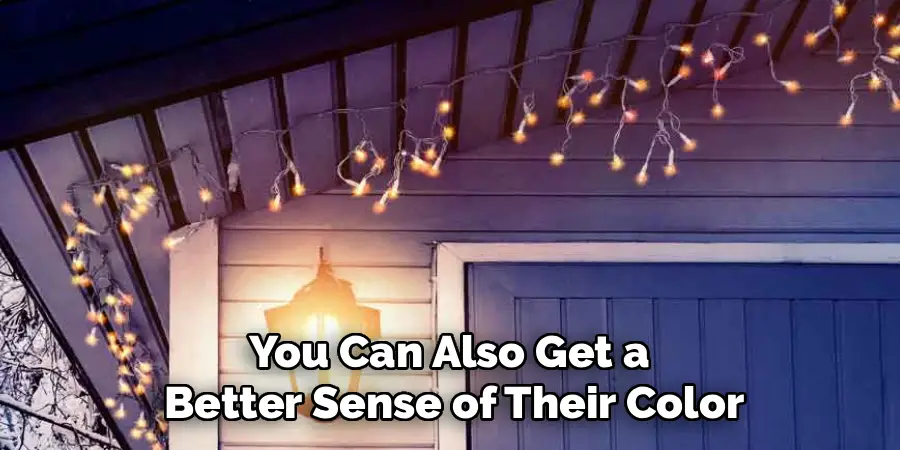
Step 4: Test Your Lights
This is a simple but crucial step that can save you a lot of frustration. Before you start hanging them, plug in your string lights to ensure every bulb is working. It’s much easier to replace a faulty bulb or an entire string while you are still on the ground than it is when you’re perched on a ladder. While they are lit, you can also get a better sense of their color and brightness, confirming they are the right choice for your home.
Step 5: Clean the Surface
For your light clips to adhere properly, the surface of your garage door frame must be clean and dry. Use a cloth with some mild soap and water or a general-purpose cleaner to wipe down the trim. Remove any dirt, dust, cobwebs, or grime. If you’re using adhesive clips, this step is non-negotiable, as a dirty surface will prevent them from sticking securely. Allow the area to dry completely before you proceed to the next step. A clean surface ensures a strong, lasting bond.
Step 6: Mark Clip Placement
Once you know your design and have a clean surface, it’s time to mark where your clips will go. Use your tape measure and a pencil to make small, light marks along the frame. Aim for a spacing of about 12 to 18 inches between clips for a standard, straight-line installation. Consistent spacing is key to a neat and professional appearance. Using a level can help ensure your clips are perfectly aligned, especially across the top of the door frame. This methodical approach prevents sagging and keeps your lights looking tidy.
Step 7: Install the Light Clips
Now, attach your clips to the marked spots. The type of clip you use will determine the installation method.
- Adhesive Clips: Peel the backing off and press the clip firmly onto the surface for about 30 seconds. These are great for vinyl or metal frames where you don’t want to drill holes.
- Screw-in Hooks: Use a drill to create a small pilot hole, then screw the hook in by hand or with a screwdriver. These offer the most secure hold and are ideal for wood frames.
- Plastic Gutter or Siding Clips: These often slide or snap into place along gutters or siding edges without any tools.
Start at one end and work your way around the frame, installing all the clips before you begin hanging the lights.
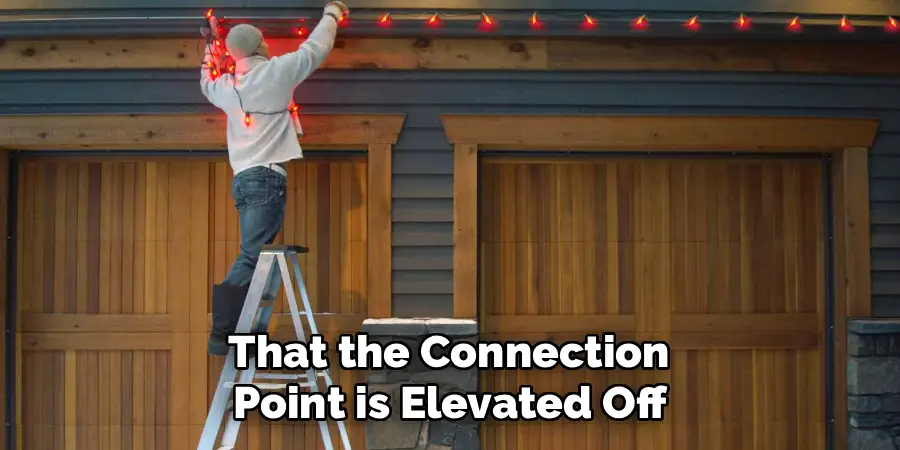
Step 8: Hang the Lights
With your clips in place, start hanging the lights. Begin near your power source to ensure the plug can reach the outlet. Gently place the wire of the light string into each clip, making sure it’s secure. Don’t pull the string too tight; a little slack allows for expansion and contraction with temperature changes and prevents strain on the wire and bulbs. Work your way around the garage door frame, following the path you planned. Take your time to ensure the lights are not twisted and that the bulbs are facing the desired direction.
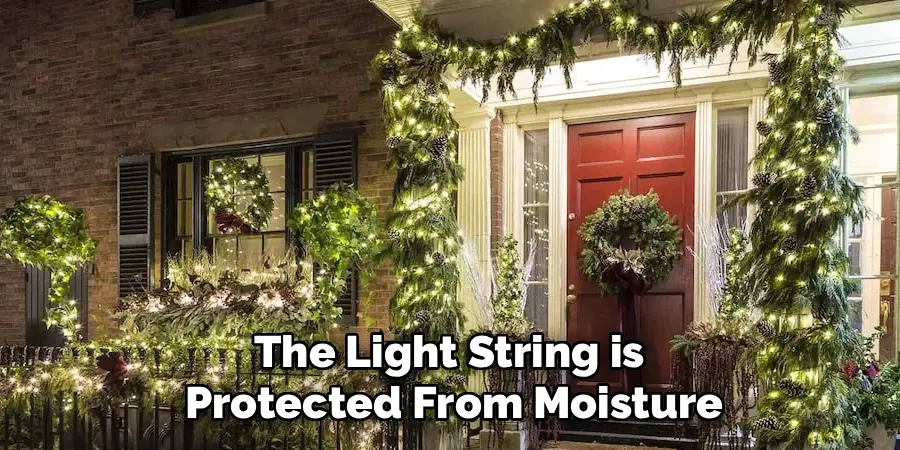
Step 9: Secure the Wires
After the lights are hung, you may have some loose wires or extra length to manage. Use zip ties or additional clips to neatly secure any dangling cords to the light string or frame. This not only looks tidier but also prevents the wires from becoming a tripping hazard or getting caught in the garage door mechanism. If you used an extension cord, ensure the connection point between it and the light string is protected from moisture. You can use electrical tape or a specially designed outdoor cord protector for this.
Step 10: Plug In and Admire Your Work
This is the final and most rewarding step. Plug your lights into an outdoor-rated outlet. If possible, connect them to a timer or a smart plug so they turn on and off automatically. Step back and admire your handiwork. Check the lights from different angles, including from the street, to ensure they look just as you envisioned. Make any minor adjustments to the bulbs or wires to perfect the final look.
5 Things You Should Avoid
- Using Indoor Lights Outdoors: Never use lights rated for indoor use outside. They are not built to handle moisture or extreme temperatures and can pose a serious fire or electrical hazard.
- Attaching Lights to the Garage Door Itself: Avoid attaching lights directly to the moving parts of the garage door. The movement can damage the wires, dislodge the bulbs, and interfere with the door’s operation. Always affix lights to the stationary frame.
- Using Nails or Staples: Do not use nails or staples to hang your lights. These can easily puncture the wire’s insulation, creating an electrical short and a potential fire risk. Always use proper clips or hooks designed for hanging lights.
- Overloading Outlets: Be mindful of how many light strings you connect to a single outlet or extension cord. Overloading a circuit can cause it to trip or, in worst cases, overheat and cause a fire. Check the power limits on your lights and extension cords.
- Ignoring the Power Source: Don’t leave connections exposed to the elements. Ensure your extension cord is outdoor-rated and that the connection point is elevated off the ground and protected from rain and snow.
Conclusion
Hanging lights around your garage door is a straightforward project that delivers a big reward. With careful planning, the right materials, and a bit of patience, you can enhance your home’s beauty, safety, and functionality.
This simple upgrade adds a warm and inviting glow that you and your neighbors will appreciate. Now that you know the steps, it’s time to get started and light up your home.
Hopefully, this guide on how to hang lights around garage door has provided you with the necessary information and inspiration to tackle this project successfully.
About
Angela is the chief editor of Indoorense. She began her career as an interior designer before applying her strategic and creative passion to lifestyle and home.
She has close to 15 years of experience in creative writing and online content strategy for housekeeping and cleaning,home decorations as well as other efforts.
She loves her job and has the privilege of working with an extraordinary team. She lives with her husband, two sons, and daughter in Petersburg. When she’s not busy working she spent time with her family.