
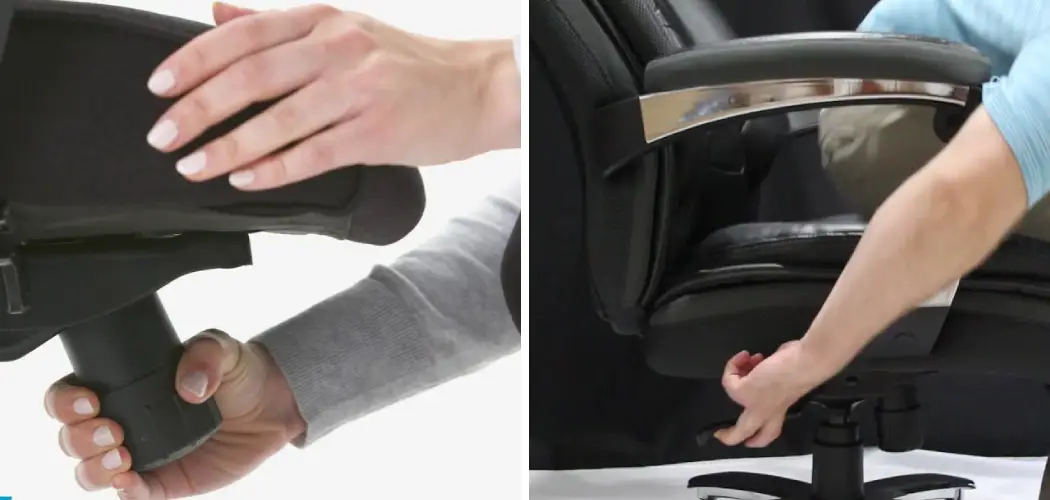
That sinking feeling when your office chair sits too low, but the height lever is broken, stuck, or missing entirely? You’re not stuck with a chair that wrecks your posture. Plenty of people face this exact problem, especially with older chairs or budget models where the pneumatic lever gives out over time.
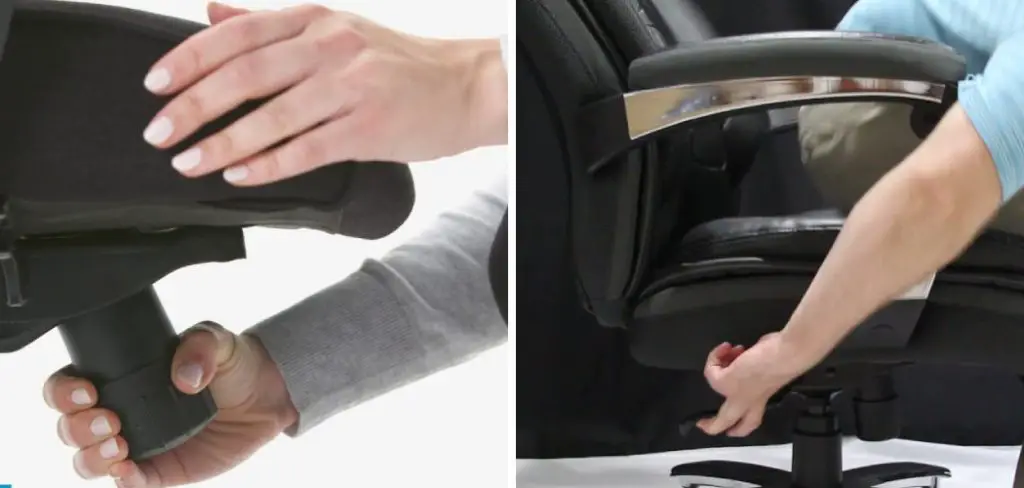
The great news is that learning how to adjust office chair height without lever is simpler than you might think, and you don’t need fancy tools or repair skills to do it. Whether your lever snapped off, the gas cylinder failed, or you just want a fixed, stable height that won’t sink mid-task, there’s a method that fits your situation. This guide breaks everything down into clear, beginner-friendly steps you can follow at your own pace. We’ll explain why getting your chair height right actually matters for your comfort and health, walk through each fix in plain language, and answer the questions people ask most. Grab your chair, set aside a little time, and let’s get you sitting comfortably again.
Why Adjusting Office Chair Height Without a Lever Matters
Sitting at the wrong height for hours quietly drains your comfort and your focus. When your chair sits too low, you hunch forward and strain your neck, shoulders, and lower back. Too high, and your feet dangle while pressure builds under your thighs. Getting the height right keeps your feet flat, your knees at a comfortable angle, and your wrists level with your desk, which supports better posture and fewer aches.
There’s also the practical side. Replacing a whole chair costs money you may not want to spend, especially when a quick adjustment solves the problem. Fixing the height yourself empowers you to keep a chair you already like, reduces strain-related errors during long work sessions, and gives you a stable, reliable setup that won’t sink unexpectedly while you’re concentrating.
Step-by-Step Guide to How To Adjust Office Chair Height Without Lever
Step 1: Inspect Your Chair and Identify the Problem
Before reaching for any tools, take a close look at what’s actually going on. Flip your chair over or crouch beside it and examine the lever, the gas cylinder, and the base. Sometimes the lever isn’t broken at all, just loose, jammed with dust, or disconnected from the mechanism inside.
Knowing how to adjust office chair height without lever starts with understanding why the lever stopped working. Press and wiggle it gently to see if it responds. Check whether the cylinder feels stuck or whether the chair sinks the moment you sit. This quick diagnosis tells you which method below fits your situation, saving you time and helping you avoid fixes that won’t solve your specific problem.

Step 2: Gather the Right Tools and Materials
A little preparation makes the whole process smoother. Most fixes here need only basic household items, so you likely already own everything required. Set out a pipe wrench or large adjustable wrench, a hose clamp or jubilee clip, a measuring tape, and a rubber mallet or sturdy block of wood for tapping parts into place.
You may also want some duct tape, a PVC pipe cut to size, and a pair of gloves to protect your hands. Having everything within reach means you won’t have to stop halfway through. Lay your materials on a clean, flat surface near your workspace, and clear enough room around the chair so you can move freely while you work.
Step 3: Set the Chair to Your Ideal Height Manually
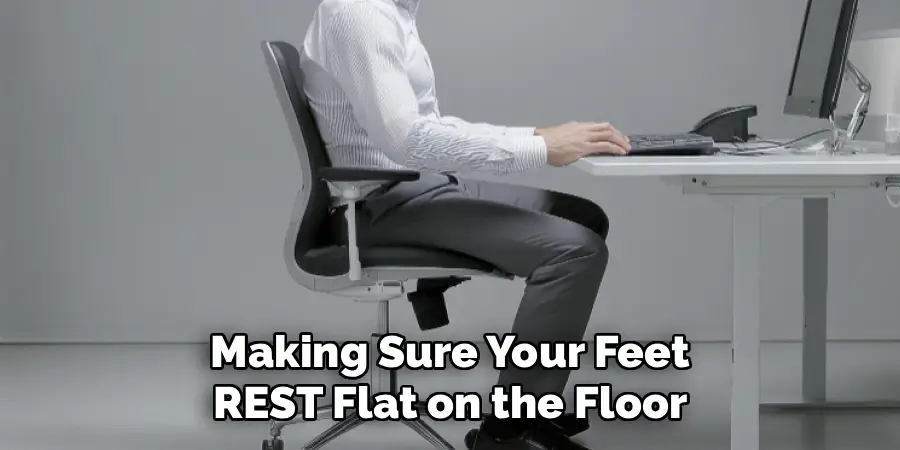
With the chair empty, push the seat down or pull it up to the position you want. If the gas cylinder still moves freely, this is easy. Sit down briefly to test the height, making sure your feet rest flat on the floor and your thighs stay roughly parallel to the ground.
Measure the distance from the floor to the top of the seat once you find the sweet spot, then write it down. This measurement becomes your target. Locking the chair at a precise, comfortable height matters because the methods that follow hold the seat in a fixed position. Taking a moment to get this right now prevents frustrating do-overs later in the process.
Step 4: Use a Hose Clamp to Lock the Height
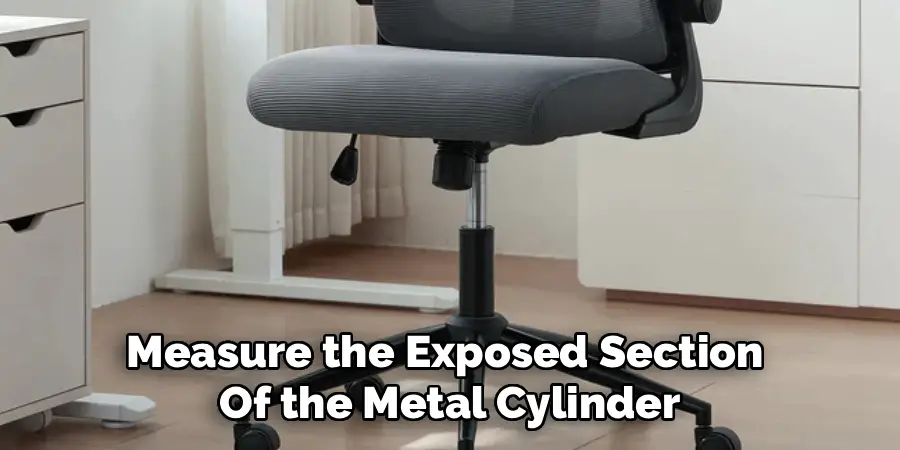
The hose clamp method is a favorite because it’s cheap, reliable, and reversible. First, lower or raise the seat to your measured height. Then wrap a metal hose clamp around the exposed metal cylinder, positioning it right below the plastic skirt or telescoping cover that hides the gas piston.
Tighten the clamp firmly with a screwdriver until it grips the cylinder hard enough not to slip. The clamp acts as a physical stop, preventing the seat from sinking below that point. For extra grip and to stop slipping, wrap a strip of rubber from an old bike tube around the cylinder first, then secure the clamp over it. Test by sitting down slowly to confirm it holds.
Step 5: Try the PVC Pipe Spacer Method
When you want a sturdier, longer-lasting fix, a PVC pipe spacer works wonderfully. Measure the exposed section of the metal cylinder when the seat sits at your chosen height. Cut a length of PVC pipe to match that measurement, choosing a pipe diameter slightly wider than the cylinder so it slides over easily.
Slice the pipe lengthwise down one side so you can snap it around the cylinder rather than threading it from the end. Once it’s clipped in place, it fills the gap and stops the seat from dropping. This method holds plenty of weight and looks tidier than a clamp. You can stack shorter pieces if you need to fine-tune the height bit by bit.
Step 6: Reset or Replace a Stuck Gas Cylinder
If the cylinder itself is the culprit and refuses to budge, you can sometimes reset it. Turn the chair upside down, locate the small pin at the top of the cylinder, and press it firmly with pliers while applying gentle pressure to the seat. This occasionally frees a jammed mechanism and restores movement.
When resetting fails, replacing the gas cylinder is the most permanent answer. Replacement cylinders are inexpensive and widely available online. Pop off the old one using a rubber mallet and a pipe wrench to twist it loose, then tap the new cylinder into place. This route fully restores normal function, so you may never need a workaround again.
Step 7: Test, Adjust, and Add Stability
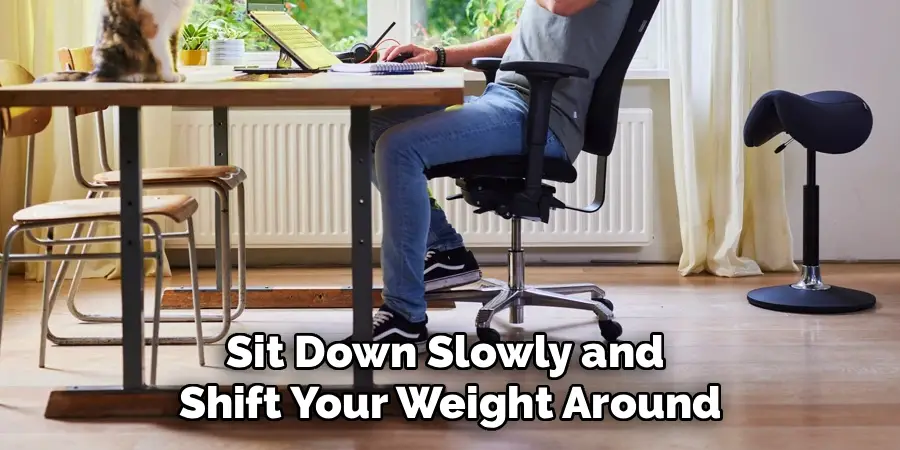
Once your chosen method is in place, the final step is making sure everything feels solid and safe. Sit down slowly and shift your weight around, checking that the seat holds firm without sinking, wobbling, or tilting. Lean back gently and roll the chair a little to confirm the fix stays put during normal movement.
If something slips, tighten the clamp further, add another pipe spacer, or reposition your materials until the height stays locked. Take a moment to recheck your posture too, confirming your feet rest flat and your eyes meet the top of your screen. Small tweaks now lead to lasting comfort, leaving you with a stable chair ready for hours of pain-free work.
Frequently Asked Questions
Why Did My Office Chair Stop Holding Its Height?
Most chairs lose height because the pneumatic gas cylinder fails over time. The seal inside wears out, letting the gas escape, which causes that frustrating slow sink whenever you sit. Heavy daily use, age, and weight load all speed up this wear. The good news is that the cylinder is a separate, replaceable part, so you can fix it without buying an entirely new chair.
Is the Hose Clamp Method Safe for Heavy Users?
Yes, when done properly. A quality metal hose clamp tightened firmly around the cylinder creates a strong physical stop that holds significant weight. For added security, place a rubber strip beneath the clamp to prevent slipping, or combine the clamp with a PVC spacer. Always test the chair by sitting down slowly first, and retighten the clamp periodically since regular use can loosen it over months.
Can I Make the Chair Higher Without Replacing Parts?
Absolutely. To raise the seat, you can add a longer PVC pipe spacer around the cylinder, slide a chair foot extender onto each wheel, or place a firm cushion on the seat for a few extra inches. A footrest also helps if the seat ends up slightly higher than ideal. These quick fixes cost little and need no permanent changes to your chair.
How Long Will These Fixes Actually Last?
It depends on the method and how much you use the chair. A PVC pipe spacer tends to last the longest since it’s rigid and holds steady under constant weight. Hose clamps work well too but may need occasional retightening. Replacing the gas cylinder is the most permanent solution, often lasting years. For a temporary fix, any of these methods will comfortably get you through busy work periods.
Do I Need Special Tools for These Repairs?
Not at all. Most methods rely on simple, affordable items you probably already own, like a screwdriver, an adjustable wrench, a measuring tape, and a rubber mallet. The materials, such as a hose clamp or a length of PVC pipe, cost just a few dollars at any hardware store. This makes the whole project budget-friendly and accessible, even if you’ve never tackled a repair before.
Conclusion
Fixing a chair that won’t stay up no longer feels like a mystery once you break it into clear, manageable steps. Start by inspecting the problem, gather a few cheap tools, and set your seat to a comfortable height before locking it with a hose clamp or PVC spacer. If the cylinder is the real issue, resetting or replacing it gives you a permanent fix. Each method puts you back in control of your comfort without the cost of a brand-new chair.
Now that you understand how to adjust office chair height without lever, you have everything you need to create a stable, supportive setup that protects your posture through long days at the desk. Pick the method that matches your situation, set aside a few minutes, and give it a try today. Your back, your focus, and your wallet will all thank you for taking the time to get it right.

Rick is a handyman who grew up helping his dad with his business. He learned a lot from him about how to fix things, and also about how to work hard and take care of business. These days, Rick is still into fixing things- only now, he’s doing it for a living.
Rick is always looking for new ways to help people grow and develop. That’s why he started contributing to this blog: to share all his experience and knowledge so that he can help people who are interested in DIY repair.