
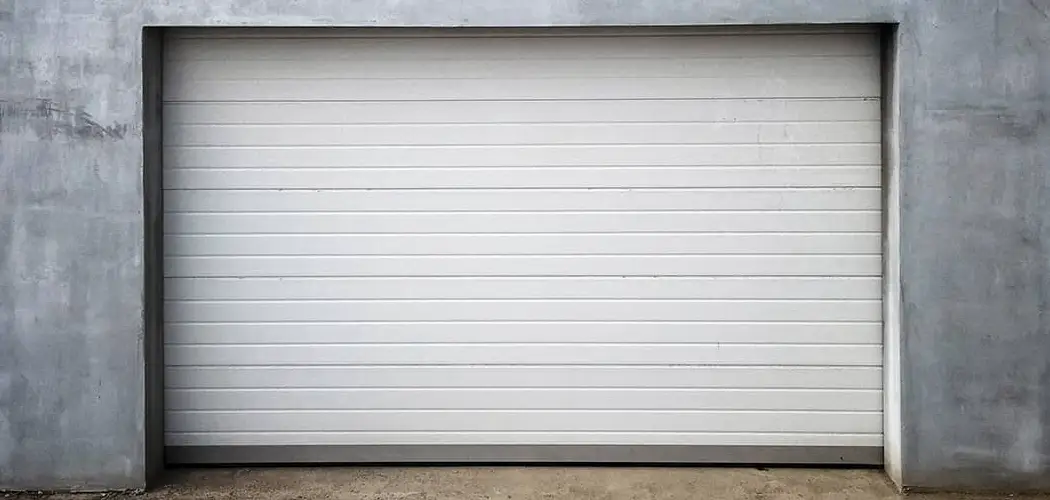
A noisy garage door is more than just an annoyance. That grating, squeaking, or rumbling sound can be a sign of underlying issues that could lead to bigger, more expensive problems down the road. Ignoring it won’t make it go away.
Taking the time to address the noise not only restores quiet to your home but also ensures your garage door operates safely and efficiently.
This guide on how to fix a noisy garage door will walk you through everything you need to know to silence that racket and get your door running smoothly again.
What Will You Need?
Before you begin, gather the following tools and materials to make the process smooth and efficient:
- Sturdy ladder or step stool
- Safety glasses and gloves
- Wrench set or adjustable wrench
- Screwdriver set (Phillips and flathead)
- Cleaning rags or cloths
- Household cleaner or degreaser
- Garage door lubricant (lithium or silicone-based spray)
- Level
- Pliers
- Flashlight
10 Easy Steps on How to Fix a Noisy Garage Door
Step 1: Unplug the Opener and Do a Visual Inspection
Before you begin any work, safety is your top priority. Start by disconnecting your automatic garage door opener from its power source. This crucial step prevents the door from activating unexpectedly while you are working on it. Once the opener is unplugged, close the garage door completely. Grab a flashlight and conduct a thorough visual inspection of the entire system. Carefully look over the tracks, rollers, hinges, cables, and springs. Search for obvious issues like loose bolts, bent or damaged track sections, frayed-looking lift cables, or any debris that might be caught in the tracks. This initial check often reveals the most apparent culprits behind the noise and gives you a clear starting point.

Step 2: Clean the Garage Door Tracks
Over months and years of use, garage door tracks become a collection point for dirt, dust, cobwebs, and hardened grease. This buildup creates friction and obstruction, forcing the rollers to scrape and clatter their way along the path instead of gliding smoothly. To fix this, take a sturdy cloth and a bucket of household cleaner or a specialized degreaser. Thoroughly wipe down the inside and outside surfaces of both metal tracks, from bottom to top. An old toothbrush can be useful for scrubbing out stubborn grime in tight spots. Removing all this gunk ensures the rollers have a clean, unobstructed path, which can dramatically reduce scraping and rumbling noises.
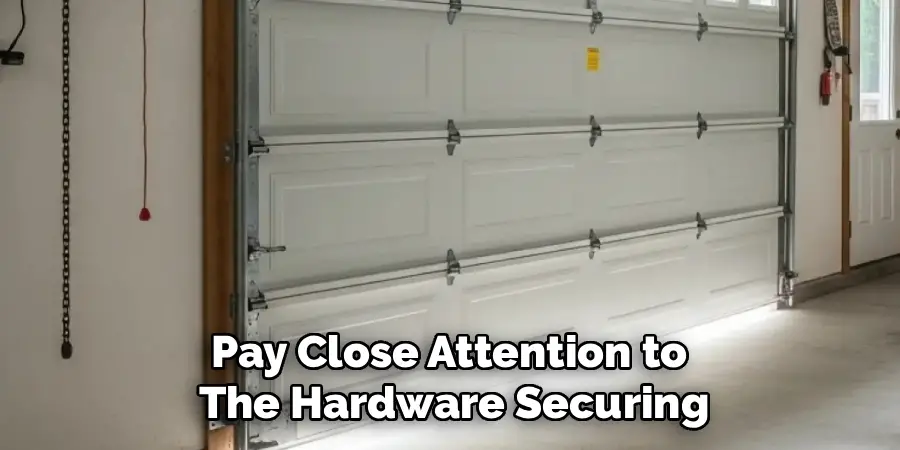
Step 3: Check and Tighten All Nuts and Bolts
The constant vibration from opening and closing the garage door every day can gradually loosen nuts, bolts, and screws. This is a very common source of rattling and shaking sounds. Using a socket or adjustable wrench and a screwdriver, go over every piece of hardware in your garage door system. Methodically check and tighten the bolts on all the door hinges and the brackets that fasten the track system to the wall and ceiling. Pay close attention to the hardware securing the opener unit itself. You want everything to be snug, but be careful not to overtighten, as this can strip screws or even bend the brackets.
Step 4: Inspect the Rollers for Wear and Damage
The rollers are the wheels that guide your door along the tracks, and they are essential for quiet, smooth movement. Examine each roller closely. Look for signs of wear such as cracks, chips, or a wobbly, loose fit. Worn-out or broken rollers can’t spin freely, causing them to drag and grind against the track. Steel rollers are common but tend to be noisier. If your rollers are showing significant wear, consider replacing them. Upgrading to nylon rollers is an excellent choice, as they contain sealed ball bearings and offer significantly quieter operation than their metal counterparts.
Step 5: Lubricate All Moving Metal Parts
Metal-on-metal contact is the primary cause of squeaking, squealing, and grinding. Proper lubrication is the answer. Use a high-quality, specialized garage door lubricant, such as a white lithium grease or silicone-based spray. Methodically apply the lubricant to all moving metal parts. This includes the pivot points on every hinge, the stems of the rollers (if they are metal), and the lock mechanism. As you spray, operate the door manually a few inches up and down to help work the lubricant into the joints. This simple step is often one of the most effective at silencing a noisy door.
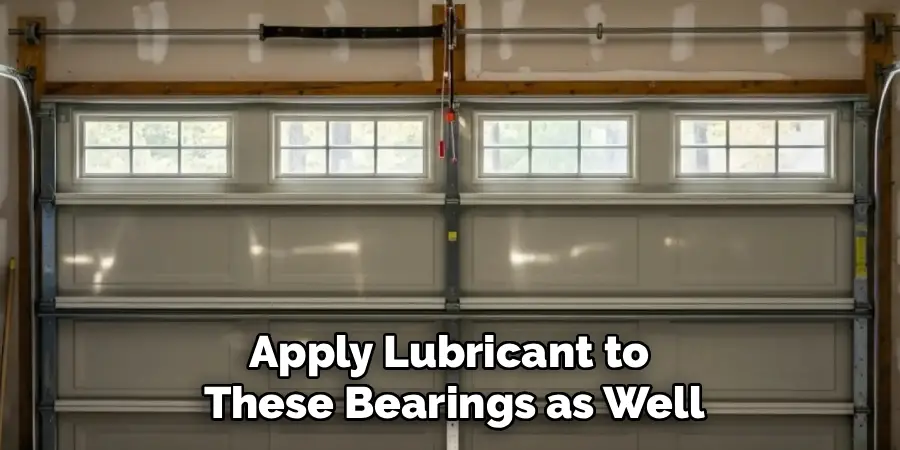
Step 6: Lubricate the Torsion Springs and Bearing Plates
The large spring (or springs) located above the garage door, known as the torsion spring, does the heavy lifting. As it coils and uncoils, it can produce loud groaning or screeching sounds. With the garage door in the closed position, apply a light coat of your garage door lubricant across the entire surface of the spring. This reduces friction between the coils. At each end of the bar that holds the spring, you will find a bearing plate. Apply lubricant to these bearings as well, as they can also be a source of high-pitched squeaking.
Step 7: Check Track Alignment
If the tracks are not perfectly aligned, they can cause the door to bind or rub, creating loud scraping or banging noises. Use a level to check that the vertical sections of the tracks are perfectly plumb (straight up and down). Also, ensure the horizontal tracks have a slight slope running away from the door opening. You can make minor adjustments by loosening the bolts on the track brackets, gently tapping the track into the correct position with a rubber mallet, and then securely re-tightening the bolts. The tracks should be parallel to each other and have a consistent gap with the door itself.
Step 8: Examine the Lift Cables for Fraying
The steel lift cables located on either side of the door are under extreme tension and do the critical job of lifting the door’s weight. Inspect the entire length of both cables for any signs of damage, such as broken strands, rust, or fraying. A damaged cable is a serious safety risk and can make a snapping or clicking noise as the door moves. If you spot any damage, do not use the door. This is not a DIY repair. Due to the high tension, replacing lift cables should only be handled by a qualified garage door professional.
Step 9: Test the Door Balance
After cleaning, tightening, and lubricating, it’s time to test the door’s balance. Pull the red emergency release cord on the opener to disconnect the door. Now, lift the door by hand. It should move up and down smoothly and require minimal effort. A well-balanced door should stay in place if you let it go when it is halfway open. If the door feels very heavy, is difficult to lift, or slams shut when you let it go, the springs are likely out of balance. Spring adjustment is another dangerous task that should always be left to a professional.
Step 10: Re-engage and Test the Opener
Once you’ve confirmed the door moves smoothly by hand, it’s time to test the full system. Re-engage the opener by pulling the emergency release cord again. Plug the opener back into the power outlet. Now, use your remote or wall button to open and close the door several times. Listen closely. The combination of your maintenance efforts should have resolved the majority of the noises. If you still hear a grinding or clunking sound coming directly from the opener unit itself, the issue may lie within its internal gears or drive chain, which may require professional servicing.

5 Things You Should Avoid
- Using the Wrong Lubricant: Avoid using lubricants like WD-40 on garage door parts. It’s a degreaser, not a long-term lubricant, and can strip away existing grease, making the problem worse over time.
- Lubricating the Tracks: Never apply grease or lubricant inside the garage door tracks. This will not help the door run smoothly and will only attract dirt and debris, creating a gummy mess.
- Adjusting Torsion Springs: Do not attempt to adjust or replace the torsion springs yourself. They are under extreme tension and can cause serious injury or death if handled improperly. Always call a professional for spring-related work.
- Ignoring Damaged Cables: Frayed or damaged lift cables are a critical safety issue. Continuing to operate a door with bad cables can lead to a sudden and dangerous failure.
- Overtightening Hardware: While you want hardware to be snug, overtightening bolts and screws can strip the threads or even warp the brackets, creating new problems. Tighten until firm, but don’t use excessive force.
Conclusion
A noisy garage door is a clear signal that it’s time for some attention.
By following these steps on how to fix a noisy garage door, you can perform essential maintenance that not only silences annoying sounds but also enhances the safety and longevity of your entire system. Taking a proactive approach to cleaning, tightening, and lubricating your garage door is a simple and effective way to ensure it runs smoothly for years to come.
If you’ve completed these checks and still face issues, or if you encounter problems with springs or cables, don’t hesitate to contact a qualified professional.
About
Angela is the chief editor of Indoorense. She began her career as an interior designer before applying her strategic and creative passion to lifestyle and home.
She has close to 15 years of experience in creative writing and online content strategy for housekeeping and cleaning,home decorations as well as other efforts.
She loves her job and has the privilege of working with an extraordinary team. She lives with her husband, two sons, and daughter in Petersburg. When she’s not busy working she spent time with her family.