

That coffee ring on your sofa or the mystery mark on your favorite armchair can feel impossible to deal with, especially once it has had weeks or months to settle in. Old stains are trickier than fresh spills because they’ve had time to bond deep into the fabric fibers. The good news is that you don’t need a professional cleaner or expensive equipment to win this battle.
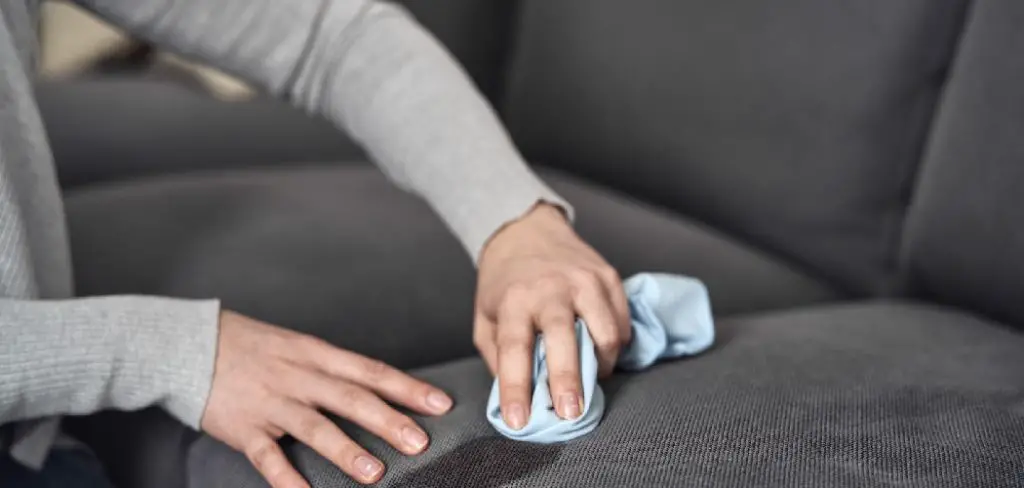
Learning how to remove old stains from upholstery is a beginner-friendly skill that anyone can master with a little patience and the right approach. In this guide, we’ll walk you through each step in plain language, so you feel confident no matter your experience level. You’ll discover which household items work best, how to avoid damaging your fabric, and the simple techniques that lift even stubborn marks. By the end, you’ll have a clear, practical plan to refresh your furniture and bring it back to looking its best. Let’s roll up our sleeves and get started.
Why Removing Old Stains From Upholstery Matters
Tackling those set-in marks does more than improve how your furniture looks. Old stains can trap odors, attract dust, and even weaken fabric fibers over time, shortening the life of pieces you’ve invested in. Cleaning them keeps your sofa or chairs hygienic, which matters most in homes with kids, pets, or allergy concerns. There’s a financial upside too. Restoring what you already own saves you from replacing furniture before its time, and that’s a real win for your budget. A clean, fresh-looking space also feels more inviting and comfortable to relax in. Best of all, the skills you build here transfer to rugs, car seats, and other fabrics around your home. With a little know-how, you protect your investment, improve your living space, and gain confidence to handle future spills the moment they happen.
Step-by-Step Guide to How To Remove Old Stains From Upholstery
Step 1: Identify the Fabric and Stain Type
Before you reach for any cleaner, take a moment to understand what you’re working with. Check the care label, usually tucked under a cushion or along a seam. You’ll often see a letter code: “W” means water-based cleaners are safe, “S” calls for solvent-only products, “WS” allows both, and “X” means vacuum only.
Next, figure out what caused the stain if you can. Grease, wine, ink, and pet accidents each respond to different treatments. Knowing both your fabric and the stain type helps you choose the safest, most effective method. This quick bit of detective work prevents accidental damage and sets you up for success right from the start.

Step 2: Vacuum and Prep the Area
Once you know your fabric, prepare the surface before any liquid touches it. Grab your vacuum with an upholstery attachment and gently go over the stained area and surrounding fabric. This lifts loose dirt, crumbs, and dust that could turn into a muddy mess once you add cleaning solution.
After vacuuming, place an old towel or two underneath the cushion or behind the fabric if possible. This protects the frame and padding from moisture and catches any cleaner that soaks through. Working with a clean, prepped surface makes a noticeable difference in your results. Skipping this step often grinds grime deeper into the fibers, so take these few extra minutes to set yourself up properly.
Step 3: Test Your Cleaning Solution First
This step protects your furniture from unexpected surprises, so never skip it. Whether you’re using a store-bought product or a homemade mix, always test it on a hidden spot first. Try the back of the piece, an inside seam, or an area normally covered by a cushion.
Apply a small amount, wait about ten minutes, then check for any color change, fading, or texture issues. If the fabric looks fine, you’re good to move forward with confidence. If you notice problems, switch to a gentler option. Knowing how to remove old stains from upholstery safely means respecting your fabric’s limits. This simple precaution saves you from turning a small stain into a much bigger, permanent problem.

Step 4: Apply a Gentle Cleaning Solution
Now you’re ready to treat the stain directly. For water-safe fabrics, mix a teaspoon of mild dish soap with a cup of warm water, or try a paste of baking soda and water for tougher marks. White vinegar diluted with water also works wonders on many old stains. For solvent-only fabrics, stick to a dry-cleaning product made for upholstery.
Dampen a clean white cloth with your chosen solution rather than pouring it straight onto the fabric. Too much liquid can soak the padding and lead to mildew. Apply the solution gently, starting from the outer edge of the stain and working inward. This keeps the mark from spreading wider as you clean.
Step 5: Blot, Don’t Rub the Stain
Here’s where patience truly pays off. Always blot the stain instead of scrubbing it. Rubbing pushes the stain deeper into the fibers and can damage the fabric’s texture, leaving a worn or fuzzy patch behind. Blotting, on the other hand, gently lifts the stain up and out.
Press a clean section of your cloth onto the stain, hold for a few seconds, then lift. Repeat with fresh, clean parts of the cloth as the stain transfers. You’ll see the mark gradually fade with each pass. For really stubborn spots, reapply your solution and keep blotting patiently. Resist the temptation to rush. Slow, steady blotting almost always delivers better, longer-lasting results than aggressive scrubbing ever could.

Step 6: Rinse and Remove Residue
Leftover cleaning solution can attract more dirt later, so rinsing matters more than people realize. Once the stain has lifted, dampen a fresh cloth with plain cool water and blot the treated area to remove any soapy residue. Work gently, using the same blotting motion you used before.
Knowing how to remove old stains from upholstery completely means clearing away every trace of cleaner, not just the visible mark. Continue blotting with the damp cloth until no suds remain, then press a dry towel firmly over the spot to absorb excess moisture. This step prevents that stiff, crunchy feeling fabric sometimes gets after cleaning and keeps your upholstery feeling soft and looking fresh once it dries.
Step 7: Dry and Inspect the Results
The final step ties everything together. Let the treated area air dry completely before sitting on or using the furniture again. Speed things up by opening windows, running a fan, or using a dehumidifier to keep moisture moving. Avoid direct heat like a hairdryer on high, since intense heat can set any remaining stain permanently.
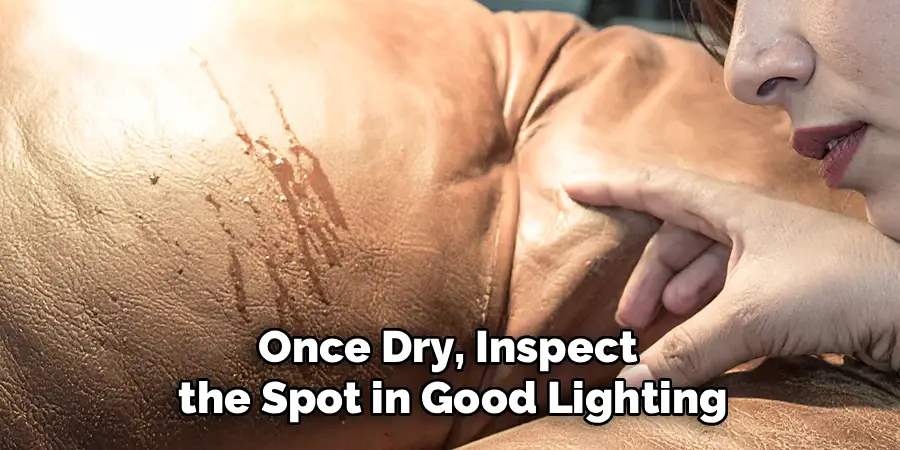
Once dry, inspect the spot in good lighting. If a faint mark lingers, simply repeat the treatment, as old stains sometimes need two or three rounds to fully disappear. When everything looks clean, give the area a light vacuum or brush to restore the fabric’s texture. Step back and enjoy your refreshed, stain-free furniture.
Frequently Asked Questions
Can Old Stains Really Be Removed Completely?
In many cases, yes. While set-in stains are tougher than fresh ones, patience and the right method can lift most of them entirely. Success depends on the fabric type, the stain’s source, and how long it has been there. Some marks need two or three gentle treatments to fully fade. For very old or delicate fabrics, professional help may give you the best possible result.
What Household Items Work Best on Stubborn Marks?
Several everyday items work surprisingly well. Mild dish soap mixed with warm water handles most general stains, while white vinegar cuts through grease and odors. Baking soda lifts moisture and neutralizes smells, and hydrogen peroxide can tackle tougher marks on light-colored fabrics. Always test any solution on a hidden area first. These affordable, accessible options often work just as effectively as pricey commercial cleaners for everyday situations.
How Do I Avoid Damaging My Upholstery?
Start by checking the care label and matching your cleaner to the fabric type. Always test your solution on a hidden spot before treating the visible stain. Use minimal liquid to avoid soaking the padding, and blot gently instead of rubbing. Avoid harsh chemicals like bleach unless the label specifically allows them. Taking these simple precautions protects your fabric and keeps your furniture looking its best.
Is It Safe to Use a Steam Cleaner?
Steam cleaners work well on many water-safe fabrics, but they aren’t right for every piece. Check your care label first, since fabrics marked “S” or “X” can be damaged by moisture and heat. For approved fabrics, steam can loosen deep stains effectively. If you’re unsure, test a small hidden area or stick with gentler hand-cleaning methods to stay on the safe side.
When Should I Call a Professional Cleaner?
Most everyday stains are manageable at home with patience and the right approach. Consider calling a professional for antique furniture, delicate fabrics like silk, very large or set-in stains, or pieces with stubborn odors that won’t budge. Professionals have specialized equipment and products for tricky situations. For valuable or sentimental items, expert help is often worth the cost and gives you peace of mind.
Conclusion
Bringing tired, stained furniture back to life is far more achievable than it first appears. The secret lies in working in the right order: identify your fabric, prep the surface, test your solution, apply it gently, blot patiently, rinse thoroughly, and dry completely. Each step builds on the last, turning an intimidating mark into a manageable, satisfying project. Remember that old stains often need a few rounds of treatment, so patience is truly your greatest tool here. Now that you understand how to remove old stains from upholstery from start to finish, you have everything you need to refresh your furniture with confidence. Gather a few simple supplies, set aside a little time, and give your sofa or chairs the care they deserve. You’ll save money, extend the life of pieces you love, and build a handy skill you’ll use again and again. Pick a stain and get started today.

Rick is a handyman who grew up helping his dad with his business. He learned a lot from him about how to fix things, and also about how to work hard and take care of business. These days, Rick is still into fixing things- only now, he’s doing it for a living.
Rick is always looking for new ways to help people grow and develop. That’s why he started contributing to this blog: to share all his experience and knowledge so that he can help people who are interested in DIY repair.