
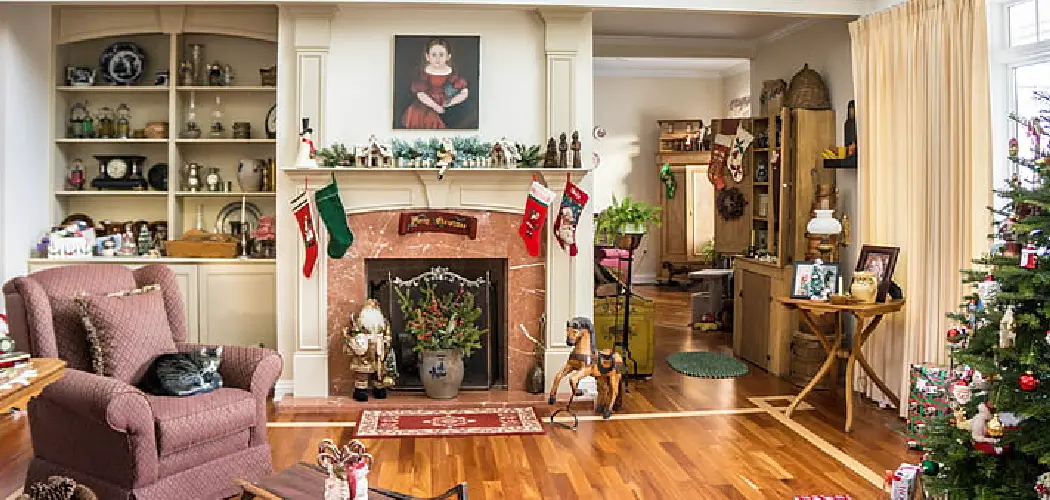
A hutch is one of the most versatile pieces of furniture in any home, and it turns into a stunning display space during the holidays. With its open shelves, glass doors, and flat top, it gives you the perfect canvas to show off your festive spirit. If you have ever wondered how to decorate a hutch for christmas without feeling overwhelmed, you are in the right spot. This friendly guide breaks the whole project into clear, doable steps that work for beginners and seasoned decorators alike.
You do not need a designer’s eye or a big budget to create something magical. With a few thoughtful choices and items you likely already own, you can transform a plain hutch into a warm holiday centerpiece. We will walk through everything together, from clearing the clutter to adding the final glow of twinkling lights. By the end, you will feel confident styling your hutch in a way that fits your space, your taste, and your celebration perfectly.
Why Decorating A Hutch For Christmas Matters
Your hutch sits at eye level and often anchors a dining room or kitchen, which makes it a natural focal point during gatherings. Styling it for the season instantly lifts the mood of the whole room and gives guests something delightful to admire. Unlike a tree that takes up floor space, a hutch uses vertical shelving you already have, so you get maximum impact with minimal effort.
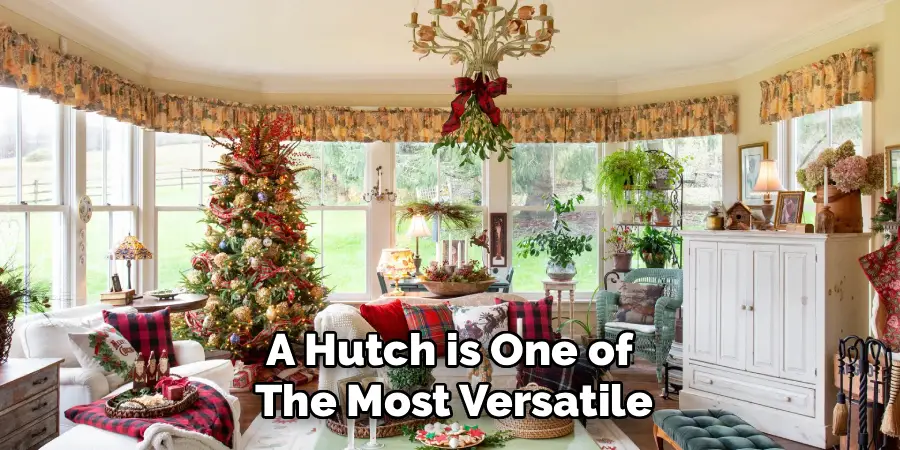
Decorating one also lets you tell a story. You can mix heirloom dishes with fresh greenery, layer in family photos, or spotlight treasured ornaments. This flexibility means every hutch looks unique. Best of all, the project is budget-friendly, adapts to any skill level, and gives you a rewarding sense of accomplishment once the last touch is in place.
Step-By-Step Guide To How to Decorate a Hutch for Christmas
Step 1: Clear And Clean The Surface
Start with a completely empty hutch. Remove everything from the shelves, top, and interior so you have a blank slate to work with. Wipe down each surface with a soft cloth to clear away dust and fingerprints, since clean shelves make your decor shine brighter. Take a moment to inspect the piece for anything that needs a quick fix, like a loose knob or a smudged glass panel. Learning how to decorate a hutch for christmas begins with this fresh start, because a tidy foundation lets your seasonal pieces stand out without competing with everyday clutter.
Step 2: Choose A Color Theme
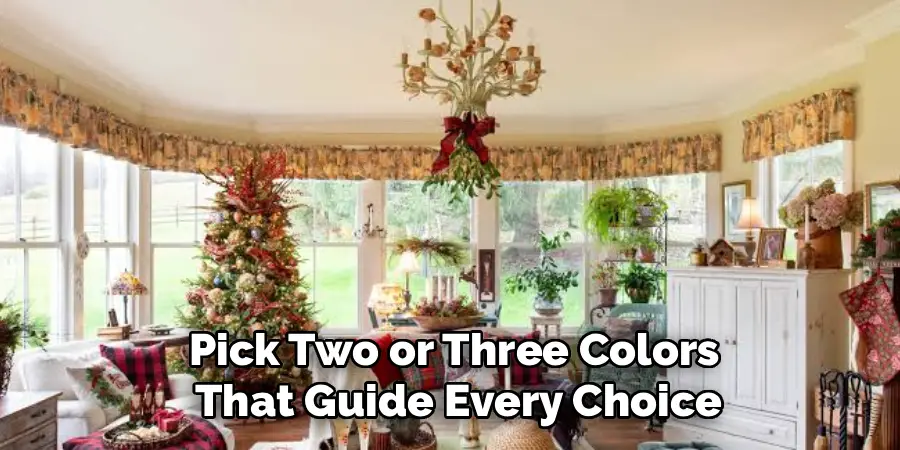
Pick two or three colors that guide every choice you make from here on. Classic red and green feels timeless, while white and silver reads elegant and modern. You might lean into warm gold and cream for a cozy, candlelit glow. Look at your existing dishes and room colors first, so your theme blends naturally with what surrounds the hutch. Sticking to a limited palette keeps the display from feeling busy or chaotic. Jot your chosen shades on a note and keep it handy while you shop or gather supplies, since this simple step saves time and prevents mismatched clutter later.
Step 3: Anchor With Your Everyday Dishes
Put back the dishes and glassware you keep on display year-round, but arrange them with the holidays in mind. Stack plates neatly, lean larger platters against the back panel, and turn your prettiest pieces forward. These everyday items form the backbone of your design and create structure before you add festive extras. Group similar shapes together for a clean, intentional look, and leave a little breathing room between clusters. This layer grounds the whole display, so your seasonal touches feel purposeful rather than piled on. Think of these dishes as the quiet foundation that makes every sparkle pop.
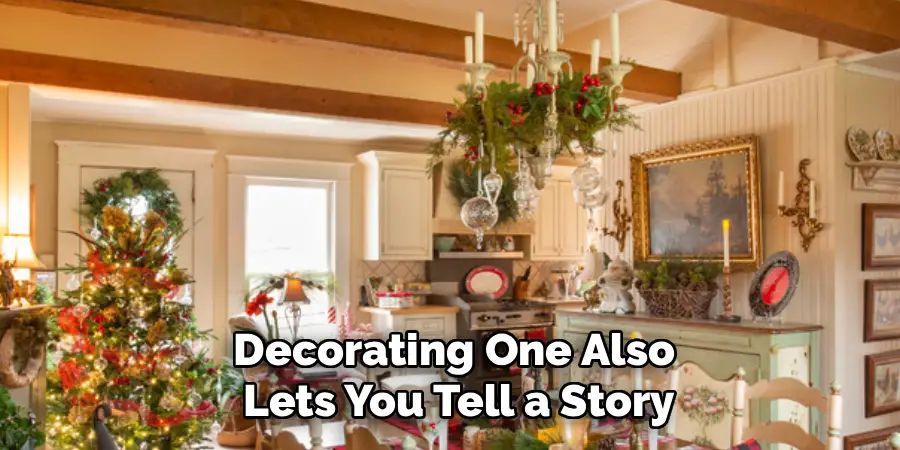
Step 4: Layer In Greenery And Garland
Now bring the outdoors in with greenery, which adds instant holiday warmth. Drape a garland along the top edge or weave sprigs of pine, eucalyptus, or faux cedar between your dishes. Tuck small bundles into open corners and let a few pieces spill gently over the shelf edges for a relaxed, natural feel. Greenery softens hard lines and ties your color theme together beautifully. If you are exploring how to decorate a hutch for christmas on a budget, faux stems are reusable year after year and look convincing when layered with a few real sprigs mixed throughout the arrangement.
Step 5: Add Festive Focal Points
Choose a few standout pieces that draw the eye and give each shelf a purpose. A small lit village, a stack of vintage books tied with ribbon, or a cluster of glittery ornaments in a bowl all work wonderfully. Vary the heights by using cake stands, small boxes, or upturned mugs hidden under fabric to lift certain items. This creates a pleasing rhythm as the eye moves up and down the shelves. Aim for one clear focal point per section, then let smaller accents support it. Balance is key, so step back often and adjust until each shelf feels full but never crowded.
Step 6: Introduce Texture And Personal Touches
Texture makes a display feel rich and inviting, so mix in materials that catch light and add depth. Try a chunky knit runner, a few pinecones, some brass candlesticks, or velvet ribbon woven through the shelves. Personal touches matter just as much, so include a framed family photo, a handmade ornament, or a card from a loved one. These small details turn a pretty arrangement into something meaningful that reflects your own story. Blend soft and hard textures for contrast, and keep your color theme in mind so every addition feels connected rather than random or out of place.
Step 7: Finish With Warm Lighting
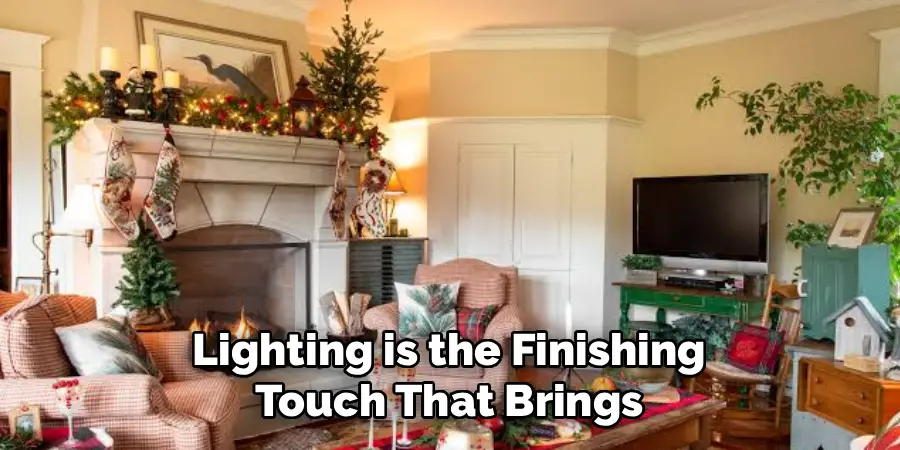
Lighting is the finishing touch that brings your whole display to life. Weave a strand of warm white fairy lights through the greenery and along the shelves, tucking the battery pack out of sight behind a dish. The soft glow highlights your favorite pieces and creates a cozy ambiance once evening falls. If your hutch has glass doors, place a small lit accent inside so it shimmers through the panes. Step back one last time in a dim room to check the effect, then adjust any lights that clump together. This gentle sparkle transforms your effort into pure holiday magic.
Frequently Asked Questions
How Much Does It Cost To Decorate A Hutch?
Costs vary based on what you already own, but most people spend very little. If you reuse existing dishes, ornaments, and greenery, you might spend nothing at all. Buying a fresh garland, fairy lights, and a few accent pieces usually runs between twenty and fifty dollars. Shopping sales, thrift stores, and dollar shops keeps expenses low while still delivering a polished, festive result you will love.
What Should I Put On The Top Of The Hutch?
The top is your chance to make a bold statement, so think tall and eye-catching. A draped garland, a pair of lanterns, or a cluster of stacked greenery with ribbon works beautifully. Vary the heights so the arrangement feels dynamic rather than flat. Just leave a little space so the display does not touch the ceiling, and keep it balanced with the shelves below for a cohesive overall look.
How Do I Avoid Making The Display Look Cluttered?
The secret is restraint and breathing room. Stick to your chosen color theme, group items in odd numbers, and leave empty space between clusters so each piece can be seen. Choose one focal point per shelf, then add only a few supporting accents around it. Step back often to check the balance, and remove anything that feels like too much. Less truly is more when styling a hutch.
Can I Decorate A Hutch If I Have Limited Time?
Absolutely, and you can create a lovely look in under an hour. Focus on three quick wins, which are a garland along the top, a strand of warm lights, and a few festive accents tucked among your existing dishes. These simple additions deliver big impact fast. If you are short on time, prioritize lighting and greenery, since those two elements instantly signal the season and pull everything together.
How Do I Store The Decorations After The Holidays?
Careful storage keeps your pieces looking great year after year. Wrap fragile ornaments in tissue and place them in labeled bins so you find them easily next season. Coil fairy lights loosely to prevent tangling, and store garland in a large bag to keep it from crushing. Keep everything in a cool, dry spot away from moisture. A little organization now saves you plenty of frustration when the holidays roll around again.
Conclusion
Styling your hutch for the holidays is a rewarding project that pays off every time you walk past it. You now know how to decorate a hutch for christmas from start to finish, beginning with a clean surface and a clear color theme, layering in dishes and greenery, adding festive focal points and personal touches, and finishing with a warm, glowing sparkle. Each step builds on the last, so you can move at your own pace and adapt every choice to fit your space and budget.
The real joy comes from making the display your own. Do not stress about perfection, because the pieces you love and the memories they hold are what make it special. Gather your favorite dishes, string up some lights, and start creating a holiday centerpiece that welcomes everyone who visits. Once you see the cozy glow it brings to your home, you will look forward to this happy tradition every single year.

Rick is a handyman who grew up helping his dad with his business. He learned a lot from him about how to fix things, and also about how to work hard and take care of business. These days, Rick is still into fixing things- only now, he’s doing it for a living.
Rick is always looking for new ways to help people grow and develop. That’s why he started contributing to this blog: to share all his experience and knowledge so that he can help people who are interested in DIY repair.