
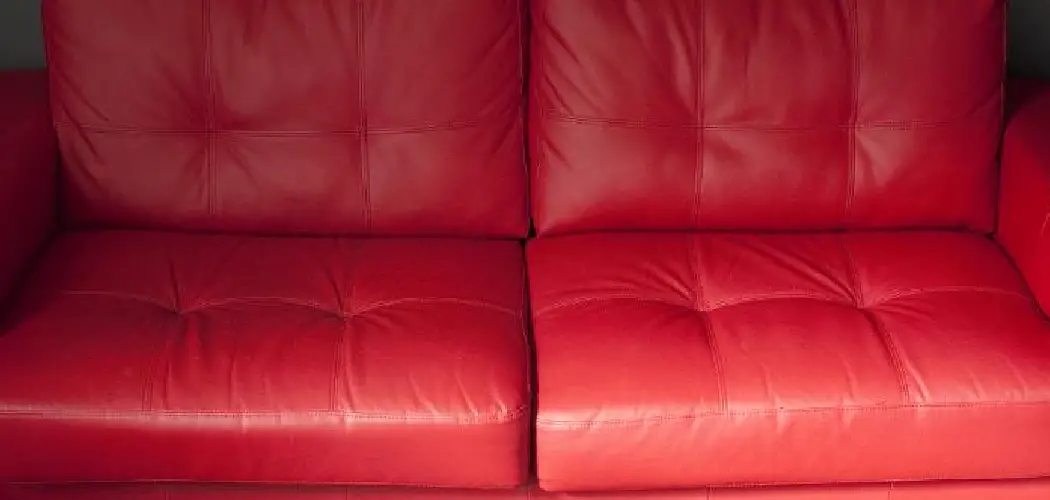
That sagging, wrinkled look on your leather sofa has a name: puddling. It happens when the leather cushions stretch and droop, pooling like fabric instead of holding their crisp, supportive shape. While some puddling is intentional in certain sofa designs, unwanted sagging can make even an expensive couch look tired and worn. The good news is that you don’t need to call a professional or buy a replacement.
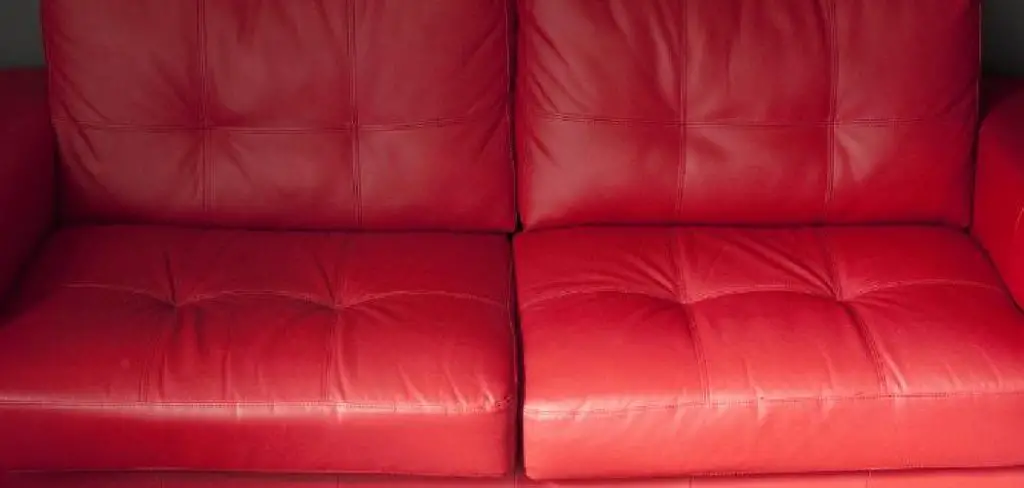
Learning how to fix puddling on leather sofa cushions at home is a manageable project, even if you’ve never repaired furniture before. With a few simple tools and a little patience, you can restore that firm, polished look you fell in love with. This guide breaks everything down into clear, beginner-friendly steps. We’ll explain why puddling happens, walk you through the exact process to correct it, and answer the questions people ask most. By the end, you’ll feel confident tackling the job yourself and giving your sofa a second life.
Why Fixing Puddling On A Leather Sofa Matters
Puddling isn’t just a cosmetic annoyance. Left alone, sagging cushions lose their support, which means less comfort for you and more strain on the sofa’s internal structure. Over time, overstretched leather can crack or wear unevenly, shortening the life of a piece you paid good money for. Fixing the problem early protects your investment and keeps your living space looking sharp and welcoming.
There’s also a comfort payoff: properly filled, supportive cushions feel better to sit on and reduce that “sinking” sensation. Restoring firmness also redistributes weight evenly, so no single spot wears out faster than the rest. A quick repair now saves you from a bigger, costlier fix later, and it brings back the clean, tailored appearance that made your sofa a centerpiece in the first place.
Step-by-Step Guide To How To Fix Puddling On Leather Sofa
Step 1: Inspect the Cushions and Identify the Cause
Before you fix anything, take a few minutes to understand what you’re dealing with. Press down on each cushion and notice where the leather sags, bunches, or feels hollow. Puddling usually comes from worn-out filling, stretched leather, or both. Checking carefully helps you choose the right solution instead of guessing.
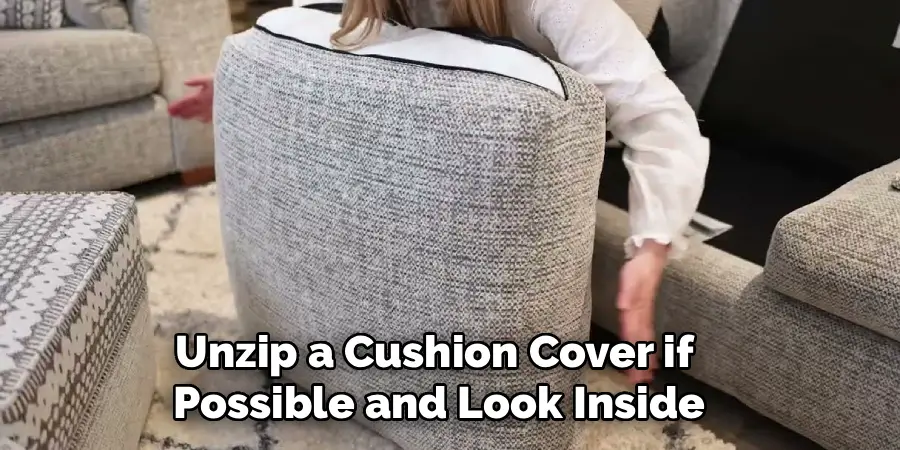
Next, unzip a cushion cover if possible and look inside. You might find flattened foam, loose fiber filling, or empty space where stuffing has settled. Note which cushions need the most attention, since the ones you sit on daily often sag first. This quick assessment sets the stage for a smooth, targeted repair and prevents wasted effort later on.
Step 2: Remove and Examine the Cushion Inserts
Once you know which cushions are sagging, gently remove the inserts from their covers. Most leather sofa cushions have a zipper or hidden opening along one edge. Work slowly so you don’t stretch the leather or strain the seams. Lay each insert out where you can see it clearly.
Examine the foam or fiber inside. Healthy foam springs back when pressed, while worn foam stays compressed and feels crumbly. If the filling looks tired, flat, or uneven, that’s your culprit. Take notes on the size and shape of each insert too, because you’ll need accurate measurements if you decide to add or replace filling in the upcoming steps.
Step 3: Add Fresh Filling to Restore Firmness
Here’s where you start to fix puddling on leather sofa cushions for real. Choose a filling that matches your cushion type. High-density foam works well for structured seats, while polyester fiberfill suits softer, fluffier cushions. You can layer fiberfill around existing foam to plump it up without making the cushion feel hard.
Add the filling a little at a time, then test the firmness by pressing down. Aim for even support across the whole cushion, paying special attention to the spots that sagged most. Don’t overstuff, since too much filling strains the leather and zipper. Patience pays off here, so adjust gradually until the shape feels balanced and supportive.

Step 4: Replace Worn Foam Inserts Completely
Sometimes adding filling isn’t enough, and the old foam simply needs to go. If your inserts feel lumpy, crumbly, or permanently flattened, replacing them gives the best long-term result. Measure each insert’s length, width, and thickness, then order high-density upholstery foam cut to those dimensions. Many suppliers cut foam to order for a small fee.
When the new foam arrives, wrap it in a thin layer of batting or fiberfill for a smoother finish. This soft wrap prevents hard edges and helps the leather lie flat. Slide the fresh insert into the cover, smooth out any wrinkles, and you’ll immediately notice firmer, more even cushions.
Step 5: Recondition the Leather Surface
With your cushions firmed up, turn your attention to the leather itself. Stretched, dry leather contributes to that puddled look, so conditioning helps it regain some structure and shine. Start by wiping each cushion with a slightly damp cloth to remove dust and oils. Let it dry fully before moving on.
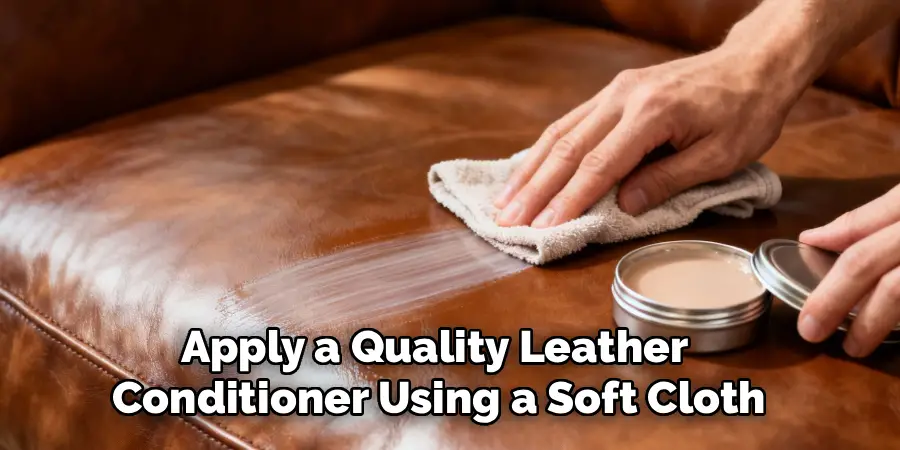
Apply a quality leather conditioner using a soft cloth, working in small circular motions. Conditioning restores moisture, improves flexibility, and helps the leather hug the firmer insert beneath it. Knowing how to fix puddling on leather sofa surfaces means treating the material with care, not just the stuffing. Buff gently and allow the conditioner to absorb according to the product instructions.
Step 6: Reshape and Smooth the Cushions
Now it’s time to make everything look tailored again. Place each insert back into its cover and zip it closed. Plump the cushion by hand, pushing filling toward the corners and edges so the leather sits taut rather than loose. Work the material gently until the surface looks even and the sagging disappears.
Set the cushions back on the sofa and press along the seams to smooth out wrinkles. Rotate and rearrange them so wear spreads evenly over time. If a cushion still looks slightly loose, remove it and add a touch more filling. Small adjustments at this stage make a big difference in the final, polished appearance.
Step 7: Maintain Your Sofa to Prevent Future Puddling
Finishing the repair is satisfying, but a little upkeep keeps puddling from creeping back. Rotate and flip your cushions every couple of weeks so no single area carries all the weight. This simple habit spreads wear evenly and extends the life of your filling and leather alike.
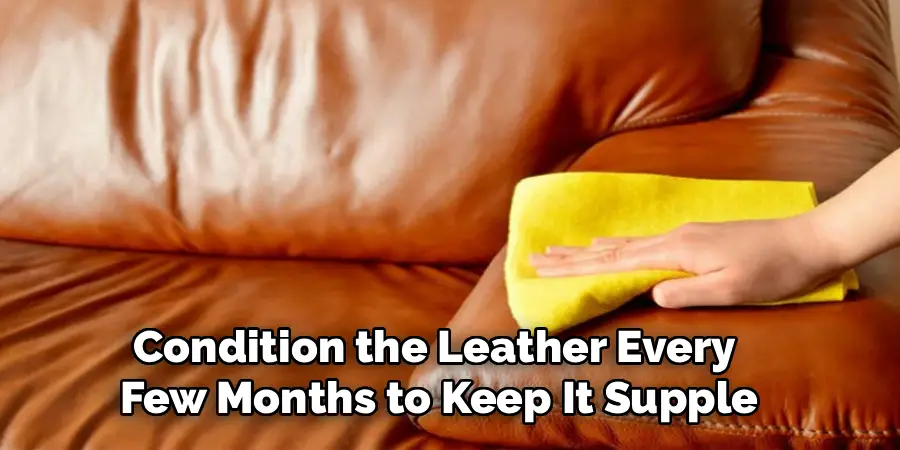
Condition the leather every few months to keep it supple and resistant to stretching. Avoid sitting in the exact same spot every day, and discourage anyone from standing or jumping on the cushions. Keep the sofa out of direct sunlight, which dries and weakens leather over time. With these easy steps, your refreshed sofa will stay firm and good-looking for years.
Frequently Asked Questions
What Exactly Causes Puddling on a Leather Sofa?
Puddling usually happens when cushion filling breaks down and the leather stretches over time. Daily use, body heat, and sitting in the same spot compress the foam, leaving extra loose material that pools and wrinkles. Some sofas are designed with a relaxed, puddled look on purpose, but unwanted sagging signals worn inserts. Identifying the cause helps you pick the right repair and prevents the issue from returning.
Can I Fix a Puddled Sofa Without Replacing the Foam?
Yes, in many cases you can. If the foam still has some bounce, adding polyester fiberfill around it can restore firmness without a full replacement. This works best for mild to moderate sagging. However, if the foam feels crumbly, lumpy, or permanently flat, replacing it gives a longer-lasting result. Test the existing foam first, then decide whether topping up or replacing makes the most sense for your situation.
How Often Should I Condition Leather Cushions?
For most homes, conditioning leather cushions every three to six months keeps them supple and resistant to stretching. If your sofa sits in a dry climate or near a heat source, you may need to condition more often. Watch for signs like stiffness, dullness, or small surface cracks, which mean the leather is thirsty. Regular conditioning is one of the easiest ways to slow future puddling.
Is Puddling a Sign My Sofa Is Low Quality?
Not necessarily. Even well-made leather sofas can develop puddling after years of regular use, especially in favorite seating spots. Filling naturally compresses over time, and leather softens with body heat and movement. Some designs intentionally feature a relaxed, puddled look. If your sofa sags sooner than expected, it might point to lighter-weight foam, but the issue is usually fixable with fresh filling and proper care.
When Should I Call a Professional Instead?
You can handle most puddling repairs yourself with basic tools and a little time. Consider calling a professional upholsterer if the leather is torn, the sofa frame feels unstable, or the cushions are sewn shut with no access point. Antique or high-value pieces also deserve expert hands. For everyday sagging caused by tired foam, though, the do-it-yourself steps in this guide will serve you well.
Conclusion
Bringing a saggy, droopy couch back to life is far easier than it looks once you break the job into simple steps. The key is to work in order: inspect the cushions, examine the inserts, add or replace filling, recondition the leather, and reshape everything for a clean, tailored finish. A bit of regular maintenance afterward keeps the problem from coming back. Remember that acting early gives you the best results, since mild sagging is much simpler to correct than deeply worn foam.
Now that you understand how to fix puddling on leather sofa cushions from start to finish, you have everything you need to restore comfort and style to your favorite seat. Gather your supplies, set aside an afternoon, and give your sofa the refresh it deserves. With a little care and the right approach, you’ll be amazed at how firm, supportive, and polished your couch can look again.

Rick is a handyman who grew up helping his dad with his business. He learned a lot from him about how to fix things, and also about how to work hard and take care of business. These days, Rick is still into fixing things- only now, he’s doing it for a living.
Rick is always looking for new ways to help people grow and develop. That’s why he started contributing to this blog: to share all his experience and knowledge so that he can help people who are interested in DIY repair.