
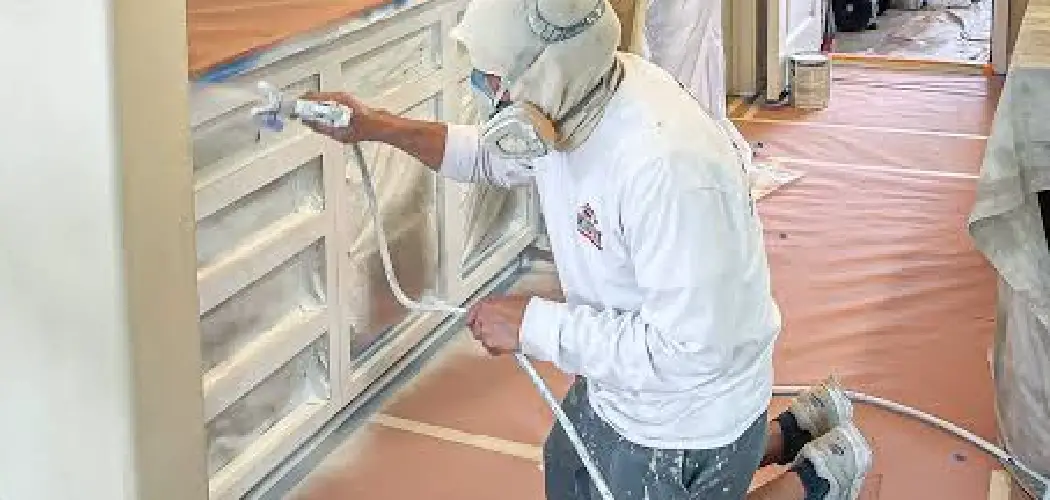
A fresh coat of paint can completely transform tired kitchen cabinets, but there’s one sneaky problem that catches most beginners off guard: wood grain. Those natural lines and open pores in oak, ash, or hickory have a habit of showing through even the best paint job, leaving you with a finish that looks rough instead of smooth and modern. If you’ve ever dreamed of that flawless, factory-fresh look, you’ll want to know how to hide wood grain when painting cabinets the right way.
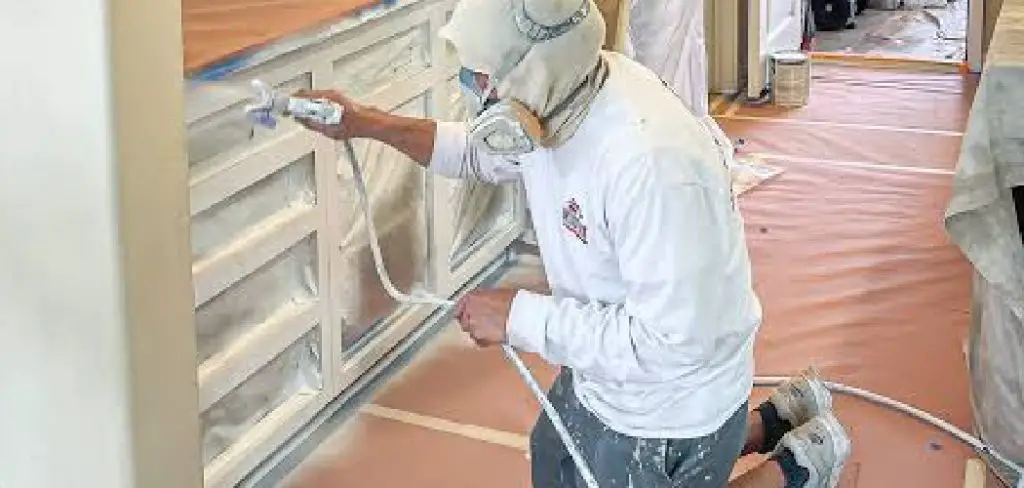
The good news is that you don’t need professional tools or years of experience to pull this off. With a little patience and the correct steps, anyone can achieve a buttery-smooth surface at home. This guide walks you through the entire process in plain, friendly language, so you feel confident from the first sand to the final topcoat. By the end, you’ll have a clear plan, expert tips, and answers to the questions people ask most. Let’s turn those grainy cabinets into something you’ll be proud to show off.
Why Hiding Wood Grain When Painting Cabinets Matters
Open wood grain doesn’t just affect looks, it affects how long your finish lasts and how much you enjoy the result. When grain shows through, cabinets can appear unfinished or dated, undoing all your hard work.
A smooth surface, on the other hand, gives you that crisp, high-end appearance you see in showrooms and design magazines. There’s also a practical side. Filling and sealing the grain creates an even layer that resists chipping, traps fewer crumbs and grease, and wipes clean with ease. That means less scrubbing and a finish that holds up to daily kitchen life. Taking the time to address grain early saves you from frustrating do-overs later, protects your investment, and leaves you with cabinets that genuinely look professionally done.
Step-by-Step Guide to How To Hide Wood Grain When Painting Cabinets
Step 1: Remove Doors and Clean Every Surface
Before any real work begins, take off the cabinet doors and drawer fronts, then label each one so you remember where it goes later. Removing hardware like hinges and handles gives you full access and stops paint from gumming up the works.
Next comes the part many people skip: a deep clean. Kitchen cabinets collect grease, oil, and grime that you can’t always see. Use a degreasing cleaner and a soft cloth to wipe down every surface, then rinse and let everything dry completely. Skipping this step means paint and filler won’t bond properly, so don’t rush it. Clean wood is the foundation of a flawless finish.

Step 2: Sand to Open and Smooth the Surface
Sanding does two jobs at once. It roughs up the slick factory coating so your products grip well, and it knocks down any raised fibers that make grain feel bumpy. Grab medium-grit sandpaper, around 120-grit, and work along the direction of the grain rather than against it.
Once the surface feels evenly scuffed, switch to a finer grit to smooth things further. Wipe away all the dust with a tack cloth or a slightly damp rag, because leftover dust ruins adhesion. Don’t worry about removing the grain entirely here, you’re simply preparing the wood. Think of sanding as setting the stage for the filling work that truly hides those stubborn lines.
Step 3: Apply Grain Filler to Fill the Pores
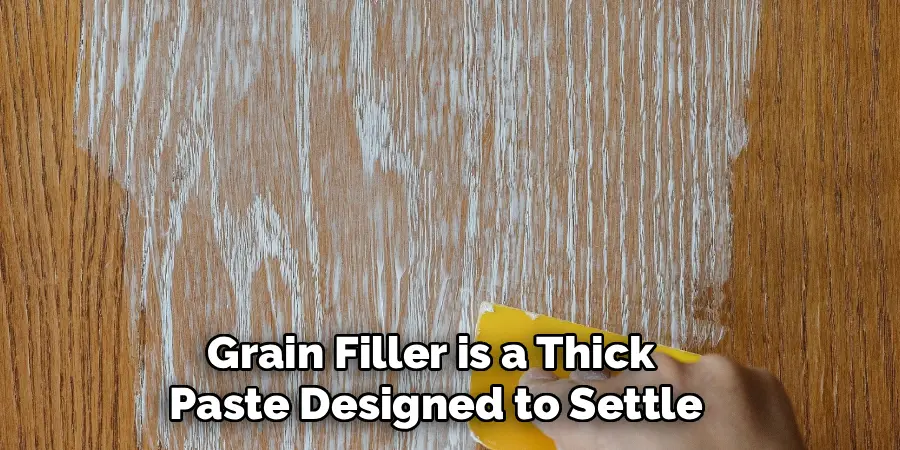
This is the heart of how to hide wood grain when painting cabinets, so take your time. Grain filler is a thick paste designed to settle into open pores and level the surface. Using a putty knife or a plastic spreader, push the filler across the wood at a slight angle, working it firmly into the grain.
After the pores are packed, scrape off the excess so you’re left with filler in the dips, not on top of the surface. Let it dry fully according to the product instructions, which usually takes a few hours. For deeply textured woods like oak, you may need a second pass to get those pores completely level.
Step 4: Sand Smooth and Inspect Your Work
Once the filler cures, it’s time to smooth everything down. Use fine-grit sandpaper, around 220-grit, and lightly sand the entire surface until it feels glassy and even under your fingertips. Run your hand across the wood with your eyes closed, because touch often catches imperfections your eyes miss.
Hold the door at an angle under good lighting to spot any remaining grain or low spots. If you still see texture, don’t panic, simply apply another thin layer of filler to those areas and sand again once dry. This back-and-forth of fill and sand is normal. Each round brings you closer to that perfectly level base every great finish depends on.
Step 5: Prime With a High-Build Bonding Primer
Primer seals the filled surface and gives your paint something solid to cling to. Choose a high-build bonding primer, which is designed to fill minor imperfections and stick to slick or previously finished wood. Apply it with a foam roller for large flat areas and a quality brush for corners and edges.
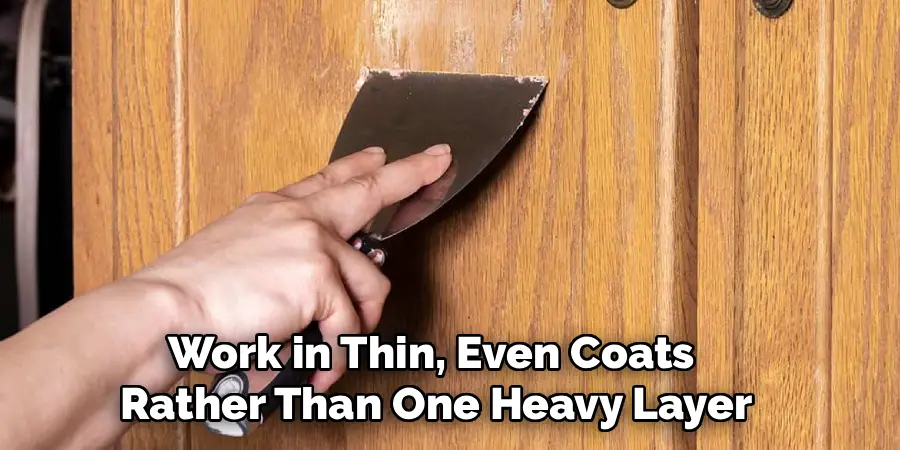
Work in thin, even coats rather than one heavy layer, since thick primer drips and dries unevenly. Let the first coat dry, then lightly sand with very fine sandpaper to keep the surface smooth. A second primer coat often helps, especially on porous woods. When you’re learning how to hide wood grain when painting cabinets, strong priming is what locks all your prep work in place.
Step 6: Paint in Thin, Even Coats
Now for the fun part. Choose a durable cabinet or enamel paint, which dries harder and resists chips far better than standard wall paint. Stir it well, then apply your first coat with a foam roller, finishing each section with light brush strokes to even out the texture.
Resist the urge to load on thick paint, because thin coats dry smoother and reduce the risk of drips. Let each coat dry completely, then lightly sand with extra-fine paper before the next one. Most cabinets need two to three coats for full, even coverage. Patience between layers is the secret here, giving you that flawless, streak-free surface you’ve been working toward.
Step 7: Seal and Reassemble Your Cabinets
A protective topcoat is the final shield that keeps your finish looking fresh for years. Apply a clear water-based polyurethane or a cabinet-specific sealer using a foam roller or brush, again in thin, even coats. This layer guards against moisture, grease, and the daily bumps of kitchen life.
Once the sealer cures fully, which can take a day or more, reattach your hardware and rehang the doors using those labels from step one. Tighten hinges so everything lines up neatly. Step back and admire the smooth, grain-free finish you created with your own hands. With proper drying time respected throughout, your cabinets will look like they came straight from a professional shop.

Frequently Asked Questions
Can You Really Get a Smooth Finish on Oak Cabinets?
Yes, absolutely. Oak has some of the deepest, most open grain, which makes it the trickiest wood to work with. The secret is using grain filler and applying it in two coats if needed. With proper filling, sanding, and priming, even heavily textured oak can end up looking perfectly smooth and modern once painted and sealed.
What Happens if I Skip the Grain Filler Step?
Skipping filler is the most common beginner mistake. Paint alone won’t fill open pores, so the grain will telegraph right through your finished coats, leaving visible lines and a bumpy texture. While primer helps slightly, it can’t replace dedicated grain filler on porous woods. For a truly smooth result, the filling step is essential and well worth the extra time.
How Long Does the Whole Process Take?
Plan for a weekend or spread it across several evenings. The actual hands-on work isn’t long, but drying times between filling, priming, painting, and sealing add up. Filler needs a few hours, each paint coat needs to cure, and the final sealer may take a full day. Rushing leads to flaws, so building in patience gives you the best, most durable finish.
Do I Need a Paint Sprayer for Good Results?
Not at all. While sprayers can speed things up for large projects, a quality foam roller paired with a soft brush delivers excellent, smooth results for most home kitchens. The roller lays down an even layer, and light brush strokes blend any texture. Many beginners achieve professional-looking cabinets using simple, affordable tools they already own or can buy cheaply.
What Type of Paint Holds Up Best on Cabinets?
Cabinets take daily abuse, so choose a durable enamel or cabinet-specific paint designed to dry hard and resist chips. Water-based acrylic enamels are popular because they clean up easily, smell less, and cure into a tough finish. Pair your paint with a quality bonding primer and a clear topcoat, and your cabinets will resist scuffs, grease, and moisture for years.
Conclusion
Transforming grainy cabinets into a smooth, modern showpiece comes down to preparation and patience. The process follows a clear rhythm: clean thoroughly, sand to prep the surface, fill those open pores, prime to lock everything in, then paint and seal in thin, even coats. Each step builds on the last, and skipping any one of them is where most rough finishes go wrong.
Now that you understand how to hide wood grain when painting cabinets, you have a reliable roadmap to follow from start to finish. Remember that the magic lives in the details, especially the filling and sanding stages that create your flawless base. Don’t be intimidated, because every skill here is beginner-friendly and gets easier as you go. So gather your supplies, set aside a weekend, and give those cabinets the upgrade they deserve. You’ll be amazed at how a smooth, professional finish can refresh your entire kitchen and boost your confidence for the next project.

Rick is a handyman who grew up helping his dad with his business. He learned a lot from him about how to fix things, and also about how to work hard and take care of business. These days, Rick is still into fixing things- only now, he’s doing it for a living.
Rick is always looking for new ways to help people grow and develop. That’s why he started contributing to this blog: to share all his experience and knowledge so that he can help people who are interested in DIY repair.