
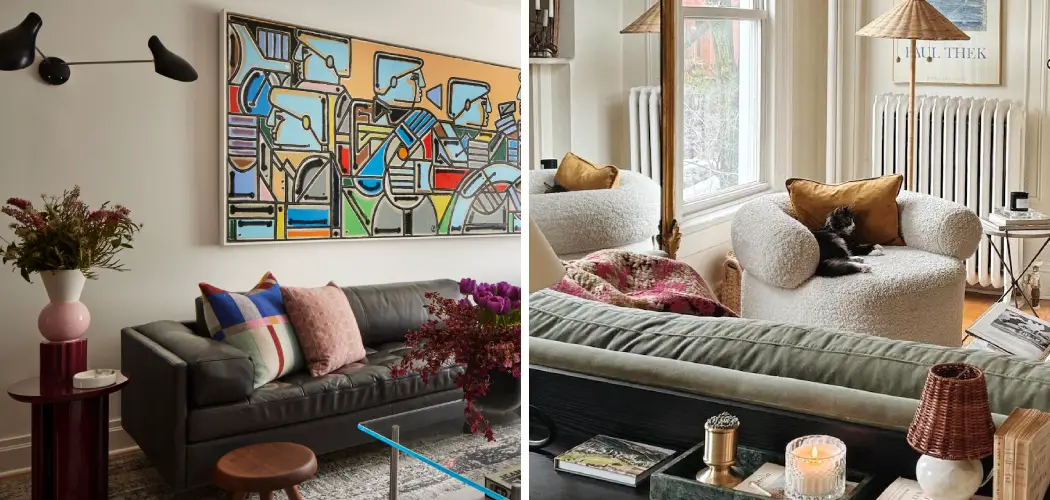
Walking into a living room without overhead lighting can feel like entering a cave—dark, unwelcoming, and far from the cozy sanctuary you envision. Whether you’re renting an older apartment, living in a historic home, or simply dealing with a builder who skipped the ceiling fixtures, the absence of overhead lighting doesn’t mean you’re stuck in the shadows.
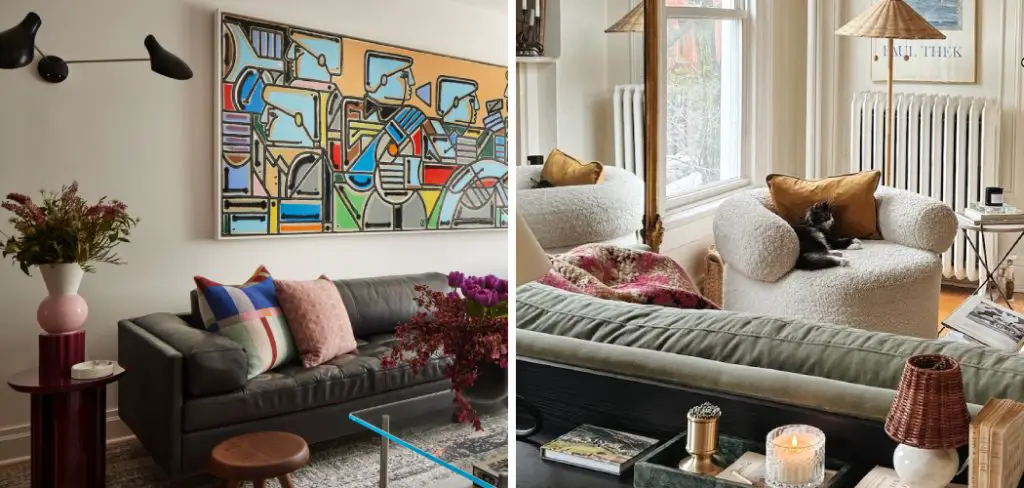
The good news? You can create a beautifully lit, functional living space using strategic placement of lamps, creative lighting solutions, and a bit of design savvy. This guide on how to light a living room with no overhead lighting will walk you through exactly how to illuminate your living room without a single overhead fixture, transforming it into a warm, inviting space that rivals any traditionally lit room.
Tools and Materials You’ll Need
Before you get started, make sure you have the following tools and materials on hand:
- Lamps (table lamps, floor lamps, etc.)
- Extension cords or power strips
- Bulbs
- Lampshades
- Command hooks or adhesive strips
- Wall-mounted sconces (optional)
- Battery-operated LED lights (optional)
- Dimmer switch (optional)
Having these items ready will save you time and make the process smoother. It’s also a good idea to have a clear vision of how you want your living room to look and feel, so you can choose the right lighting solutions for your space.
7 Simple Step-By-Step Guidelines on How to Light a Living Room With No Overhead Lighting
Step 1: Assess Your Room’s Natural Light and Layout
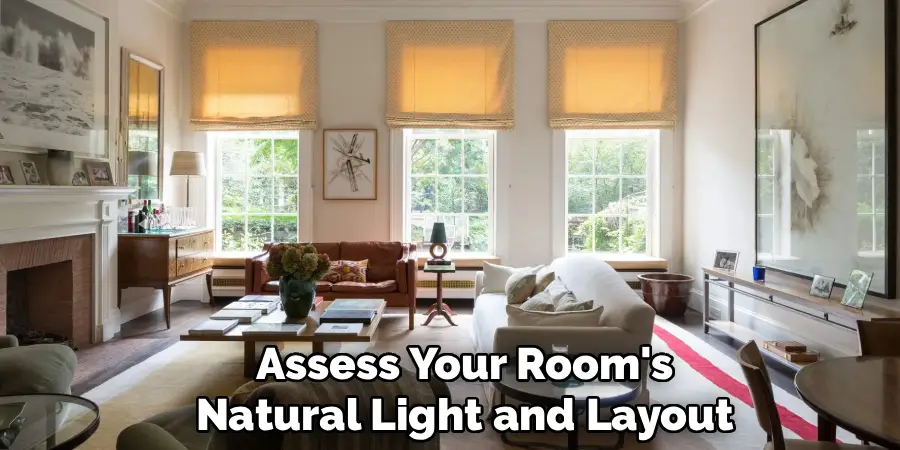
Start by observing how natural light moves through your living room throughout the day. Note which corners remain persistently dark and which areas receive adequate sunlight during certain hours. This assessment will help you identify where artificial lighting is most critical.
Take measurements of your space and sketch a basic floor plan, marking windows, doors, and major furniture pieces. Consider traffic patterns—you don’t want lamp cords creating tripping hazards in high-traffic areas. Understanding your room’s dimensions and natural light sources will guide every lighting decision you make moving forward, ensuring you don’t over-light some areas while leaving others in darkness.
Step 2: Implement the Three-Layer Lighting Approach
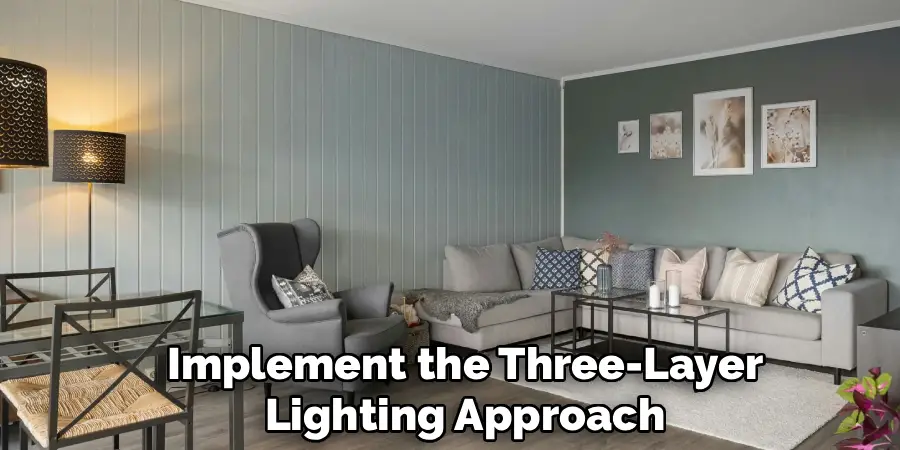
Professional interior designers rely on three types of lighting: ambient (general), task, and accent. Ambient lighting provides overall illumination and replaces what overhead lighting would typically offer. Task lighting focuses on specific activities like reading or working, while accent lighting highlights architectural features or artwork.
For ambient lighting without overhead fixtures, position tall floor lamps in at least two corners of your room—this creates cross-illumination that mimics overhead lighting. Add table lamps on side tables or consoles for task lighting near seating areas. Finally, incorporate accent lighting through wall sconces or picture lights to add depth and visual interest. This layered approach ensures your room feels complete and well-lit from multiple angles, eliminating that flat, one-dimensional lighting that makes spaces feel unwelcoming.
Step 3: Choose the Right Bulb Temperature and Brightness
Not all light bulbs are created equal, and selecting the wrong ones can make your living room feel either sterile or dingy. For living spaces, aim for warm white bulbs (2700K-3000K on the Kelvin scale), which create a cozy, inviting atmosphere similar to traditional incandescent bulbs.
Brightness matters just as much as color temperature. A living room typically needs between 1,500 and 3,000 lumens total to feel adequately lit. Divide this between your various light sources rather than relying on one super-bright lamp. For reading lamps, choose bulbs with 450-800 lumens, while ambient floor lamps can handle 800-1,600 lumens. Installing dimmable bulbs gives you the flexibility to adjust brightness based on time of day and activity, transforming your space from energizing morning light to relaxing evening ambiance with a simple adjustment.
Step 4: Position Floor Lamps Strategically for Maximum Coverage
Floor lamps are your best friend when dealing with no overhead lighting. Place your first floor lamp in the corner farthest from the windows, as this area will be darkest. Position it at an angle so light bounces off walls and ceiling, creating the illusion of overhead illumination.
Your second-floor lamp should go in the opposite corner or behind seating areas where people might read or work. Torchiere-style floor lamps that direct light upward are particularly effective at mimicking overhead lighting because they cast light onto the ceiling, which then reflects down throughout the room. Arc floor lamps work beautifully over seating areas, providing focused light without requiring side tables. Avoid pushing all lamps against walls—bringing some into the room’s interior creates more balanced, natural-looking lighting that prevents harsh shadows.
Step 5: Add Wall Sconces for Vertical Interest
Wall sconces are game-changers in rooms without overhead lighting because they provide illumination at eye level while freeing up valuable floor and table space. Modern plug-in sconces eliminate the need for hardwiring, making them perfect for renters or anyone avoiding major electrical work.
Install sconces on either side of artwork, mirrors, or your television to create visual balance and reduce eye strain. Place them at 60-66 inches from the floor—roughly eye level when standing. If your living room has architectural features like alcoves or built-in bookcases, highlight these with sconces to add depth and dimension.
Consider swing-arm sconces near reading chairs, which provide adjustable task lighting without occupying table space. The vertical placement of wall sconces draws the eye upward, making ceilings feel higher and rooms feel more expansive despite the absence of ceiling fixtures.
Step 6: Incorporate Indirect Lighting Solutions
Indirect lighting works behind the scenes to eliminate dark corners and create an ambient glow without visible light sources. LED strip lights placed behind furniture, under shelving, or along baseboards provide soft illumination that makes rooms feel larger and more welcoming.
Try placing rope lights or LED strips behind your television stand, bookshelf, or sofa—this creates a subtle halo effect that reduces eye strain while watching TV and adds atmospheric lighting. Under-cabinet lighting isn’t just for kitchens; if you have built-in cabinets or floating shelves in your living room, adding small puck lights underneath creates beautiful downlighting.
Backlit mirrors or artwork can serve as both decorative elements and functional light sources. These hidden lighting solutions fill in gaps left by more obvious lamps and fixtures, creating a cohesive lighting scheme that feels intentional rather than cobbled together.
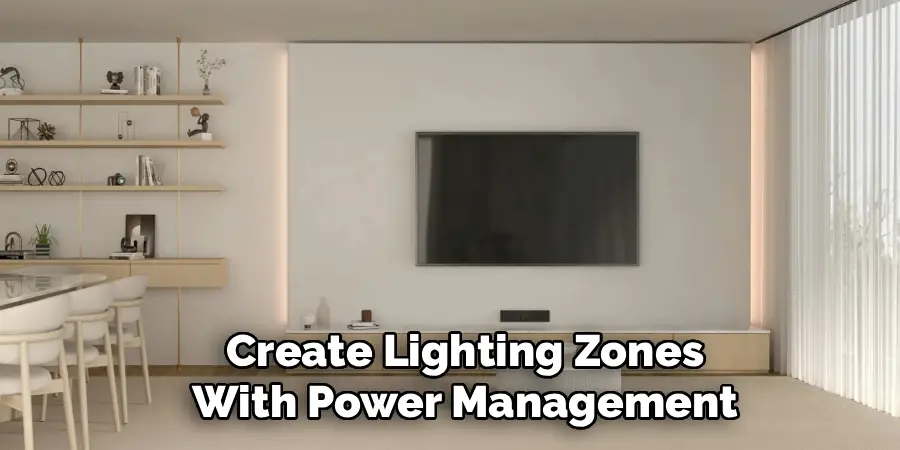
Step 7: Create Lighting Zones With Power Management
With multiple lamps throughout your room, you’ll need a smart power management system to avoid a tangle of cords and to control your lighting efficiently. Group lamps into zones based on function and location, then connect each zone to a power strip with an on/off switch.
Consider investing in smart plugs that allow you to control individual lamps or groups of lamps via smartphone or voice commands. This lets you create lighting scenes—”movie mode” might turn off task lighting while keeping ambient light low, while “reading mode” brightens lamps near seating areas.
Run cords along baseboards and behind furniture, securing them with cord covers or clips to maintain a clean aesthetic. Place power strips in accessible but inconspicuous locations so you can easily turn zones on and off without crawling behind furniture. This organizational approach transforms your collection of individual light sources into a cohesive, controllable system.
Following these steps on how to light a living room with no overhead lighting will not only enhance the ambience and functionality of your space but also add your personal touch and style. Now that you have a basic understanding of lighting principles and techniques, feel free to experiment with different types of light fixtures, bulbs and placements to create the perfect lighting setup for your living room.
Common Mistakes to Avoid
One of the biggest mistakes is relying on a single, overly bright light source, which creates harsh shadows and an unbalanced room. Equally problematic is using only table lamps, which leave the upper portions of the room dark and make ceilings feel lower.
Avoid placing all your lighting on one side of the room—this creates an uneven, uncomfortable atmosphere. Don’t overlook the importance of lampshades, which diffuse light and prevent glare. Finally, resist the temptation to use mismatched bulb temperatures, as mixing cool and warm whites creates a disjointed, unsettling environment.

How Much Will It Cost?
Lighting a living room without overhead fixtures can be surprisingly affordable or a significant investment, depending on your choices. Budget-conscious decorators can create effective lighting schemes for $150-$300 by shopping sales and choosing basic but functional lamps. A mid-range approach using quality floor lamps ($50-$150 each), decent table lamps ($30-$80 each), and plug-in sconces ($40-$100 per pair) typically costs $400-$800. High-end solutions featuring designer fixtures, smart lighting technology, and premium materials can easily exceed $1,500-$2,000.
LED bulbs add $20-$50 upfront but save money long-term through energy efficiency and longevity. Remember that you don’t need to purchase everything at once—start with essential ambient lighting and add layers over time as budget allows.
Frequently Asked Questions
Q: How Many Lumens Do I Need for a Living Room Without Overhead Lighting?
A general guideline suggests 20 lumens per square foot for living spaces. For a 200-square-foot living room, you’ll need approximately 4,000 lumens total. However, since you’re distributing light across multiple sources rather than one central fixture, aim for 1,500-3,000 lumens from your main ambient sources, supplemented by task and accent lighting. This creates adequate brightness without the harsh, flat quality of a single overhead fixture. Remember that lumens measure actual light output, while watts measure energy consumption—focus on lumens when selecting bulbs for proper brightness levels.
Q: Can I Use Only Floor Lamps to Light My Living Room?
While technically possible, relying exclusively on floor lamps creates an unbalanced lighting scheme that feels incomplete. Floor lamps excel at providing ambient and task lighting but should be complemented with other sources for optimal results. A living room lit only by floor lamps often has dark spots at mid-height levels and lacks the visual interest that comes from varied light sources. Combining floor lamps with table lamps, wall sconces, or indirect lighting creates a more sophisticated, layered look that’s both functional and aesthetically pleasing. If budget constraints limit your options, start with two quality floor lamps and add additional sources gradually.
Q: What’s the Best Way to Hide Lamp Cords in a Living Room?
Cord management is crucial when using multiple lamps. Run cords along baseboards using cord covers that match your wall color—these paintable channels keep wires contained and nearly invisible. Route cords behind furniture whenever possible, securing them with adhesive clips to prevent sagging. For floor lamps positioned away from walls, use flat extension cords that slip under area rugs without creating tripping hazards. Cable raceways offer a more permanent solution that looks built-in once installed and painted. Group multiple lamp cords together using velcro cable ties before concealing them, which reduces visual clutter and makes the system more manageable.
Conclusion
Living without overhead lighting doesn’t mean living in the dark or settling for a poorly lit space. By strategically layering floor lamps, table lamps, wall sconces, and indirect lighting, you can create a living room that’s every bit as bright, functional, and inviting as one with traditional ceiling fixtures. The key lies in understanding how different light sources work together, choosing appropriate bulb temperatures and brightness levels, and positioning your fixtures to eliminate dark corners while creating visual interest.
Start with the basics—two floor lamps for ambient lighting and a couple of table lamps for task lighting—then build your lighting scheme gradually as you discover what works best for your space and lifestyle. Your living room deserves to shine, ceiling fixtures or not. Begin transforming your space today by assessing your room’s layout and investing in that first quality floor lamp that will anchor your new lighting design. Thanks for reading this guide on how to light a living room with no overhead lighting.

Rick is a handyman who grew up helping his dad with his business. He learned a lot from him about how to fix things, and also about how to work hard and take care of business. These days, Rick is still into fixing things- only now, he’s doing it for a living.
Rick is always looking for new ways to help people grow and develop. That’s why he started contributing to this blog: to share all his experience and knowledge so that he can help people who are interested in DIY repair.