
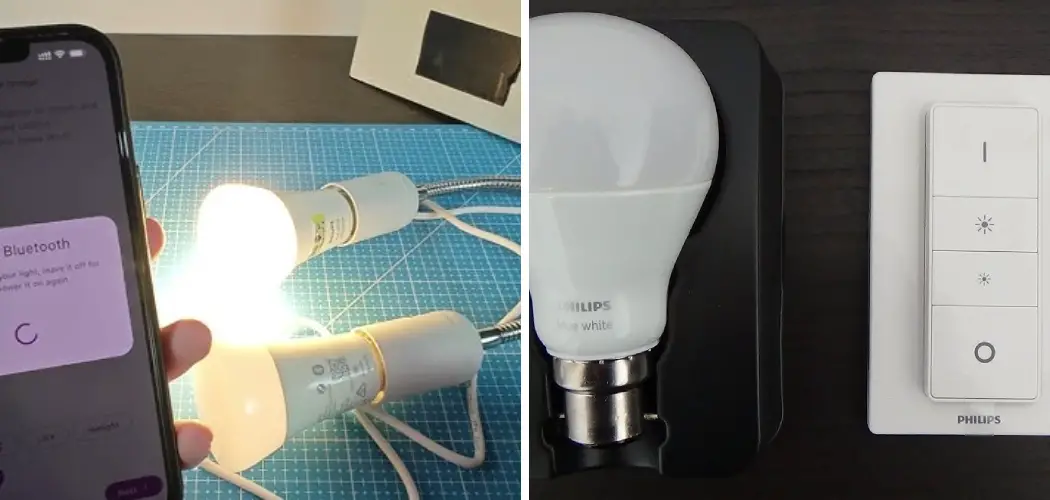
Setting up smart lighting used to mean buying extra hardware just to get started, but that’s no longer the case. If you’ve picked up a Philips Hue bulb and don’t want to spend more on a separate hub, you’re in luck. Modern Hue bulbs come with built-in Bluetooth, which means you can control them straight from your phone. Knowing how to connect philips hue light bulb without bridge gives you a simple, budget-friendly way to enjoy smart lighting without the extra gear.
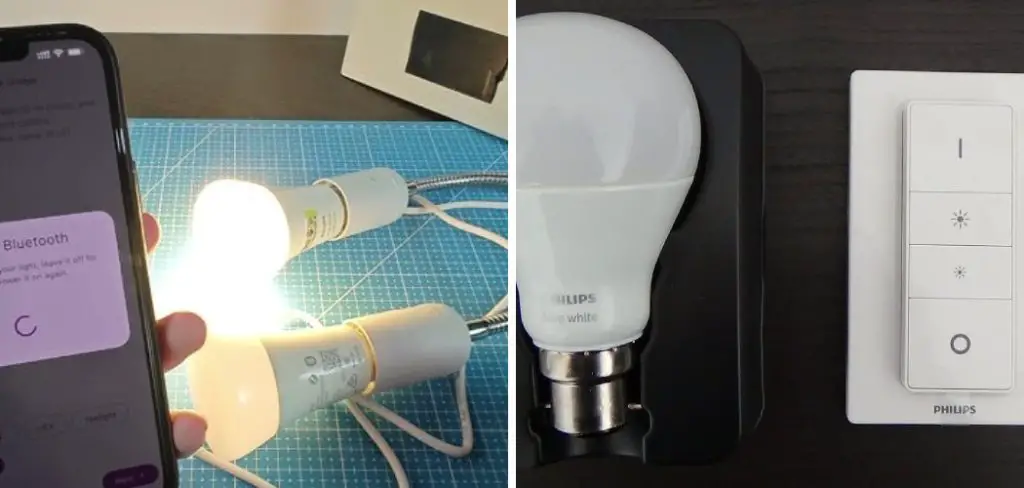
This guide is built for beginners, so don’t worry if you’ve never touched a smart bulb before. We’ll walk through everything from screwing in the bulb to fine-tuning your light settings inside the app. By the end, you’ll have a working smart light that responds to taps on your screen. You’ll also learn what Bluetooth control can and can’t do, so you know exactly what to expect. Grab your bulb, download the right app, and let’s get your room glowing in just a few minutes.
Why Connecting Philips Hue Without a Bridge Matters
Skipping the bridge saves you money right away, since you only pay for the bulb itself. For someone testing the waters of smart lighting, that lower upfront cost makes a real difference. You also save space, because there’s no extra box to plug into your router or hide behind furniture.
Setup is faster too. Bluetooth connects directly to your phone, so you can have a light running within minutes of opening the box. This approach works perfectly for small spaces like a bedroom, dorm, or single room where you only need to control a few bulbs. It’s an easy entry point that lets you enjoy dimming, color changes, and scheduling without committing to a full smart home system. If you decide to expand later, your bulbs will still work with a bridge.
Step-by-Step Guide to How to Connect Philips Hue Light Bulb Without Bridge
Step 1: Check Your Bulb for Bluetooth Support
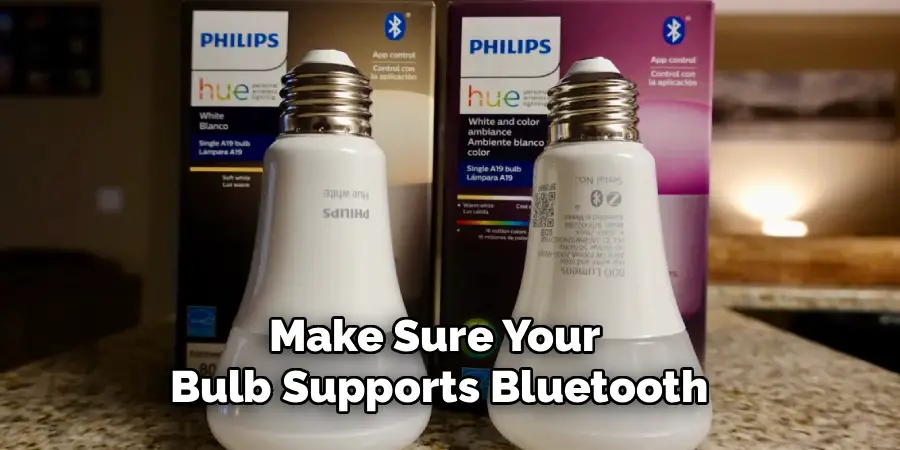
Before anything else, make sure your bulb supports Bluetooth. Not every Hue bulb has it, though most newer ones do. Look on the box or the bulb’s packaging for a small Bluetooth logo, which confirms you can pair it directly with your phone. If you bought the bulb recently, chances are good it’s Bluetooth-ready.
This quick check saves you frustration down the line. Older Hue bulbs were built to work only with a hub, so trying to pair them by Bluetooth simply won’t work. Once you spot that little Bluetooth symbol, you’re cleared to move forward with the rest of the setup.
Step 2: Screw In and Power Up the Bulb
Now it’s time to get the bulb glowing. Turn off the light switch first, then screw the Hue bulb firmly into your lamp or ceiling fixture. Make sure it’s seated properly so it makes good contact. Once it’s in place, flip the switch back on to give the bulb power.
You should see it light up right away, usually in a soft white glow. Keep the switch on during the entire setup, because the bulb needs steady power to pair. If the light doesn’t come on, double-check that the fixture works with another bulb. A powered, glowing bulb means you’re ready to connect it to your phone.
Step 3: Download the Philips Hue Bluetooth App
Head to the App Store or Google Play and search for the official Philips Hue Bluetooth app. This is the tool that lets you control your bulb directly, no hub required. Make sure you grab the genuine app from Signify, the company behind Hue, rather than a third-party copy. The correct app has the recognizable Hue icon and strong review numbers.
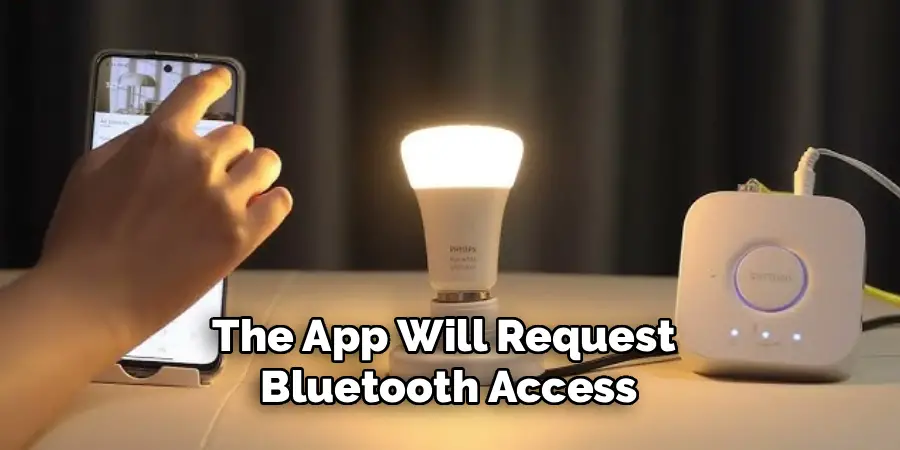
Once it’s installed, open it and allow the permissions it asks for. The app will request Bluetooth access and sometimes location, both of which it needs to find and pair your bulb. Create a free account or sign in if you already have one. With the app ready, you’re set for the actual pairing.
Step 4: Pair the Bulb Over Bluetooth
This is the heart of how to connect philips hue light bulb without bridge, and it’s easier than you might think. With your phone’s Bluetooth turned on, open the Hue app and tap the option to add a new light. Stay close to the bulb, ideally within a few feet, so the connection stays strong during pairing.
The app will scan and detect your bulb automatically. When it appears on screen, tap to confirm and let it connect. This usually takes just a few seconds. If the bulb doesn’t show up, turn the light switch off and on once to reset its pairing mode, then scan again. Once it links, the app will confirm with a friendly on-screen message.
Step 5: Name and Organize Your Light
After pairing, give your bulb a clear name so you always know which light you’re controlling. Tap the new bulb in the app and choose something descriptive like “bedroom lamp” or “desk light.” This step matters more as you add bulbs, since clear labels keep things tidy and easy to manage.
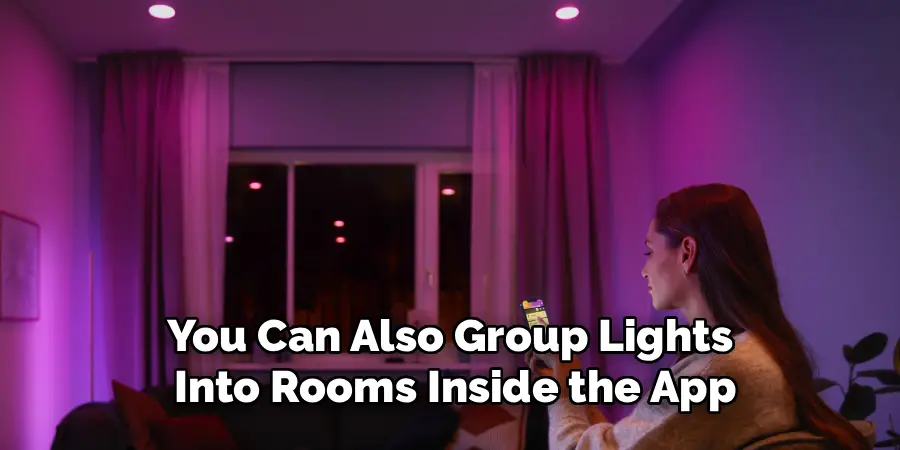
You can also group lights into rooms inside the app. Even if you only have one bulb now, setting up a room makes future expansion smoother. Organized lights mean quicker control, letting you adjust everything in a space with a single tap. Take a moment here, and your setup will feel polished and personal from day one.
Step 6: Adjust Brightness and Color Settings
Now comes the fun part of mastering how to connect philips hue light bulb without bridge: making it look exactly how you want. Inside the app, tap your bulb to open its controls. Slide the brightness bar up or down to set the perfect glow, whether you want a bright work light or a soft evening mood.
If your bulb supports color, you’ll see a color wheel or palette. Tap any shade to instantly transform your room, from warm sunset tones to cool blues. Many bulbs also offer preset scenes designed for reading, relaxing, or focusing. Experiment freely, because every change is reversible. Play around until the lighting feels just right for your space and mood.
Step 7: Set Up Routines and Voice Control
To get the most from your bulb, explore routines inside the app. You can schedule lights to switch on at sunset or wake you gently in the morning by brightening slowly. These automations run over Bluetooth without needing any extra hardware, making your daily life a little easier.
You can also link your bulb to a voice assistant like Amazon Alexa or Google Assistant in some setups, letting you control lights hands-free. Just follow the in-app prompts to connect your assistant. Keep in mind that Bluetooth has a limited range, so voice control works best when your phone or speaker stays in the same room as the bulb.
Frequently Asked Questions
How Many Bulbs Can I Control Without a Bridge?
Using Bluetooth, you can control up to around ten Hue bulbs at once. This limit works well for a single room or small space. If you want to manage more bulbs across your whole home, or control them while away, you’ll eventually need a bridge. For most beginners with one or two rooms, ten bulbs is plenty to start enjoying smart lighting.
Can I Control My Bulb When I’m Away From Home?
No, Bluetooth only works within close range, usually about thirty feet. This means you must be in the same room or nearby to control your bulb through the app. Remote control over the internet requires a Hue bridge, which connects to your home network. If staying in range covers your needs, Bluetooth control is perfectly fine and saves you the extra cost.
Does Bluetooth Control Work With Voice Assistants?
Yes, in many cases. You can link your Bluetooth Hue bulb to Amazon Alexa or Google Assistant, allowing simple voice commands like turning lights on or off. The catch is range, since the assistant device and bulb need to be close together. For full-home voice control across multiple rooms, a bridge offers a more reliable and expanded experience.
What If My Bulb Won’t Pair With the App?
Start by turning the light switch off and back on, which resets the bulb’s pairing mode. Make sure your phone’s Bluetooth is active and you’re standing close to the bulb. Confirm the bulb actually supports Bluetooth by checking for the logo. Restarting the app or your phone can also clear up stubborn connection issues. These quick fixes solve most pairing problems within minutes.
Will I Lose My Settings If I Add a Bridge Later?
You won’t lose your bulbs, though you may need to reconnect them to the bridge and rebuild some settings. The good news is that adding a bridge unlocks remote access, more bulbs, and advanced features. Your existing Bluetooth bulbs are fully compatible, so upgrading later is smooth. Think of Bluetooth as a flexible starting point that grows with you.
Conclusion
Getting your smart lights running doesn’t have to involve extra hardware or a complicated setup. By following these seven steps, you’ve learned how to connect philips hue light bulb without bridge using nothing more than your phone and the free Hue app. From checking Bluetooth support and powering up the bulb to pairing it, customizing colors, and building handy routines, you now have everything you need for a personalized lighting experience.
This approach is affordable, fast, and perfect for small spaces or anyone curious about smart home technology. While Bluetooth has its limits, like range and bulb count, it’s an excellent way to start without spending more than you need to. So go ahead, open that app, pair your bulb, and play with the settings until your space feels just right. Your smart lighting journey starts with a single tap, and you’re more than ready to take it.

Rick is a handyman who grew up helping his dad with his business. He learned a lot from him about how to fix things, and also about how to work hard and take care of business. These days, Rick is still into fixing things- only now, he’s doing it for a living.
Rick is always looking for new ways to help people grow and develop. That’s why he started contributing to this blog: to share all his experience and knowledge so that he can help people who are interested in DIY repair.