
LED light strips are a fantastic way to add ambiance and modern flair to any room. They can transform a space with vibrant colors and dynamic lighting effects. However, there’s a common frustration that many users encounter: the dreaded droop. You spend time carefully installing your lights, only to find them peeling away from the wall or ceiling a few days later. This is usually due to a weak factory adhesive or an improperly prepared surface. The good news is that you don’t have to put up with sagging lights. This guide provides clear, beginner-friendly instructions on how to restick led light strips for a secure and long-lasting hold.
When it comes to achieving the perfect ambiance with LED light strips, proper installation is key. Whether you’re looking to enhance the mood in your living space, highlight architectural features, or elevate your gaming setup, ensuring your light strips stay firmly in place is essential. By understanding the right techniques and materials to use, you can avoid common pitfalls and enjoy a seamless, professional-looking result. Here are some tips to help you restick your LED light strips for a secure and long-lasting hold.
Evaluating the Surface
The first step in resticking your LED light strips is evaluating the surface where they will be installed. It’s important to note that not all surfaces are suitable for adhesive-backed light strips. Some surfaces, such as textured walls or unfinished wood, may not provide enough grip for the adhesive to stick properly. Additionally, surfaces with high levels of moisture or humidity can cause the adhesive to weaken over time.
Before starting your installation, it’s crucial to thoroughly clean and dry the surface where you’ll be placing your light strips.
Gather Tools and Materials
Before beginning the installation of your light strips, it’s essential to gather all the necessary tools and materials to ensure a smooth process. Here’s a list of items you may need:
- Light Strips: Ensure you have the correct length and type of light strips for your project.
- Power Supply and Controller: These are often included with the light strips but double-check to confirm compatibility.
- Measuring Tape: To accurately measure the area where you’ll install the strips.
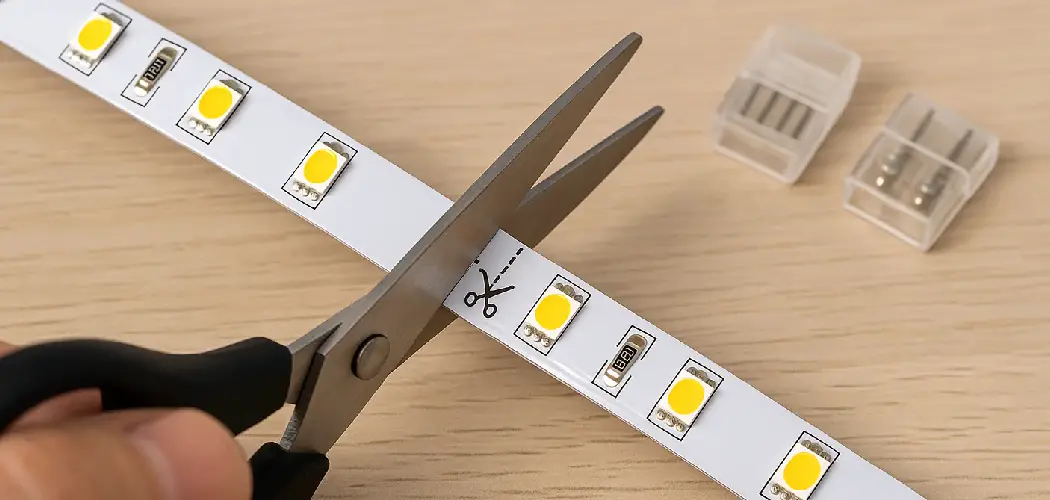
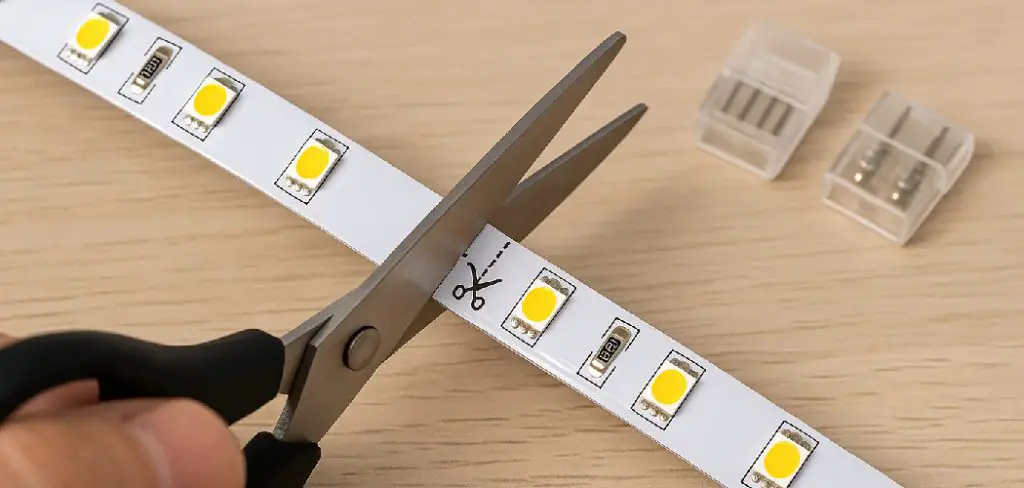
- Scissors or a Utility Knife: For cutting the strips if they are designed to be trimmed.
- Adhesive Clips or Mounting Hardware (if needed): For additional support, especially on uneven or tricky surfaces.
- Cleaning Supplies: A mild cleaner and a lint-free cloth to prepare your surface properly.
- Optional Tools: Screwdrivers, cable ties, or wire connectors, depending on the setup.
Having everything ready before starting will save time and help prevent interruptions during installation.

8 Step-by-Step Guide on How to Restick LED Light Strips
Step 1: Remove the Light Strip
Before you begin any work, the most important first step is to ensure your safety. Unplug the LED light strip from its power source completely. This prevents any risk of electrical shock and allows you to handle the strip without worrying about damaging the delicate electronic components. Once it’s unplugged, carefully and gently peel the entire strip off the surface. Pull slowly to avoid stretching or creasing the strip, which could damage the internal circuitry. If parts of the old adhesive remain on the surface, don’t worry about them for now; we will address that in the next step.
Step 2: Clean Both Surfaces
The primary reason adhesive fails is a dirty surface. You need to clean both the wall or mounting surface and the back of the LED strip itself. For the mounting surface, use a cloth dampened with isopropyl alcohol to wipe away any dust, grease, or grime. Alcohol is ideal because it cleans effectively and evaporates quickly without leaving a residue. Next, take the same cloth and carefully wipe down the back of the LED light strip to remove any leftover adhesive and dirt. A perfectly clean surface is critical for the new adhesive to form a strong bond.
Step 3: Dry Completely
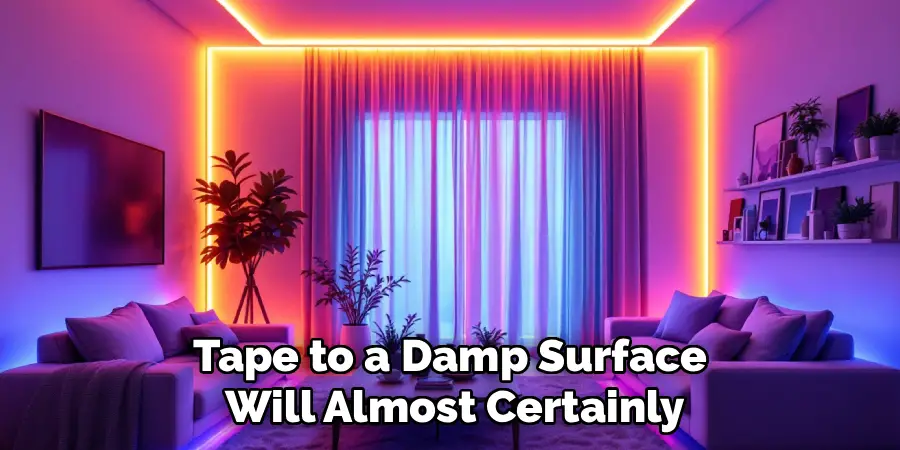
Patience is key at this stage. After cleaning with isopropyl alcohol, you must let both the mounting surface and the back of the LED strip air dry completely. While alcohol evaporates quickly, any remaining moisture can interfere with the new adhesive and prevent it from curing properly. This step should only take a few minutes, but it is a crucial part of the preparation. Rushing this step and applying new tape to a damp surface will almost certainly lead to the same peeling problem you were trying to fix in the first place.
Step 4: High-Quality Double-Sided Tape
The original adhesive on most LED strips is often not strong enough for all surface types. To ensure a permanent fix, you need to upgrade to a better adhesive. The best option is a high-quality, double-sided mounting tape. Look for products specifically designed for this purpose, such as 3M VHB (Very High Bond) tape or a strong acrylic foam tape. These tapes are designed to hold weight, resist temperature changes, and adhere strongly to a variety of surfaces, making them perfect for this application. Ensure the tape is narrow enough to fit on the back of your light strip.
Step 5: Apply the New Adhesive Tape
Once you have your high-quality tape, carefully apply it to the clean, dry back of the LED light strip. Press the tape down firmly along the entire length of the strip to ensure it makes a strong connection. Take your time to apply it straight and avoid creating any wrinkles or bubbles, as these can create weak spots. After the tape is applied, do not peel off the protective backing on the other side just yet. This methodical application ensures that the bond between the strip and the new tape is as strong as possible.
Step 6: Use Mounting Clips for Extra Support
For a truly secure and professional installation, especially on textured or overhead surfaces like ceilings, using mounting clips provides essential mechanical support. These small, often transparent clips are screwed into the wall, and the LED strip simply snaps into place. You can use them in addition to double-sided tape. Place a clip every foot or so along the length of the strip, paying special attention to corners and the ends of the strip, which are the most common failure points. This combination of adhesive and clips creates a robust system that is almost guaranteed not to fail.
Step 7: Reapply the LED Strip
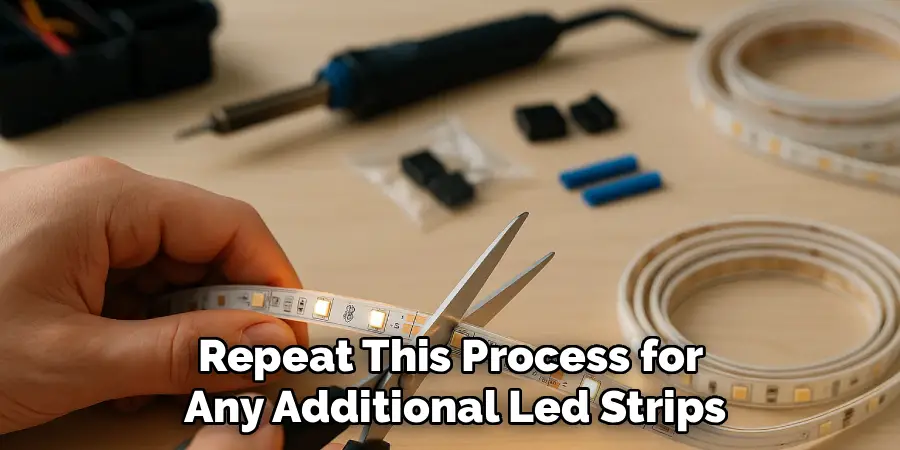
Now it is time to put the strip back in place. Peel the protective backing off the new double-sided tape you applied. Carefully align the LED strip with its intended path on the wall or ceiling. Start at one end and press the strip onto the surface, working your way down the entire length. Apply firm, even pressure for at least 30 seconds along the whole strip. This helps to activate the pressure-sensitive adhesive and create a strong, immediate bond. If you are also using mounting clips, you can now snap the strip into them. Repeat this process for any additional LED strips you need to install.
Step 8: Using Command Strips
Command Strips can be an excellent alternative for mounting LED strips, especially if you prefer a non-permanent solution or are working with surfaces where adhesive might not hold well. Start by selecting Command Strips that are appropriately rated for the weight of the LED strip. Clean the surface thoroughly to remove any dust or grease, ensuring a smooth and secure attachment. Attach the adhesive side of the Command Strips to the back of the LED strip, spacing them evenly along the length of the strip. Then, press the Command Strips firmly onto the surface, holding each one in place for at least 30 seconds. This ensures a solid bond. If adjustments are needed, Command Strips allow for easy removal without damaging the wall or the LED strip.
Install a Mounting Track or Channel
For a more polished and durable installation, consider using a mounting track or channel for your LED strip. Start by measuring the length of the area where the LED strip will be installed and cut the mounting track to the appropriate size if necessary. Secure the mounting track to the desired surface using screws or adhesive, depending on the track’s design and the type of surface. Once the track is in place, carefully insert the LED strip into the channel, ensuring that it lies flat and adheres properly. Using a mounting track not only protects the LED strip but also provides a sleek and professional finish while improving light distribution.
Tips for a Professional and Clean Installation
- Plan out your layout beforehand: Before beginning the installation process, it’s important to have a clear idea of where you want your LED strip lights to go. Measure the length of each strip and determine how much tape or mounting clips you will need. This will help prevent wasting materials or having to make extra trips to the store.
- Use a level: To ensure that your LED strip lights are straight and evenly aligned, use a level as a guide while installing them. This will help create a more professional and polished look once they are turned on.
- Clean the surface: Before applying any adhesive or mounting clips, make sure the surface where you will be installing your LED strip lights is clean and free of dust or debris. This will help ensure a strong bond between the lights and the surface, preventing them from falling off later on.
- Test before permanent installation: Before fully committing to the placement and installation of your LED strip lights, do a test run with temporary adhesive or tape. This will allow you to make any necessary adjustments before making it a permanent fixture in your space.
Frequently Asked Questions
Why Do My LED Light Strips Keep Falling Down?
LED strips often fall for a few common reasons. The factory-applied adhesive may be of low quality, or the surface was not properly cleaned of dust and oils before installation. Textured walls, high humidity, and heat from the lights themselves can also weaken the bond over time. A combination of these factors is usually the culprit.
What Is the Best Adhesive for LED Light Strips?
The best adhesive to use is a high-quality, double-sided acrylic foam tape. Brands like 3M VHB (Very High Bond) are industry standards and offer incredible strength and durability. These tapes create a much stronger and more permanent bond than the thin adhesive that comes standard on most light strips, ensuring your lights stay put.
Can I Use Glue to Restick My LED Lights?
While you might be tempted to use something like super glue or a hot glue gun, it is generally not recommended.
- Super glue can be brittle and can damage the light strip or the wall surface, making future removal impossible without causing damage.
- Hot glue can melt or damage the plastic coating on the LED strip and often doesn’t hold well on all surfaces long-term.
How Can I Make My LED Strips Stick to a Textured Wall?
Textured walls are challenging because the adhesive can only make contact with the high points of the texture. For these surfaces, a combination approach is best. Use a strong double-sided tape, but supplement it heavily with mounting clips. The clips provide the primary mechanical hold, while the tape helps keep the strip flat and secure between the clips.
Is It Necessary to Clean the Surface Before Resticking?
Yes, this is arguably the most important step. No adhesive, no matter how strong, will stick properly to a surface that is covered in dust, dirt, or grease. Wiping the surface down with isopropyl alcohol removes these contaminants and creates a perfectly clean slate for the new adhesive to bond to, dramatically increasing the chances of a successful and long-lasting installation.
Conclusion
A sagging LED light strip doesn’t have to be a permanent frustration. With a little bit of preparation and the right materials, you can easily create a secure installation that lasts. The key to success lies in thoroughly cleaning both the strip and the mounting surface, and then using a superior adhesive like high-quality double-sided tape, supplemented with mounting clips for extra security. By taking these extra steps, you ensure your lights will stay exactly where you want them. Now that you know how to restick led light strips, you can confidently fix any drooping lights and get back to enjoying your perfectly illuminated space.
Rick is a handyman who grew up helping his dad with his business. He learned a lot from him about how to fix things, and also about how to work hard and take care of business. These days, Rick is still into fixing things- only now, he’s doing it for a living.
Rick is always looking for new ways to help people grow and develop. That’s why he started contributing to this blog: to share all his experience and knowledge so that he can help people who are interested in DIY repair.