
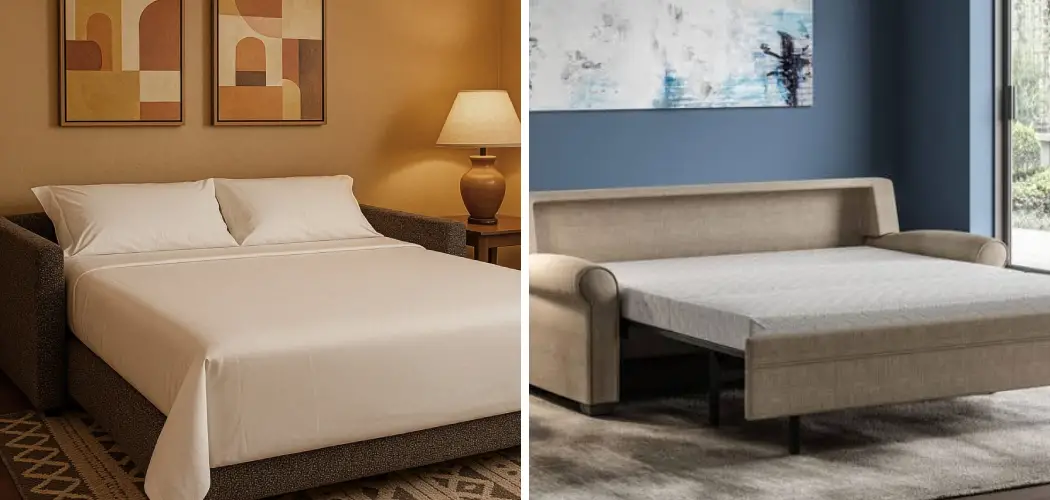
Making up a sofa bed sounds simple until you actually try it. The mattress is thinner than your regular bed, the corners tuck into the frame, and standard sheets seem to slide off the moment you sit down. If you own one of these popular convertible pieces, you already know the struggle.
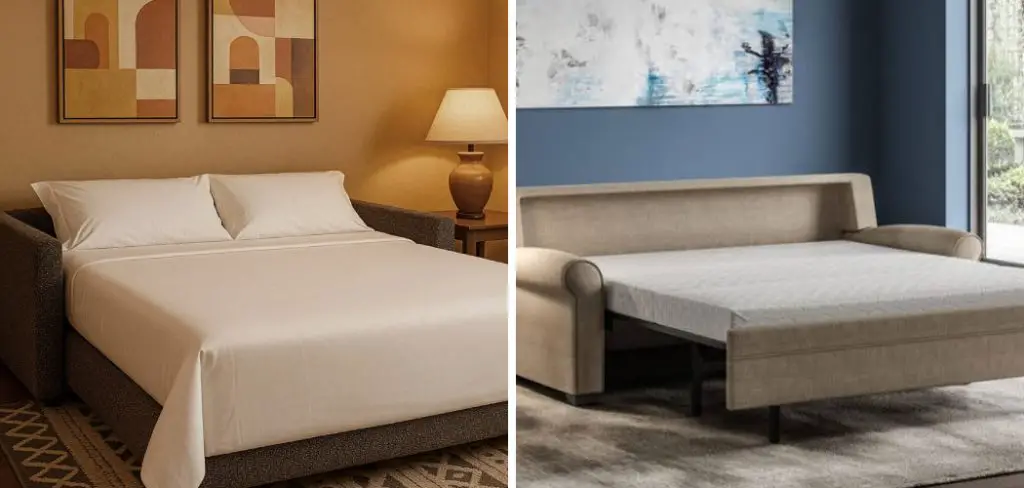
Learning how to put sheets on american leather sleeper sofa the right way turns a frustrating chore into a two-minute task. The trick lies in understanding the unique mattress design and choosing bedding that actually fits. This guide breaks the whole process down into clear, beginner-friendly steps anyone can follow, no matter your experience. We’ll cover why the right method matters, walk through each step in plain language, and answer the questions people ask most. By the time you finish reading, you’ll have the confidence and know-how to give guests a comfortable, neatly made bed every single time. Let’s make your sleeper sofa feel like a real bed.
Why Properly Sheeting Your Sleeper Sofa Matters
Getting the bedding right does more than make things look tidy. A well-fitted sheet keeps the mattress smooth, so your guests aren’t fighting bunched-up fabric all night. That means better sleep and happier visitors. It also protects the mattress itself. Loose or wrong-sized sheets shift around, exposing the surface to spills, sweat, and wear that shorten its life. Because these sofa mattresses are thinner than traditional ones, the wrong approach leaves you constantly re-tucking and adjusting.
A proper fit saves you that hassle. There’s a comfort factor too: a snug, wrinkle-free surface simply feels better. When you master the method once, you’ll repeat it quickly and reliably, turning your sofa into a welcoming guest bed in minutes rather than a wrestling match every time someone stays over.
Step-by-Step Guide to How To Put Sheets On American Leather Sleeper Sofa
Step 1: Gather the Right Bedding First
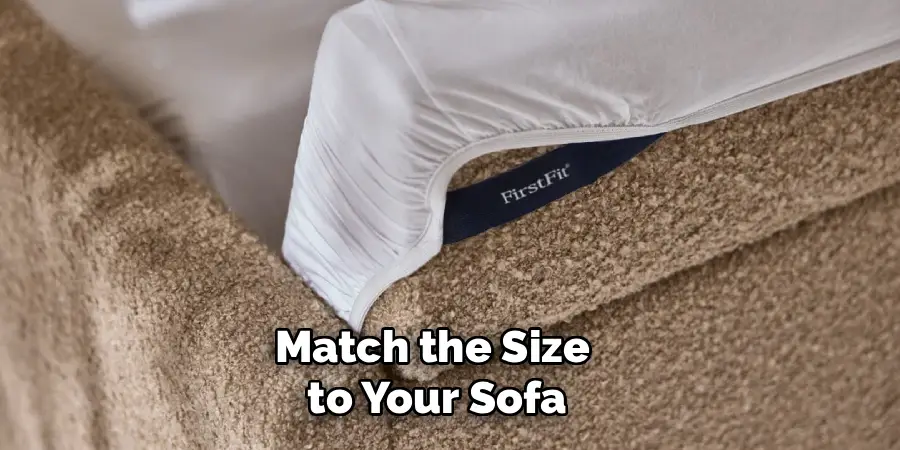
Before you touch the mattress, set yourself up for success by choosing the correct bedding. These sofa mattresses run thinner than regular beds, usually around four to five inches deep, so deep-pocket fitted sheets will gape and slip. Look instead for sheets labeled for sleeper sofas or thin mattresses, or standard sheets with a shallow pocket.
Match the size to your sofa, whether it’s twin, full, queen, or king. Having the right pieces ready saves time and frustration. Lay out your fitted sheet, flat sheet, pillowcases, and a light blanket nearby. With everything within reach, the rest of the process flows smoothly and you avoid mid-task interruptions.
Step 2: Fully Open and Position the Bed
Pull the mattress out completely and lock the frame into its flat sleeping position. Don’t rush this part, since a half-extended frame makes tucking sheets nearly impossible and leaves the bed unstable. Give the metal supports a gentle push to confirm everything sits level and secure.
Once it’s open, take a moment to smooth the bare mattress with your hands. Push out any folds or dips that built up while it was stored inside the sofa. A flat, even surface is the foundation for a neat result. If the mattress feels lumpy or creased, let it breathe for a few minutes so the foam relaxes back into shape before you add any bedding.
Step 3: Anchor the Fitted Sheet at the Back Corners
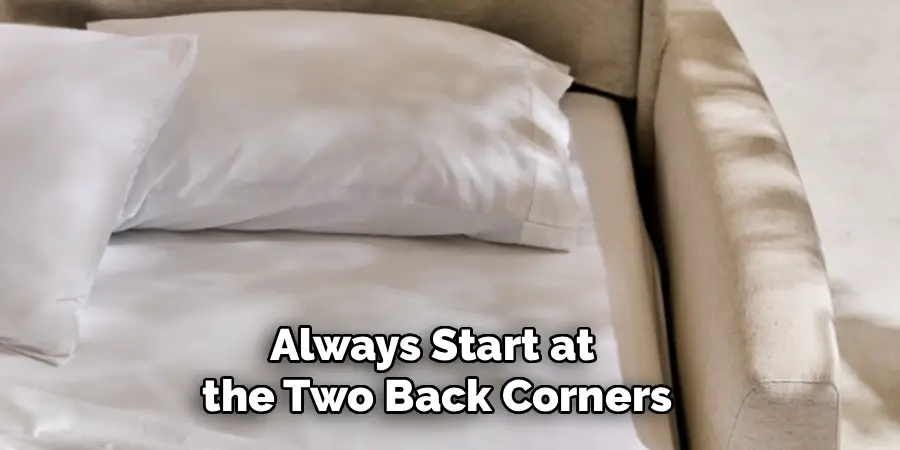
Here’s where knowing how to put sheets on american leather sleeper sofa really pays off. Always start at the two back corners, the ones closest to the sofa frame and hardest to reach. Stretch the fitted sheet over each back corner first, tucking the elastic edge firmly under the mattress.
Reaching these corners last is a common mistake that leaves you struggling and pulling the whole sheet loose. By securing the back first, you give yourself room to work toward the open, accessible front. Press the elastic deep under the foam so it grips the thin mattress. Take your time here, because a solid anchor at the back keeps everything in place as you finish.
Step 4: Secure the Front Corners and Smooth the Surface
With the back corners locked in, move to the front two corners where you have plenty of space to work. Pull the fitted sheet taut and tuck the elastic underneath, stretching gently so the fabric lies flat without straining the seams. The sheet should hug the mattress snugly from edge to edge.
Now run your palms across the entire surface to chase out wrinkles and air pockets. Work from the center outward, smoothing as you go. A flat, drum-tight fit feels far more comfortable and looks polished. If a corner pops loose, simply re-tuck it deeper. This smoothing step makes a noticeable difference in how the finished bed feels to anyone sleeping on it.
Step 5: Add the Flat Sheet and Tuck the Foot
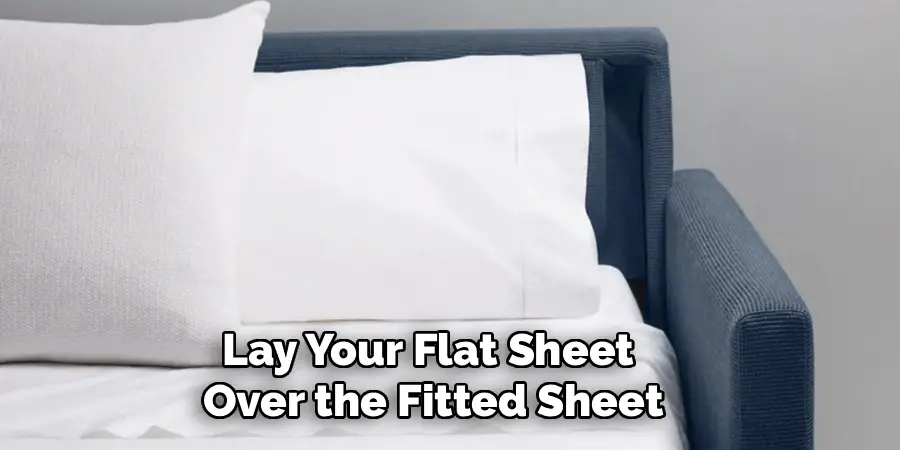
Lay your flat sheet over the fitted sheet, centering it so equal amounts hang off each side. Position the top edge to line up with the head of the mattress, where your guest’s pillows will go. This alignment gives a clean, hotel-style look and leaves enough fabric to fold back later.
Move to the foot of the bed and tuck the bottom edge firmly under the mattress. A classic hospital corner here keeps the sheet from creeping up during the night. You can leave the sides loose for easy entry or tuck them for a tailored finish. Either way, a securely tucked foot keeps everything anchored and tidy throughout the night.
Step 6: Finish With Pillows and a Blanket
Bedding comes together fast once the sheets are set. Slip your pillows into fresh cases and place them at the head of the mattress, against the sofa back for support. Two pillows usually suit a full or queen, while a twin needs just one. Fluff them so they look inviting rather than flat.
Next, drape a light blanket or comforter over the flat sheet, folding the top edge down a few inches for a welcoming touch. Keep the layers light, since sofa mattresses sit lower and heavy bedding can feel bulky. A neat, layered finish signals to your guest that real care went into preparing their space.
Step 7: Do a Final Smooth and Comfort Check
Step back and look at the whole bed with fresh eyes. Once you understand how to put sheets on american leather sleeper sofa, this final pass becomes second nature. Walk around each side, pressing out any last wrinkles and confirming the corners still grip firmly. Sit gently on the edge to test how secure everything feels.
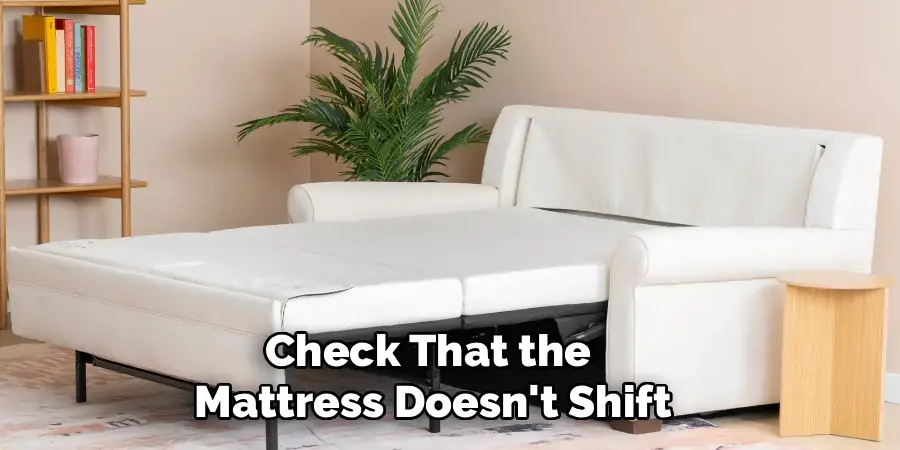
Check that the mattress doesn’t shift and that no sheet bunches under your weight. If something slips, re-tuck it now rather than leaving it for your guest to discover at midnight. This quick comfort check is the difference between a bed that merely looks made and one that truly feels rest-ready. Your effort here guarantees a good night’s sleep.
Frequently Asked Questions
What Size Sheets Fit a Sleeper Sofa Mattress?
Match the sheet size to your sofa’s pull-out size, whether twin, full, queen, or king. The bigger challenge is depth. These mattresses are thinner than standard beds, often four to five inches, so skip deep-pocket sheets that gape and slide. Choose shallow-pocket or sleeper-sofa-specific sheets for a snug fit. When unsure, measure the mattress thickness first and check the packaging before buying.
Why Do My Sheets Keep Slipping Off?
Slipping usually means the fitted sheet’s pocket is too deep for the thin mattress, so the elastic can’t grip. Switching to shallow-pocket sheets solves most cases instantly. You can also add elastic sheet straps or suspenders underneath to hold corners in place. Always anchor the back corners first and tuck the elastic deep under the foam. These small adjustments keep everything secure through the night.
Should I Use a Mattress Pad or Protector?
Yes, a thin mattress pad is a smart addition. It adds a layer of cushioning that makes the firmer sofa mattress noticeably more comfortable for guests. A protector also guards against spills, sweat, and stains, extending the mattress life. Pick a slim, low-profile pad so it doesn’t add bulk or interfere with folding the bed back into the sofa frame afterward.
How Do I Keep the Bed From Feeling Too Firm?
Sofa mattresses run firmer and thinner than regular beds, but you have easy fixes. A quilted mattress pad or a memory foam topper an inch or two thick adds real softness. Just make sure any topper is thin enough to fold away with the mattress. Layering a soft mattress pad under your fitted sheet is the simplest way to boost comfort instantly.
Can I Leave the Sheets On When Folding the Sofa Back?
You can leave a fitted sheet and thin pad on when folding the bed away, which saves setup time for frequent use. Remove bulky blankets, comforters, and pillows first, since these can jam the mechanism or get crushed. Keep the layers minimal and smooth before folding. For long-term storage, though, it’s best to strip and wash the bedding to keep everything fresh.
Conclusion
Setting up a comfortable guest bed doesn’t have to be a struggle. The key takeaways are simple: choose shallow-pocket sheets that match your mattress, fully open the frame, anchor the back corners first, and smooth every layer as you build the bed. Adding a thin pad boosts comfort, and a final once-over guarantees nothing slips overnight.
Each step builds on the last, turning a once-awkward chore into a quick, repeatable routine. Now that you know how to put sheets on american leather sleeper sofa with confidence, you can welcome overnight guests without the usual hassle. Gather your bedding, follow these seven steps, and enjoy the satisfaction of a neat, cozy bed that’s ready in minutes. Your guests will sleep better, your mattress will last longer, and you’ll never dread making up the sofa again. Give it a try before your next visitor arrives.

Rick is a handyman who grew up helping his dad with his business. He learned a lot from him about how to fix things, and also about how to work hard and take care of business. These days, Rick is still into fixing things- only now, he’s doing it for a living.
Rick is always looking for new ways to help people grow and develop. That’s why he started contributing to this blog: to share all his experience and knowledge so that he can help people who are interested in DIY repair.