
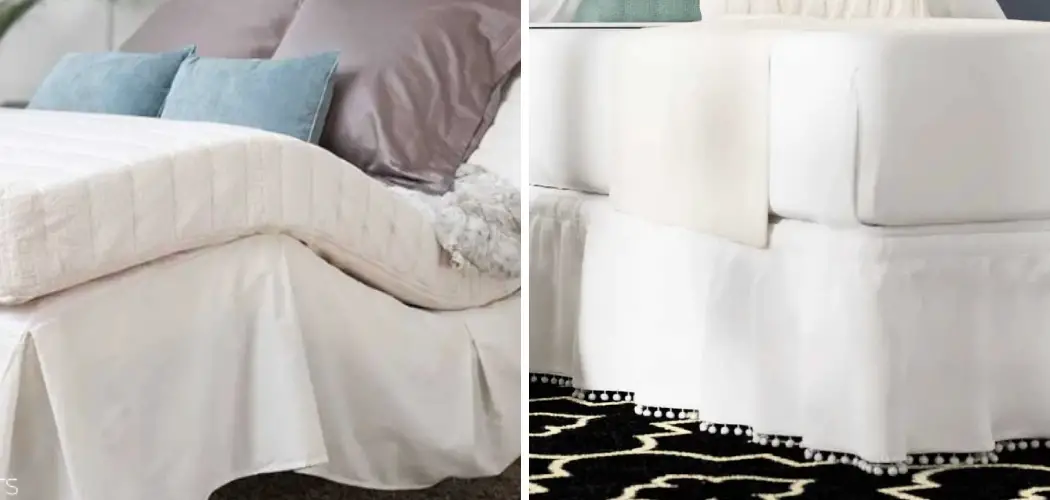
Adjustable beds bring comfort and flexibility to your bedroom, but they often leave an awkward gap underneath where the frame, motor, and metal legs sit exposed. A bed skirt solves that problem instantly, hiding the mechanical bits while adding a polished, finished look to your space. The tricky part? Store-bought skirts rarely fit adjustable bases, since these beds shift position and need extra clearance. That’s why learning how to make a bed skirt for an adjustable bed is such a handy skill. You get a custom fit that moves with your bed, matches your decor, and costs far less than special-order options.
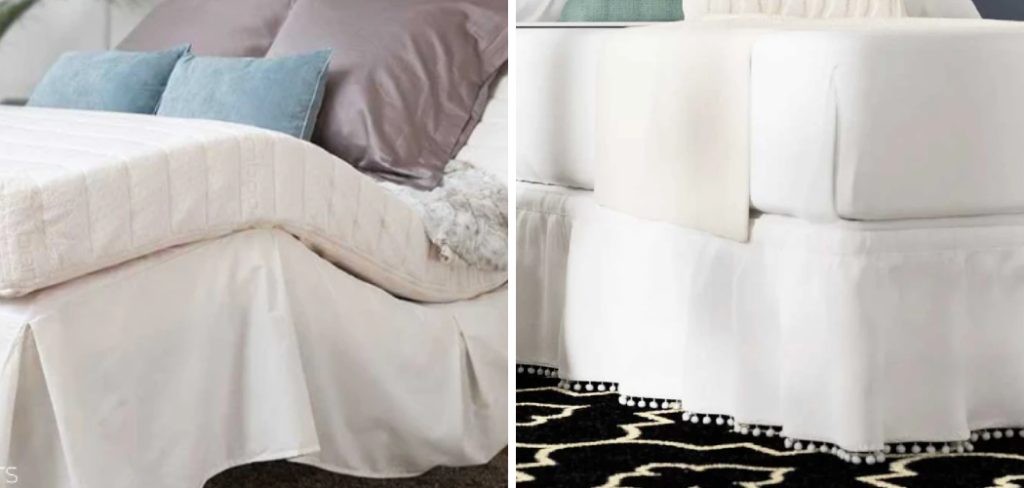
Don’t worry if you’ve never sewn before. This guide breaks the project into simple, manageable steps anyone can follow. We’ll walk through measuring, choosing fabric, cutting, and attaching your skirt so it stays put even when the bed reclines or raises. By the end, you’ll have a tailored, professional-looking result and the confidence to tackle similar projects. Grab your measuring tape, and let’s turn that exposed frame into a clean, cozy feature you’ll love showing off.
Why Making a Bed Skirt for an Adjustable Bed Matters
A well-made bed skirt does more than look pretty. It hides the motor, cords, and metal supports that adjustable bases rely on, giving your room a tidy, intentional feel. It also creates hidden storage space underneath, perfect for tucking away seasonal items out of sight.
Beyond looks, a custom skirt protects against dust buildup around the mechanical parts, which can extend the life of your base. Because adjustable beds raise and lower, a standard skirt often bunches, slips, or gets caught in the motor. A piece you make yourself accounts for that movement, so it stays neat through every position change. The result is a comfortable, clean bedroom that works with your bed instead of against it, all while saving you money on pricey custom orders.
Step-by-Step Guide to How To Make a Bed Skirt for an Adjustable Bed
Step 1: Measure Your Bed Carefully
Accurate measurements are the foundation of any good skirt, so take your time here. Start by measuring the length and width of the base platform, then measure the drop, which is the distance from the top of the base to the floor. Write each number down clearly.
Because your bed adjusts, measure the drop while the base sits in its flat, lowest position. This gives you the longest drop you’ll need. Then measure again when raised, noting how the clearance changes. Knowing both numbers helps you plan a skirt that won’t drag or snag. Double-check every figure, since even a small error can throw off the final fit.

Step 2: Choose the Right Fabric
Fabric choice shapes both the look and function of your finished skirt. Pick something durable yet flexible, like cotton blends, microfiber, or polyester. These hold their shape, resist wrinkles, and handle the constant movement of an adjustable base without tearing or stretching out.
Think about color and texture too, matching the fabric to your bedding and room style for a cohesive feel. Lighter fabrics drape softly and move easily, while heavier ones offer a more structured, tailored appearance. If you want hidden storage underneath, choose a breathable material so trapped air doesn’t lead to musty odors. Buy a little extra fabric beyond your measurements to allow room for hems and any mistakes.
Step 3: Calculate and Cut Your Panels
With measurements in hand, it’s time to plan your cuts. Most skirts use three panels: two for the long sides and one for the foot. Add a few inches to each panel’s length for side hems and an inch or two at the top for attaching. For the drop, add about two inches for the bottom hem.
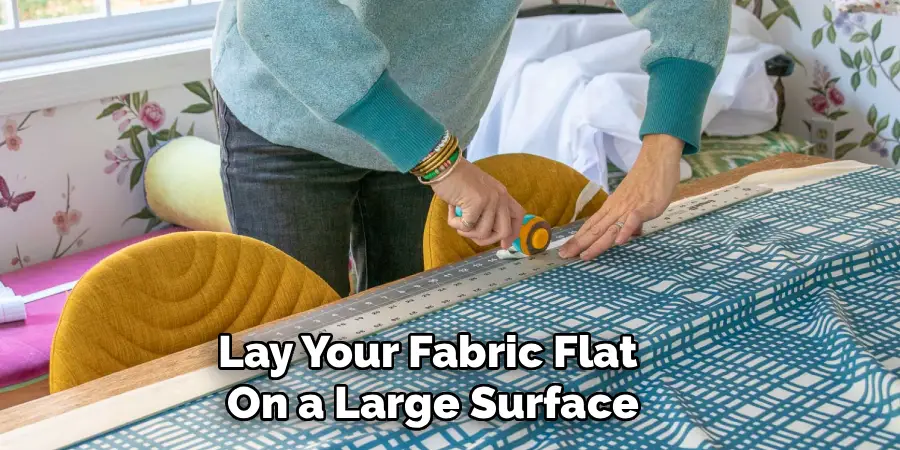
Lay your fabric flat on a large surface and mark your lines with tailor’s chalk before cutting. Use sharp fabric scissors or a rotary cutter for clean, straight edges. Cutting accurately now makes sewing far smoother later. Take a breath, measure twice, and cut once to avoid wasting material.
Step 4: Hem the Edges for a Clean Finish
Hemming gives your panels a tidy, professional edge and prevents fraying over time. Start with the bottom of each panel, folding the fabric up about an inch, pressing it flat with an iron, then folding again to hide the raw edge. Pin it in place before sewing a straight line along the fold.
Repeat this process on the side edges of each panel. Pressing as you go makes a noticeable difference, keeping your lines crisp and your fabric flat. If you’re new to sewing, practice on a scrap piece first to get comfortable with your machine’s tension and stitch length. Neat hems are what separate a homemade look from a truly polished one.
Step 5: Attach the Skirt to a Fitted Base
Rather than sewing directly to your mattress, the easiest way to make a bed skirt for an adjustable bed is to attach your panels to a separate piece of fabric or an old fitted sheet that wraps the base platform. Lay the sheet over the base and mark where each panel should sit along the edges.
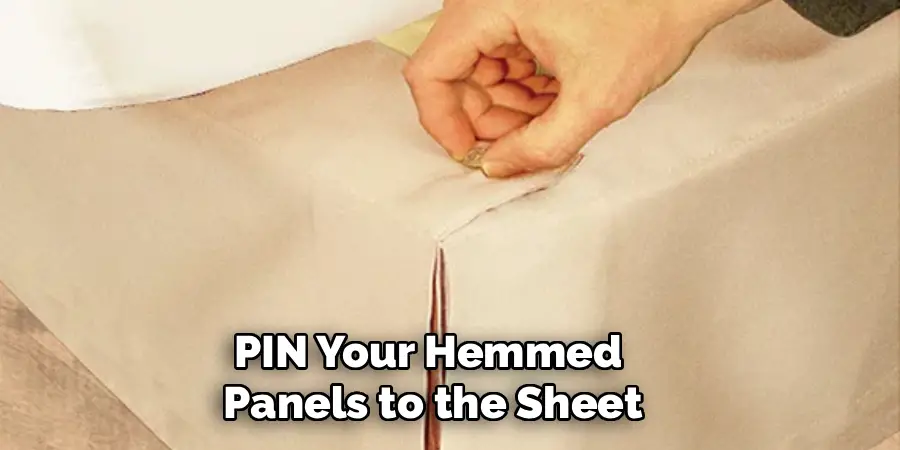
Pin your hemmed panels to the sheet, lining up the tops neatly along your marked lines. Sew them in place with a strong, straight stitch. This method keeps the skirt anchored to the base itself, so it moves with the bed and won’t shift when you change positions. It’s a beginner-friendly trick that delivers a secure, lasting fit.
Step 6: Add Adjustable Fasteners for Movement
Since your base reclines and rises, your skirt needs a little flexibility to move without bunching. Hook-and-loop strips, snaps, or elastic bands work beautifully here. Attach one side of the fastener to the skirt and the other to the base or fitted sheet, spacing them evenly along each panel.
These fasteners let the skirt give slightly as the bed shifts, then settle back into place once it’s still. Knowing how to make a bed skirt for an adjustable bed that handles motion is what sets your project apart from a basic, static skirt. Test the movement by raising and lowering the bed a few times, adjusting fastener placement until everything stays smooth and snag-free.
Step 7: Install and Make Final Adjustments
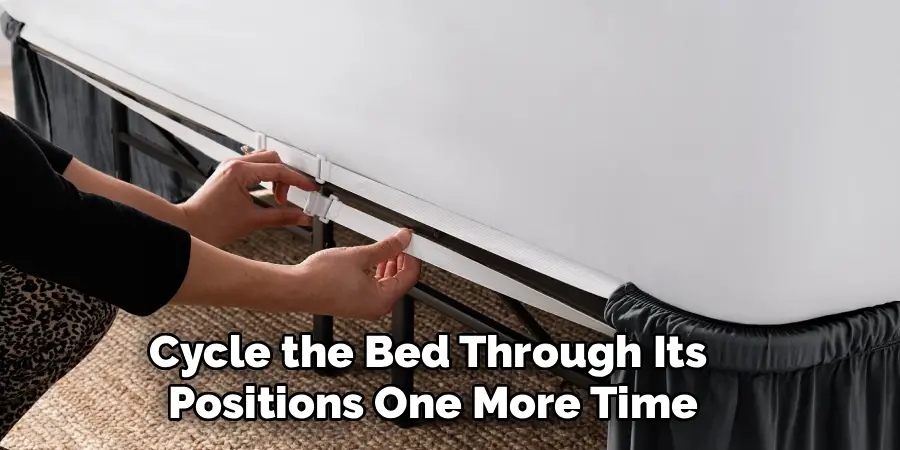
Now comes the satisfying part: putting it all together. Slip the fitted sheet with attached panels over your base, smoothing the fabric so the skirt hangs evenly on all sides. Step back and check that the drop reaches the floor neatly without pooling or dragging.
Cycle the bed through its positions one more time, watching how the skirt behaves. If a panel rides up or catches, adjust your fasteners or trim a little length as needed. Iron out any wrinkles for that crisp, store-bought finish. Once you’re happy, replace your mattress and bedding. Take a moment to admire your work, because you’ve just created a custom piece tailored perfectly to your bed.
Frequently Asked Questions
Do I Need Sewing Experience to Make a Bed Skirt?
Not at all. This project is beginner-friendly and uses basic straight stitches you can learn quickly. If you can thread a machine and sew a hem, you’re ready. For those who prefer no sewing, fabric glue and hook-and-loop strips offer a no-stitch alternative. Practicing on scrap fabric first builds confidence, and you’ll find the process forgiving and easy to adjust as you go.
What Type of Fabric Works Best?
Durable, flexible fabrics like cotton blends, microfiber, and polyester perform best. They resist wrinkles, hold their shape, and handle the constant motion of an adjustable base without stretching out. Choose a color and texture that complements your bedding for a cohesive look. If you plan to store items underneath, pick a breathable material so air can circulate and prevent any musty smells from developing over time.
How Do I Keep the Skirt From Moving When the Bed Adjusts?
The secret is attaching your skirt to the base rather than the mattress, then using adjustable fasteners like snaps, elastic, or hook-and-loop strips. These let the fabric flex as the bed reclines and rises, settling back into place once it stops. Test the movement several times and reposition the fasteners until the skirt stays smooth through every adjustment without bunching or snagging.
How Much Fabric Should I Buy?
Measure your bed’s length, width, and drop, then add a few extra inches per panel for hems and attachment. As a safe rule, buy about one to two yards more than your calculations suggest. This cushion covers mistakes, shrinkage, and adjustments. Having extra fabric on hand is far better than running short midway through the project and struggling to match the exact color or pattern later.
Can I Wash the Bed Skirt After Making It?
Yes, and that’s one big advantage of making your own. Choose machine-washable fabric from the start, and avoid permanent attachments so you can remove the skirt easily. If you used a fitted sheet base, simply unfasten the panels or wash the whole piece together if the fasteners allow. Always check your fabric’s care instructions and wash on a gentle cycle to keep colors vibrant and seams intact.
Conclusion
Transforming the exposed frame of your adjustable base into a clean, finished feature is easier than it looks. The key steps are measuring carefully, choosing flexible fabric, hemming neatly, anchoring the panels to the base, and adding fasteners that move with the bed. Each part builds on the last, turning a simple set of fabric panels into a custom skirt that fits perfectly and stays put through every position change.
Now that you know how to make a bed skirt for an adjustable bed, you have everything you need to refresh your bedroom on a budget. Gather your measuring tape, fabric, and a little patience, then set aside an afternoon to bring your vision to life. The result is a polished, tailored look that store-bought options simply can’t match. Give it a try, and enjoy the satisfaction of a project you made entirely your own.

Rick is a handyman who grew up helping his dad with his business. He learned a lot from him about how to fix things, and also about how to work hard and take care of business. These days, Rick is still into fixing things- only now, he’s doing it for a living.
Rick is always looking for new ways to help people grow and develop. That’s why he started contributing to this blog: to share all his experience and knowledge so that he can help people who are interested in DIY repair.