
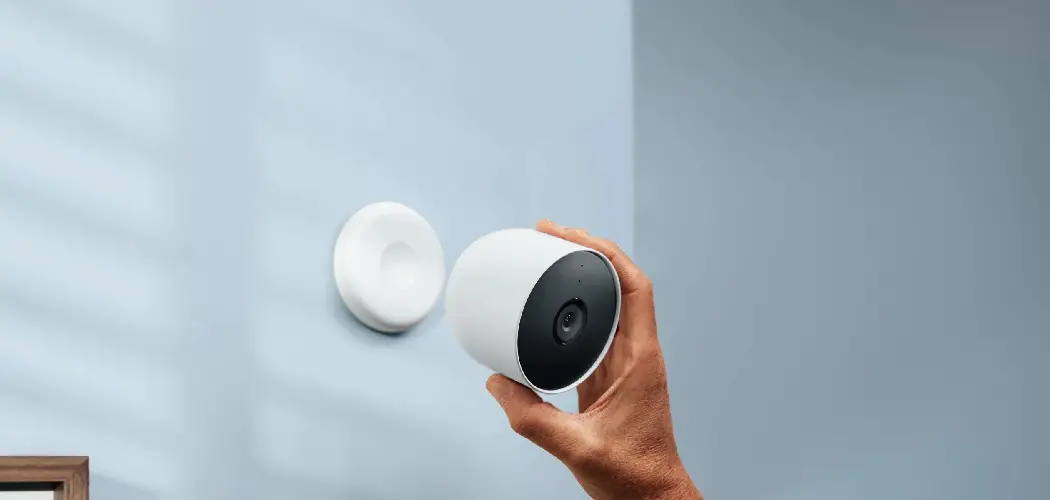
There are many ways to mount security cameras without drilling. You can use screws, nails, adhesive tapes, or brackets. Each method has its advantages and disadvantages.
This article will discuss the different methods of mounting security cameras without drilling. We will also suggest some tips to help you choose the best method for your needs. So keep reading to learn more about how to mount security camera without drilling.

Why Should You Mount Security Camera without Drilling?
Home security is a top priority for many homeowners. One of the best ways to deter burglars and keep your home safe is installing security cameras. However, some people shy away from security cameras because they don’t want to drill holes in their walls.
Mounting security cameras without drilling is quite easy, and there are several different methods that can be used. For example, you can use Command strips or adhesive tape to attach your camera to a wall or surface.
You can also purchase special mounts that don’t require drilling. Whatever method you choose, mounting your security cameras without drilling is a quick and easy way to improve the safety of your home.
Things You’ll Need
To mount a security camera without drilling, you will need the following materials:
- Security Camera
- Tape measure
- Pencil
- Paint roller or paintbrush
- Ruler or a straight edge
- Level
- Hammer
- Paint scraper
How to Mount Security Camera Without Drilling Step by Step Guide
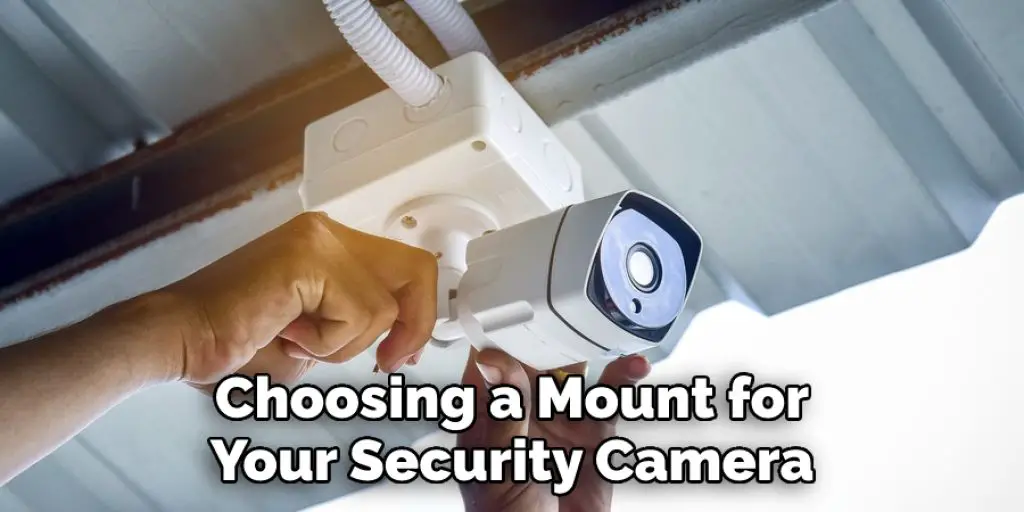
Step 1: Choose Your Mount
You have several options for choosing a mount for your security camera. The most popular option is the recessed mount, which allows you to place your camera in a hole in the wall. This is a great option if you don’t want to drill any holes.
Step 2: Select Your Location
The next step is to determine where you want your security camera to be located. Once you have found the perfect spot, use a level to ensure the area is level before proceeding. If the area is not level, you may need to use shims to even it out.
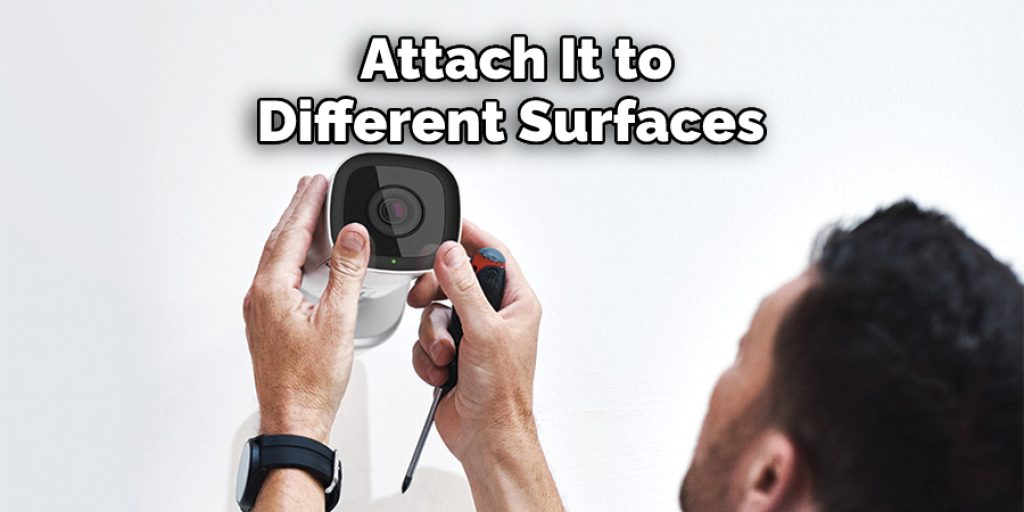
Step 3: Place Your Camera
Now that you have selected the perfect location and made sure it is level, it is time to place your camera. Take your drill and make a pilot hole in the center of the area where you want your camera to be located.
Next, take your security camera and insert the screws that came with it into the pilot holes. Screw the camera into place until it is snug. Be careful not to over-tighten the screws, as this could damage your camera.
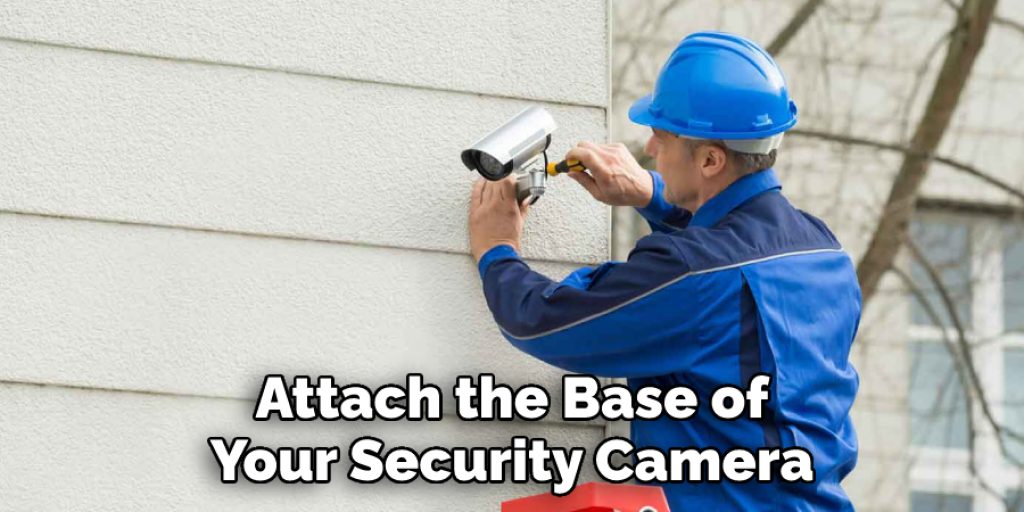
Step 4: Attach the Camera Base
The next step is to attach the base of your security camera. This is usually done by screwing the base onto the camera using the screws that came with it. Once the base is attached, you can proceed to the next step.
Step 5: Place the Power Supply Box
The next step is to find a suitable location for your power supply box. This box will need to be close to an outlet so that you can plug it in. Once you have found the perfect spot, use a drill to make a pilot hole in the center of the area where you want your power supply box to be located.
Step 6: Connect the Camera to the Power Supply
The next step is to connect your camera to the power supply. This is usually done by running a power cable from the power supply box to the camera. Once the power cable is connected, you can plug the power supply into an outlet and turn it on.
Step 7: Check Connection
Now that your security camera is installed, it’s time to check the connection. First, make sure that your camera is connected to the monitor or recording device. Also, check the power source to ensure that the camera receives enough power. If everything looks good, you should be able to see a live feed from your camera.
Step 8: Test Your Camera Angle
Now that your camera is up and running, it’s time to test the angle. First, make sure that the camera is angled correctly to capture a clear image. If you need to adjust the angle, loosen the screws and rotate the camera until it’s in a perfect position.
Step 9: Enjoy Your New Security Camera!
You’ve successfully installed your new security camera! Now you can relax knowing that your home is safe and secure. Thanks to your new camera, you’ll be able to keep an eye on things even when you’re not there. Enjoy your peace of mind!
Now that you know how to mount security camera without drilling, you can feel safe and secure knowing that your home is protected.
Some Other Ways to Mount Security Camera Without Screws
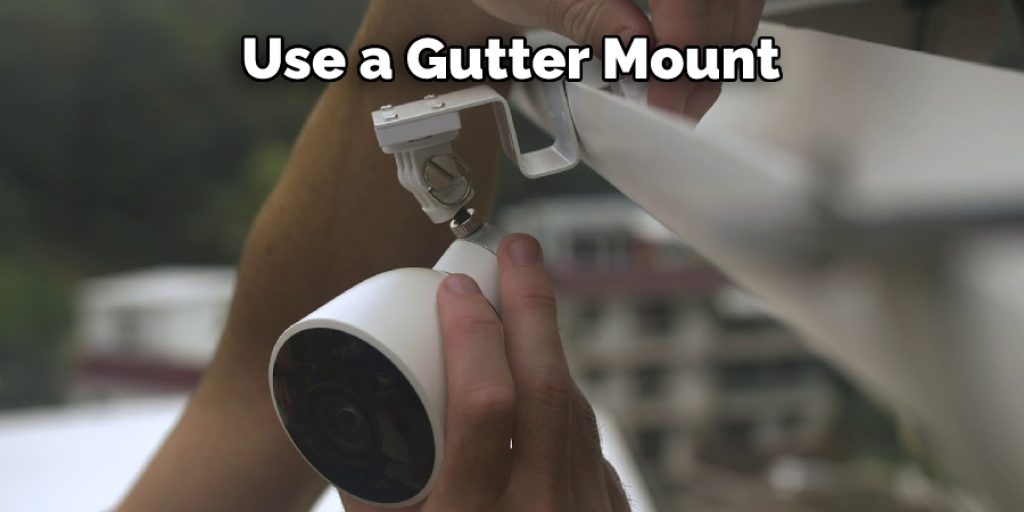
1. Gutters Mount
You can also use a gutter mount to fix the security camera. This mount is L-shaped and gets fitted in your home’s rain gutters. It provides good support to the camera and keeps it in place.
2. Eaves Mount
An eaves mount another good option to mount your security camera without creating holes. It is a U-shaped bracket that gets installed under the eaves of your roof. This mount is quite sturdy and can hold the camera in place even during strong winds.
3. Soffit Mount
A soffit mount is similar to an eaves mount and is also used to fix the camera under the roof’s eaves. But, this mount is not as sturdy as an eaves mount and can come loose during strong winds.
4. Wall Mount
If you want a more permanent solution, you can use a wall mount to fix your security camera. This involves drilling holes in the wall and using screws to fix the camera. But, make sure you use the right type of screws so that they can hold the camera securely.
5. Magnetic Mount
If you don’t want to drill holes or use any screws, you can opt for a magnetic mount. This is a small magnet that gets attached to the security camera. It can then be attached to any metal surface. But, make sure the surface is strong enough to hold the camera in place.
6. Window Mount
You can also use a window mount to fix your security camera. This mount gets attached to the window using suction cups. It is a good option if you don’t want to drill holes in the wall.
7. Tripod Mount
If you want a temporary solution, you can use a tripod mount. This is a good option if you often need to move the camera around. You can set up the tripod and place the camera on it. Keep reading for more information about how to mount security camera without drilling.
You Can Check It Out to Mount Tv on Concrete Wall Without Drilling
Some Other Consideration Things
- Determine the best place to mount your security camera. Keep in mind things like how tall the person you want to capture is and how much light is available in the area.
- If you are going to be using an outdoor security camera, make sure that it is weatherproof
- To keep your home safe, it is important to have a good security system. A security camera is a great way to deter burglars and keep an eye on your property. However, installing a security camera can be tricky, especially if you don’t want to drill holes in your walls.
How Do You Mount an Outdoor Camera without Screws?
There are a few different ways to mount an outdoor camera without screws. One option is to use adhesive strips. This can be a good option if you don’t want to damage the surface on that you’re mounting the camera.
Another option is to use zip ties. This is a more permanent solution, but it will allow you to quickly and easily remove the camera if necessary. Finally, you could also use magnets. This is probably the most versatile option, as you can easily move the camera around and attach it to different surfaces.
Whichever method you choose, make sure that the camera is secure and won’t be blown away or knocked down by animals or weather conditions.
How Do You Mount a Camera on A Concrete Wall?
You will need screws, washers, wall plugs, a hammer, a drill, and a spirit level. camera mounting bracket of your choice
- Start by finding the studs in your concrete wall using a stud finder. If possible, use 2-3 screws for stability.
- Mark the spots where you will be drilling with a pencil.
- Drill into the concrete using a masonry bit. Be sure to use gloves and eye protection while doing this!
- Thread the wall plugs into the holes you just drilled.
- Attach your camera mounting bracket to the wall plugs using screws and washers.
- Hang your camera on the bracket and use the spirit level to ensure it is level.
- Tighten the screws to secure the camera in place.
There are a few different ways to mount a security camera without drilling holes, including using adhesive mounts, magnetic mounts, and wire management systems.
You Can Check it Out to Destroy a Security Camera
Concluding
So there you have it. With a few simple tools and some ingenuity, you can mount your security camera without drilling holes. If you’re still not sure how to do it, or if you run into any problems, feel free to reach out to us for help. Thanks for reading our post about how to mount security camera without drilling.
Michael has always been interested in security and safety. When he was younger, he loved reading books about espionage and crime. This led him to develop a fascination with surveillance systems and home security systems.
He has 8 years of expertise installing, fixing camera problems and door locks. He also gained knowledge by helping homeowners to stay safe and secure in their homes.
Over the years, Michael has gained a great deal of experience in this field. He is responsible for the content development on this blog.