
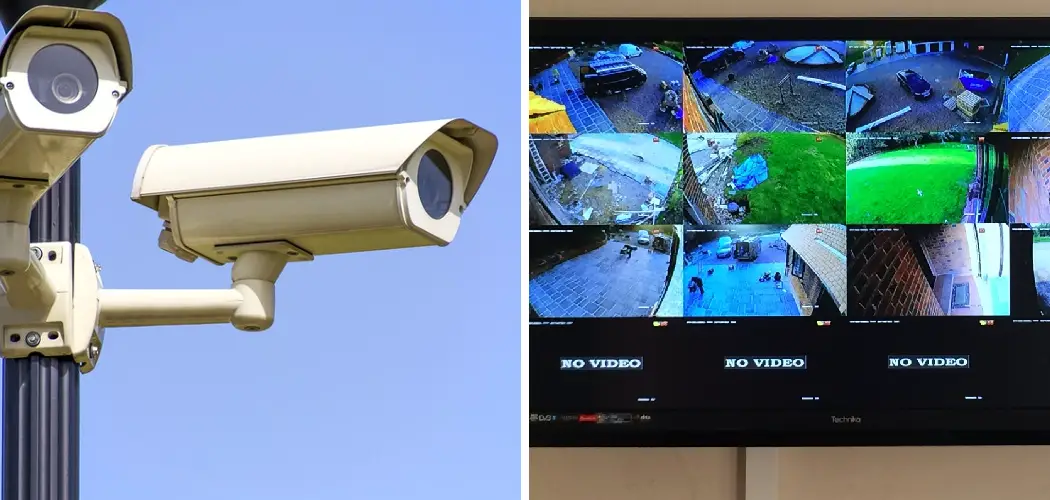
Are you considering deleting footage from your security cameras? Whether you’re worried about privacy or want to clean up your hard drive, deleting footage is simple. In this article, we’ll walk you through how to delete security camera footage on both Windows and Mac computers. Remember that it’s gone forever once you delete footage, so be sure that you want to erase it!

Security camera footage can take up a lot of space on your hard drive, especially if you have multiple cameras or record for long periods. If you’re running out of storage, deleting older footage is a quick way to free up some space. You may also want to delete footage for privacy reasons – for example, if you have a camera pointed at your front door, you may not want strangers snooping through your recordings.
Is It Possible to Delete Cctv Footage Recording?
Many businesses and homeowners rely on CCTV footage to help with security to liability claims. However, some people are concerned about their footage being accessed and used without their permission. So, is it possible to delete CCTV footage? And if so, how do you go about doing it?
Fortunately, it is possible to delete CCTV footage. Most CCTV systems will allow you to erase individual recordings or even entire days of footage. This can be useful if you need to free up storage space on your system or if you want to ensure that sensitive footage is not accidentally accessed by someone who should not see it.
In most cases, deleting CCTV footage is a simple process that only takes a few minutes. However, it is essential to note that it cannot be recovered once the footage is deleted. This means you should only delete CCTV footage that you are sure you do not need.
Can Hacking Delete Surveillance Recordings?
There’s no doubt that hacking can be a severe problem for businesses and individuals alike. But can it also delete or tamper with surveillance recordings?
It’s possible, but it’s not necessarily easy. To delete or tamper with footage, a hacker would need access to the security camera system itself. Once they have access, they can delete or modify footage.
Of course, this is just one possible way that hackers could target security cameras. They could also try to disable the cameras or steal the recordings directly from the security company’s servers.
Either way, it’s essential to be aware of the risks and take steps to protect your system. This includes keeping your software and firmware up to date, using strong passwords, and encrypting your recordings.
If you think your system has been hacked, contact your security company or the police right away.
Hacking into a security camera system can allow deleting or modifying footage, disabling cameras, or stealing recordings – but taking steps to protect your system can help reduce the risk. Keep your software and firmware up to date, use strong passwords, and encrypt your recordings to help keep your system safe from hackers.
A Detailed Guide on How to Delete Security Camera Footage
Method 1: Deleting From Windows PC
If you have your security camera footage saved on a Windows PC, you can delete it by following these steps:
- Open the folder where your footage is saved. This will typically be in the “My Videos” or “My Documents” folder.
- Select the footage you want to delete. You can do this by clicking and dragging your mouse over the files or holding down the “Ctrl” key and clicking on each file individually.
- Press the “Delete” key on your keyboard. This will send the selected files to your computer’s Recycle Bin.
- Empty the Recycle Bin. Once you’re sure you don’t need the deleted footage, open the Recycle Bin and click on the “Empty Recycle Bin” icon. This will permanently delete the files from your computer.
Here’s how to use CCleaner to delete your security camera footage:
Step 1: Install CCleaner on your computer.
The second way to delete your security footage is to use a program that will automatically delete the files for you. Again, many different programs are available that can do this, but we recommend using CCleaner. CCleaner is a free program that can be found from the internet. Once you have get and installed CCleaner, run the program and select the option to delete all files in the selected folder.
Step 2: Select the folder that contains your security footage.
Once CCleaner is open, you will need to select the folder that contains your security footage. To do this, click on the “Select Folder” button and then browse to the location of your footage. Once you have selected the correct folder, click on the “OK” button.
Step 3: Delete the files.
Once you have selected the folder that contains your security footage, click on the “Delete Files” button, and CCleaner will delete all of the files in that folder. You can then close CCleaner, and your footage will be gone.

Method 2: Delete Security Camera footage From Mac
If you’re using a Mac, you can delete your security camera footage by following these steps:
- 1Go to the “Applications” folder and open the “Utilities” folder.
- Double-click on the “Disk Utility” application.
- Select your security camera’s the hard drive from the list of devices on the left side of the window.
- Click on the “Erase” tab.
- Choose the “Mac OS Extended (Journaled)” format from the drop-down menu.
- Click on the “Erase” button.
- Enter your password when prompted and click on the “Erase Disk” button.
- Quit the Disk Utility application.
Your security camera’s hard drive will now be erased, and you will no longer have any footage stored on it.
Method 3: Delete Security Camera Footage From DVR/NVR
Deleting security camera footage from your DVR or NVR is a simple process. Most DVRs and NVRs will have a menu that you can access to delete old or unnecessary footage. The steps to deleting footage will vary depending on the make and model of your recorder, so be sure to consult your user manual for specific instructions. In general, though, the process is as follows:
- Access the menu on your DVR or NVR. This can usually be done by pressing a button on the front of the unit or through a web interface using remote viewing.
- Locate the “delete” or “erase” function in the menu. Again, this may be called something different depending on your recorder.
- Select the footage you wish to delete. This is usually done by highlighting a date or period.
- Press the “delete” button to erase the selected footage.
And that’s all there is to it! Once you have deleted the footage you no longer need, it will be gone for good and cannot be recovered.
Method 4: Delete Security Camera Footage From Sd Card
If your security camera footage is stored on an SD card, then you can delete it by following these steps:
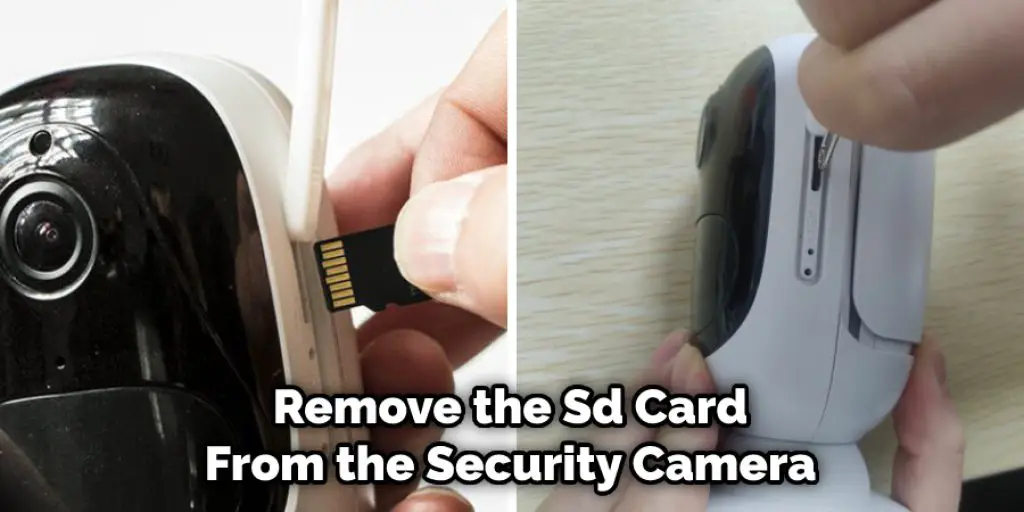
- Remove the SD card from the security camera.
- Plug the SD card into your computer using an SD card reader.
- Open the SD card drive on your computer and locate the footage you want to delete.
- Select the footage and press the “Delete” key on your keyboard to delete it.
- Eject the SD card from your computer and reinsert it into the security camera.
Method 5: Delete Security Camera Footage Remotely
If your security camera is connected to the internet, you can delete its footage remotely. You will need to access the camera’s web interface to do this.
- Open a web browser and type the IP address of your security camera into the address bar.
- Press the “Enter” key to open the camera’s web interface.
- Login with your username and password.
- Click on the “Recordings” or “Footage” tab.
- Locate the footage you want to delete and click on the “Delete” button.
- Confirm that you want to delete the selected footage by clicking on the “OK” button.
You can also use a mobile app to delete security camera footage. Most security camera manufacturers offer apps that allow you to view and delete footage from your camera. To find out if your security camera has an app, check the manufacturer’s website or the app store for your device.
Is It Possible to Recover One Day Cctv Footage?
CCTV footage can be a valuable tool in investigating crime and keeping people safe. However, the footage is only helpful if it can be accessed and reviewed.
Most CCTV systems have a built-in storage system, such as a hard drive, which saves the footage recorded by the cameras. The length of time that the footage can be stored depends on the capacity of the storage system and the settings that have been configured.
For example, some systems overwrite older footage after a certain amount of time has passed, so it would not be possible to retrieve footage from more than a few days ago. However, other systems are designed to save footage indefinitely, which means it would be possible to retrieve footage from much further back.
If you need to retrieve CCTV footage from a previous day, the first step is to check the storage system and see if the footage has been overwritten. If the footage is still available, you can export it to a USB drive or other storage device. However, if the footage has been overwritten, it is impossible to recover it.
Conclusion
If you have footage that you need to delete for any reason, follow these simple steps to erase it from your security camera. This process will ensure that the footage is permanently deleted and can never be recovered. We hope you find this article on how to delete security camera footage helpful.
You May Also Read: How to Mount Security Camera without Drilling
Michael has always been interested in security and safety. When he was younger, he loved reading books about espionage and crime. This led him to develop a fascination with surveillance systems and home security systems.
He has 8 years of expertise installing, fixing camera problems and door locks. He also gained knowledge by helping homeowners to stay safe and secure in their homes.
Over the years, Michael has gained a great deal of experience in this field. He is responsible for the content development on this blog.