
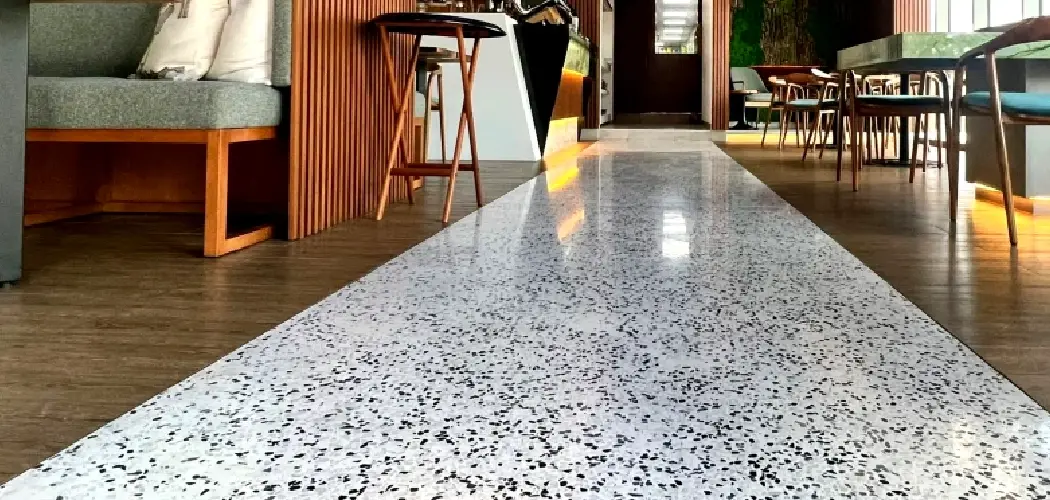
Terrazzo flooring, known for its durability and aesthetic appeal, has a rich history dating back to 16th-century Italy. Originally developed by Venetian workers as a cost-effective flooring solution, terrazzo has become popular for commercial and residential spaces. The unique charm of terrazzo floors lies in their customizable nature—allowing a myriad of design options by incorporating different colors and aggregates, such as marble, quartz, or glass chips.
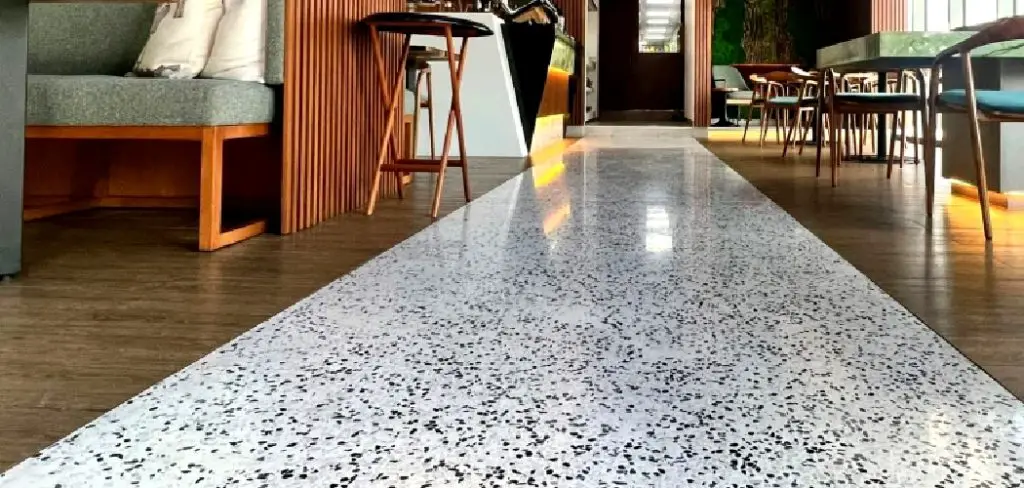
Apart from its visual diversity, terrazzo is celebrated for its longevity and low maintenance, often lasting decades with minimal upkeep. Creating a terrazzo floor involves a creative and technical process, where various materials are mixed with a binder and polished to achieve a smooth finish. To learn how to make terrazzo floor, one must be familiar with the right set of tools and understand the materials involved, which are essential to transform any space with this timeless flooring option.
Materials and Tools Needed
Creating a beautiful terrazzo floor involves carefully selecting materials and tools, ensuring the final product’s aesthetic appeal and structural integrity. Understanding each component’s role will guide you through making a durable and visually pleasing terrazzo floor.
Essential Materials
Aggregates: The choice of aggregates is crucial as they contribute to the unique pattern and texture of the terrazzo floor. Commonly used materials include marble chips, which offer a classic and elegant appearance; glass, which can add a modern, colorful touch; and natural stone, which introduces a variety of hues and textures. Other decorative aggregates may also be used to customize the floor’s appearance, enabling infinite design possibilities.
Cement or Resin: The binding agent acts as the adhesive that holds the aggregates in place. Traditional terrazzo utilizes cement, providing a robust and timeless finish. Alternatively, epoxy resin is a modern option, offering a seamless, flexible application that can accommodate a broader range of colors and styles. Choosing between cement and resin depends on the specific needs of your project, such as the desired aesthetic, the environment where it will be installed, and budget considerations.
Color Pigments: Pigments can be added to the cement or resin mix to enhance or completely transform the color of the terrazzo. This is particularly advantageous when aiming to complement or contrast with the surrounding décor. Whether using natural earth tones or vibrant shades, pigments expand the creative possibilities, allowing for a personalized floor design.

Tools Required
Concrete Mixer or Mixing Bucket: A concrete mixer is essential for blending the aggregates with the chosen binder uniformly, ensuring consistency in the mixture. For smaller projects or spot repairs, a mixing bucket may suffice.
Trowels and Floats: These tools are necessary for applying the terrazzo mixture. Trowels help spread and apply the mixture evenly over the surface, while floats smooth out imperfections and ensure a uniform finish.
Diamond Grinder: Once the terrazzo has set, a diamond grinder is used to grind and polish the surface. This step is crucial for achieving the smooth, glossy finish that terrazzo floors are known for, revealing the beauty of the embedded aggregates.
Safety Gear: Protecting yourself is paramount when working with industrial materials and equipment. Gloves, goggles, and a dust mask are all essential to ensure safety from chemicals, dust, and debris during the mixing and installation process.
Measuring Tools: Precise measurements of both materials and space are important to calculate the required amount of aggregates, cement or resin, and pigments. Accurate measuring tools ensure efficient resource use and minimize waste, resulting in a cost-effective project.
Gathering the right materials and tools will equip you to embark on the terrazzo flooring journey and create a masterpiece that marries tradition with modern creativity.
Preparing the Subfloor
A meticulously prepared subfloor is the foundation of a successful terrazzo floor installation. Ensuring that the subfloor is clean, dry, and level sets the stage for a durable and aesthetically pleasing finish. This section outlines the steps to assess and prepare the subfloor, providing crucial insights into repairs and moisture control to guarantee a flawless installation.
Assessing the Subfloor
Before commencing any work, it is essential to thoroughly evaluate the existing subfloor. The integrity of the terrazzo floor relies heavily on a stable and even base, so inspecting for moisture or damage at the outset can prevent future issues. Moisture can be detected using a moisture meter, a useful tool that reveals whether the subfloor is too damp, which could jeopardize the bonding process.
Additionally, inspect for visible signs of wear and tear, such as cracks or uneven surfaces. Identifying these imperfections early in the process allows you to address them proactively, laying a solid groundwork for your terrazzo flooring.

Repairing the Subfloor
Once any issues have been identified, the next step is to undertake necessary repairs. Cracks in the subfloor must be filled and smoothed out to ensure evenness and stability. Larger imperfections may require more comprehensive solutions, such as using a self-leveling compound. This material efficiently fills irregularities and ensures the entire subfloor is level, which is crucial for avoiding complications during the terrazzo installation.
A consistent surface prevents shifting or settling, which could otherwise lead to cracking or an uneven finish on the final floor. Investing time and effort into this preparation phase is fundamental for a long-lasting, high-quality terrazzo finish.
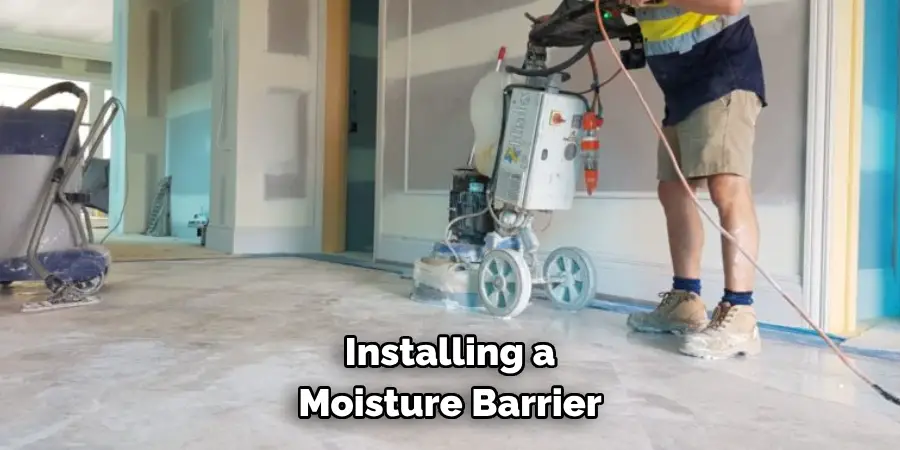
Installing a Moisture Barrier
The risk of moisture damage is a significant consideration in any flooring project, particularly in areas prone to humidity or if the installation is on a concrete subfloor. To circumvent this risk, installing a moisture barrier is imperative. A vapor barrier acts as a protective layer, preventing moisture from seeping through and compromising the structural integrity of your terrazzo floor. Installing a vapor barrier involves placing a polyethylene sheet across the entire subfloor surface, ensuring it overlaps at the edges for complete coverage.
This layer acts as a shield, crucial in humid climates or basements, where moisture intrusion is more likely. By taking this precautionary measure, you protect your terrazzo floor from potential water damage, prolonging its beauty and resilience.
By meticulously assessing, repairing, and protecting the subfloor, you lay the critical groundwork for your terrazzo installation. Patience and precision during this preparatory stage will yield a robust, elegant floor that stands the test of time.
How to Make Terrazzo Floor: Mixing the Terrazzo Compound
Selecting the Right Mix
The key to achieving a stunning terrazzo floor lies in selecting the optimal mix of materials. The ratio of aggregates, cement, and pigments is crucial to defining the finish and aesthetic appeal of the completed floor. Generally, the mix involves a fine balance: larger aggregates can create a bold, speckled appearance, while smaller aggregates provide a more subtle, polished look.
The cement acts as the binding agent, and its ratio to aggregates will determine the overall strength and texture of the terrazzo. Pigments add a layer of customization, allowing you to infuse the floor with color to either blend seamlessly with the décor or serve as a striking contrast.
Pre-mixed terrazzo compounds are increasingly popular in the pursuit of both efficiency and precision. These products offer convenience, with pre-determined ratios ideal for specific finishes and color schemes, eliminating much of the guesswork. It’s essential, however, to choose a pre-mixed option that aligns with your specific project requirements, considering the desired finish, climate conditions, and installation area.
Mixing Process
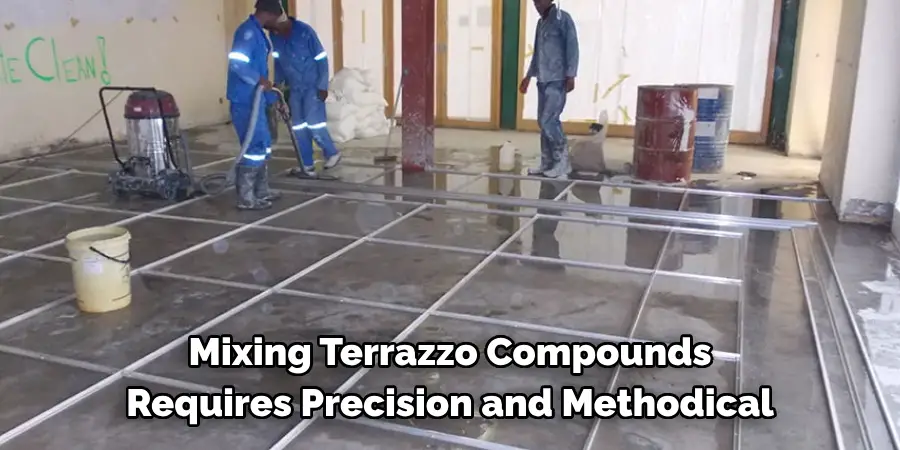
Mixing terrazzo compounds requires precision and methodical execution to ensure a well-blended material suitable for installation. Start by measuring out each component: aggregates, cement, and any chosen pigments, considering the desired mix ratio. Pour the aggregates into the concrete mixer first, then cement and pigments. Allow these dry components to mix briefly to evenly distribute the pigment across the aggregates for a uniform color.
Next, gradually add water to the mixture. Adding the water slowly is critical to avoid oversaturating the mix, which could weaken the cement bond. The aim is to achieve a thick, paste-like consistency that’s free from clumps or dry spots. It’s helpful to periodically stop the mixer to scrape down any dry material clinging to the sides, ensuring it is fully incorporated into the mixture.
To attain the best results, adhere strictly to the manufacturer’s instructions for any specific product, as variations in materials can necessitate different approaches or precautions. Follow recommended mixing durations and water-to-weight ratios to maintain the integrity of the terrazzo compound. Proper mixing technique affects not only the aesthetic outcome but also the durability and longevity of the finished floor. Focusing on an even, consistent mix sets the stage for a smooth application and an exquisite finish that will enhance any space.
Pouring and Spreading the Terrazzo Mixture
Setting the Forms
Creating a well-defined boundary is essential for containing the terrazzo mixture during pouring. Begin by installing forms around the perimeter using either wood or metal strips, depending on your specific needs and preferences. These forms will act as a mold to contain the mixture, ensuring the final floor has clean, well-defined edges. It is crucial to check that all forms are level and securely fastened to prevent leaks and ensure an even pour. Ensuring the forms are perfectly aligned will prevent issues with the finished floor and make the sanding and polishing process much more manageable.
Pouring the Mixture
Once the forms are in place, you can pour the terrazzo mixture into the prepared area. Start by gently emptying the mixture from the mixer into the space, ensuring that it flows evenly into all corners and edges. Use a trowel to spread the mixture uniformly across the surface, maintaining a consistent thickness throughout. This task requires patience and an eye for detail, as any uneven areas may lead to variations in the finished product. As you work, be mindful of any air pockets that may form within the mixture. These can be eliminated by gently tapping the terrazzo’s surface with the trowel’s flat side, allowing trapped air to escape and ensuring a compact, solid base.
Allowing for Initial Curing
After the terrazzo mixture has been poured and spread evenly, allowing it to cure is a critical phase in the installation process. The curing process ensures the mixture hardens to form a stable and durable surface. Generally, it’s essential to leave the terrazzo undisturbed for a specified period, typically between 24 to 48 hours, depending on ambient conditions and manufacturer guidelines. During this time, the area should be protected from foot traffic, extreme temperature changes, and excessive moisture to prevent any disturbance or deformation of the still-setting terrazzo. Proper curing is vital as it lays the foundation for subsequent stages like grinding and polishing, ultimately contributing to a flawless, long-lasting terrazzo floor.
Conclusion
In summary, terrazzo flooring is a beautiful and functional choice for any space, thanks to its customizable nature and impressive durability. The ability to select aggregates, pigments, and mix ratios allows homeowners and designers to create floors that truly reflect personal style and aesthetic preferences. When contemplating a home renovation project, considering “how to make terrazzo floor” can open up a world of design possibilities and self-expression.
This elegant flooring option not only adds visual appeal but also withstands the test of time, offering a practical and enduring surface for any room. The process of crafting a terrazzo floor, from mixing to pouring and curing, ultimately culminates in the satisfaction of achieving a unique and bespoke creation—one that can be cherished for generations to come, serving as both a functional flooring solution and a work of art.

Rick is a handyman who grew up helping his dad with his business. He learned a lot from him about how to fix things, and also about how to work hard and take care of business. These days, Rick is still into fixing things- only now, he’s doing it for a living.
Rick is always looking for new ways to help people grow and develop. That’s why he started contributing to this blog: to share all his experience and knowledge so that he can help people who are interested in DIY repair.