
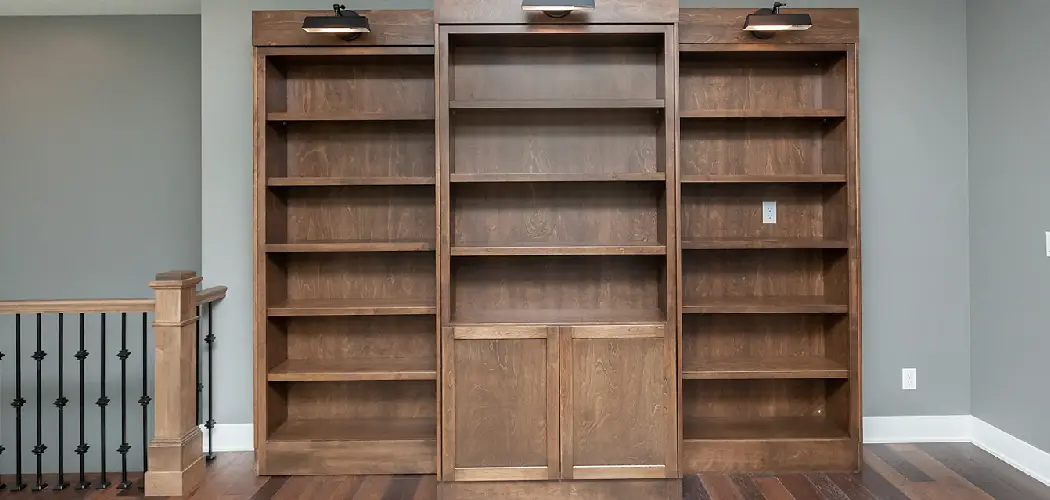
That old laminate bookcase sitting in the corner doesn’t have to head to the curb. Maybe it’s a hand-me-down with good bones, or a budget find that no longer matches your space. Whatever the story, a fresh coat of paint can completely transform it. Many people assume laminate is impossible to paint because it’s slick, shiny, and not real wood. The truth is far more encouraging. Learning how to paint a laminate bookcase is a beginner-friendly project that takes a weekend, costs very little, and delivers professional-looking results when you follow the right steps.
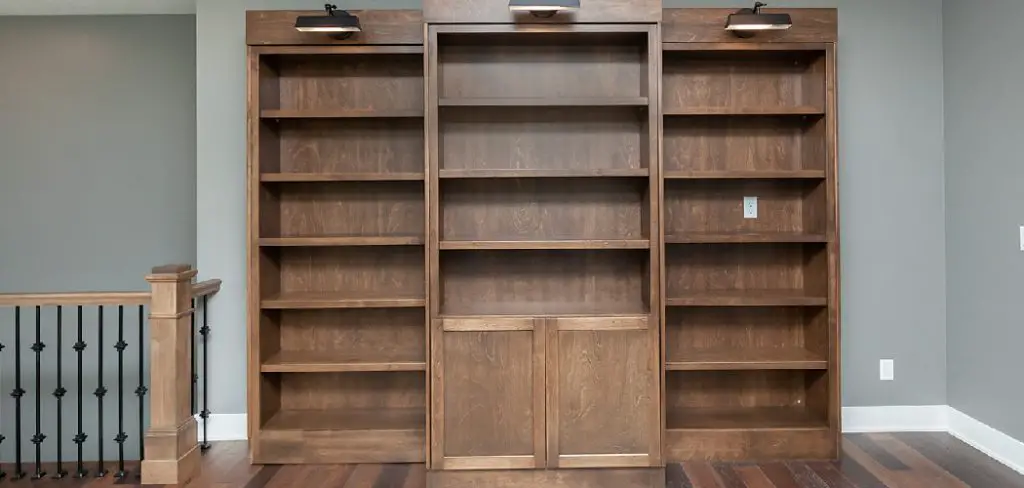
The secret lies in proper prep, the correct products, and a bit of patience. In this guide, we’ll walk you through everything from cleaning to the final topcoat, in plain language anyone can follow. You’ll learn which primer grips slick surfaces, how to avoid drips, and how to make your finish last for years. By the end, you’ll feel confident picking up a brush and giving that tired piece a brand-new life.
Why Painting a Laminate Bookcase Matters
Painting laminate furniture is one of the smartest ways to refresh your home without spending much. Instead of buying new, you save money and keep a usable piece out of the landfill, which is a win for your wallet and the planet. A painted bookcase also lets you match your exact style, whether that’s a bold pop of color or a calm neutral. Beyond looks, paint adds a protective layer that helps guard against everyday scuffs and moisture. The project builds real, transferable skills too. Once you master prepping and painting one slick surface, you can tackle cabinets, dressers, and tables with the same confidence. It’s a low-risk, high-reward way to learn and to make your space feel truly yours.
Step-by-Step Guide to How To Paint a Laminate Bookcase
Step 1: Gather Your Tools and Set Up
Before any paint touches the surface, gather everything you’ll need so you aren’t running to the store mid-project. Grab a bonding primer, your chosen paint, a quality angled brush, a small foam roller, fine-grit sandpaper, a screwdriver, painter’s tape, and a tack cloth. A drop cloth protects your floor too.
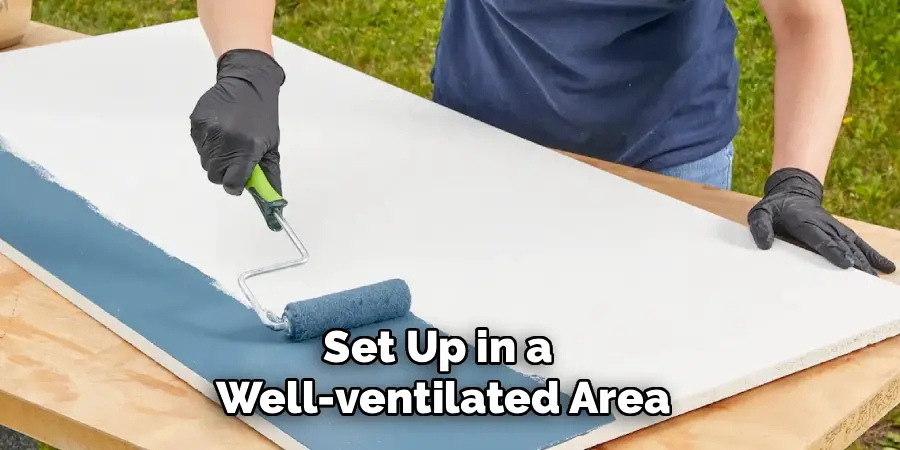
Set up in a well-ventilated area like a garage or a spot near an open window. Good airflow keeps fumes down and helps each coat dry evenly. Lay everything out within easy reach. A little organization here saves frustration later and keeps your workflow smooth from start to finish.
Step 2: Remove Hardware and Empty the Bookcase
Clear every shelf and take out all the books and decor first. Working on an empty piece is far easier and prevents accidental smudges on your belongings. Next, use your screwdriver to remove any hardware, knobs, or removable shelves.
Keep small screws and fittings in a labeled bag or container so nothing goes missing. If shelves are adjustable, paint them separately for cleaner edges and full coverage. Taking these few extra minutes pays off with a tidier result. Trying to paint around hardware almost always leaves messy lines, so removing it now gives you crisp, professional-looking edges later.
Step 3: Clean Every Surface Thoroughly
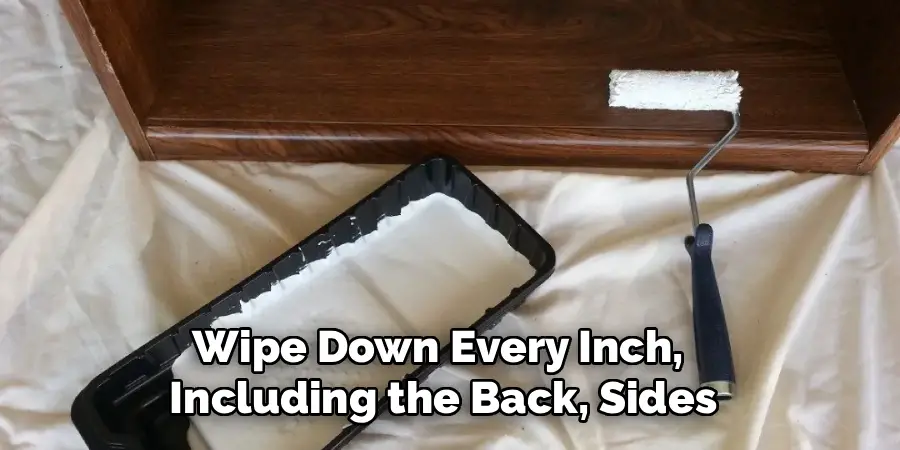
Laminate often hides a thin layer of grease, dust, and grime that you can’t always see. Paint won’t stick to a dirty surface, so cleaning is non-negotiable. Mix a little mild dish soap with warm water and wipe down every inch, including the back, sides, and inside shelves.
For stubborn buildup, a degreaser or a bit of diluted vinegar works well. Once clean, rinse with a damp cloth to remove any soapy residue, then let everything dry completely. Skipping this step is the number one reason painted laminate peels later. A clean surface gives your primer the strong foundation it needs to grip properly.
Step 4: Sand for Better Adhesion
Laminate is smooth and glossy, which is exactly why paint struggles to bond. A light sanding fixes that. Using fine-grit sandpaper, around 220-grit, gently scuff the entire surface. You’re not trying to strip anything, just dull the shine so primer can grab hold.
Work in steady, even motions and don’t press too hard. After sanding, wipe away every speck of dust with a tack cloth or a slightly damp rag, then let it dry. Knowing how to paint a laminate bookcase that lasts comes down to this prep work. A properly scuffed surface is the difference between a finish that peels and one that holds strong for years.
Step 5: Apply a Bonding Primer
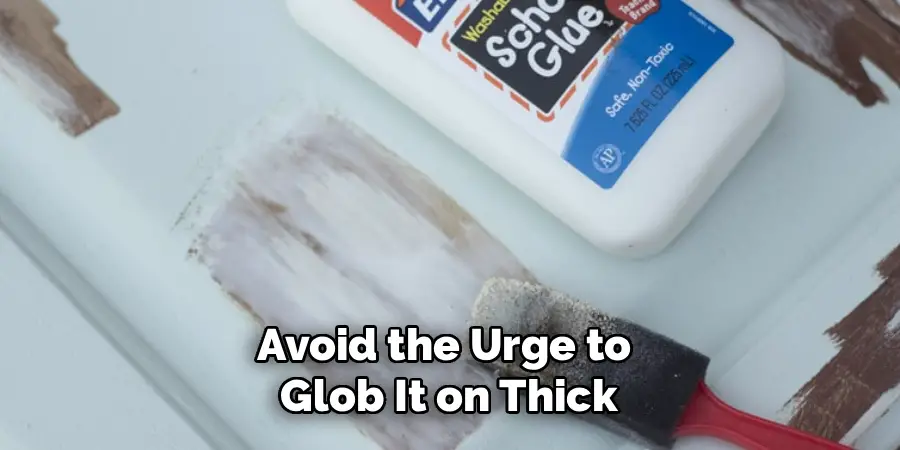
Primer is the most important product in this whole project. Regular paint won’t adhere to laminate on its own, but a bonding or shellac-based primer creates a gripping layer that locks everything in place. Apply a thin, even coat using your angled brush for corners and a foam roller for flat areas.
Avoid the urge to glob it on thick. Thin coats dry smoother and resist drips. Let the primer cure fully according to the label instructions, which is usually a few hours. If you can still see the original color faintly, a second light coat ensures complete, even coverage before you move on to your color.
Step 6: Paint Your Color Coats
Now for the fun part. Stir your paint well and apply it in thin, even layers, following the same brush-then-roller method you used for primer. Two or three thin coats always look better than one heavy coat, which tends to drip and show brush marks.
Let each layer dry completely before adding the next, and lightly sand between coats with very fine sandpaper for an ultra-smooth result. When you’re learning how to paint a laminate bookcase, patience between coats is your best friend. Rushing leads to tacky, uneven spots. A satin or semi-gloss finish tends to wear best and wipes clean easily on busy shelves.
Step 7: Seal and Reassemble
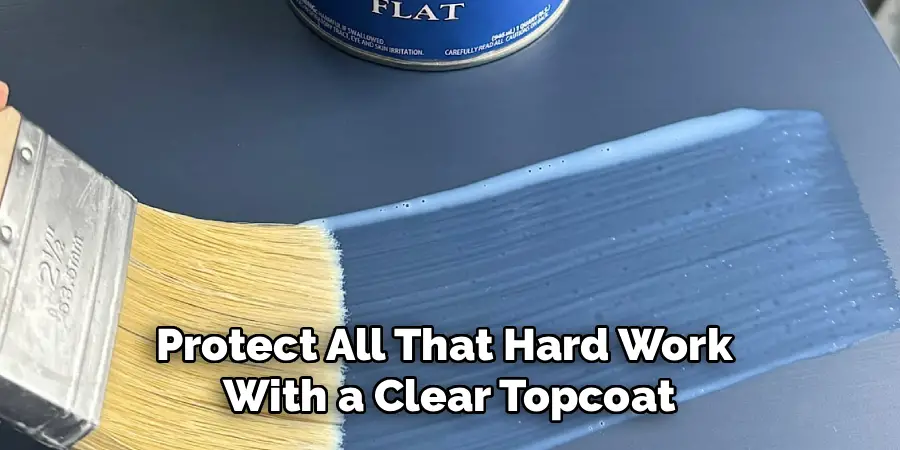
Once your final color coat dries fully, protect all that hard work with a clear topcoat. A water-based polyurethane adds durability and guards against scratches, especially on shelves that hold heavy books. Brush or roll on a thin, even layer and let it cure as directed.
After the sealer hardens completely, which can take a day or two for full strength, reattach your hardware and slide the shelves back in. Resist loading it up too soon, since paint needs time to fully harden. Once cured, return your books and decor. Step back and admire your refreshed, custom bookcase that looks brand new.
Frequently Asked Questions
Do I Really Need to Sand Laminate Before Painting?
Sanding isn’t strictly mandatory if you use a quality bonding primer, but it’s highly recommended. A light scuff with fine-grit sandpaper dulls the slick surface, giving primer and paint something to grip. Skipping it raises the risk of peeling and chipping down the road. The few extra minutes of sanding dramatically improve how long your finish lasts, so most experts consider it well worth the effort.
What Kind of Paint Works Best on Laminate?
Acrylic latex paint is a popular, reliable choice because it adheres well over a bonding primer and cleans up easily with water. Many people also love chalk paint or furniture-specific paints for their smooth coverage. The most important factor isn’t the paint brand but the primer beneath it. A satin or semi-gloss sheen tends to resist wear and wipe clean better than a flat finish.
How Long Should I Wait Between Coats?
Drying times vary by product and humidity, so always check your paint label first. As a general rule, allow at least two to four hours between coats of paint, and let primer cure for the recommended time before painting. Rushing this step causes tacky, uneven results. When in doubt, wait a little longer. A fully dry surface accepts the next coat smoothly and helps your finish look flawless.
Will the Paint Chip or Peel Over Time?
Properly prepped and sealed laminate holds up remarkably well. The key is cleaning thoroughly, sanding lightly, using a bonding primer, and finishing with a protective topcoat. Skipping any of these steps increases the chance of chipping, especially on high-contact areas like shelves. With good prep and a clear sealer, your painted bookcase can stay beautiful and durable for many years of everyday use.
Can I Paint Laminate Without a Primer?
It’s strongly discouraged. Laminate is nonporous and slick, so paint applied directly will likely peel, scratch, or rub off quickly. A bonding or shellac-based primer is what makes the whole project succeed by creating a surface paint can cling to. Think of primer as the glue between the laminate and your color. Investing in the right primer is the single best thing you can do for lasting results.
Conclusion
Refreshing a tired piece of furniture is far simpler than it looks, and the payoff is huge. The whole process comes down to a few reliable steps: clean thoroughly, sand lightly, prime with a bonding product, apply thin color coats, and seal for durability. Each stage builds on the last, turning a slick, outdated shelf into a custom piece you’ll be proud to show off. Patience between coats and proper prep are what separate a finish that lasts from one that peels, so don’t rush the details.
Now that you understand how to paint a laminate bookcase from start to finish, you have everything you need to begin with confidence. Gather your supplies, set aside a weekend, and give that old bookcase the makeover it deserves. You’ll save money, sharpen a handy new skill, and end up with a piece that perfectly fits your style. Pick up that brush and get started today.

Rick is a handyman who grew up helping his dad with his business. He learned a lot from him about how to fix things, and also about how to work hard and take care of business. These days, Rick is still into fixing things- only now, he’s doing it for a living.
Rick is always looking for new ways to help people grow and develop. That’s why he started contributing to this blog: to share all his experience and knowledge so that he can help people who are interested in DIY repair.