

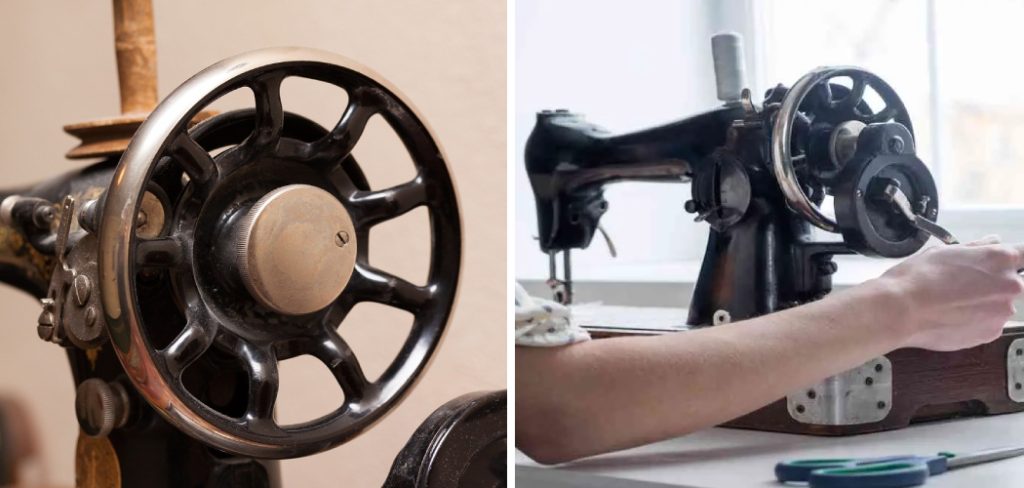
A sewing machine’s handwheel serves as a crucial component that facilitates manual control and precision while sewing. However, encountering issues with the handwheel can disrupt the sewing process and lead to frustration.
Whether the handwheel is stuck, turning unevenly, or simply not functioning as it should, understanding how to address these problems is essential for any sewing enthusiast. Learning how to fix sewing machine handwheel issues empowers you to overcome common challenges and ensures smooth and uninterrupted sewing sessions.
In this guide, we’ll delve into the intricacies of troubleshooting and repairing handwheel problems, providing you with the knowledge and techniques to restore your sewing machine’s optimal functionality and confidently create beautiful stitches.
Importance of a Functional Handwheel
Having a functioning handwheel is essential in any sewing machine. As the main drive mechanism of the machine, it allows you to adjust how much fabric is drawn into the needle area for stitching. Additionally, it helps keep your stitches even and consistent by keeping tension on the thread as it passes through the needle eye.
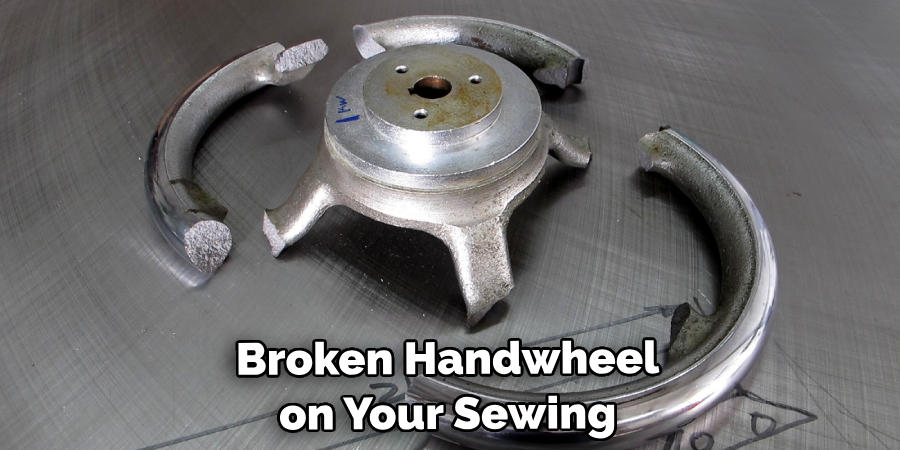
If you find that your handwheel is not functioning properly, it is important to take steps to fix it. In this article, we will discuss how to diagnose and repair a broken handwheel on your sewing machine. However, if the problem persists after attempting these repair steps, please contact an experienced technician for assistance.
Common Problems with Handwheels
If the handwheel of your sewing machine is not spinning smoothly, it could be caused by several things. Before you begin fixing the handwheel, make sure you have identified what is causing the problem. Below are some of the common problems that can occur with a sewing machine handwheel and how to fix them:
The Handwheel Is Stuck
If your handwheel is stuck, there could be a blockage in the threading mechanism. To unblock the mechanism, you will need to use an object such as a flathead screwdriver or knitting needle to carefully pry apart any knotted threads at the base of the handwheel. Once this has been done, try spinning the wheel again and it should now move freely.
The Handwheel Is Jammed
If the handwheel is jammed, it usually means that there is a piece of lint or thread blocking the mechanism inside the wheel. To fix this, remove any visible debris and then use an object like a pin to carefully remove anything else that may be stuck in the wheel. Once all of the debris has been removed, try spinning the wheel again and it should move freely.
The Handwheel Is Loose
If your handwheel is loose, it could be because the screw or bolt that holds it in place has come loose. To fix this, use a screwdriver to tighten the screws or bolts that hold the handwheel in place. Once this is done, try spinning the wheel again and it should be stable.
10 Steps How to Fix Sewing Machine Handwheel
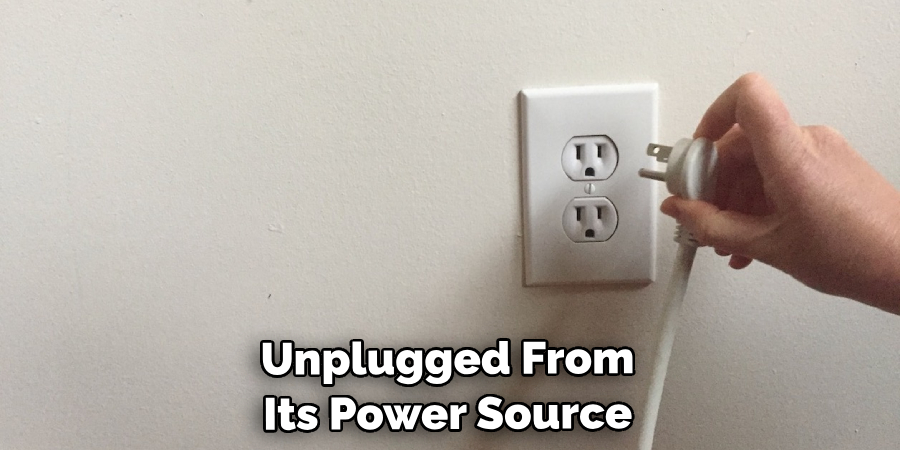
Step 1: Power Off and Unplug
Embarking on the task of fixing your sewing machine’s handwheel demands utmost safety consciousness. Begin by ensuring that the machine is completely powered off and unplugged from its power source. This initial step guarantees that the machine won’t accidentally activate during the repair process, minimizing any potential risks.
Step 2: Identify the Issue
Comprehending the precise nature of the problem is vital before delving into the repair process. Assess the handwheel’s behavior – is it stuck, turning unevenly, emitting unusual sounds, or entirely unresponsive? By pinpointing the exact issue, you’ll be better equipped to diagnose and rectify the problem effectively.
Step 3: Clean and Lubricate
Frequently, sewing machine handwheel issues can be attributed to accumulated dust, lint, or insufficient lubrication. To combat this, initiate the repair process by meticulously cleaning the handwheel area. Utilize a soft brush or a lint brush to gently remove any debris. Once cleaned, apply a small quantity of sewing machine oil or lubricant to the moving parts of the handwheel as recommended by the manufacturer. This judicious application of lubricant minimizes friction, allowing for smoother movement.
Step 4: Check for Tangles or Snags
In your quest to mend the handwheel, don’t overlook the surroundings. Thoroughly examine the vicinity around the handwheel for any tangled threads, fabric remnants, or other materials that might be impeding its motion. By meticulously removing these snags, you pave the way for unhindered movement of the handwheel.
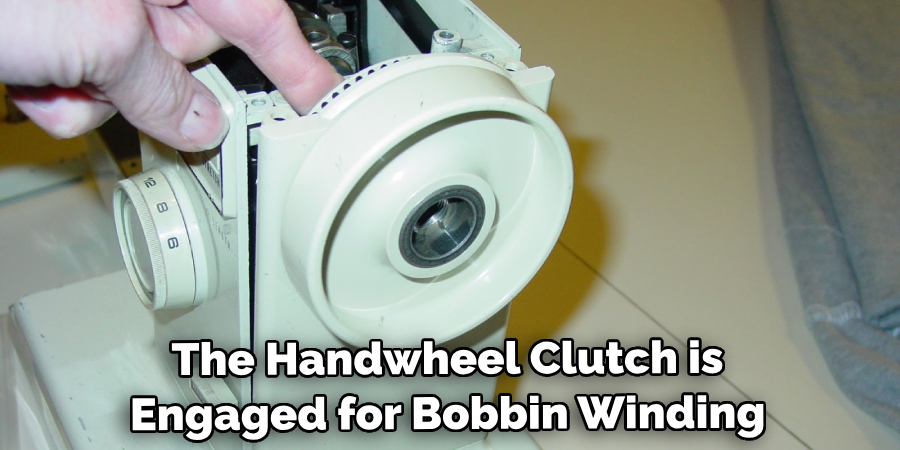
Step 5: Loosen the Clutch
Should the handwheel remain steadfastly stuck after cleaning and lubrication, it’s plausible that the handwheel clutch could be the culprit. In certain sewing machines, the handwheel clutch is engaged for bobbin winding, which can inadvertently cause the handwheel to become immobile. Consult your sewing machine’s manual to familiarize yourself with the process of disengaging the clutch. Typically, this entails loosening a knob or engaging a lever that is often situated on the handwheel.
Step 6: Inspect the Belt
Certain sewing machines rely on belts to transmit motion from the handwheel to the sewing mechanism. If the handwheel’s motion isn’t fluid, investigate the condition of the belt. Over time, belts can wear out, become loose, or even sustain damage. Should the belt exhibit any of these signs, consider replacing it. Reference your sewing machine’s manual for guidance, or if you’re uncertain, seek professional assistance to ensure proper replacement.
Step 7: Check for Obstructions in the Bobbin Area
To conduct a comprehensive repair, attention should be directed to the bobbin area as well. Removing the bobbin case unveils potential obstructions that could be hampering the handwheel’s performance. Inspect for tangled threads, lint, or debris, and diligently eliminate any impediments. A clean and unobstructed bobbin area plays a pivotal role in restoring the handwheel’s functionality.
Step 8: Examine the Handwheel Mechanism
Should the handwheel’s issues persist, it might be prudent to delve deeper into the internal workings of the handwheel mechanism. However, this step necessitates a certain degree of expertise. For a comprehensive assessment, consult your sewing machine’s manual or enlist the assistance of a professional.
Step 9: Tighten or Replace Components
In cases where the handwheel feels loose or wobbly, it’s worth scrutinizing the integrity of the machine’s components. If screws or bolts are responsible for the issue, cautiously tighten them. However, if you discover worn or damaged components, replacement might be necessary. Refer to your sewing machine’s manual to procure appropriate replacement parts and follow the manufacturer’s guidelines for proper installation.
Step 10: Test and Fine-Tune
The culmination of your repair efforts involves testing the machine’s handwheel functionality. Reassemble the sewing machine, plug it in, and switch it on. Execute a series of tests to ensure that the handwheel now operates smoothly and without any hindrances. If adjustments are required to achieve optimal performance, make minor tweaks accordingly.
Things to Consider When Fixing Sewing Machine Handwheel
If you’re having problems with your sewing machine’s handwheel, it can be a frustrating problem. Thankfully, there are some easy steps you can take to help fix the issue. Before beginning any repairs, it is important to do a thorough check on the various parts of your sewing machine, such as the bobbin case and tension discs. In addition to this preventive measure, some repairs to the handwheel can be done in just a few simple steps.
First, it’s important to determine why your machine’s handwheel isn’t working properly. Is there something blocking it? If so, remove the blockage and try turning the handwheel again. It could also be an issue with the internal gears or bearings that is preventing the handwheel from turning. If this is the case, you may need to take apart part of your sewing machine in order to replace or repair any damaged parts.
When working on a sewing machine’s handwheel, be sure to wear safety goggles and gloves so that you don’t injure yourself with any tools or sharp objects during repairs. It is also important to use the correct tools and replacement parts for your machine. Using improper tools or parts can result in further damage and could also void any warranty you may have on the machine.

Some Common Mistakes to Avoid When Fixing Sewing Machine Handwheel
In order to ensure that your sewing machine handwheel is fixed properly, there are a few common mistakes which should be avoided at all costs. By avoiding these mistakes, you can save yourself time and money in the long run by ensuring that the job is done right the first time.
- Not Knowing Your Machine – The first mistake many people make when attempting to fix their sewing machine handwheel is not taking the time to learn about their particular model of the machine. Different models may require different solutions for certain problems, and simply relying on a generic method might not be enough to get your machine functioning properly again.
- Overlooking Minor Issues– It can be easy to overlook minor issues when focusing on a major one. It is important to take the time to look for and address any minor issues which may be leading to larger problems, as this can help avoid future problems.
- Not Following Instructions – Many people try and fix their sewing machines without following the instructions properly. This can lead to a number of different issues, including incorrect repairs or even damaging your machine further. Make sure to carefully read and follow the instructions to ensure that your repair is successful.
- Skipping Testing – After fixing your handwheel, it is essential to test out the machine before putting it back into service. This will help you identify any potential issues which may have been created through the repair process and give you a chance to address them before using the machine again.
Conclusion
Learning how to fix a sewing machine handwheel can be an important skill that can help you work on a wide variety of machines. Though the task of fixing a handwheel may seem daunting, it’s actually quite simple when you know the steps. Not only is this activity something you can DIY, but it does not require expensive materials or tools.
Having knowledge about how to fix sewing machine handwheel issues will come in handy so if any problems arise with your own machine, you are equipped to make the necessary repairs yourself and get back stitching quickly. So take some time now to learn how to fix a sewing machine handwheel, and before you know it, those stitches will be gliding along smoothly!
You Can Check It Out To Fix Nespresso Vertuo Next Machine
Rick is a handyman who grew up helping his dad with his business. He learned a lot from him about how to fix things, and also about how to work hard and take care of business. These days, Rick is still into fixing things- only now, he’s doing it for a living.
Rick is always looking for new ways to help people grow and develop. That’s why he started contributing to this blog: to share all his experience and knowledge so that he can help people who are interested in DIY repair.