
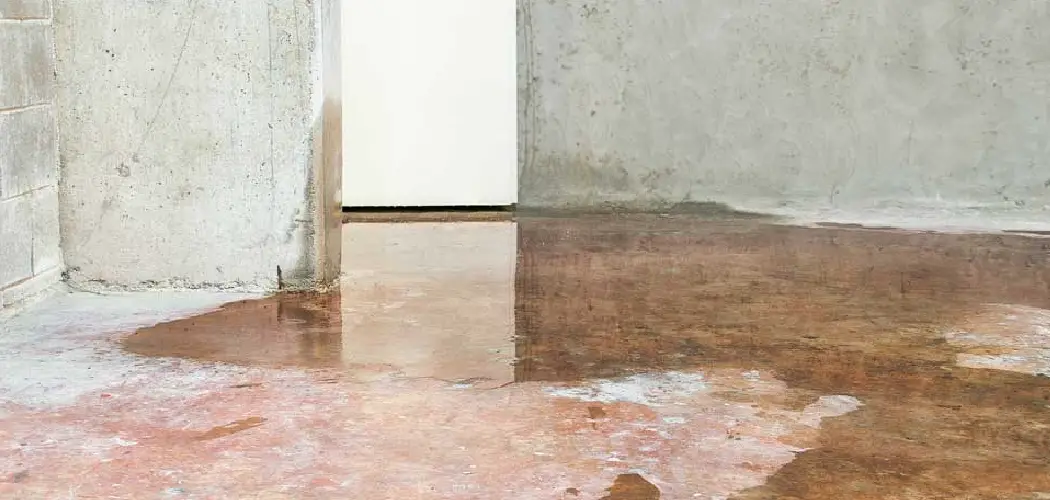
A garage is more than just a place to park your car; it’s a workshop, a storage area, and often the main entry to your home. However, melting snow, washing your car, or heavy rain can quickly lead to puddles and water issues on the floor. This standing water can create slip hazards, damage stored items, and degrade the concrete over time.

A floor drain is the most effective solution, providing a dedicated exit point for all that excess water. While it may seem like a major construction project, this guide will show you how to install a floor drain in an existing garage, breaking down the process into manageable tasks for a confident DIYer.
Installing a floor drain in your garage can significantly improve its functionality and protect your space from water damage. Whether you’re dealing with snowmelt from your vehicle in the winter, water from cleaning, or unexpected leaks, a properly installed floor drain ensures that excess water is efficiently removed. While the idea of adding a drain might feel overwhelming, with the right tools, materials, and clear guidance, this project can be accomplished by most enthusiastic DIYers.
8 Step-by-Step Guide on How to Install a Floor Drain in an Existing Garage
Step 1: Check Local Codes
Before you make a single cut, proper planning is essential. Determine the best location for your drain, which is typically the center of the garage or the spot where water naturally pools. More importantly, you must check with your local building department about codes and permit requirements. Many municipalities have strict regulations about where a garage drain can discharge. Connecting it to the sanitary sewer is often prohibited. You may need to run the drain to a dry well, a storm sewer, or simply daylight it away from your home’s foundation. Getting this information first prevents costly mistakes.
Step 2: Mark and Cut the Concrete
Once you have a plan and the necessary permits, mark the location of the drain and the path for the drainage pipe. Use a chalk line to create straight, clear guides for your cuts. You will need to rent a walk-behind concrete saw for this job. Before you begin, put on heavy-duty safety gear, including safety glasses, a dust mask, and hearing protection. Carefully guide the saw along your chalk lines to cut a trench from the drain location to the exterior wall where the pipe will exit. Make parallel cuts to define the width of your trench, usually about 12 inches wide.

Step 3: Excavate the Trench
With the perimeter of the trench cut, use a sledgehammer or a rented jackhammer to break up the concrete inside the lines. Remove the broken concrete chunks and set them aside. Now, you will need to dig. Using a shovel and pickaxe, excavate the trench and the square hole for the drain itself. The trench must have a consistent downward slope of at least 1/4 inch per foot, running from the drain to the exit point. This gradual slope is critical for ensuring gravity effectively pulls water out of the garage. Dig the trench deep enough to accommodate the pipe plus a few inches of gravel.
Step 4: Install the Gravel Base
After the trench is excavated and properly sloped, add a layer of compactible gravel, about 2 to 3 inches deep. Tamp the gravel down firmly to create a stable base for your new pipe. Now, you can lay the PVC drainpipe. Start by dry-fitting the drain assembly and the sections of pipe, using elbows and connectors as needed. Ensure the drain sits at the correct height, with its top surface slightly below the level of the finished concrete floor. This is a key part of the process of how to install a floor drain in an existing garage.
Step 5: Glue and Secure the Plumbing
Once you are satisfied with the dry fit, it is time to make the connections permanent. Using PVC primer and cement, apply a coat of primer to the inside of the fitting and the outside of the pipe end. Follow immediately with a coat of cement on both surfaces. Push the pipe firmly into the fitting with a slight twisting motion and hold for about 30 seconds. Work your way from the drain to the exit point, gluing each connection securely. Ensure the drain assembly is level and the pipe maintains its downward slope before the cement fully cures.
Step 6: Connect the Drain
Where the pipe exits the garage, you will need to connect it to its final destination as determined by your local codes. This might involve running the pipe underground to a dry well, which is essentially a buried pit filled with gravel that allows water to percolate into the ground. In other cases, you may connect it to a municipal storm sewer system or simply have it daylight onto a sloped part of your yard, far away from your house’s foundation. Make sure all exterior connections are secure and properly sealed.

Step 7: Pour the New Concrete
With the plumbing complete and inspected (if required), you are ready to pour new concrete. Mix bags of high-strength concrete mix according to the package directions until you have a workable consistency. Moisten the edges of the old concrete and the gravel in the trench to prevent them from pulling water out of the new mix too quickly. Shovel the new concrete into the trench, filling it up around the pipe and the drain assembly. Be sure to pack it in firmly to eliminate any air pockets.
Step 8: Finish the Concrete for Proper Drainage
This is the final, critical step for a functional drain. Fill the trench until the new concrete is level with the existing garage floor. Then, using a steel trowel, create a gentle slope in the wet concrete from all sides down towards the drain grate. This funnel-like shape is what will guide water into the drain. The surface should be smooth but not perfectly flat. Allow the concrete to cure slowly for several days. Covering it with a plastic sheet can help it retain moisture and cure to maximum strength.
Frequently Asked Questions
Do I Need a Permit to Install a Garage Floor Drain?
In most cases, yes. Installing a new drain involves cutting a concrete slab and altering your home’s plumbing system. Most municipal building departments require a permit for this type of work to ensure it is done safely and complies with local codes, especially concerning where the water is discharged.
Where Can a Garage Floor Drain Empty To?
This is determined by local plumbing codes. Common options include:
- A dry well (a pit that disperses water into the ground).
- A storm sewer system.
- “Daylighting” the pipe to a sloped area of your yard, away from foundations.
It is almost always illegal to connect a garage floor drain to your home’s sanitary sewer system.

What Is the Proper Slope for a Garage Floor Drain?
The standard minimum slope for a drainage pipe is 1/4 inch of fall for every one foot of horizontal run. This ensures that gravity can effectively pull water and small debris through the pipe, preventing clogs and standing water within the drainage line. The concrete surface around the drain should also be sloped towards the grate.
Can I Do This Project Myself?
A skilled and confident DIYer can tackle this project. It requires knowledge of basic plumbing, the ability to operate heavy equipment like a concrete saw, and significant physical labor for excavation and concrete work. If you are uncomfortable with any of these steps, hiring a professional plumber or concrete contractor is the best option.
What Kind of Maintenance Does a Garage Floor Drain Require?
Maintenance is fairly simple. Periodically, you should remove the grate and clean out any debris like leaves, dirt, or small stones that may have collected in the catch basin. Pouring a bucket of water down the drain a few times a year can also help flush out the line and ensure everything is flowing freely.

Conclusion
Installing a floor drain is a game-changer for any garage that deals with water, snow, or frequent washing. It protects your concrete slab, keeps your belongings safe, and eliminates dangerous puddles. While the project involves a significant amount of work—from planning and cutting to plumbing and pouring—it is an achievable goal for a determined homeowner.
The keys to success are careful planning, adhering to local codes, and ensuring a proper slope for both the pipe and the finished concrete. Now that you have a comprehensive guide on how to install a floor drain in an existing garage, you are ready to start planning your path to a drier, cleaner, and more functional space.
