
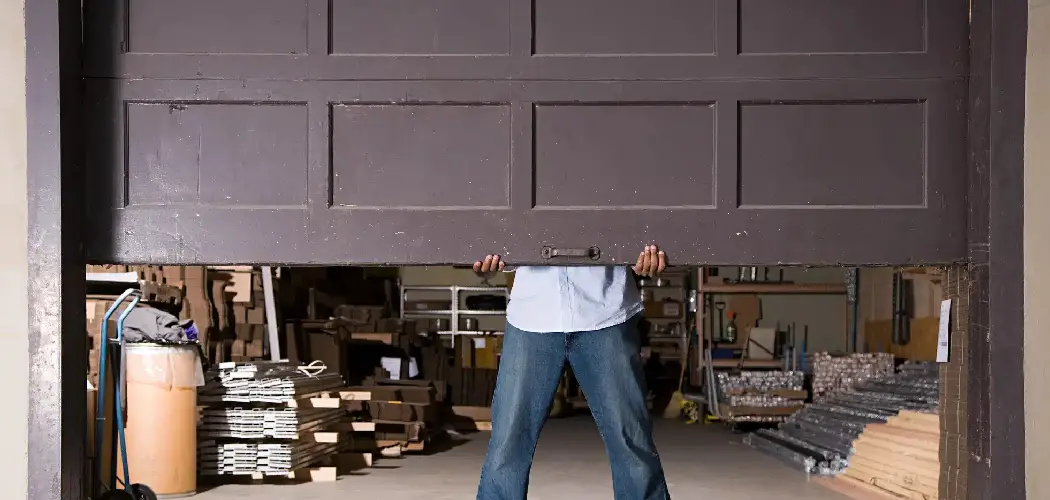
A garage door that closes unevenly, leaving a gap on one side, is a common headache for homeowners.

This seemingly small issue can lead to bigger problems, from energy loss to security vulnerabilities. A properly sealed garage door is a crucial part of your home’s exterior, protecting your property from the elements and unwanted pests. Addressing a gap is not just about looks; it’s about maintaining the safety, efficiency, and integrity of your home.
Fortunately, how to fix gap on one side of garage door is often a manageable DIY project that you can tackle with the right tools and guidance.
What Will You Need?
Before you begin, gather the following tools and materials to ensure a smooth process:
- Level (at least 24 inches long)
- Tape measure
- Wrenches or a socket set
- Pliers (locking pliers can be helpful)
- Screwdriver set
- Step ladder
- Safety glasses
- Work gloves
- Cleaning rags
- Lubricant (silicone or lithium-based garage door lubricant)
10 Easy Steps on How to Fix Gap on One Side of Garage Door
Follow these detailed steps to diagnose and correct the gap in your garage door. Safety is paramount, so always be cautious, especially when working with springs and cables under tension.
Step 1: Disconnect the Opener
Your first and most important step is to ensure the garage door will not move unexpectedly while you work. Unplug the garage door opener from the electrical outlet. For added safety, you can also pull the emergency release cord (usually a red handle) to disconnect the door from the opener mechanism. This allows you to move the door manually and prevents any accidental activation. Test that the door is disengaged by lifting it by hand a few inches and lowering it again. It should move freely without the opener’s assistance. This step is critical for your personal safety and prevents damage to the opener motor if the door gets stuck during your adjustments.

Step 2: Clear and Clean the Area
A clean workspace is a safe and efficient workspace. Remove any vehicles, tools, storage boxes, or other obstructions from the immediate vicinity of the garage door, both inside and outside. This gives you ample room to work and move around without tripping hazards. Once the area is clear, take a few minutes to clean the garage door tracks, rollers, and the floor area directly beneath the door. Use a rag to wipe away dirt, cobwebs, and debris that may have accumulated. Sometimes, a simple obstruction in the track is the root cause of the misalignment, so a thorough cleaning can occasionally solve the problem on its own.
Step 3: Visually Inspect the Entire System
With the area cleared, conduct a thorough visual inspection of the entire garage door system. Look for obvious signs of damage or wear. Check the vertical and horizontal tracks on both sides for dents, bends, or blockages. Examine the rollers to see if any are broken, cracked, or have seized up. Inspect the lift cables for fraying, rust, or looseness. Also, look at the torsion springs (located above the door) or extension springs (running along the sides) for any signs of breakage or separation. Finally, check the weatherstripping along the bottom of the door to see if it’s worn, compressed, or damaged, as this can also contribute to gaps.
Step 4: Check for a Level Floor
It’s easy to assume the door is the problem, but sometimes the issue lies with an uneven garage floor. Concrete slabs can settle and sink over time, creating a slope that prevents the door from sealing properly. To check this, place a long level on the floor directly under the garage door. Check it in several spots along the door’s width. If you find a significant dip or slope in the concrete where the gap appears, the door itself may not be misaligned. In this case, the solution might involve replacing the bottom weather seal with a thicker or specialized one designed for uneven floors.
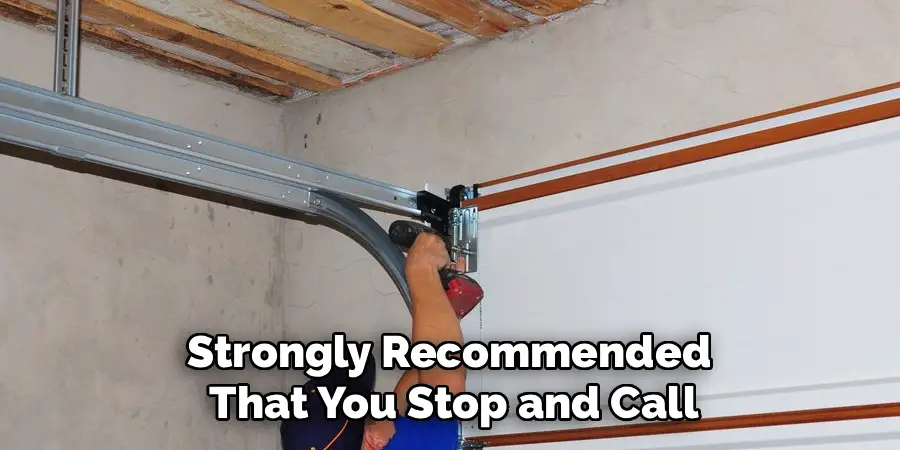
Step 5: Assess the Door’s Balance
A properly balanced garage door should stay in place when you lift it manually and let go. With the opener still disconnected, lift the door by hand to about halfway up. A well-balanced door will remain stationary or move only slightly. If the door immediately slams shut or shoots upward, it is out of balance. This is a serious issue, often caused by worn-out or broken springs. Adjusting or replacing garage door springs is extremely dangerous due to the high tension they are under. If you suspect a balance problem, it is strongly recommended that you stop and call a professional for service.
Step 6: Inspect and Tighten Hardware
Vibrations from daily use can cause nuts, bolts, and screws throughout the garage door system to loosen over time. Using your wrench and screwdriver, go over all the accessible hardware. Pay close attention to the bolts that secure the tracks to the wall brackets and the brackets to the wall. Check the hinges that connect the door panels. Gently tighten anything that feels loose, but be careful not to overtighten, as this can strip the screws or even warp the brackets. A loose bracket is one of the most common causes of a misaligned track, which in turn creates a gap on one side of the door.
Step 7: Adjust the Vertical Tracks
If the door is higher on one side, a minor track adjustment may be all that’s needed. The vertical tracks are held in place by several brackets bolted to the wall. Slightly loosen the bolts on the brackets for the track on the side without the gap. Do not remove the bolts completely—just loosen them enough so you can gently move the track. With the bolts loose, tap the bottom of the track with a rubber mallet or a block of wood to nudge it slightly left or right. Your goal is to move the track to help the door sit more flush with the ground. Use your level against the side of the door to check for plumb.
Step 8: Test and Fine-Tune the Alignment
After making a small adjustment to the track, carefully lower the door to see how it affects the gap. It’s a process of trial and error. You may need to raise the door, loosen the brackets again, and make another small adjustment. Make tiny changes each time, as even a quarter-inch movement of the track can have a noticeable effect on the door’s alignment. Once the gap is gone and the door sits evenly on the floor, use your level to confirm that the door is perfectly vertical. When you are satisfied, securely tighten all the bracket bolts you previously loosened.
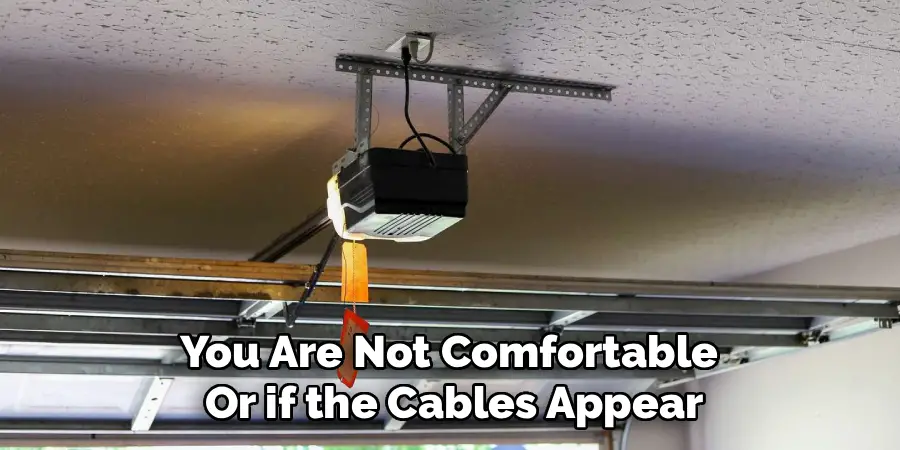
Step 9: Adjust the Lift Cables (with Caution)
If track adjustments don’t solve the issue, the problem might be with the lift cables. An uneven cable can cause one side of the door to hang lower than the other. On many doors, the cable length is adjustable via a small clip or bracket at the bottom of the door where the cable attaches. To adjust, you can raise the door to relieve tension on the cables. Use locking pliers to securely clamp the track just below one of the lower rollers to hold the door in place. On the side of the door that is too high, you can try to slightly shorten the cable by moving its anchor point. Warning: This can be risky. If you are not comfortable or if the cables appear damaged, contact a professional.
Step 10: Lubricate and Test the Door
Once all adjustments are complete and the hardware is tightened, apply a high-quality garage door lubricant to all moving parts. Spray the rollers, hinges, bearings, and springs. This ensures smooth, quiet operation and reduces wear and tear. Wipe away any excess lubricant to prevent it from dripping. After lubricating, reconnect the garage door opener and plug it back in. Run the door through a few full open-and-close cycles. Watch carefully to ensure it moves smoothly without hesitation or strange noises. Finally, check the bottom seal one last time to confirm the gap is completely gone.
5 Things You Should Avoid
- Ignoring Safety Precautions: Never work on a garage door with the opener plugged in. Always disengage the door from the opener to prevent accidental movement. Wear gloves and safety glasses to protect yourself from sharp edges and debris.
- Adjusting Springs Yourself: Garage door springs are under extreme tension and can cause serious injury or death if they break or are handled improperly. If you suspect a problem with the springs, always call a qualified professional.
- Over-tightening Hardware: While loose bolts need tightening, overtightening can strip screws, warp brackets, or even damage the door panels. Tighten them until they are snug, but don’t use excessive force.
- Making Large Adjustments at Once: When adjusting tracks or cables, make very small, incremental changes. A slight nudge is often all that’s needed. Making a large adjustment can throw the entire system out of alignment and make the problem worse.
- Using the Wrong Lubricant: Do not use grease or oil like WD-40 on garage door tracks, as they can attract dirt and gum up the rollers. Use a silicone-based or white lithium grease lubricant specifically designed for garage doors.
Frequently Asked Questions
- Why Did My Garage Door Suddenly Become Uneven?
A garage door can become uneven for several reasons. The most common causes are a loose or bent track, a worn-out or broken roller, or a frayed lift cable that has stretched. Sometimes, an object left in the door’s path can knock it off its alignment. A gradual settling of the house’s foundation can also contribute over time. - Is a Small Gap at the Bottom of My Garage Door a Big Deal?
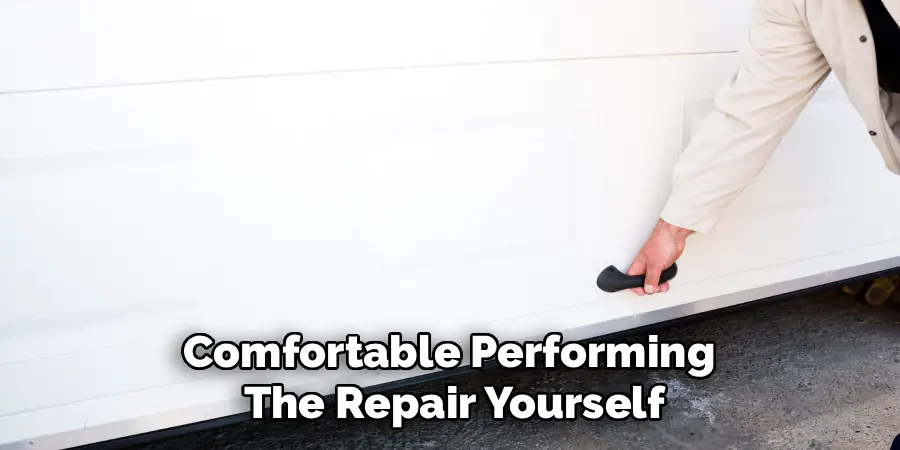
Yes, even a small gap can be a problem. It can significantly increase your energy costs by letting air escape, and it provides an entry point for water, pests like mice and insects, and blowing debris. It also represents a potential security risk, making it easier for someone to attempt to pry the door open. - When Should I Call a Professional Instead of Fixing It Myself?
You should always call a professional if you suspect the issue is with the garage door springs or if a lift cable is broken. These components are under dangerous tension. It’s also wise to call for help if you’ve tried basic adjustments and can’t resolve the issue, or if you simply don’t feel comfortable performing the repair yourself.
Conclusion
A gap on one side of your garage door is more than just a minor annoyance—it’s an issue that affects your home’s energy efficiency, security, and cleanliness.
By following these steps on how to fix gap on one side of garage door, you can often diagnose and fix the problem yourself, saving money and gaining the satisfaction of a job well done. Remember to always prioritize safety, work methodically, and never hesitate to call a professional for tasks that are beyond your comfort level.
A well-sealed, properly functioning garage door will provide you with peace of mind and protect your home for years to come.