

It can be easy to become overwhelmed when deciding how to purify bathwater naturally. With so many different options available, it can be hard to know where to start. In this article, we will outline a few different methods how to purify bath water naturally, so you can choose the one that is best for you. So, whether you’re looking for a way to purify bathwater naturally on a budget or want an all-natural solution, we’ve got you covered!
Many people are concerned about the quality of their bathwater and the potential health risks posed by contaminants. While there are several different ways to purify water, not all of them are created equal. Some methods, such as boiling or distillation, will remove most impurities from water. However, these methods can also remove some of the water’s beneficial minerals. Additionally, these methods can be time-consuming and may not be practical for large batches of water.
A Detailed Guide on How to Purify Bath Water Naturally
Method 1: Use a Water Filter
A water filter is a device used to remove impurities from water through a physical barrier, chemical process, or biological process. Water filters work by passing the water through a series of filters that remove the impurities present in the water.
What You’ll Need:
- A water filter
- A container to collect the filtered water
- A funnel (optional)
Step 1: Determine the Type of Water Filter You Need.
The type of water filter you need will depend on the impurities present in your water. For example, if you filter water that contains sediment, you will need a sediment filter. If you filter water that contains bacteria, you will need a bacteria filter.
Step 2: Select a Water Filter Appropriate for the Amount of Water You Need to Filter.
For example, if you filter a small amount of water, you may only need a small water filter. However, if you filter a large amount of water, you will need a more extensive water filter.
Step 3: Follow the Instructions for Your Water Filter to Assembling It.
Be sure to read the instructions that come with your water filter carefully to ensure that you assemble it correctly.
Step 4: Place the Funnel Into the Container.
If you are using a funnel, place it into the container to collect the filtered water.
Step 5: Pour the Water to Be Filtered Into the Water Filter.
Slowly pour the water to be filtered into the water filter. Depending on the type of water filter you are using, it may take some time for all water to pass through the filter.
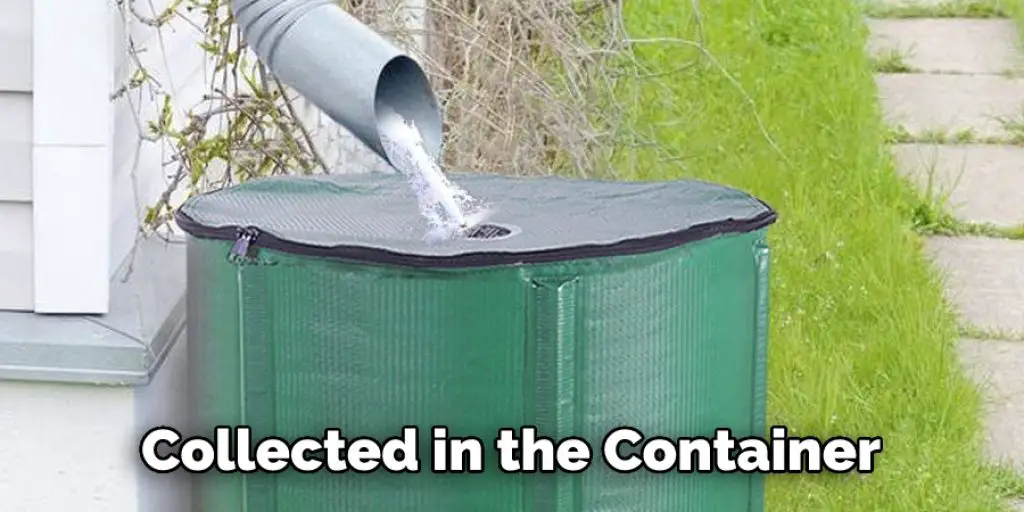
Step 6: Collect the Filtered Water in the Container.
Once all of the water has passed through the filter, it will be collected in the container below. You can now use this water for bathing.
Benefits of Using a Water Filter:
- Removes impurities from water such as heavy metals, chemicals, bacteria, viruses, and parasites.
- Improves the taste and smell of water.
- Makes the water safe to drink.
Drawbacks of Using a Water Filter:
- Water filters need to be replaced regularly.
- Some water filters can be expensive.
Method 2: Boil Your Water
Boiling water is an effective way to cleanse your water from harmful bacteria and viruses. The boiling process kills these dangerous microorganisms, making the water safe to drink.
What You’ll Need:
- A pot of boiling water
- A stove
- A clean, empty container
Step 1: Determine How Much Water You Need to Boil
The amount of water you’ll need to boil will depend on how much you need to cleanse. If you’re boiling water for drinking, you’ll need to boil at least 1 gallon (3.8 L) of water.
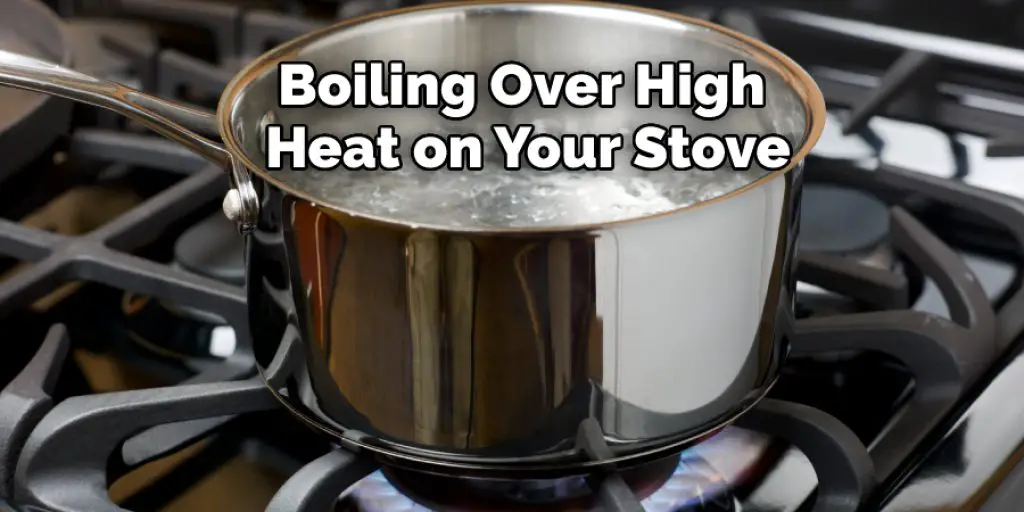
Step 2: Place the Pot of Boiling Water on the Stove.
Place the pot or boiling over high heat on your stove.
Tep 3: Boil the Water for at Least 1 Minute.
Once the water reaches a rolling boil, let it boil for at least 1 minute. This will ensure that all harmful bacteria and viruses are killed.
Step 4: Remove the Pot of Boiling Water From the Stove.
Carefully remove the pot of boiling water from the stove.
Step 5: Pour the Water Into a Clean, Empty Container.
Pour the boiled water into a clean, empty container. Be sure to use a container that is safe to boil water.
Step 6: Allow the Water to Cool Before Drinking.
Allow the boiled water to cool before drinking it. You can speed up the cooling process by placing the container in a sink of cold water. This is a crucial method in how to purify bath water naturally.
Benefits of Boiling Water:
- Boiling water is a simple and effective way to purify your water.
- Boiling water kills harmful bacteria and viruses, making the water safe to drink.
- Boiling water is easy to do and does not require any special equipment.
Drawbacks of Boiling Water:
- Boiling water requires a heat source, such as a stove.
- Boiling water can take some time, depending on the amount of water you need to cleanse.
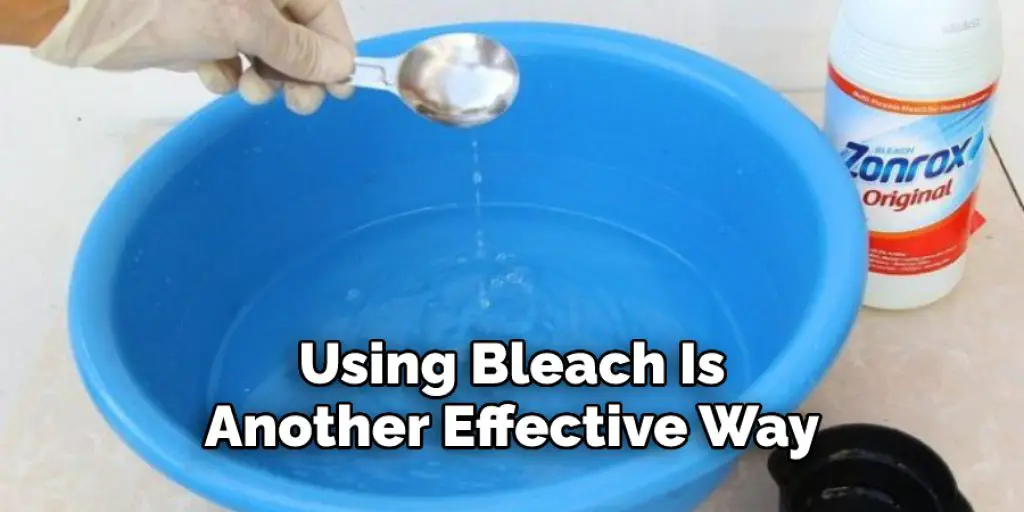
Method 3: Use Bleach to Purify Your Water
Using bleach is another effective way to cleanse your water from harmful bacteria and viruses. The chlorine in bleach will kill these dangerous microorganisms, making the water safe to drink.
What You’ll Need:
- 1/8 teaspoon of bleach per gallon of water
- A clean container for storage
- A clean funnel (optional)
Step 1: Determine the Amount of Bleach Needed
The first step is to determine how much bleach you’ll need to purify your water. For every gallon (3.8 L) of water you have, add 1/8 teaspoon (0.6 ml) of bleach. So, if you have 10 gallons (38 L) of water, you’ll add 1 and 1/8 teaspoons (6.4 ml) of bleach.
Step 2: Add the Bleach to the Water
Once you know how much bleach to use, it’s time to add it to the water. First, pour the desired amount of bleach into your clean storage container, then carefully add the water. If you’re using an enormous container, you may want to use a funnel to help pour the water in without spilling it.
Step 3: Mix Well and Let Sit for 30 Minutes
After adding the bleach to the water, mix it well and let it sit for 30 minutes. This will give the chlorine time to kill any harmful microorganisms in the water.
Step 4: Transfer to Clean Containers
After 30 minutes have passed, transfer the treated water to clean containers. Be sure to use those that haven’t been used previously to store food or drinks, as they may be contaminated.
Label the containers with the date to know when the water was treated and needed to be replaced.
Benefits of Using Bleach:
- Bleach is a powerful disinfectant and will kill most bacteria and viruses
- Easy to find and relatively inexpensive
- It doesn’t require any special equipment
Drawbacks of Using Bleach:
- The taste and smell of the water can be unappealing
- You need to be careful when handling and storing bleach
- Not effective against all types of contaminants
Method 4: Use Distilled Water
Distilled water is made by boiling water and condensing the steam back into the water. This process removes impurities from the water, including minerals, bacteria, and other contaminants.
What You’ll Need:
- 1 gallon (3.8 L) of distilled water
- 1 clean, empty container
- A stove
Step 1: Determine How Much Distilled Water You Need
The amount of distilled water you’ll need will depend on the size of your bathtub. A standard tub can hold up to 80 gallons (302 L) of water, so you’ll need at least that much-distilled water.
Step 2: Boil the Distilled Water
Bring the distilled water to a boil. If you’re using a stove, place the water container on the burner and turn it to high heat.
Step 3: Remove the Container from the Heat Source
Once the water boils, remove the container from the heat source. Place it on a heat-resistant surface, such as a countertop or table.
Step 4: Pour the Distilled Water into Your Bathtub
Carefully pour the distilled water into your bathtub. Be careful not to splash yourself with the hot water.
Step 5: Enjoy Your Bath!
Now you can enjoy your bath, knowing that the water is free of impurities!
Benefits of Using Distilled Water:
- Removes impurities from the water, including minerals, bacteria, and other contaminants.
- Can help to improve the quality of your bathwater.
- Is a cheaper alternative to buying bottled water.
Drawbacks of Using Distilled Water:
- You’ll need to boil the water before using it, which can take some time.
- The process of distilling water can be dangerous if you’re not careful.
- You’ll need to have a clean, empty container to store the distilled water in.
Why Is My Bath Water Green?
If you have ever noticed that your bath water is sometimes green. This is most likely due to copper in the water supply. When water dissolves copper pipes, it can turn the water green. This is not harmful to human health, but it can be a nuisance. If you are concerned about your water quality, you can contact your local water supplier to have the water tested. In most cases, green bathwater is nothing to worry about.
You Can Check it Out to Use Dettol Liquid in Bath
Conclusion
There are many ways to purify bath water naturally. Some methods require chemicals, while others rely on natural ingredients. The best method for purifying bath water will vary depending on the quality of the water and the desired results. However, all of the methods described above can purify bath water and make it safe for use. We hope you have learned how to purify bath water naturally. Thanks for reading!
About
Angela is the chief editor of Indoorense. She began her career as an interior designer before applying her strategic and creative passion to lifestyle and home.
She has close to 15 years of experience in creative writing and online content strategy for housekeeping and cleaning,home decorations as well as other efforts.
She loves her job and has the privilege of working with an extraordinary team. She lives with her husband, two sons, and daughter in Petersburg. When she’s not busy working she spent time with her family.