

An off-center light fixture can be a major source of frustration in an otherwise well-designed room. Whether it’s a dining room chandelier that isn’t centered over the table or a pendant that’s just slightly askew in the living room, the asymmetry can be distracting. This common issue often occurs because the ceiling’s electrical box was not installed in the ideal location for the room’s layout.

While moving the electrical box is a complex job best left to an electrician, there are several simple, DIY-friendly solutions that don’t require any rewiring. This guide provides clear, beginner-friendly instructions on how to fix off center light fixture, helping you achieve perfect placement and restore balance to your space.
An off-center light fixture can throw off the symmetry and visual appeal of a room, making the space feel unbalanced. Fortunately, addressing this issue doesn’t always mean major renovations or expensive professional help.
With just a few tools and some creativity, you can reposition or disguise an off-center fixture to create a more harmonious look that complements your room’s design. In this guide, we’ll go over some tips and tricks on how to fix an off-center light fixture and bring balance back to your space.
Determining the Cause of Off-Center Light Fixtures
Before attempting to fix an off-center light fixture, it’s important to determine the cause of the issue. There are a few common reasons why a light fixture may be off center, including:
- Poor installation: If the light fixture was not installed properly or securely, it can easily become misaligned over time.
- Unlevel ceiling: If your ceiling is not level, it can cause a light fixture to appear off center even if it was initially installed correctly.
- Structural changes: If you’ve made any structural changes to your home, such as adding a new wall or ceiling, it can affect the alignment of your light fixtures.
6 Step-by-Step Guide on How to Fix an Off Center Light Fixture
Step 1: Turn Off the Power
Before you touch any part of your light fixture or its wiring, safety must be your top priority. Go to your home’s breaker box and locate the circuit that powers the light fixture you will be working on. Flip the breaker to the “OFF” position. To be absolutely certain that the power is disconnected, return to the room and flick the light switch on and off. The light should not turn on. This step is non-negotiable and ensures you can work safely without any risk of electric shock.
Step 2: Install a Swag Hook
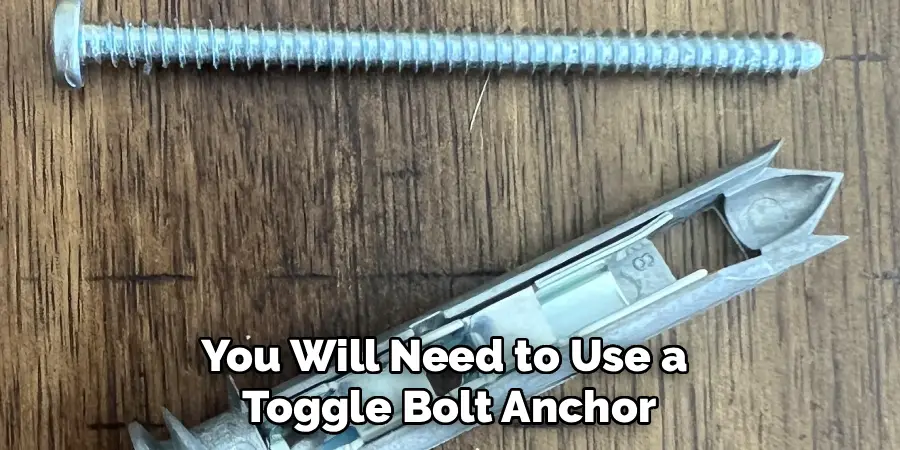
A swag hook is the simplest and most popular solution. First, determine the exact spot on the ceiling where you want the light to hang. Mark this spot with a pencil. You must anchor the swag hook securely, preferably into a ceiling joist. Use a stud finder to locate the nearest joist to your mark. If a joist is conveniently located, drill a pilot hole and screw the hook directly into it. If there is no joist, you will need to use a toggle bolt anchor rated to support the weight of your fixture. Drill a hole, insert the toggle, and securely attach the hook.
Step 3: Adjust the Fixture’s Chain or Cord
With the swag hook installed, you can now reposition your light fixture. Unscrew the canopy of your light fixture from the ceiling to get a little more slack in the electrical cord and support chain. You don’t need to disconnect the wiring. Drape the chain or cord over the newly installed swag hook. Adjust the length of the chain or cord so that the fixture hangs at your desired height, centered perfectly over your table or in the middle of the room. This creates a gentle “swag” or drape in the cord from the electrical box to the hook.
Step 4: Use a Ceiling Medallion
If the distance you need to move the fixture is relatively small (a few inches), a large ceiling medallion can be an elegant solution. These decorative plates can visually correct the placement without moving the fixture at all. A large medallion can make the original off-center electrical box placement appear intentional and centered within the medallion itself. The fixture’s canopy then installs over the medallion, creating a grander, more centered look that cleverly disguises the minor placement issue. This is a purely cosmetic fix but can be very effective for slight misalignments.
Step 5: Install a Canopy Extender Kit
For a more integrated look than a swag hook, you can use a canopy extender or light-moving kit. This kit includes a cover plate for the original electrical box, a length of enclosed wire track, and a new canopy to be installed at the desired location. After turning off the power, you install the cover plate over the existing box. You then run the track across the ceiling to your new center point and install the new canopy. The fixture’s wiring is fed through this track, providing a clean, linear solution that hides the wires completely.
Step 6: Secure the Fixture
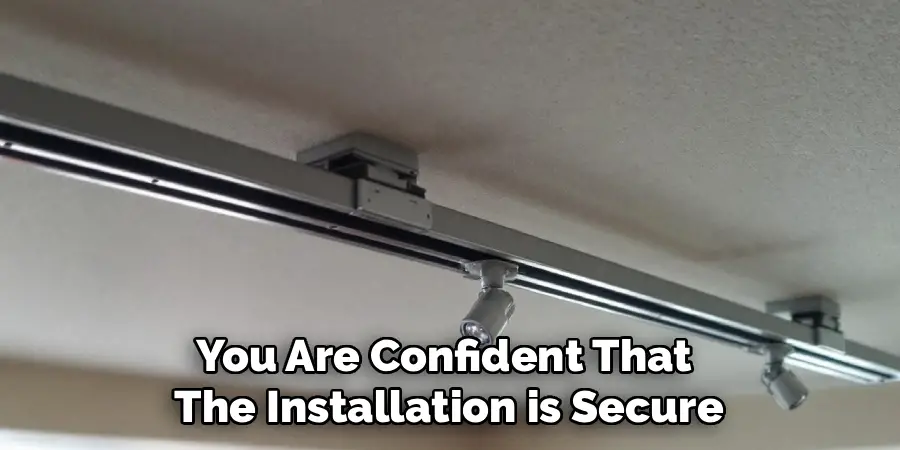
Once you have repositioned your fixture using a swag hook or other method, ensure everything is secure. Make sure the swag hook is tight, the fixture hangs straight, and the original canopy is screwed back into place against the ceiling. Give the fixture a gentle tug to confirm it is well-supported. Once you are confident that the installation is secure, you can return to the breaker box and flip the circuit back to the “ON” position. Go back to the room and test the light to ensure it is working correctly.
Alternative Lighting Solutions
If repositioning or installing a light fixture isn’t the ideal solution for your space, there are several alternative lighting options to consider. Floor lamps and table lamps are versatile choices that provide additional light without the need for any installation. For a more modern touch, consider using LED strip lights, which can be adhered to various surfaces and adjusted to fit your room’s layout.
Pendant lights with plug-in cords can also make a stylish statement while keeping installation simple. Additionally, wall sconces with battery-operated bulbs are an excellent choice for areas where wiring might not be possible. These alternatives can enhance your lighting setup while minimizing the need for complex modifications.
Frequently Asked Questions
What Is the Easiest Way to Center a Light Fixture?
The absolute easiest and most common DIY method is using a swag hook. This involves installing a simple hook on the ceiling at your desired center point and draping the light’s chain or cord over it. This method requires no electrical work and can be completed in under 30 minutes with just a drill and a hook, making it perfect for beginners.
How Much Weight Can a Swag Hook Hold?
The weight capacity of a swag hook depends entirely on how it is installed.

- When screwed directly into a ceiling joist, a heavy-duty hook can hold 50 pounds or more.
- When installed into drywall using a proper toggle bolt or molly bolt anchor, it can typically hold 15 to 25 pounds.
Always check the weight of your fixture and the specifications on the anchor’s packaging.
What if I Don’t Want to See a Cord on My Ceiling?
If you dislike the draped look of a swag hook, your best option is a light-moving canopy kit. These kits provide a metal channel or track that runs from the existing electrical box to your new desired location. The wiring is completely enclosed within this track, offering a much cleaner, more built-in appearance than an exposed cord.
Can a Ceiling Medallion Hide a Large Offset?
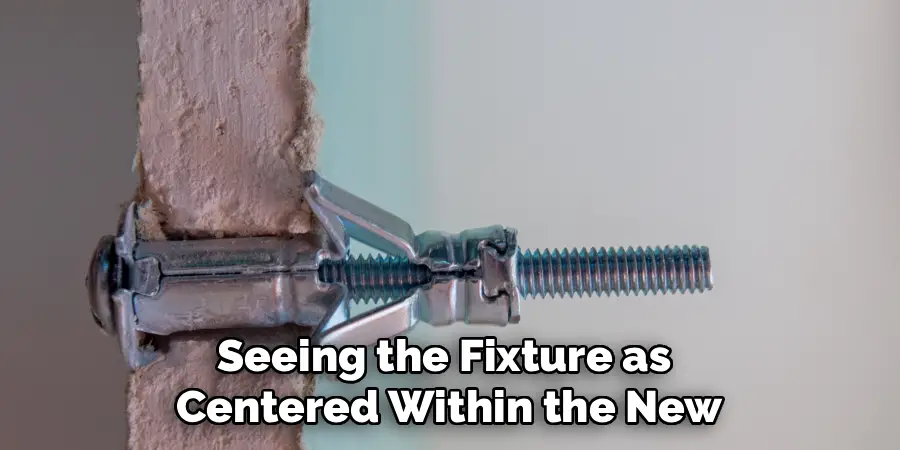
A ceiling medallion is best for hiding small offsets of just a few inches. A large medallion can trick the eye into seeing the fixture as centered within the new, larger decorative base. However, if your fixture is off by a foot or more, a medallion will likely not be large enough to look proportional and will not effectively solve the problem.
When Should I Call an Electrician?
You should call an electrician if you want to physically move the electrical junction box in the ceiling. This is the most permanent and seamless solution but involves cutting into the drywall, moving wiring, and patching the ceiling. If you are not completely comfortable with home electrical work or if your fixture is extremely heavy, it is always safest to consult a professional.
Conclusion
An off-center light fixture is a common design dilemma, but it’s one you don’t have to live with. With simple solutions like swag hooks, ceiling medallions, or canopy kits, you can easily correct the placement without the cost and complexity of hiring an electrician. These DIY methods empower you to take control of your home’s aesthetic, creating the balanced and harmonious look you desire. The key is to work safely by always turning off the power first and choosing the method that best suits your needs and skill level. Now that you know how to fix off center light fixture, you can confidently tackle the project and finally enjoy your light right where it belongs.
Rick is a handyman who grew up helping his dad with his business. He learned a lot from him about how to fix things, and also about how to work hard and take care of business. These days, Rick is still into fixing things- only now, he’s doing it for a living.
Rick is always looking for new ways to help people grow and develop. That’s why he started contributing to this blog: to share all his experience and knowledge so that he can help people who are interested in DIY repair.