
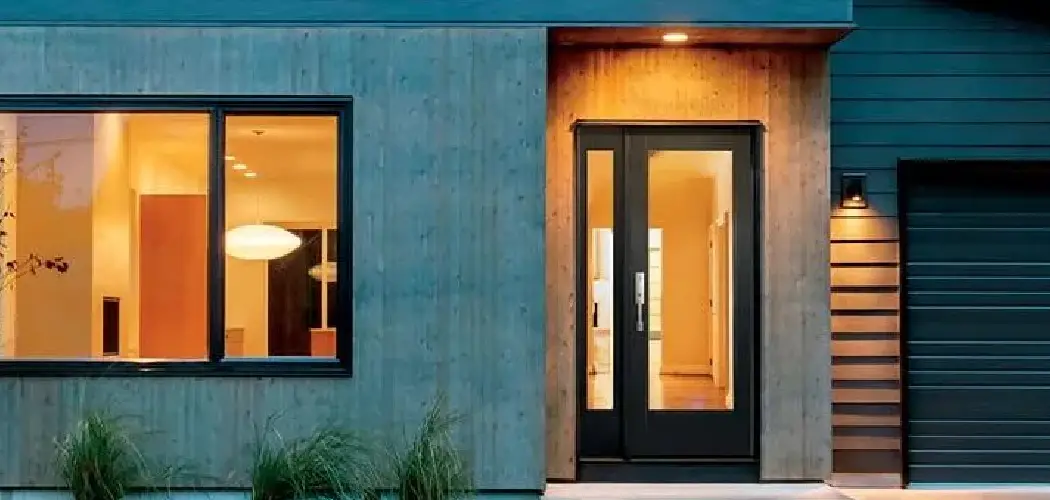
Your front door is more than just an entry point; it’s a central feature of your home’s first impression.

Doors with glass panels are popular for their ability to let in natural light, but they often raise concerns about privacy and security. Finding the right way to cover this glass can transform your entryway, enhancing your home’s comfort, security, and style.
This guide on how to cover front door glass will walk you through everything you need to know, from the benefits of covering your door glass to a detailed, step-by-step process for a flawless finish.
What are the Benefits?
Covering the glass on your front door offers more than just a decorative touch. It provides several practical advantages that can improve your daily life.
- Enhanced Privacy: The most apparent benefit is increased privacy. Covering the glass prevents passersby or visitors from peering directly into your home, giving you and your family peace of mind.
- Improved Security: A clear view into your home can unintentionally display your belongings or reveal when you’re not home. Obscuring this view adds a layer of security, deterring potential intruders.
- Increased Energy Efficiency: Glass can be a significant source of heat loss in the winter and heat gain in the summer. Applying a film or other covering can provide insulation, helping to regulate your home’s temperature and potentially lowering your energy bills.
- UV Protection: Many window films are designed to block harmful ultraviolet (UV) rays. This helps protect your interior furnishings, like flooring and furniture, from fading and sun damage over time.
- Aesthetic Enhancement: With a wide variety of styles, patterns, and finishes available, covering your door glass is an excellent opportunity to upgrade your home’s curb appeal. You can choose a design that complements your existing decor and adds a touch of personal flair.
What Will You Need?
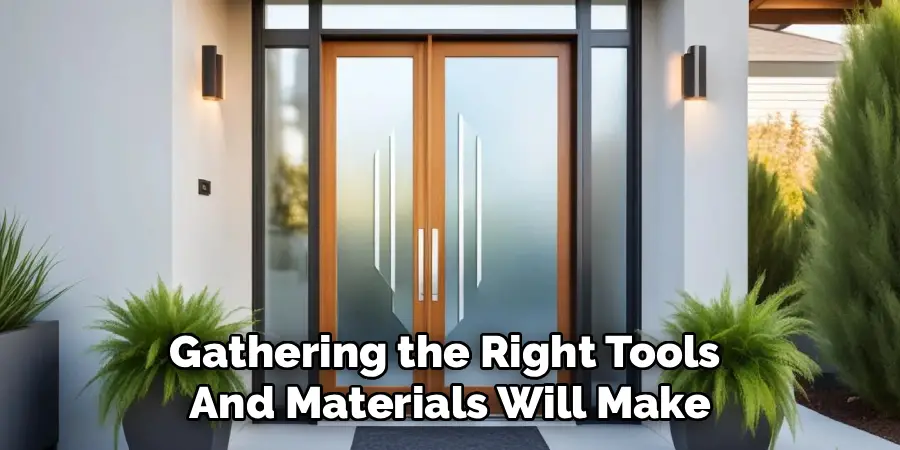
Before you begin, gathering the right tools and materials will make the process smooth and efficient. Here’s a checklist of what you’ll need, assuming you are using a window film, which is one of the most popular methods.
Materials:
- Decorative or privacy window film
- Application solution (can be a mix of water and a few drops of dish soap in a spray bottle)
Tools:
- Tape measure
- Glass scraper or razor blade
- Lint-free cloths or microfiber towels
- Squeegee
- Utility knife or craft knife
- Straight edge or ruler
- Pen or marker
10 Easy Steps on How to Cover Front Door Glass
Applying window film to your front door glass is a straightforward DIY project that can yield professional-looking results. By following these steps carefully, you can achieve a perfect, bubble-free application. This guide focuses on applying a static cling or adhesive window film.
Step 1: Choose the Right Window Film
The first step is selecting a film that meets your needs. Consider the level of privacy you want. Frosted films offer complete obscurity, while decorative or patterned films can provide partial privacy with added style. Also, think about light transmission; some films block more light than others. For energy savings, look for films with UV-blocking and insulating properties. Static cling films are a great option for beginners as they are repositionable and easy to remove without residue. Adhesive films offer a more permanent solution. Read reviews and, if possible, get samples to see how they look on your door.
Step 2: Thoroughly Clean the Glass
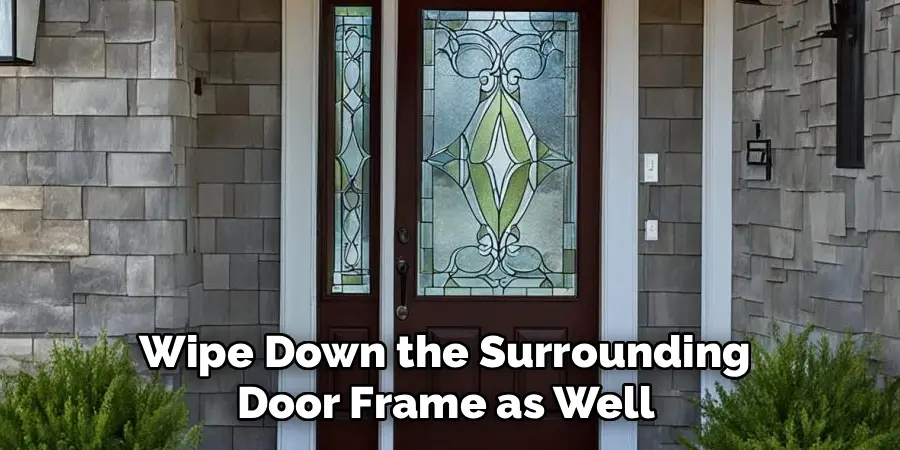
A pristine surface is crucial for a smooth, bubble-free finish. Any speck of dust or dirt left on the glass will be trapped under the film and become highly visible. Start by removing any old paint, caulk, or sticker residue with a glass scraper or a fresh razor blade held at a low angle. Be careful not to scratch the glass. Next, generously spray the glass with your application solution or a glass cleaner. Use a clean, lint-free cloth to wipe the surface down. Repeat this process until the glass is perfectly clean and streak-free. Wipe down the surrounding door frame as well to prevent dust from transferring onto the glass during installation.
Step 3: Measure the Glass Panels Accurately
Precision is key. Using a tape measure, carefully measure the height and width of each glass panel you intend to cover. It’s wise to measure twice to ensure accuracy. Record these dimensions. When you cut the film in the next step, you will want to add an extra inch to both the height and width measurements. This “overcut” provides a margin of error, ensuring the film is large enough to cover the entire glass surface. You will trim the excess film for a perfect fit later in the process.
Step 4: Cut the Film to Size
Lay your window film on a clean, flat surface with the backing paper facing up. Using your measurements from the previous step (including the extra inch on each side), mark your cutting lines on the backing paper with a pen or marker. Use a straight edge or ruler to guide your utility knife for a clean, straight cut. If your film has a grid on the backing paper, use it to your advantage. Cutting the film slightly larger than the glass ensures you won’t be left with any frustrating gaps.
Step 5: Prepare the Film for Application
This is where things start to come together. If you are using a static cling film, you can often separate the film from its backing by placing a piece of tape on each side of one corner and pulling them apart. Once you have a corner started, carefully peel the backing away. As you peel, it’s helpful to lightly spray the exposed, non-adhesive side of the film with your application solution. This helps manage static and prevents the film from curling up or sticking to itself.
Step 6: Wet the Glass Surface Generously
Using your spray bottle, thoroughly wet the entire surface of the glass panel with the application solution. Don’t be shy with the spray; a very wet surface is essential. The liquid layer acts as a lubricant, allowing you to slide the film into the correct position before it adheres. This step is critical for avoiding air bubbles and ensuring a smooth installation. Make sure to cover every corner and edge of the glass.
Step 7: Apply the Film to the Glass
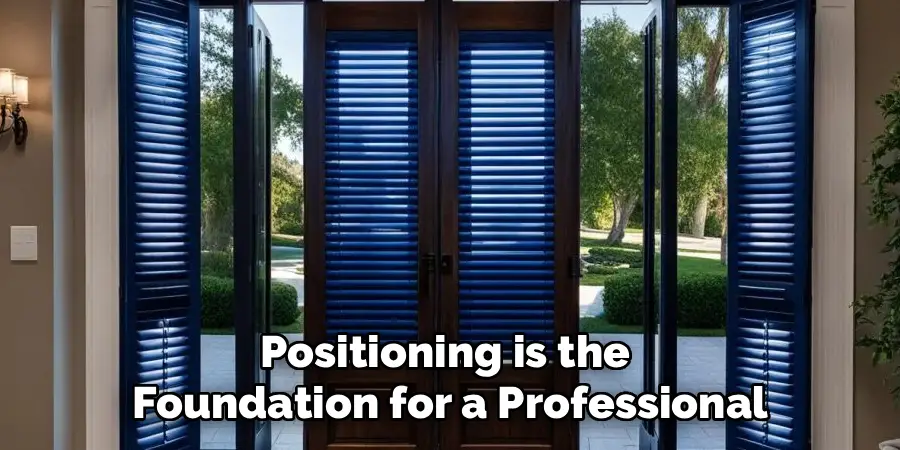
Now, carefully take your peeled window film and place the wet, static side against the wet glass. Because both surfaces are lubricated with the solution, you should be able to easily slide the film around to position it perfectly. The excess inch you added earlier should overhang on all sides. Adjust the film until it is centered and looks straight. Take your time with this step, as proper positioning is the foundation for a professional-looking result.
Step 8: Squeegee the Film into Place
Once the film is positioned correctly, it’s time to push out the water and air bubbles. Lightly spray the outer surface of the film to lubricate it for the squeegee. Starting from the center and working your way out, use your squeegee to apply firm, even pressure. Work in overlapping strokes, pushing the solution and any trapped air towards the edges. A good technique is to work from the top center, then down the middle, and then from the center out to the sides.
Step 9: Trim the Excess Film
With the film squeegeed firmly in place, you can now trim the excess material for a custom fit. Use a straight edge or the edge of your squeegee as a guide. Press it firmly into the corner where the glass meets the frame. Run your sharp utility knife along this guide to cut away the overhanging film. A sharp blade is crucial for a clean cut. Take your time and work carefully around the entire perimeter of the glass panel.
Step 10: Final Squeegee and Inspection
After trimming, do one final pass with the squeegee to remove any remaining water or small air bubbles, paying close attention to the edges to ensure a tight seal. Wipe away the excess solution from the film and the door frame with a lint-free cloth. Inspect the glass from different angles to check for any imperfections. Small, hazy spots or tiny water bubbles are normal and should disappear within a few days as the remaining solution evaporates.
5 Things You Should Avoid
To ensure a successful project, be mindful of these common mistakes:
- Skipping the Cleaning Step: Applying film to a dirty window guarantees a bumpy, unprofessional finish. Take the time to clean the glass thoroughly.
- Not Using Enough Solution: A dry installation makes it impossible to position the film and will create countless air bubbles. Be generous with the water-soap mixture.
- Using a Dull Blade: A dull knife will tear or drag the film instead of cutting it cleanly, resulting in jagged, messy edges. Always use a fresh, sharp blade.
- Working in Direct Sunlight: Applying film on a hot, sunny day can cause the application solution to evaporate too quickly, making installation difficult. Work in the shade or on an overcast day.
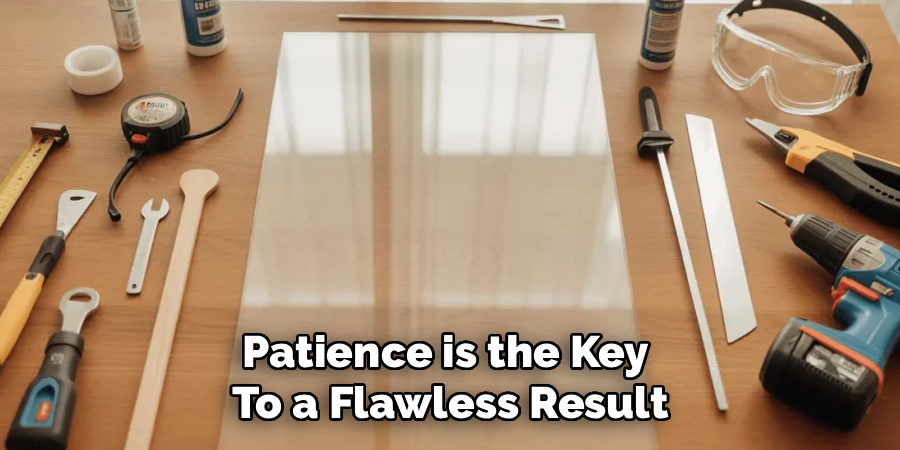
- Rushing the Process: Take your time with each step, especially measuring, cutting, and squeegeeing. Patience is the key to a flawless result.
Conclusion
Covering the glass on your front door is a rewarding project that offers significant benefits for your home’s privacy, security, and style.
By choosing the right materials and following these steps, you can achieve a professional-quality finish that instantly enhances your entryway. Don’t be intimidated by the process; with a little patience and attention to detail, you can successfully transform your front door and enjoy the newfound comfort and peace of mind it brings.
Hopefully, the article on how to cover front door glass has provided valuable information and inspiration for your future projects.
About
Angela is the chief editor of Indoorense. She began her career as an interior designer before applying her strategic and creative passion to lifestyle and home.
She has close to 15 years of experience in creative writing and online content strategy for housekeeping and cleaning,home decorations as well as other efforts.
She loves her job and has the privilege of working with an extraordinary team. She lives with her husband, two sons, and daughter in Petersburg. When she’s not busy working she spent time with her family.