
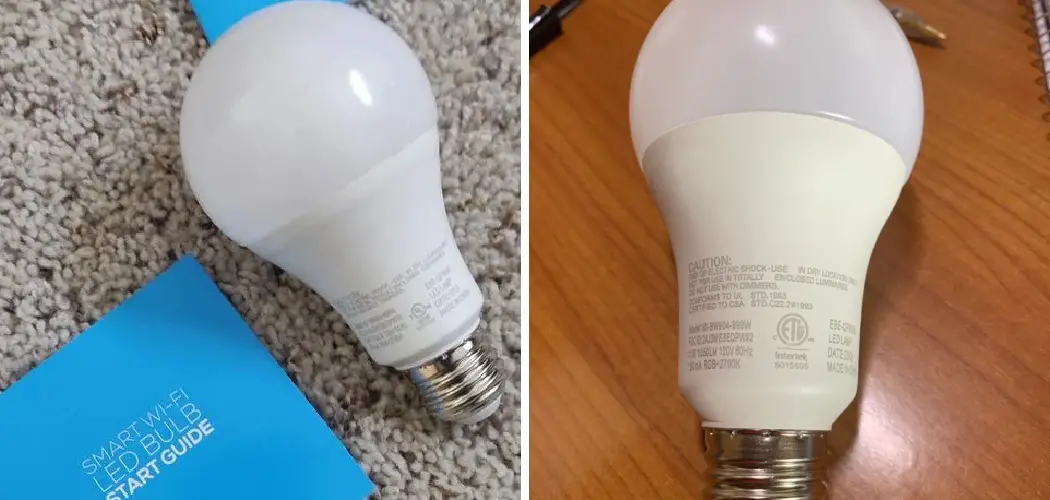
Smart lighting has revolutionized the way we control our home environments, and Merkury smart bulbs are among the most popular choices for homeowners looking to upgrade their lighting systems. These affordable, WiFi-enabled bulbs offer convenience, energy efficiency, and customizable ambiance at your fingertips.
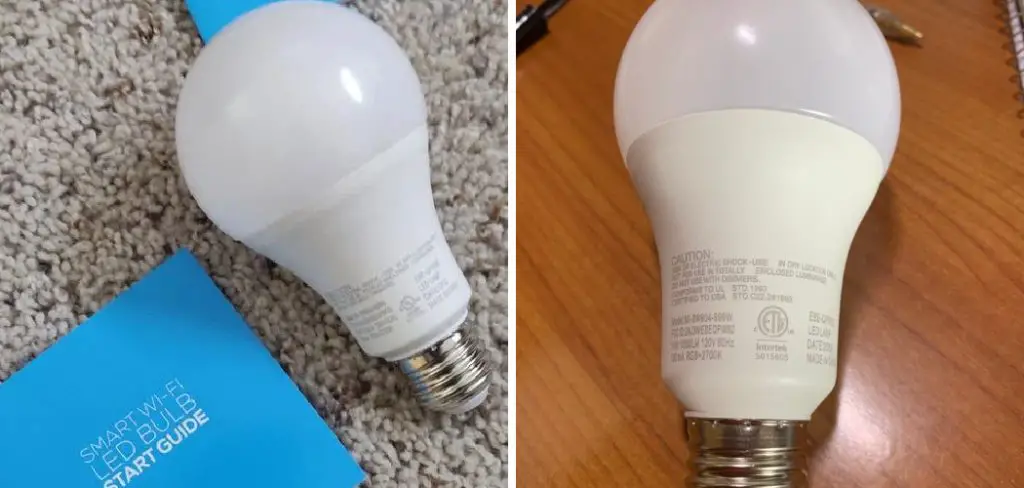
However, many first-time users find themselves confused during the initial setup process. If you’ve recently purchased a Merkury light bulb and aren’t sure how to get it connected to your home network, you’re in the right place. This comprehensive guide on how to connect merkury light bulb will walk you through everything you need to know to successfully connect your Merkury light bulb and start enjoying the benefits of smart lighting in your home.
Materials You’ll Need
Before you begin the setup process, gather these essential items:
- Your Merkury smart light bulb
- A compatible light fixture or lamp
- A smartphone or tablet (iOS or Android)
- The Geeni app (available free from the App Store or Google Play)
- A stable 2.4 GHz WiFi network (Merkury bulbs don’t support 5 GHz networks)
- Your WiFi network name and password
Make sure your smartphone has sufficient battery life and that you’re within range of your WiFi router for the smoothest setup experience.
7 Simple Step-By-Step Guidelines on How to Connect Merkury Light Bulb
Step 1: Install the Merkury Light Bulb
Begin by screwing your Merkury smart bulb into a compatible light fixture or lamp socket. Ensure the bulb is firmly secured but avoid over-tightening, which could damage the base. The installation process is identical to installing a traditional light bulb, so there’s nothing complicated about this initial step.
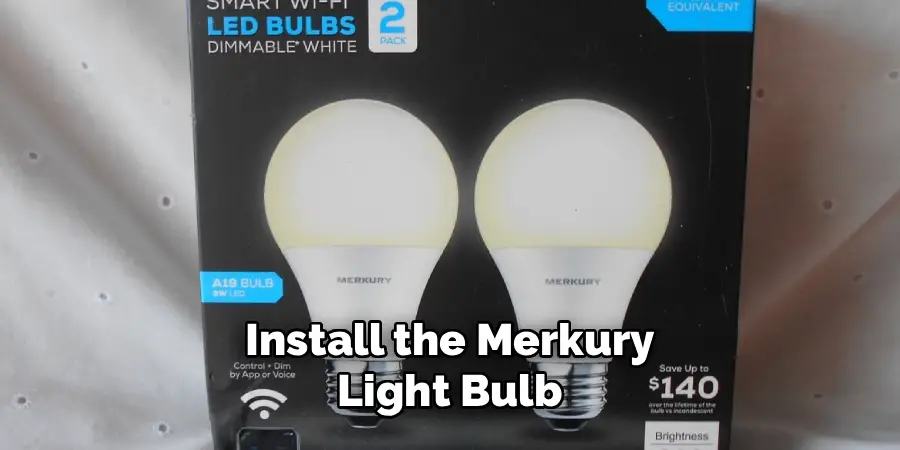
Once installed, turn on the power switch to the fixture. The bulb should illuminate immediately. If it doesn’t light up, check that the fixture is properly connected to power and that the switch is in the “on” position. This initial power-up is crucial for the pairing process that follows.
Step 2: Reset the Bulb to Pairing Mode
For a successful connection, your Merkury bulb needs to be in pairing mode. To activate this mode, turn the light switch off and on three times in quick succession. The rhythm should be: off for one second, on for one second, off for one second, on for one second, off for one second, then on again.
When done correctly, the bulb will begin flashing rapidly, indicating it’s ready to pair with your smartphone. This flashing pattern is your confirmation that the bulb has entered pairing mode successfully. If the bulb doesn’t flash, repeat the process, ensuring you’re switching at the right pace—not too fast and not too slow.
Step 3: Download and Open the Geeni App
Navigate to your device’s app store and search for “Geeni.” Download and install this free application, which serves as the control center for your Merkury smart bulb. The Geeni app is the official companion app for Merkury smart home devices and offers an intuitive interface for managing your smart lighting.
Once installed, open the app and create a new account if you’re a first-time user, or log in if you already have an account. You’ll need to provide an email address and create a password. Keep this login information secure, as you’ll use it to access your smart home devices from any compatible device.
Step 4: Add Your Device to the Geeni App
After logging in, tap the “+” icon or “Add Device” button, typically located in the top right corner of the app’s home screen. The app will display a list of compatible device categories. Select “Smart Lighting” or “Light Bulb” from the options presented.
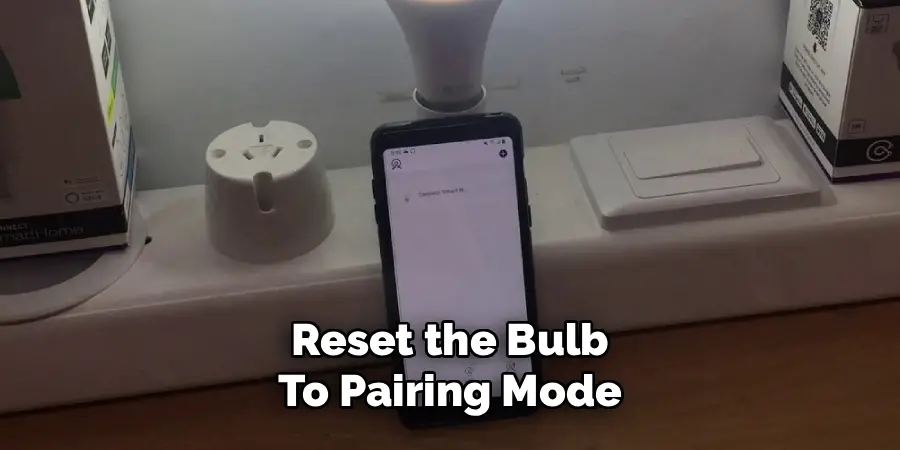
The app will then ask you to confirm that your bulb is flashing rapidly. If it is, tap “Yes” or “Next” to proceed. If the bulb isn’t flashing, the app will provide instructions for resetting it to pairing mode. Follow any on-screen prompts carefully to ensure a smooth connection process.
Step 5: Connect to Your WiFi Network
The app will now prompt you to select your WiFi network from a list of available networks. Choose your home’s 2.4 GHz network—this is crucial, as Merkury bulbs are not compatible with 5 GHz networks. If you’re unsure which network is 2.4 GHz, check your router’s settings or look for network names that might indicate the frequency.
Enter your WiFi password when prompted, taking care to input it exactly as it appears, including capital letters, numbers, and special characters. An incorrect password is one of the most common reasons for connection failures. Once you’ve entered the password, tap “Connect” or “Next” to proceed.
Step 6: Complete the Pairing Process
The app will now communicate with your Merkury bulb to establish a connection to your WiFi network. This process typically takes 30 seconds to two minutes. During this time, you’ll see a progress indicator on your screen, and the bulb may flash or change brightness levels.
Don’t close the app or turn off your phone during this critical phase. Keep your device close to the bulb to ensure a strong signal. If the connection fails, the app will notify you and offer troubleshooting suggestions. Common issues include incorrect WiFi passwords, being too far from the router, or router settings that block new device connections.
Step 7: Name Your Bulb and Customize Settings
Once successfully connected, the app will prompt you to name your bulb. Choose a descriptive name that indicates the bulb’s location, such as “Living Room Lamp” or “Bedroom Light.” This naming convention becomes especially helpful when you have multiple smart bulbs throughout your home.
After naming your bulb, you can customize various settings, including brightness levels, color temperature (if your bulb supports color), and schedules for automatic on/off times. Explore the app’s features to discover all the ways you can control and automate your new smart bulb. You can also group multiple bulbs together for synchronized control across different rooms.
Following these steps on how to connect merkury light bulb to the app, you can now enjoy the convenience and flexibility of controlling your home lighting with just a few taps on your smartphone.
Common Mistakes to Avoid
One of the most frequent errors is attempting to connect the bulb to a 5 GHz WiFi network. Mercury bulbs only work with 2.4 GHz networks, so always verify your network frequency before beginning setup. Another common mistake is skipping the bulb reset step, which prevents the device from entering pairing mode properly.
Additionally, many users stand too far from the bulb during setup, resulting in weak signal strength and connection failures. Ensure you’re within a few feet of the bulb when connecting it. Finally, rushing through the WiFi password entry often leads to typos—take your time to input credentials accurately.
Do You Need To Use Professionals?
The short answer is no—connecting a Merkury light bulb is designed to be a simple DIY process that doesn’t require professional assistance. The manufacturers have intentionally made the setup process user-friendly for homeowners of all technical skill levels. Most people can successfully complete the entire setup in under ten minutes.
However, if you’re experiencing persistent connectivity issues despite following all troubleshooting steps, or if you’re uncomfortable working with electrical fixtures, consulting a professional might be worthwhile. Additionally, if you’re planning to install smart bulbs throughout your entire home and want to integrate them with a comprehensive smart home system, a professional installer can ensure everything works seamlessly together. That said, for a single bulb or small-scale installation, the DIY approach is perfectly adequate and cost-effective.
Frequently Asked Questions
Q: Why Won’t My Merkury Bulb Connect to WiFi?
A: The most common reasons for connection failures include using a 5 GHz WiFi network instead of 2.4 GHz, entering an incorrect WiFi password, or the bulb not being in pairing mode. Ensure your bulb is flashing rapidly before attempting to connect it. Additionally, check that your router isn’t blocking new device connections and that you’re within a reasonable distance from your WiFi router during setup. If you’ve verified all these factors and still can’t connect, try resetting your bulb again and restarting your smartphone before attempting the connection process once more.
Q: Can I Control My Merkury Light Bulb When I’m Away From Home?
A: Yes, once your Merkury bulb is connected to your WiFi network and the Geeni app, you can control it from anywhere with an internet connection. This remote access feature allows you to turn lights on or off while you’re away, creating the impression that someone is home for security purposes. You can also adjust brightness, change colors, or modify schedules from anywhere in the world. Just ensure your home WiFi network remains active and that the bulb stays powered on (even if dimmed to zero) to maintain connectivity.
Q: How Many Merkury Bulbs Can I Connect to One Account?
A: The Geeni app allows you to connect an unlimited number of Merkury smart bulbs to a single account, making it perfect for whole-home smart lighting systems. You can organize bulbs into different rooms or groups for easier management and control them individually or collectively. However, keep in mind that your WiFi network has a limit on how many devices it can support simultaneously. Most modern routers can handle 50-100 connected devices, but performance may degrade as you approach these limits. For large installations with dozens of smart bulbs, consider upgrading to a mesh WiFi system for better coverage and device support.
Conclusion
Connecting your Merkury light bulb is a straightforward process that opens up a world of convenient, customizable lighting options for your home. By following the seven simple steps outlined in this guide on how to connect merkury light bulb, you’ll have your smart bulb up and running in just minutes. Remember to ensure your bulb is in pairing mode, use the correct 2.4 GHz WiFi network, and take your time entering your credentials accurately.
Smart lighting isn’t just about convenience—it’s about creating the perfect ambiance for every moment while reducing energy consumption. Now that you’ve successfully connected your first Merkury bulb, why not explore adding more throughout your home? Transform your living spaces with lighting that adapts to your lifestyle, and discover how small changes can make a big difference in your daily comfort and home security.

Rick is a handyman who grew up helping his dad with his business. He learned a lot from him about how to fix things, and also about how to work hard and take care of business. These days, Rick is still into fixing things- only now, he’s doing it for a living.
Rick is always looking for new ways to help people grow and develop. That’s why he started contributing to this blog: to share all his experience and knowledge so that he can help people who are interested in DIY repair.