

Picture this: a warm summer evening, friends gathered around, laughter filling the air, all illuminated by the soft glow of twinkling patio lights. It’s the kind of ambiance that transforms an ordinary backyard into a magical retreat. But what if you’re renting, or simply don’t want to damage your outdoor surfaces with nails and screws?
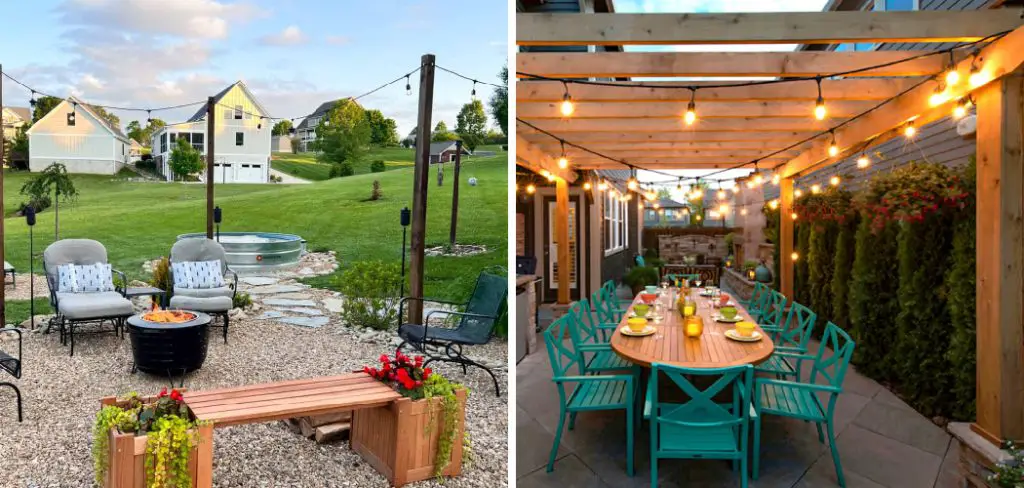
The good news is that hanging patio lights without nails is not only possible—it’s surprisingly simple. Whether you’re decorating a rental property, protecting delicate surfaces, or just looking for a more flexible lighting solution, there are numerous nail-free methods that deliver stunning results. This guide on how to hang patio lights without nails will walk you through everything you need to know to create that perfect outdoor atmosphere without picking up a hammer.
Tools and Materials You’ll Need
To hang patio lights without nails, you will need the following tools and materials:
Patio Lights:
The type of lights you choose will depend on your personal preference and the look you’re going for. Some popular options include string lights, fairy lights, lanterns, and globe lights.
Command Hooks:
These adhesive hooks are a great alternative to nails as they can be easily removed without damaging surfaces. Make sure to choose ones that are specifically designed for outdoor use.
Extension Cord:
You will need an extension cord to connect the lights to a power source. Make sure to choose one that is weatherproof and long enough to reach your desired location.
Zip Ties:
These are useful for securing the lights in place and preventing them from sagging or swaying. Opt for heavy-duty zip ties that can withstand outdoor conditions.
Outdoor Timer:
If you want your patio lights to turn on automatically at a certain time, consider investing in an outdoor timer. This will also help save energy by turning off the lights when not needed.
Ladder:
Depending on the height of your patio, you may need a ladder to reach the desired placement for your lights. Make sure to use a sturdy ladder and have someone assist you for safety.
Power Source:
Before installing your patio lights, make sure you have access to a power source. This could be an outdoor outlet or extension cord connected to an indoor outlet.
Choosing the Best Location
The right location can make or break your patio lighting design. Start by surveying your outdoor space during different times of day to understand how natural light affects the area. Look for existing structures like pergolas, fences, trees, or eaves that can serve as natural anchor points for your lights.
Consider the practical aspects too. Your chosen location should be within a reasonable distance of an outdoor electrical outlet, or you’ll need to invest in solar-powered or battery-operated options. Think about traffic patterns—you don’t want lights hanging where people might walk into them. Also, evaluate weather exposure; areas with some overhead protection will help your lights last longer. Finally, visualize the overall effect you’re trying to achieve. Do you want lights framing a dining area, creating a canopy effect, or highlighting a garden pathway?
7 Simple Steps on How to Hang Patio Lights Without Nails
Step 1: Plan Your Layout
Begin by sketching a simple diagram of your patio or outdoor area. Mark where you want your lights to hang, noting the distance between anchor points. This planning phase is crucial because it determines how many strands you’ll need and where you’ll position your mounting points.
Walk the perimeter with your measuring tape, calculating the total length of lighting required. Don’t forget to account for the draping effect—lights look best when they have a gentle curve between mounting points rather than being pulled taut. Add an extra 10-15% to your measurements to ensure you have enough slack. This preliminary work prevents the frustration of running short on lights or discovering midway through installation that your vision isn’t feasible with your available materials.

Step 2: Prepare Your Surfaces
Clean surfaces are essential for adhesive-based hanging methods to work effectively. Use a cloth dampened with rubbing alcohol to wipe down any areas where you’ll be attaching hooks or command strips. This removes dirt, pollen, and oils that can compromise adhesive strength.
For wooden surfaces like fence posts or pergola beams, check for any loose paint or splintering that might interfere with adhesion. If you’re using tension between two points, ensure both anchor structures are stable and can support the weight. Allow cleaned surfaces to dry completely—rushing this step is one of the most common reasons adhesive hooks fail. In humid climates, you might even want to use a hair dryer to speed up the drying process and ensure optimal bonding conditions.
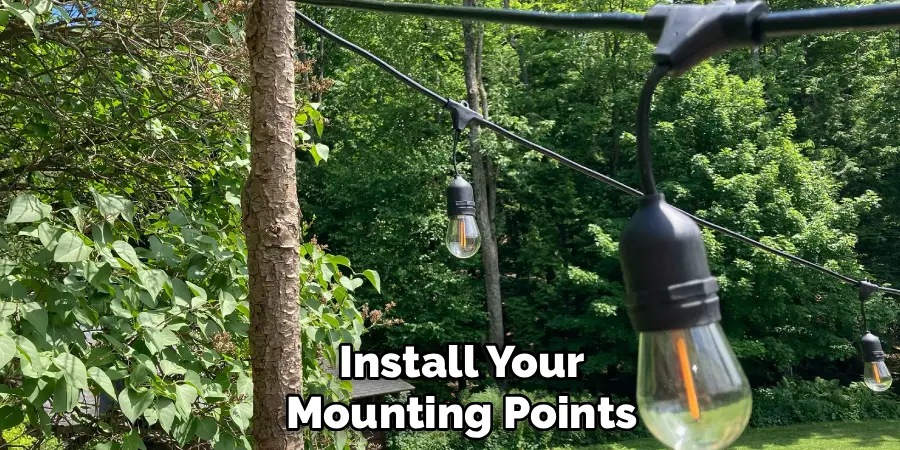
Step 3: Install Your Mounting Points
Now it’s time to install the hooks or attachments that will hold your lights. If you’re using adhesive hooks, follow the manufacturer’s instructions carefully regarding temperature and wait times. Most outdoor command hooks require pressing firmly for 30 seconds, then waiting at least one hour before hanging anything.
For gutter hooks, simply slide them over the edge of your gutter at regular intervals—typically every 12-18 inches for even weight distribution. If you’re working with shepherd’s hooks planted in the ground, ensure they’re pushed in deep enough to remain stable. Space your mounting points evenly based on your earlier measurements, maintaining consistency for a professional appearance. When using zip ties to attach lights to existing structures like chain-link fences or pergola slats, position them where they’ll be least visible while still providing secure support.
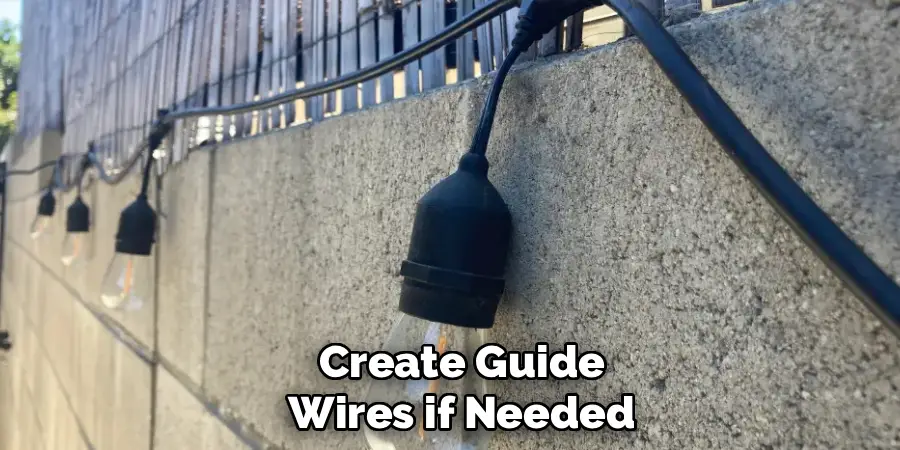
Step 4: Create Guide Wires if Needed
For spanning larger distances where no natural anchor points exist, guide wires become your best friend. Attach heavy-duty eye hooks (the screw-in kind that don’t damage surfaces when removed) to opposite mounting points, or use the adhesive variety if you’re avoiding any penetration. Thread galvanized wire or heavy-duty fishing line between these points, pulling it reasonably taut.
The guide wire should be strong enough to support the weight of your light strand without sagging excessively. Once your guide wire is in place, you can attach your light strand to it using zip ties or small clips spaced every few feet. This method works beautifully for creating that bistro-style crisscross pattern over a patio or for spanning the gap between a house wall and a freestanding pergola. Just remember that guide wires need secure anchor points at each end—this is where those adhesive hooks must be rated for appropriate weight.
Step 5: Hang Your Light Strands
With your mounting system in place, it’s time for the satisfying part—actually hanging the lights. Start at the end nearest your power source if you’re using electric lights. Gently drape the strand from hook to hook, allowing for that graceful curve between mounting points rather than pulling tight.
Secure the strand at each mounting point using the method that matches your chosen hardware. For adhesive hooks with catches, loop the wire into the catch. For shepherd’s hooks, wrap the cord around once before continuing to the next point. When working with guide wires, use zip ties or twist ties to attach the light strand at regular intervals. Work methodically from one end to the other, periodically stepping back to assess the visual effect. Don’t be afraid to adjust—this is much easier to do before you’ve secured everything completely. The beauty of nail-free methods is the flexibility they offer for repositioning.
Step 6: Test Your Setup
Before declaring victory, plug in your lights and check that everything works as intended. This test run often reveals issues that weren’t apparent during installation. Look for any sections where lights sag too much or where the strand pulls awkwardly at mounting points.
Check that all bulbs are functioning—it’s much easier to address a faulty bulb now than after you’ve completed the full installation. Evaluate the overall aesthetic effect both from ground level and from inside your home looking out. Does the lighting create the atmosphere you envisioned? If you’re using timers or smart controls, program them now and ensure they’re functioning correctly. Walk around the entire setup, checking for any safety concerns like lights hanging too low or cords that might create tripping hazards. This thorough testing phase ensures you won’t discover problems when you’re trying to enjoy your first evening under the lights.
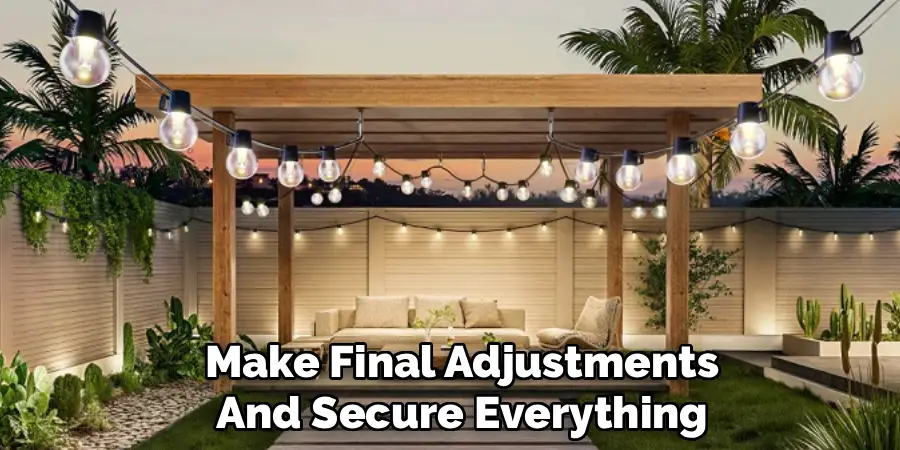
Step 7: Make Final Adjustments and Secure Everything
Based on your test run, make any necessary adjustments to achieve the perfect look. You might need to add additional mounting points where lights sag too much, or remove some where the effect seems too uniform and lacks visual interest. Secure any loose cord sections with additional zip ties or clips.
For areas exposed to wind, consider adding extra support points to prevent lights from swaying excessively during storms. Use cable clips to manage any excess cord length, keeping it neat and out of sight. If you have outdoor furniture beneath the lights, sit in various positions to ensure the lighting height is comfortable and doesn’t create glare.
Once everything looks and functions perfectly, take photos from multiple angles—these will be invaluable if you need to recreate the setup in the future or if the weather requires taking the lights down temporarily. Document which products and spacing worked best so you can replicate your success.
Following these steps on how to hang patio lights without nails or screws, you can create a cozy outdoor space that is perfect for entertaining or relaxing. But don’t limit yourself to just hanging lights on your patio; get creative and use these techniques to add ambiance to other areas of your backyard as well.
Troubleshooting Common Issues
Hooks falling off is the most common frustration when hanging lights without nails. If this happens, the surface likely wasn’t clean enough, or the adhesive didn’t cure long enough before weight was applied. Remove the hook, clean the surface again thoroughly, use a new hook, and wait the full recommended time.
Lights sagging excessively indicates mounting points are too far apart—add intermediate hooks or support with guide wires. If sections of lights aren’t illuminating, check connections first, then test individual bulbs to identify failures. For lights that sway too much in the wind, add strategic zip ties to nearby stable structures for additional security without using nails.
Creative Placement Ideas
Think beyond the standard perimeter lighting arrangement. Create a canopy effect by running multiple strands from a central point outward to various edges of your patio, reminiscent of a circus tent. Use shepherd’s hooks to create freestanding “light poles” throughout a garden or around a pool area, connecting them with draped strands for an enchanted forest effect.
Consider vertical lighting by attaching strands to trees using tree-friendly straps (never wire or nails, which damage bark), allowing lights to cascade down like a waterfall of illumination. Frame doorways or windows with lights for an elegant accent that guides guests. For covered patios, lights can follow the roofline’s contours, emphasizing architectural features. In small spaces, even a single strand woven through a trellis or draped across a balcony railing creates ambiance without overwhelming the area.
Common Mistakes to Avoid
Don’t underestimate weight—hanging multiple strands from a single adhesive hook exceeds weight limits and causes failure. Instead, distribute weight across multiple mounting points. Avoid mixing indoor and outdoor-rated products; indoor adhesive hooks and lights won’t withstand weather exposure. Don’t skip the surface preparation step, thinking it won’t matter—it absolutely does for long-term success.
Resist the temptation to pull light strands taut between mounting points; the resulting tension puts excessive stress on hooks and creates an unnatural appearance. Avoid hanging lights too low; people should be able to walk beneath them comfortably without ducking. Finally, don’t neglect to check your setup periodically—wind, weather, and time can loosen connections, and catching issues early prevents lights from falling and potentially breaking.
Frequently Asked Questions
Q: How Much Weight Can Adhesive Hooks Hold for Patio Lights?
A: Most outdoor adhesive hooks are rated for 3-5 pounds when properly installed on appropriate surfaces. A typical 25-foot strand of LED lights weighs less than one pound, meaning a single hook can usually support one strand. However, weight ratings decrease on textured or porous surfaces like brick or stucco.
Always check the manufacturer’s specifications for your specific hooks and surfaces. For heavier light strands or multiple strands meeting at a single point, use hooks rated for higher weights or distribute the load across multiple hooks. Remember that weight capacity assumes proper installation on clean, dry surfaces with adequate curing time.
Q: Can I Use These Methods on Brick or Stucco?
A: Yes, but with special considerations. Standard adhesive hooks don’t work well on textured surfaces because they can’t make complete contact. Instead, look for adhesive products specifically designed for rough surfaces—these typically have thicker adhesive pads that can conform to texture.
Alternatively, use wire clips that wedge into the mortar lines between bricks without causing damage. For stucco, there are specialized hooks that use a spreading mechanism to grip without requiring nails. Shepherd’s hooks planted in the ground near brick or stucco walls can provide mounting points without touching the surface at all. When in doubt, test your chosen method in an inconspicuous area first to ensure adequate hold.
Q: How Do I Remove Adhesive Hooks Without Damaging Surfaces?
A: Proper removal is just as important as proper installation for avoiding damage. Most command-style hooks feature removal strips—pull these straight down (not out) slowly until the adhesive releases. If hooks don’t have removal strips, use a hairdryer to warm the adhesive for 20-30 seconds, softening it for easier removal.
Then, use dental floss or fishing line to work behind the hook in a sawing motion to cut through the adhesive. Never pull hooks straight off without following removal instructions, as this can remove paint or damage surfaces. Any remaining adhesive residue can typically be removed with rubbing alcohol on a soft cloth. Remove hooks during mild weather when the adhesive is neither too cold (brittle) nor too hot (overly soft).
Conclusion
Creating the perfect outdoor lighting atmosphere doesn’t require damaging your surfaces with nails or screws. With the right materials, careful planning, and proper installation techniques, you can achieve professional-looking results that are completely removable and adjustable. The methods outlined in this guide on how to hang patio lights without nails offer flexibility for renters, protection for delicate surfaces, and the freedom to redesign your lighting scheme whenever inspiration strikes.
Ready to transform your outdoor space? Start by gathering your materials and planning your layout this weekend. Your beautifully lit patio is just a few simple steps away—no hammer required. The warm, inviting glow of perfectly positioned patio lights awaits, creating countless memorable evenings under the stars.
Rick is a handyman who grew up helping his dad with his business. He learned a lot from him about how to fix things, and also about how to work hard and take care of business. These days, Rick is still into fixing things- only now, he’s doing it for a living.
Rick is always looking for new ways to help people grow and develop. That’s why he started contributing to this blog: to share all his experience and knowledge so that he can help people who are interested in DIY repair.