

Holiday time rope lights are a favorite for decorating porches, railings, trees, and rooflines during the festive season. They’re flexible, durable, and give off a warm glow that makes any space feel cheerful. But if you’ve ever pulled a tangled bundle out of storage and felt lost, you’re not alone. Knowing how to connect holiday time rope lights properly is the key to a safe, smooth, and stress-free setup. The good news is that connecting these lights is easier than it looks once you understand the basic parts and the right order of steps.
Whether you’re stringing a single rope along a fence or linking several together for a big display, the process follows simple rules. With a little patience and the correct connectors, you can get everything glowing exactly how you want. This guide walks you through every part of the setup, from checking your gear to powering it all on. Let’s brighten up your home the right way.
Why Connecting Holiday Time Rope Lights Matters
Setting up your rope lights the correct way does more than just look nice. A proper connection keeps your display safe by preventing loose plugs, exposed wires, and overheating, which can all create fire hazards. When everything is linked securely, your lights shine evenly without flickering or dead spots that ruin the look.
There’s also the matter of longevity. Rope lights that are connected and supported correctly last for many seasons, saving you money on replacements. You avoid the frustration of strands cutting out halfway through the holidays. On top of that, a tidy, well-planned connection makes takedown and storage so much easier next year. Taking a few extra minutes to do it right means a brighter, safer, and longer-lasting holiday display that you can enjoy worry-free every single night.
Step-by-Step Guide to How to Connect Holiday Time Rope Lights
Step 1: Gather Your Tools and Inspect the Lights
Before you start, lay everything out so you know what you’re working with. You’ll want your rope light strands, any connector pieces that came in the box, mounting clips, and an outdoor-rated extension cord if needed. Take a moment to unroll each strand and check for damaged spots, cracked tubing, or bent prongs on the connectors.
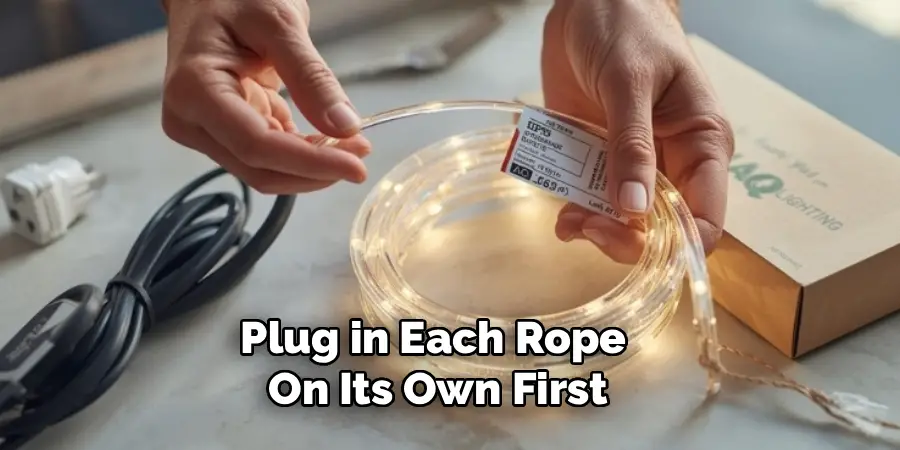
Plug in each rope on its own first to confirm it lights up fully. This quick test saves you from hanging a faulty strand and having to take it back down later. Inspecting now means fewer surprises once everything is mounted and you’re ready to flip the switch.
Step 2: Plan Your Layout and Measure the Space
Walk the area where your lights will go and picture the finished look. Measure the railing, roofline, or tree trunk so you know how much rope you actually need. Most holiday rope lights come in fixed lengths, so knowing your measurements helps you decide how many strands to link together.
Mark your starting point near a power outlet, since this keeps your cords short and tidy. Think about where each connection will land too, because you want joints to sit in spots that are easy to reach. A few minutes of planning here prevents the headache of running short or stretching a strand too tightly across a gap.
Step 3: Using the Right Connectors
Now for the main event. Holiday time rope lights usually join together with small connector pins or a male-to-female plug at each end. Line up the two strand ends carefully, matching the pins to the holes so they slide in straight. Push them together firmly until you feel them click or seat fully into place.
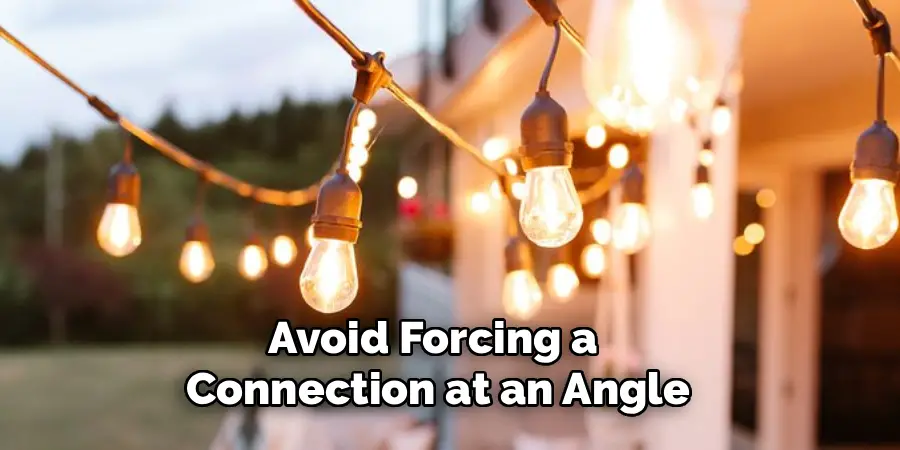
Avoid forcing a connection at an angle, as this can bend the pins and break the link. If your set uses a screw-on weatherproof cap, twist it snugly over the joint to seal out moisture. A solid, straight connection is what keeps your whole display glowing without gaps or flickering between sections.
Step 4: Secure the Connections Against Weather
Outdoor displays face rain, snow, and cold, so protecting each joint matters a lot. Wrap every connection point with electrical tape or use the waterproof caps and gaskets that came with your lights. This keeps water away from the metal pins, which prevents short circuits and corrosion over time.
For extra safety, position your connections so they point downward or tuck them under an eave when possible. Water naturally drips away instead of pooling around the seam. Don’t skip this step even if rain isn’t in the forecast, because morning dew and melting snow can still sneak into an open joint and cause trouble down the line.
Step 5: Mount the Rope Lights in Place
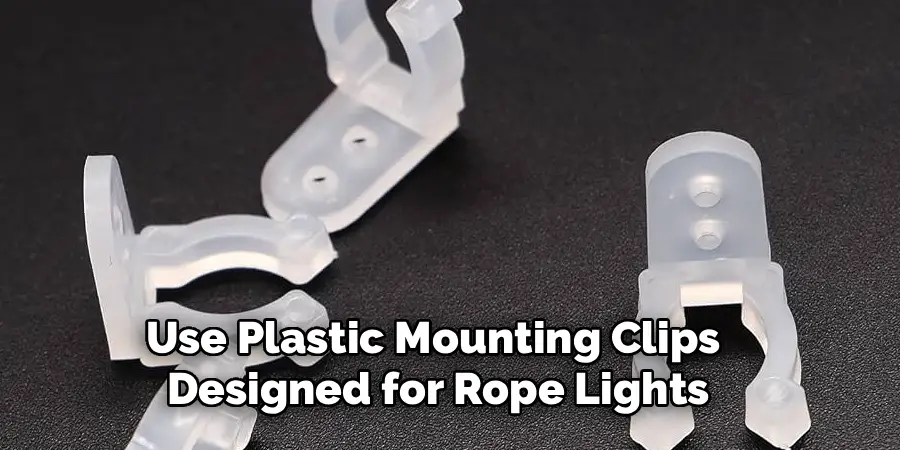
With your strands connected, it’s time to attach them to the surface. Use plastic mounting clips designed for rope lights, spacing them every foot or so to keep the line smooth and even. Press the rope gently into each clip rather than yanking it, which protects the tubing from stress.
Work in one direction, starting from your power source and moving outward. Keep the rope snug but not stretched tight, since a little slack lets it handle temperature changes without strain. If you’re wrapping a tree or post, coil evenly and tuck the rope behind branches for a clean, professional finish that holds up all season.
Step 6: Rope Lights to a Power Source
Once everything is mounted and sealed, you can bring it all to life. Plug the first strand into a properly rated outdoor extension cord, then connect that cord to a GFCI-protected outlet, which adds a layer of shock protection. Never overload a single outlet with too many strands chained together.
Check the maximum connection limit printed on your light’s packaging, since most brands allow only a certain number of ropes to link end to end safely. If you have a large display, run separate cords to different outlets. Tuck excess cord neatly out of walkways so nobody trips, and keep all plugs off the wet ground.
Step 7: Test Everything and Tidy Up
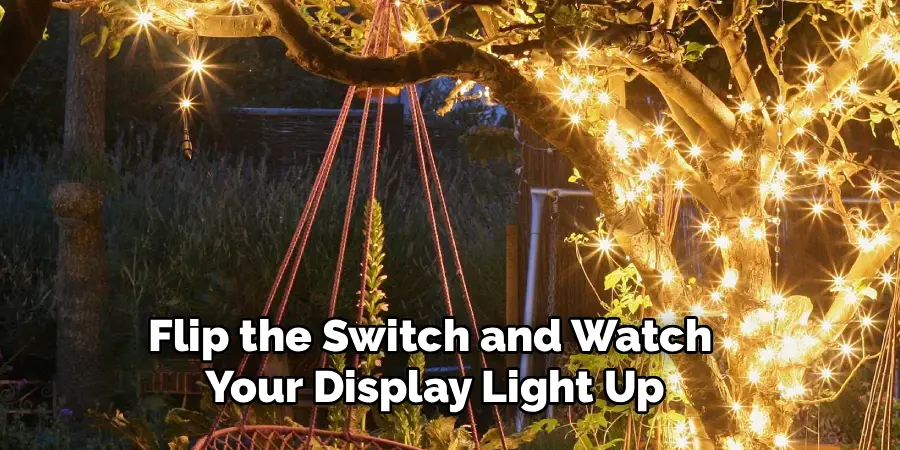
Flip the switch and watch your display light up. Walk the full length and look for any dark sections, flickering, or loose joints. If a portion stays dark, unplug, then recheck that connection point and reseat the pins. A quick fix now beats troubleshooting in the cold later.
Once everything glows steadily, tidy up the leftover cord and clip down any drooping sections. Consider plugging your lights into a timer so they switch on and off automatically each evening. This saves energy and spares you the nightly trip outside. Step back, admire your work, and enjoy the warm holiday glow you created.
Frequently Asked Questions
How Many Rope Light Strands Can I Connect Together?
Most holiday rope lights allow you to link three to six strands end to end, but the exact number depends on the brand and wattage. Always check the maximum connection limit printed on the packaging or instruction sheet. Exceeding it can overload the circuit and create a fire risk. If your display needs more length, run separate strands to different outlets rather than chaining too many in one continuous line.
Are Rope Light Connections Safe to Use Outdoors?
Yes, as long as you use outdoor-rated rope lights and seal each connection against moisture. Wrap joints with electrical tape or use the waterproof caps included with your set. Plug everything into a GFCI-protected outlet for added shock protection, and keep all connection points off the wet ground. With these precautions, your outdoor display stays safe through rain, snow, and frost all season long.
What Should I Do if Part of My Rope Light Stops Working?
First, unplug the lights for safety, then inspect the connection points near the dark section. Loose or misaligned pins are the most common culprit, so reseat them firmly until they click. Check for visible cracks or water inside the tubing too. If a single strand is faulty even on its own, it likely needs replacing, since rope lights aren’t easily repaired once the internal wiring fails.
Do I Need Special Connectors for Holiday Rope Lights?
Usually no, because most kits include the connectors, end caps, and mounting clips you need right in the box. These pieces are designed to match that specific brand and size of rope. If you’ve lost a connector or want to join different lengths, buy replacement connectors that match your rope’s diameter and pin layout. Mixing incompatible parts can cause poor connections, flickering, or safety problems.
Can I Cut Rope Lights to a Custom Length?
Many rope lights can be cut, but only at the marked cut lines, which appear every few feet along the tubing. Cutting anywhere else will damage the wiring and stop that section from working. After cutting, you’ll need to seal the open end with an end cap or attach a connector to join it to another strand. Always unplug the rope before cutting and follow the manufacturer’s instructions closely.
Conclusion
Decorating your home for the season feels far more rewarding when everything lights up smoothly on the first try. By gathering your tools, planning your layout, sealing each joint, and powering everything safely, you set yourself up for a display that shines bright all winter long. The steps may seem detailed, but each one protects your lights and keeps your home safe from electrical risks.
Now that you understand how to connect holiday time rope lights from start to finish, you can tackle any display with confidence, whether it’s a simple railing or a full rooftop showcase. So grab your strands, find your outlet, and start building that festive glow. Your neighbors will notice, your family will smile, and you’ll enjoy a beautifully lit home that lasts for many holiday seasons to come.

Rick is a handyman who grew up helping his dad with his business. He learned a lot from him about how to fix things, and also about how to work hard and take care of business. These days, Rick is still into fixing things- only now, he’s doing it for a living.
Rick is always looking for new ways to help people grow and develop. That’s why he started contributing to this blog: to share all his experience and knowledge so that he can help people who are interested in DIY repair.