
LED lights can do so much more than glow white, red, or blue. With a little know-how, you can blend shades into soft pastels, deep jewel tones, or bold neon hues that match your mood, your room, or your favorite playlist. Learning how to make custom colors on led lights is easier than most people expect, and you don’t need to be a tech expert to get started.
Whether you’re decorating a bedroom, setting up a gaming station, or building a cozy reading nook, custom colors give your space a personal touch. Modern LED strips and smart bulbs use a mix of red, green, and blue light to create millions of possible shades. Once you understand how those colors combine, the rest is simply experimenting and saving the looks you love.
In this guide, you’ll learn the basics of color mixing, the tools you’ll need, and a clear seven-step process to create and save your own shades. Each step is beginner-friendly, so you can follow along at your own pace and start designing your perfect lighting today.
Why Custom Colors On LED Lights Matter
Custom colors turn ordinary lighting into a tool for comfort, focus, and self-expression. The right shade can change how a room feels in seconds.
Warm ambers help you relax in the evening, while cool blues keep you alert during work or study. Gamers use color to match their setup or react to gameplay, and content creators rely on precise tones for better video. Beyond looks, custom colors support your wellbeing by reducing harsh glare and easing eye strain.
There’s also a practical bonus: most smart LED systems remember your favorite shades, so you can switch between scenes with one tap. That means less fiddling and more enjoying. Once you learn to mix and save your own colors, you gain full control over your space’s mood, energy, and style.
Step-by-Step Guide To How To Make Custom Colors On LED Lights
Follow these seven steps to go from a basic setup to fully personalized lighting. Each step builds on the last, so take your time and experiment as you go.
Step 1: Check Your LED Type And Capabilities
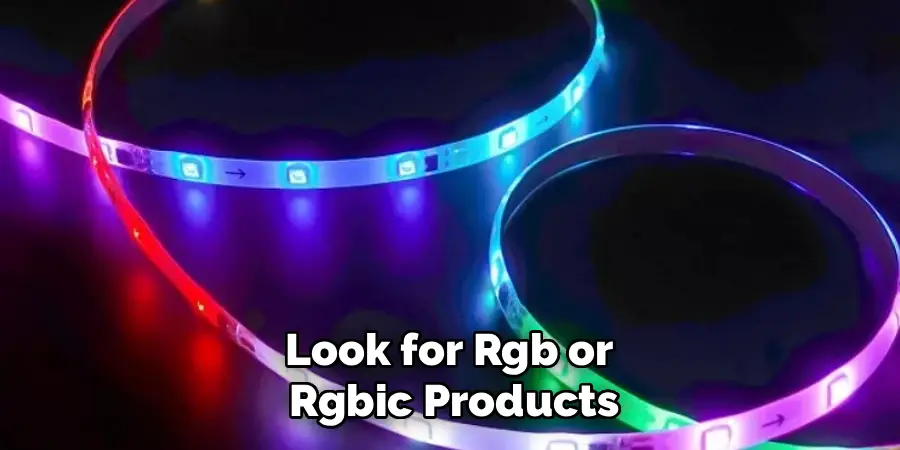
Before you start mixing shades, find out what your lights can actually do. Single-color strips only display one fixed hue, so they won’t give you custom options. Look for RGB or RGBIC products, which combine red, green, and blue to produce a wide range of colors. RGBW versions add a dedicated white channel for cleaner pastels and warmer tones. Check the packaging, product listing, or app description to confirm your model supports color changing. Knowing your hardware early saves frustration later and helps you choose the right control method. This quick check is the foundation for everything that follows.
Step 2: Install The Right App Or Controller
Most modern LED lights pair with a remote, a smartphone app, or a smart home assistant. Download the official app recommended by your light’s brand, since third-party apps may lack key features. Follow the in-app instructions to connect your lights to Wi-Fi or Bluetooth. A stable connection matters because it lets you fine-tune colors in real time and save your favorites. If your strip came with a physical remote, keep it handy as a backup. Once paired, you’ll usually see a color wheel or palette on screen, which becomes your main workspace for designing every shade you want.
Step 3: Understand The Color Wheel And RGB Values
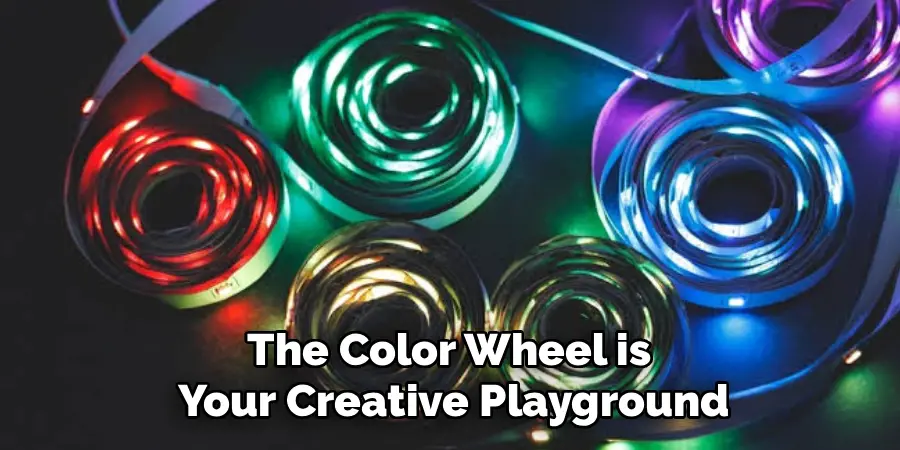
The color wheel is your creative playground, and understanding it makes everything easier. Each color you see comes from blending red, green, and blue at different brightness levels, often shown as RGB values from 0 to 255. For example, full red and full green with no blue creates yellow. Lower values produce softer, dimmer tones, while higher values give bold, vivid results. Spend a few minutes dragging your finger across the wheel to watch how shades shift. This hands-on play teaches you more than any chart. Soon you’ll predict which mix creates the exact look you’re after.
Step 4: Mix Your First Custom Shade
Now comes the fun part. Learning how to make custom colors on led lights starts with adjusting the red, green, and blue sliders until you land on a shade you love. Want a warm sunset orange? Push red high, green moderate, and blue low. Craving a calming teal? Boost green and blue while keeping red minimal. Make small changes and watch the lights respond instantly. Don’t worry about getting it perfect right away, since experimenting is the best teacher. Take note of the RGB values that produce your favorite results so you can recreate them later without guesswork.
Step 5: Fine-Tune Brightness And Saturation
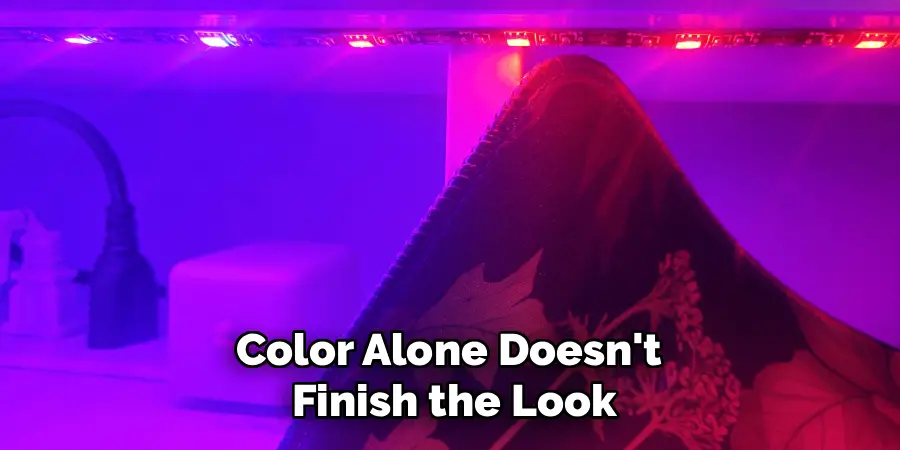
Color alone doesn’t finish the look. Brightness and saturation control how bold or gentle a shade appears in your room. Lowering brightness softens a color for relaxed evenings, while raising it makes tones pop for parties or photos. Saturation decides how rich or washed-out the color looks. A highly saturated purple feels intense and dramatic, while a lower setting creates a dusty, muted vibe. Adjust both gradually and view the result against your walls, since surfaces change how colors read. This step transforms a decent shade into one that fits your space perfectly and matches the mood you want.
Step 6: Save And Name Your Custom Colors
Once you’ve crafted a shade you love, save it so you never lose it. Most apps include a favorites or presets section where you can store custom colors with a tap. Give each one a clear name like “Cozy Reading” or “Gaming Glow” so you can find it instantly later. This organized approach is the real magic behind making custom colors on led lights work for daily life. Instead of rebuilding a shade from scratch every time, you switch scenes in seconds. Build a small library of go-to looks for work, relaxation, and celebration, and your lighting becomes effortless.
Step 7: Create Scenes And Schedules
Take your setup further by grouping colors into scenes and automated schedules. A scene can blend several shades or set a specific brightness for an activity, like a soft warm glow for movie night. Many apps also let you schedule colors to change automatically, so your lights shift to energizing white in the morning and calming amber at sunset. Some systems sync with music or screen content for dynamic effects. Explore these features once you’re comfortable with basic mixing. Automation removes the manual work and keeps your space looking exactly right throughout the day, all without lifting a finger.

Frequently Asked Questions
Can Any LED Light Display Custom Colors?
Not all of them. Single-color strips and basic bulbs only show one fixed shade, so they can’t be customized. To create your own colors, you need RGB, RGBIC, or RGBW lights, which mix red, green, and blue channels. Always check the product details before buying. If color changing matters to you, look for “RGB” or “color changing” clearly listed in the description or on the packaging.
Do I Need Special Equipment To Mix Colors?
In most cases, no extra equipment is required. Color-changing LED lights typically come with everything you need, including a remote, a companion app, or smart assistant compatibility. You’ll control shades directly from your phone or remote. The main requirement is a stable Wi-Fi or Bluetooth connection for app-based control. Beyond that, your creativity and a little experimentation are the only tools needed to design beautiful, personalized lighting.
Why Do My Colors Look Different On The Wall?
Wall color, texture, and room lighting all affect how a shade appears. A pure blue might look softer on a beige wall or cooler in a dark room. Surfaces absorb and reflect light differently, which changes the final result. To get accurate colors, adjust your settings while viewing the actual wall rather than the app preview. Tweaking brightness and saturation helps you match the look you imagined.
How Many Colors Can I Actually Create?
Most RGB LED systems can produce around 16 million color combinations by blending red, green, and blue at different intensities. That’s far more than you’ll ever realistically use, which gives you incredible freedom. In practice, you’ll find a handful of favorites you return to often. The vast range simply means you can fine-tune any shade precisely, matching specific moods, decor, or activities without feeling limited by preset options.
Will Saved Colors Stay After A Power Outage?
Usually, yes. Most smart LED apps store your saved colors and scenes in your account or device memory, so they survive power cuts and restarts. When power returns, you can quickly reload your favorites. Some lights even remember the last color used and turn back on automatically. To be safe, keep your app updated and confirm your presets are saved within the app rather than only on a physical remote.
Conclusion
Creating personalized lighting is one of the easiest ways to upgrade any space, and now you have a clear path to follow. By checking your LED type, connecting the right app, understanding the color wheel, and fine-tuning brightness and saturation, you can design shades that fit every mood and moment. Saving your favorites and building scenes makes the whole process effortless day after day.
The best part about learning how to make custom colors on led lights is that there’s no single right answer. Your perfect palette is whatever feels good to you. So grab your remote or open your app, start sliding those color controls, and have fun experimenting. With a little practice, you’ll build a library of go-to looks that make your home brighter, cozier, and uniquely yours.

Rick is a handyman who grew up helping his dad with his business. He learned a lot from him about how to fix things, and also about how to work hard and take care of business. These days, Rick is still into fixing things- only now, he’s doing it for a living.
Rick is always looking for new ways to help people grow and develop. That’s why he started contributing to this blog: to share all his experience and knowledge so that he can help people who are interested in DIY repair.