
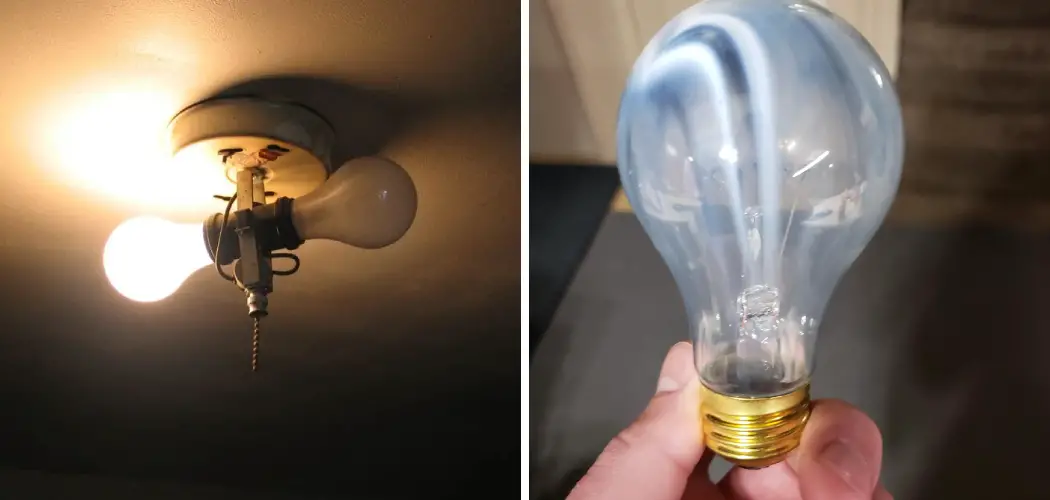
Have you ever wondered how to intentionally burn out a light bulb? While most people focus on extending bulb life, there are legitimate reasons to understand the burn-out process—whether for educational experiments, demonstrating electrical principles, or safely disposing of old bulbs. This comprehensive guide on how to burn out a light bulb walks you through the entire process, covering everything from safety precautions to step-by-step instructions.
Understanding how light bulbs burn out isn’t just about destruction; it’s about grasping fundamental electrical concepts and practicing proper safety protocols. By the end of this article, you’ll have a thorough understanding of light bulb mechanics, the tools you’ll need, and the precise steps to safely burn out a bulb for whatever purpose you have in mind.
Types of Light Bulbs
Before attempting to burn out a light bulb, it’s essential to understand the different types available and how they function. Incandescent bulbs are the traditional option, containing a tungsten filament that heats up and glows when electricity passes through it. These are the easiest to burn out intentionally because their filaments are relatively fragile and respond quickly to electrical stress.
Compact fluorescent lamps (CFLs) work differently, using gas and phosphor coating to produce light. These bulbs are more complex internally and contain small amounts of mercury, making them trickier and potentially more hazardous to burn out. LED bulbs, the most energy-efficient option, use semiconductors to produce light and are incredibly durable, making them challenging to burn out through conventional methods.
For the purposes of this guide, we’ll focus primarily on incandescent bulbs, as they’re the safest and most straightforward option for intentional burn-out experiments. Halogen bulbs, a variation of incandescent technology, can also be used but require extra caution due to their higher operating temperatures.
Tools and Materials You’ll Need
To begin your intentional burnout experiment, you’ll need the following tools and materials:
- Incandescent bulbs (at least 3 or more)
- A socket or lamp fixture to hold the bulbs
- A power source (outlet or battery)
- Oven mitts or heat-resistant gloves
- Timer or stopwatch
- Protective eyewear
- Fire extinguisher (just in case!)
Safety Precautions
Safety must be your top priority when intentionally burning out a light bulb. Always wear protective eyewear to shield your eyes from potential glass fragments if the bulb shatters. Gloves can protect your hands from heat and broken glass, though be sure they’re not conductive if you’re working near live electrical components.
Never attempt this process with wet hands or in damp conditions, as water dramatically increases the risk of electrical shock. Ensure your work area is well-ventilated, especially if you’re working with CFL bulbs that contain mercury vapor. Keep flammable materials away from your workspace, and always have someone nearby who can assist in case of emergency.
Before beginning, inspect your light socket and wiring for any damage or wear. Faulty equipment can lead to electrical fires or shock hazards. If you’re under 18, this experiment should only be conducted under adult supervision. Remember that intentionally overloading electrical circuits can be dangerous and may violate local electrical codes, so always prioritize safety over curiosity.
7 Simple Steps on How to Burn Out a Light Bulb
Step 1: Prepare Your Workspace
Start by selecting an appropriate location for your experiment. Choose a well-lit area with a sturdy, non-flammable work surface like a concrete floor or metal table. Clear the space of any unnecessary items, particularly anything that could catch fire or conduct electricity. Ensure adequate ventilation by opening windows or working in a garage with the door open.

Set up your light fixture on a stable surface where it won’t tip over during the process. If you’re using a lamp, make sure it’s unplugged while you’re setting everything up. Position your safety equipment within easy reach, and double-check that your fire extinguisher is accessible and in working order. Taking these preparatory steps might seem excessive, but they create a controlled environment that minimizes risk.
Step 2: Install the Light Bulb
With the power source completely disconnected, carefully screw the incandescent bulb into the socket. Make sure it’s seated properly and making good electrical contact—a loose bulb won’t conduct electricity efficiently and could create arcing, which is dangerous. Handle the bulb gently by its base rather than the glass envelope to avoid leaving oils from your skin, which can create hot spots.
Once installed, visually inspect the setup one more time. Check that the socket isn’t cracked, the wiring looks intact, and there are no exposed conductors. If you’re using a lamp with a shade, consider removing it to allow better heat dissipation and to prevent any fire hazards. This is also the time to position your camera if you’re documenting the process for educational purposes.
Step 3: Connect to Power Source
Now it’s time to connect your setup to electricity. If you’re using a standard lamp, simply plug it into a wall outlet. For more controlled experiments, you might use a variable power supply that allows you to adjust voltage levels. Start with the power switched off—you’ll turn it on in the next step.
Double-check all connections before proceeding. Ensure the power cord isn’t damaged and that the plug fits snugly in the outlet. If you’re using an extension cord, make sure it’s rated for the electrical load you’ll be drawing. Position yourself at a safe distance from the bulb, ideally at least three feet away, with your safety glasses in place.
Step 4: Turn On the Power
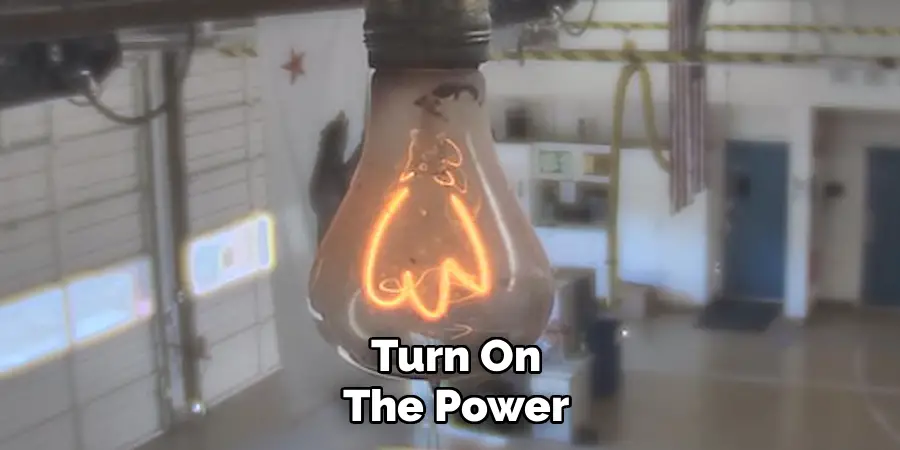
With everything in position, it’s time to energize the circuit. Flip the switch or turn on your power supply. The bulb should illuminate immediately if everything is connected properly. At this point, the bulb is operating under normal conditions, and you’ll need to apply additional stress to cause premature failure.
Observe the bulb carefully for the first minute. Note its brightness and any unusual flickering or sounds. A properly functioning incandescent bulb will glow steadily with a warm yellow-white light. If you see sparking, smell burning plastic, or notice the fixture getting excessively hot, shut off power immediately and investigate the issue before continuing.

Step 5: Increase Electrical Stress
To burn out the bulb more quickly, you’ll need to subject it to conditions beyond its normal operating parameters. One method is to use a dimmer switch to gradually increase voltage above the bulb’s rated level. Start at normal voltage and slowly turn the dimmer up beyond its maximum setting if your equipment allows.
Another approach is to rapidly cycle the bulb on and off. Each time an incandescent bulb is switched on, the sudden rush of current through the cold filament creates thermal stress. Flipping the switch on and off every few seconds (about 10-15 times per minute) significantly accelerates filament degradation. You should notice the bulb getting progressively dimmer as the tungsten filament evaporates and becomes thinner.
Step 6: Monitor the Process
As you continue applying stress to the bulb, watch for signs that bburnoutis imminent. The light may begin to flicker more noticeably, or you might see dark spots developing on the glass where tungsten has deposited. The filament itself may start glowing unevenly, with certain sections appearing brighter or dimmer than others.
Keep track of how long the process takes. For a new incandescent bulb under severe stress, burnout might occur within 15-30 minutes. An older bulb could fail much faster, potentially within just a few minutes. Stay alert and maintain your safe distance—when the filament finally breaks, there may be a brief bright flash or even a popping sound as the circuit opens.
Step 7: Safely Dispose of the Burned-Out Bulb
Once the bulb has burned out and is no longer glowing, turn off the power source and wait at least 10 minutes for the bulb to cool completely. Glass can retain heat for quite some time, and touching a recently burned-out bulb can result in painful burns. After cooling, carefully unscrew the bulb while wearing gloves.
Place the burned-out bulb in a cardboard box or wrap it in newspaper before disposing of it in your regular trash. This prevents broken glass from injuring sanitation workers. If you used a CFL or LED bulb instead, check your local regulations for proper disposal, as these often require special recycling procedures due to their electronic components or mercury content.
Following these steps on how to burn out a light bulb safely can help ensure your personal safety and the well-being of others.
Common Mistakes to Avoid
One frequent error is using too high a voltage too quickly, which can cause the bulb to shatter violently rather than simply burning out the filament. Always increase voltage gradually if you’re using that method. Another mistake is neglecting to wear proper safety equipment—even a small fragment of glass can cause serious eye injury.
Don’t attempt to accelerate the process by physically shaking or striking the bulb while it’s hot and energized. This is extremely dangerous and can lead to electrocution if the glass breaks and exposes live filament. Similarly, never spray water or other liquids on a hot bulb to cool it down rapidly—the thermal shock will cause it to explode.
Educational and Science Experiment Tips
This exercise offers numerous teaching opportunities about electrical circuits, resistance, and thermal physics. Students can calculate the power consumption of the bulb using P = V × I (power equals voltage times current) and observe how resistance changes with temperature. Measuring the bulb’s resistance when cold versus hot demonstrates the positive temperature coefficient of tungsten.
For advanced projects, you might explore how different gases (or a vacuum) inside the bulb affect filament life, or investigate the relationship between filament thickness and longevity. Photography enthusiasts can practice high-speed photography by capturing the exact moment of filament failure. These experiments align with physics curriculum standards and provide hands-on experience with concepts that are often taught only theoretically.
Consider extending the lesson to discuss why modern LED technology has replaced incandescent bulbs in most applications—the efficiency differences become strikingly clear when you see how much energy an incandescent bulb wastes as heat. This bridges into broader discussions about energy conservation and sustainable technology choices.
Frequently Asked Questions
Q: Why Would Someone Want to Burn Out a Light Bulb Intentionally?
A: There are several legitimate reasons for this seemingly counterintuitive activity. Science teachers frequently use bulb burn-out demonstrations to illustrate principles of electricity, resistance, and thermal physics. Engineering students might study failure modes to better understand component reliability and design more robust systems.
Photographers sometimes burn out bulbs to create specific artistic effects or to practice capturing transient events with high-speed photography. Additionally, understanding the burn-out process helps with the proper disposal of old bulbs and can satisfy natural curiosity about how everyday objects work and fail.
Q: Can I Burn Out LED or CFL Bulbs the Same Way?
A: LED and CFL bulbs operate on completely different principles than incandescent bulbs, making them much more difficult to burn out through conventional methods. LEDs fail gradually through lumen depreciation rather than sudden burn-out, and they’re extremely resistant to voltage fluctuations and cycling.
CFLs contain electronic ballasts that regulate current, protecting them from many of the stresses that quickly destroy incandescent filaments. Attempting to burn out these bulb types is generally not recommended because it’s ineffective, potentially dangerous due to their internal electronics and materials, and environmentally irresponsible, given that they require special disposal procedures. If you’re conducting experiments or demonstrations, stick with incandescent bulbs for safety and predictability.

Q: How Long Does It Typically Take to Burn Out an Incandescent Bulb?
A: The time required varies considerably based on several factors,s including the bulb’s age, the method used to induce failure, and the severity of electrical stress applied. A brand-new incandescent bulb operated at 20-30% above its rated voltage might last 15-60 minutes before burning out. Rapid on-off cycling can achieve failure in 10-20minutest, even at normal voltage.
Older bulbs that are already near the end of their natural life may burn out within just a few minutes of stress. Environmental factors like ambient temperature and air circulation also play roles—bulbs in hot, enclosed fixtures fail faster than those in open, cool environments. For educational demonstrations, plan for at least 30 minutes to ensure the process completes within your available time frame.
Conclusion
Understanding how to safely burn out a light bulb provides valuable insights into electrical principles, material science, and proper safety protocols.
Whether you’re conducting a science experiment, demonstrating concepts to students, or simply satisfying curiosity, following the proper procedures ensures the experience is both educational and safe. Remember that safety equipment isn’t optional—always protect your eyes and work in a controlled environment with proper ventilation.
The methods outlined in this guide on how to burn out a light bulb can be applied to various educational and experimental contexts, but always prioritize safety over speed or dramatic results. Take your time with each step, monitor the process carefully, and dispose of burned-out bulbs responsibly. Ready to see electrical physics in action? Gather your materials, set up your safe workspace, and discover firsthand how these everyday objects work—and how they fail.

Rick is a handyman who grew up helping his dad with his business. He learned a lot from him about how to fix things, and also about how to work hard and take care of business. These days, Rick is still into fixing things- only now, he’s doing it for a living.
Rick is always looking for new ways to help people grow and develop. That’s why he started contributing to this blog: to share all his experience and knowledge so that he can help people who are interested in DIY repair.