

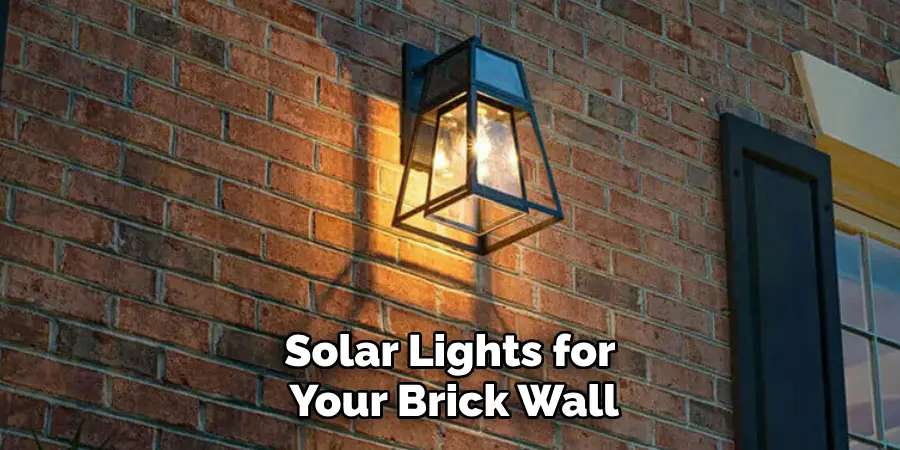
Installing solar lights on a brick wall is an excellent way to enhance the aesthetic appeal and functionality of your outdoor space. Solar lights are energy-efficient, eco-friendly, and cost-effective, as they derive power from the sun and eliminate the need for additional wiring or electricity. By securely attaching solar lights to a brick wall, you can illuminate your garden, pathway, or patio, creating a warm and inviting atmosphere.
Additionally, well-placed solar lighting can enhance security around your home by brightening up dark areas. This guide will walk you through how to attach solar lights to brick wall, ensuring both durability and optimal light positioning.
Importance of Proper Installation
Proper installation of solar lights on a brick wall is crucial for maximizing their effectiveness and longevity. By ensuring that the lights are securely attached, you prevent them from becoming dislodged or damaged, especially during harsh weather conditions like wind or rain. Correct installation also positions the lights to capture the maximum amount of sunlight, which is essential for efficient charging and prolonged illumination.
Furthermore, securely installed lights reduce the risk of potential hazards, such as falling fixtures that could harm people or pets. Investing time in proper installation not only enhances the aesthetic appeal and functionality of your outdoor space but also contributes to the safety and reliability of your solar lighting system.
Choosing the Right Solar Lights for Brick Walls
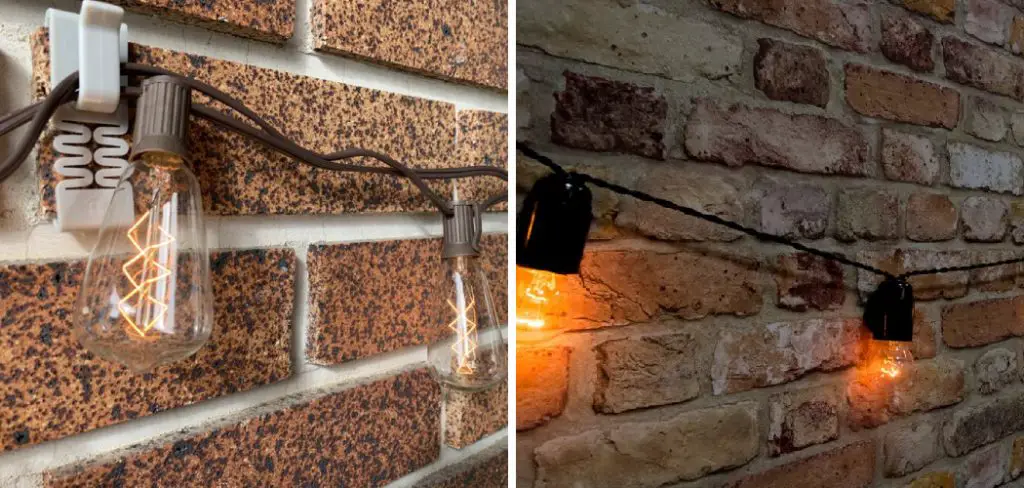
Selecting the appropriate solar lights for your brick wall is a vital step in ensuring both functionality and design cohesion. Several factors should be considered when choosing the right solar lights. Firstly, evaluate the brightness level that you require based on the purpose of the lighting—whether it’s for ambient lighting, security, or accentuating specific features. Lumens, measured in various strengths, will guide your decision on brightness.
Secondly, consider the style and design of the lights to complement your existing outdoor decor. Options range from sleek modern fixtures to more traditional lantern-style lights. Additionally, ensure the solar lights are specifically designed to be mounted on walls, as these models will come with the necessary brackets or mounting plates that can accommodate uneven brick surfaces. Durability is also essential, so opt for weather-resistant lights made from materials that can withstand environmental elements.
Finally, check the battery life and charging efficiency to guarantee the lights will provide adequate illumination throughout the night. By thoughtfully selecting solar lights, you can enhance the beauty and security of your outdoor space.
10 Methods How to Attach Solar Lights to Brick Wall
1. Select the Right Solar Lights
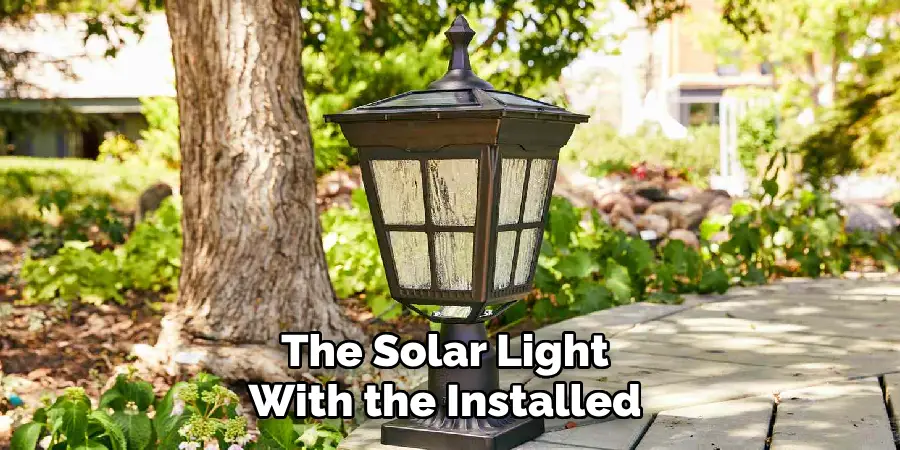
Before you begin the attachment process, it’s essential to choose the right solar lights for your brick wall. Look for lights specifically designed for outdoor use, as they will be more durable and weather-resistant. Solar lights come in various styles, such as wall-mounted fixtures, sconces, or decorative lanterns, so consider the overall aesthetic you want to achieve. Ensure that the solar panel is positioned to receive adequate sunlight for charging, which may influence the height and placement of your lights.
Additionally, consider the brightness of the lights and their intended purpose, whether for safety, decoration, or both.
2. Gather Necessary Tools and Materials
Having the right tools and materials on hand is crucial for a smooth installation process. For attaching solar lights to a brick wall, you will typically need a drill with a masonry bit, anchors suitable for brick, screws (often provided with the lights), a level, a measuring tape, and a pencil for marking locations. Depending on the specific installation method, you might also need adhesive or mounting tape. Ensuring you have all these tools ready will help streamline the process and prevent unnecessary interruptions.
3. Choose the Ideal Location
Selecting the right location for your solar lights is essential for both functionality and aesthetics. Consider areas that require additional illumination, such as dark corners, steps, or pathways. Ensure that the solar panel can receive direct sunlight for most of the day, as this will maximize the efficiency of the lights. Before marking any spots on the brick wall, take the time to visually assess how the lights will look from various angles and distances. Additionally, consider the height at which the lights will be mounted; typically, lights should be installed around eye level for optimal visibility.

4. Mark the Installation Points
Once you have determined the ideal location for your solar lights, use a measuring tape and pencil to mark the installation points on the brick wall. If your lights come with a mounting bracket, hold it in place against the wall to mark where the screws will go. Use a level to ensure that your markings are straight and even, which is particularly important if you are installing multiple lights in a row. Accurate markings will help you drill the correct holes and maintain a professional-looking finish.
5. Drill Holes in the Brick
With your markings in place, it’s time to drill holes into the brick wall. Use a masonry bit that matches the size of the anchors you plan to use. Start drilling at a low speed to create a pilot hole, then gradually increase the speed as you penetrate the brick. It’s important to keep the drill perpendicular to the wall to ensure straight holes. Be sure to wear protective eyewear and a dust mask to guard against flying debris.
Drill holes deep enough to accommodate the anchors, typically around 1-2 inches deep, depending on the size of your anchors.
6. Insert Anchors for Stability
After drilling the holes, the next step is to insert the anchors. These anchors are essential for providing stability and support for the screws, as they prevent the screws from loosening over time. Gently tap the anchors into the drilled holes using a hammer, ensuring they are flush with the wall. The type of anchors you use will depend on the weight of the solar lights and the specific installation requirements.
For lighter lights, plastic anchors may suffice, while heavier fixtures may require metal anchors for added strength and durability.
7. Attach the Solar Lights
Once the anchors are securely in place, it’s time to attach the solar lights. Align the mounting bracket or the back of the solar light with the installed anchors and insert the screws through the light fixture into the anchors. Use a screwdriver or a drill to tighten the screws until the fixture is securely attached to the wall. Be careful not to overtighten, as this could damage the fixture or cause the brick to crack. Once attached, give the lights a gentle tug to ensure they are firmly secured to the wall.
8. Test the Lights Before Finalizing
Before finalizing the installation, it’s a good idea to test the solar lights to ensure they are functioning properly. Turn on the lights or switch them to their automatic mode (if applicable) to check that they illuminate correctly. If they don’t turn on, verify that the solar panel is receiving adequate sunlight and that the battery is charged. Testing the lights before finalizing the installation allows you to make any necessary adjustments without the need to remove or reposition the fixtures later.
9. Consider Using Adhesive for Extra Security
For added security, especially in areas with high wind or harsh weather conditions, consider using a strong outdoor adhesive or mounting tape in addition to screws. Apply a suitable adhesive to the back of the solar light fixture before attaching it to the wall. This extra layer of adhesion can provide additional stability and help prevent the lights from loosening over time. Make sure to follow the manufacturer’s instructions for the adhesive to ensure proper application and curing times.
10. Maintain and Clean the Solar Lights
After successfully attaching the solar lights to your brick wall, regular maintenance will help ensure their longevity and performance. Periodically clean the solar panels with a soft cloth to remove dirt and debris, which can hinder their ability to charge effectively. Additionally, check the light fixtures for any signs of wear or damage, such as loose screws or corroded connections. Keeping the area around the lights clear of obstructions will also help maintain their functionality and aesthetic appeal.
By investing time in maintenance, you can enjoy the beauty and benefits of your solar lights for many years.

Conclusion
Attaching solar lights to a brick wall can significantly enhance your outdoor space, providing both functionality and style. By selecting the right lights, preparing the wall, and following proper installation methods, you can create a beautifully illuminated environment that showcases your outdoor decor. From choosing ideal locations and marking installation points to ensuring stability with anchors and adhesives, each step is vital in achieving a secure and long-lasting installation. With regular maintenance, your solar lights will continue to shine brightly, illuminating your space while showcasing your unique style. Thanks for reading, and we hope this has given you some inspiration on how to attach solar lights to brick wall!
About
Angela is the chief editor of Indoorense. She began her career as an interior designer before applying her strategic and creative passion to lifestyle and home.
She has close to 15 years of experience in creative writing and online content strategy for housekeeping and cleaning,home decorations as well as other efforts.
She loves her job and has the privilege of working with an extraordinary team. She lives with her husband, two sons, and daughter in Petersburg. When she’s not busy working she spent time with her family.