

Are you tired of being unable to find what you need in your upright freezer? Do you feel like it’s always messy and disorganized? Organizing your upright freezer can help save time, money, and energy.

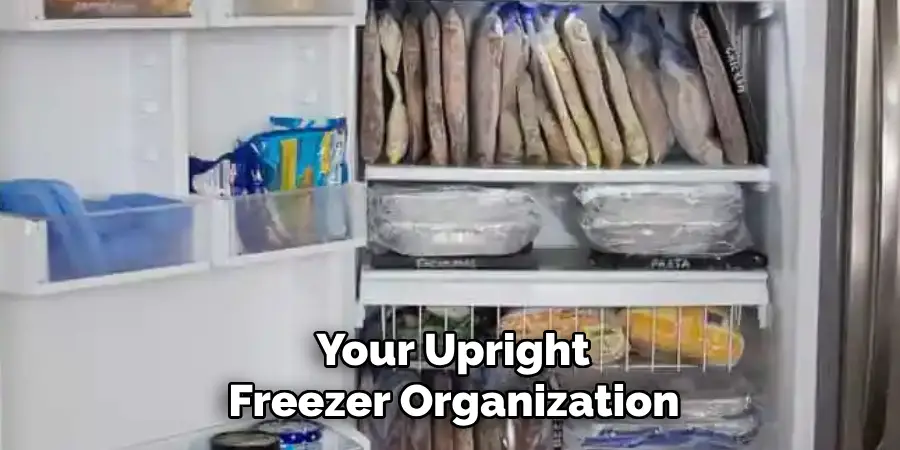
Organizing an upright freezer efficiently maximizes storage capacity and ensures that food items are easily accessible and remain fresh longer. Whether preparing meals for a large family or simply stocking up on essentials, an organized freezer can save time and prevent food waste. By categorizing items, labeling clearly, and using appropriate storage solutions, you can create a systematic arrangement that makes locating and managing your frozen goods a breeze.
This guide on how to organize upright freezer, will explore practical tips and strategies to help you maintain an orderly and functional upright freezer.
What Will You Need?
Before diving into the organization process, gather these materials to help you get started:
- Cleaning supplies (e.g., all-purpose cleaner, microfiber cloth)
- Bins or baskets of varying sizes
- Labels or a label maker
- Freezer-safe containers or bags
- Permanent marker for labeling frozen items
Once you have everything you need, let’s begin organizing your upright freezer!
10 Easy Steps on How to Organize Upright Freezer
Step 1: Empty and Clean
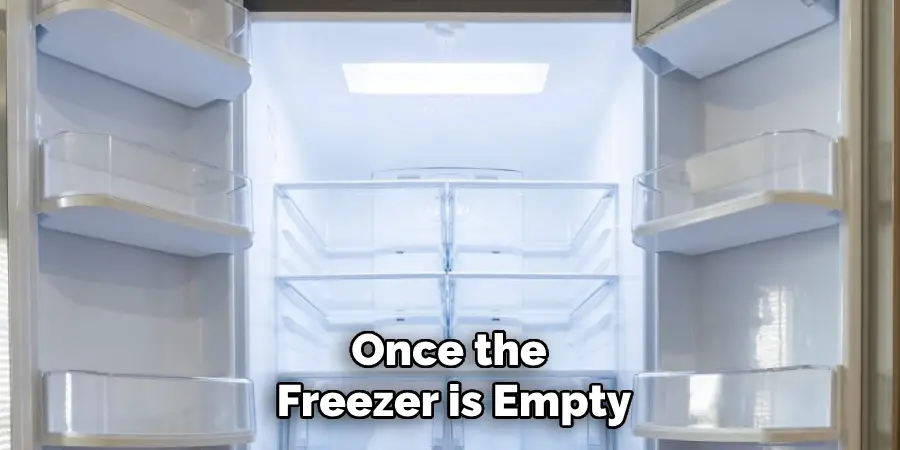
The first step in organizing your upright freezer is to empty its contents completely. Start by transferring any perishable items into a cooler with ice packs to keep them cold during the cleaning process. Check each item as you remove it from the freezer, discarding anything that is expired or has developed freezer burn. This is an excellent opportunity to take note of what you have and what might be going to waste, allowing you to adjust your shopping habits if needed.
Once the freezer is empty, it’s time to clean it thoroughly. Use an all-purpose cleaner and a microfiber cloth to wipe down all surfaces, ensuring you reach every nook and cranny, including the shelves, walls, and door. If there are stubborn ice build-ups, allow them to thaw out naturally or use a hairdryer on a low setting to expedite the process. A clean freezer will help ensure that your food remains hygienically stored and that there are no unpleasant odors lingering from spills or spoiled items.
Step 2: Categorize and Group Items
After cleaning the freezer, the next step is categorizing and grouping similar items together. Sort through your food items and create categories such as meats, vegetables, fruits, prepared meals, and snacks. Grouping items this way makes it easier to find what you need quickly and avoids unnecessary digging through the freezer. This method also helps you keep track of how much of each category you have so you can plan meals more efficiently or adjust your shopping list based on your current stock.
Step 3: Use Clear Bins and Label Them
Investing in clear bins or baskets can significantly enhance the organization of your upright freezer. By sorting food items into different bins based on the categories you’ve established, such as meats, vegetables, or snacks, you can easily see what you have at a glance without having to sift through miscellaneous items. Clear bins allow you to maintain visibility, and their uniform shape helps maximize space usage within the freezer.
Once you’ve placed items into the bins, use a label maker or permanent marker to label each bin clearly. Proper labeling prevents mix-ups and ensures each item is returned to its designated spot after use, making it easy for everyone in the household to maintain the system. Consider using waterproof labels to ensure longevity and readjust your labels as your freezer contents change over time.
Step 4: Arrange by Frequency of Use
When organizing your upright freezer, consider how frequently you use certain items. Place items you access often, such as ice cream or frozen vegetables, towards the front or at eye level for easy reach. Items used less frequently, such as holiday roasts or less popular ingredients, can be placed towards the back or lower shelves. This strategic arrangement minimizes the time you spend with the freezer door open, reducing energy consumption and helping to maintain the freezer’s internal temperature.
Step 5: Implement First-In, First-Out (FIFO) Method
Implement the First-In, First-Out (FIFO) method in your upright freezer organization to maintain freshness and reduce food waste. This involves arranging items so the older ones are at the front and the newer ones are behind them. As you work through your stock, always pull items from the front first, ensuring you use the oldest items before they expire or develop freezer burn. This systematic approach helps you rotate your stock regularly, minimizing any food that might go unnoticed at the back.
To help track the age of food items, consider labeling items with the purchase or freeze date. Keeping a consistent FIFO method not only preserves the quality of your frozen goods but also promotes efficient shopping habits, as you’ll have a clearer understanding of which items need replacing.
Step 6: Optimize Shelf Space
Maximizing the available shelf space in your upright freezer is crucial for effective organization. Adjust the shelving height, if your freezer allows, to suit the size of your bins or containers and accommodate larger items. Utilizing stackable containers can also help make the most of vertical space by allowing you to stack items neatly without creating clutter. Be mindful of leaving room for air circulation, as proper airflow is essential for maintaining consistent temperatures and ensuring that your food stays adequately frozen.
Moreover, arrange shelves so there’s enough space for sliding out items or containers smoothly, avoiding the hassle of disassembling your organization whenever you need to retrieve something. This careful adjustment and utilization of shelf space facilitate a well-organized, efficient freezer that caters to both everyday needs and special occasions.
Step 7: Maintain Routine Check-ups
Consistently maintaining your freezer organization requires periodic check-ups. Set a regular schedule, such as once a month, to review the contents of your freezer. During this time, ensure that all items are in their proper bins and remain labeled correctly. Check for any signs of spoilage or freezer burn and discard these items promptly to maintain a fresh environment. Additionally, this is an opportunity to reassess your inventory levels, ensuring you’re neither overstocked nor running low on essentials.
By routinely auditing your freezer, you’ll ensure it remains organized and efficient and reflects your current dietary preferences and needs. This habitual maintenance will lead to less stress and more seamless meal planning throughout the year.
Step 8: Defrost When Necessary
Even with outstanding organization, it’s essential to defrost your upright freezer to maintain efficiency periodically. Ice buildup can restrict airflow and lead to increased energy consumption, reducing the overall effectiveness of your freezer. Depending on your freezer model, defrosting may be required once or twice a year or more frequently if ice accumulation is significant. Transfer the contents to a cooler or another freezer during defrosting to keep them frozen once the ice has melted, thoroughly dry, and clean the interior surface before returning items to the freezer.
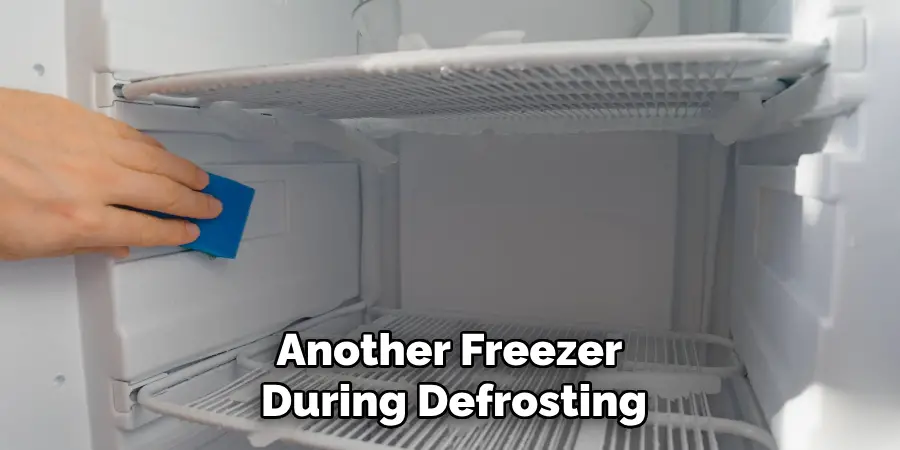
Regular defrosting ensures your freezer operates at peak performance, extends its lifespan, and maintains optimal storage conditions for your frozen goods.
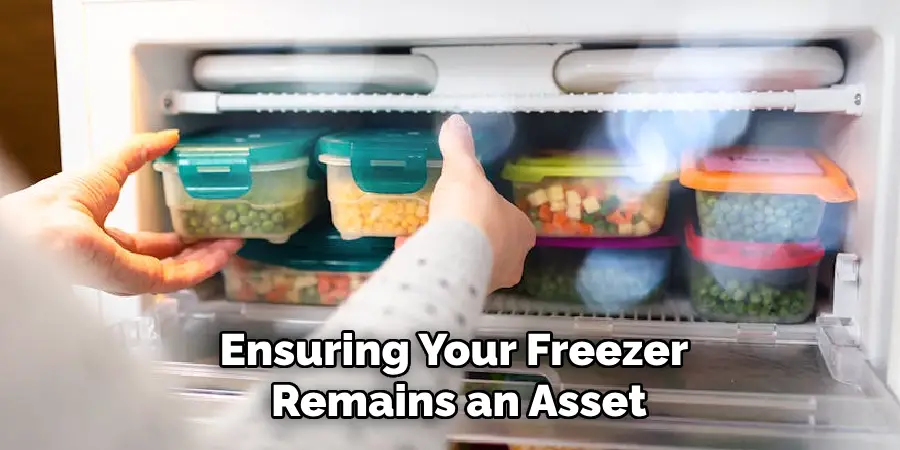
Step 9: Refresh and Revise
After implementing all the previous steps, it is crucial to periodically refresh and revise your organization strategy to accommodate new needs or lifestyle changes. As your eating habits or household dynamics evolve, specific organizational methods may need to be adjusted. Take time every few months to evaluate the efficiency of your current system. Are some bins or labels not serving their intended purpose? Perhaps particular items are being used more frequently, necessitating a different placement.
Consider these changes and adapt your organizational approach to optimize your freezer further. This proactive attitude ensures your upright freezer remains a valuable asset in your kitchen, continually supporting your culinary needs and reducing food waste while maintaining a clutter-free space.
Step 10: Encourage Family Involvement
To ensure the longevity of your freezer organization, involve your family members in the process. Educate them on the system you’ve put in place and emphasize the importance of maintaining it. By sharing the responsibility, you’ll make the upkeep more manageable and empower everyone to contribute to an efficient and organized kitchen space. Consider designating specific roles or responsibilities, such as checking stock levels or suggesting necessary shopping list adjustments.
This collective effort reinforces the organization of your freezer and promotes teamwork in the household. Over time, as everyone becomes accustomed to the system, the organization will become second nature, ensuring your freezer remains an asset in managing meal preparations and minimizing waste.
By following these ten steps, you’ll optimize the functionality and lifespan of your upright freezer while reducing food waste and simplifying meal planning.
Conclusion
How to organize upright freezer effectively is an invaluable practice that contributes to an efficient kitchen, reduces food wastage, and simplifies meal planning.
By systematically categorizing items, maintaining a FIFO system, and optimizing shelf space, you ensure all frozen goods are accessible and preserved at their best quality. Regular maintenance, such as routine check-ups and necessary defrosting, keeps the appliance running efficiently and extends its lifespan. Encouraging family involvement and revising your methods based on changing needs make the organization a sustainable and adaptable process.
Following these comprehensive steps, you transform your freezer into a well-managed asset supporting your household’s culinary endeavors.
About
Angela is the chief editor of Indoorense. She began her career as an interior designer before applying her strategic and creative passion to lifestyle and home.
She has close to 15 years of experience in creative writing and online content strategy for housekeeping and cleaning,home decorations as well as other efforts.
She loves her job and has the privilege of working with an extraordinary team. She lives with her husband, two sons, and daughter in Petersburg. When she’s not busy working she spent time with her family.