

A garage door that closes unevenly, leaving a noticeable gap on one side, is more than just a cosmetic issue. This crooked alignment can let in drafts, rain, and pests, compromise your home’s security, and put significant strain on the door’s components and the automatic opener. Over time, this can lead to more serious and expensive repairs. The good news is that in many cases, this is a problem you can fix yourself with some basic tools and careful attention to detail. This guide is designed for the capable homeowner, providing clear, step-by-step instructions on how to level garage door, restoring its function and appearance.
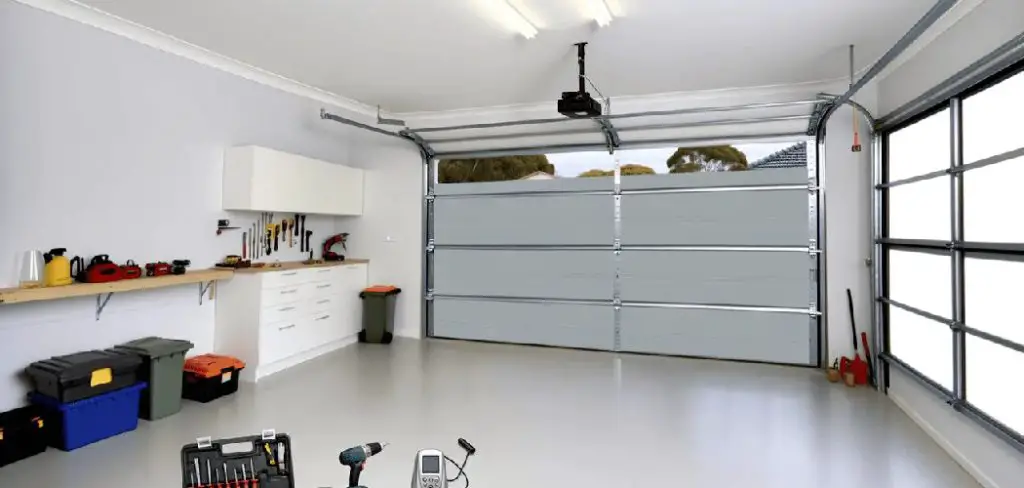
Whether the door doesn’t close tightly against the ground or makes excessive noise during operation, leveling it can resolve these common problems. By addressing the issue early, you can ensure smooth functionality, prevent costly repairs, and extend the lifespan of your garage door system. With some basic tools and a bit of patience, this task is well within reach for most DIY enthusiasts. So, let’s get started!
Why Leveling Your Garage Door is Important
Leveling your garage door is crucial for several reasons. First, an uneven garage door can cause unnecessary strain on the door’s components, such as springs and tracks, leading to premature wear and potential failures. Second, an unlevel door often fails to create a proper seal with the ground, allowing dirt, pests, and even water to enter your garage. This can compromise the cleanliness and safety of your space. Additionally, leveling your garage door improves its operation, ensuring it opens and closes smoothly without excessive noise or jerking movements. By keeping your garage door properly aligned, you not only enhance its functionality but also extend its lifespan, saving you time and money in the long run.
Tools and Materials Needed
Before you begin the leveling process, it’s essential to gather all the necessary tools and materials. This will save you time and frustration later on. Here are the primary items you’ll need:
- Level (a regular spirit level or a laser level)
- Adjustable wrench or pliers
- Measuring tape
- Step ladder
- Safety glasses
- Dust mask (if working with concrete)
You may also require additional materials depending on your specific situation. For instance, if your garage door is installed on a concrete floor, you may need shims or self-leveling compound to adjust the height. If your garage door is not properly
7 Step-by-Step Guide on How to Level a Garage Door
Step 1: Visually Inspect the Door
Before making any adjustments, perform a thorough visual inspection to diagnose the problem. Close the garage door completely and stand back to observe the alignment. Note which side is higher and check for a gap at the bottom. Next, examine the vertical and horizontal tracks on both sides for any signs of damage, bending, or obstructions. Look at the rollers to ensure they are all seated correctly within the tracks. Finally, inspect the lifting cables on both sides to see if one appears looser or more frayed than the other. This initial assessment will guide your next steps.
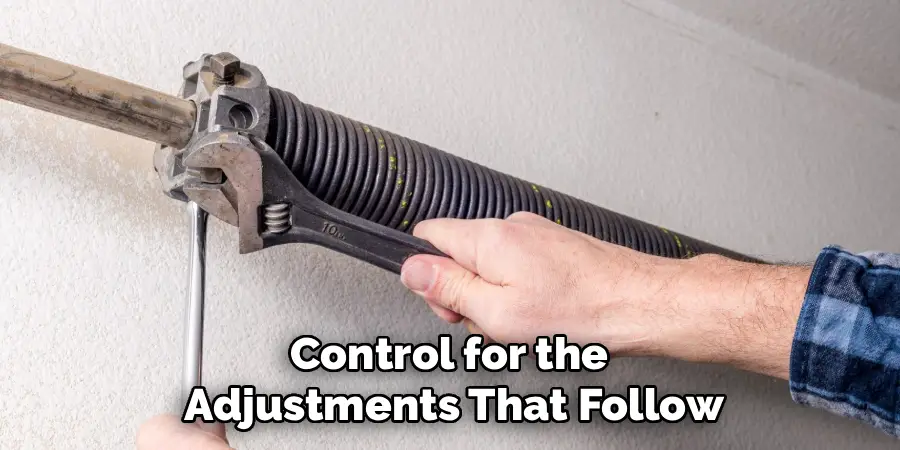
Step 2: Disengage the Automatic Opener
Safety is the absolute priority when working on a garage door. You must completely disconnect the door from the automatic opener to prevent it from activating unexpectedly while you are working. Look for the emergency release cord, which is typically a red rope hanging from the opener’s track. With the garage door in the fully closed position, pull the cord firmly. This will disengage the trolley from the opener, allowing you to lift and lower the door by hand. This ensures you have full manual control for the adjustments that follow.
Step 3: Secure the Door in the Open Position
You will need to work on the bottom of the door, which requires it to be fully open. Manually lift the door until it is completely open. It is critically important to secure it in this position so it cannot accidentally fall, which could cause serious injury. Place a sturdy C-clamp or a pair of locking pliers securely onto the vertical track on both sides, just below the lowest roller. This acts as a physical stop, preventing the door from sliding down while you work on the springs and cables. Never work under an unsecured garage door.
Step 4: Adjust the Extension Springs
Most uneven doors are caused by an imbalance in the extension springs, which run alongside the horizontal tracks. The goal is to adjust the spring on the side of the door that is closing too low. On this side, you need to increase the spring tension. You can do this by moving the S-hook that connects the spring to the track bracket to a lower hole on the bracket. Alternatively, you can shorten the lifting cable by moving the cable clamp up. Make small adjustments, moving only one hole or an inch at a time.
Step 5: Test the Adjustment
After making a small adjustment to the spring tension, you need to test the result. Carefully remove the C-clamps or locking pliers from the tracks and manually lower the door all the way to the closed position. Step back and observe the alignment against the garage floor. Check if the gap has been reduced or if the door is now level. It is very common for this process to require several small, incremental adjustments. If the door is still not level, repeat Step 3 and Step 4, making another small adjustment to increase the tension on the low side.
Step 6: Check for Overtightening
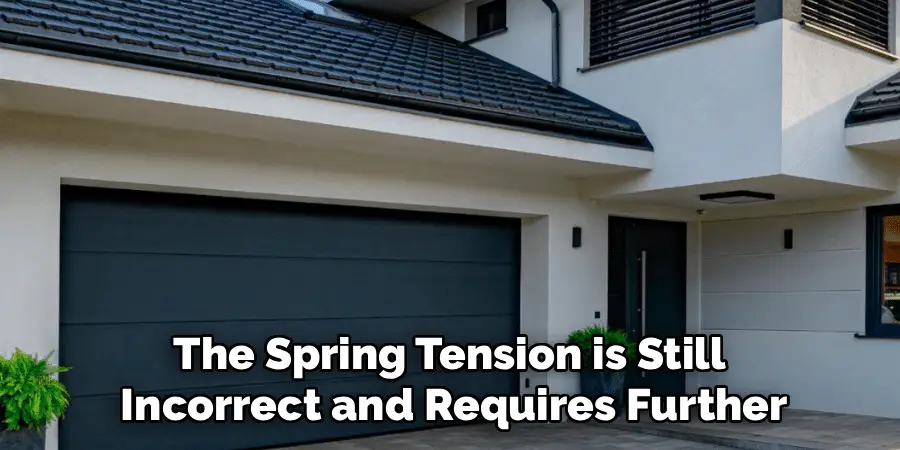
If you find you have over-adjusted and the side you were working on is now too high, you have made the spring too tight. In this case, you will need to slightly decrease the spring tension. To do this, move the spring’s S-hook up one hole on the track bracket or slightly lengthen the cable. The goal is perfect balance. A properly balanced door should stay in place if you lift it manually halfway and let go. If it slams down or flies up, the spring tension is still incorrect and requires further fine-tuning.
Step 7: Re-engage the Automatic Garage Door
Once you are completely satisfied that the door is level and balanced, you can reconnect the automatic opener. Manually lift the door until the opener trolley clicks back into place with the chain or belt drive. You may need to press the button on your remote to cycle the opener and allow it to re-engage. Once reconnected, run the garage door through a full open and close cycle using the automatic opener to ensure everything is operating smoothly and the door remains level throughout its travel.
Common Leveling Issues
Despite careful adjustments, garage doors can still experience leveling issues over time. One common problem is uneven tension in the torsion or extension springs, which can cause one side of the door to lift higher than the other. Misaligned or bent tracks are another frequent issue, preventing the door from gliding smoothly and staying level during operation. Additionally, worn or damaged rollers can create imbalanced movement, resulting in an uneven appearance when the door is open or closed. Regular maintenance and inspections are crucial to identify these issues early and ensure the door remains properly balanced, prolonging its lifespan and maintaining safe operation.
Frequently Asked Questions
What Causes a Garage Door to Become Uneven?
The most common cause of an uneven garage door is an imbalance in the tension of the extension springs. Over years of use, one spring may stretch or wear out faster than the other. This causes one side of the door to be lifted with more force, resulting in a crooked alignment when closed. Worn or frayed lifting cables can also be a cause.
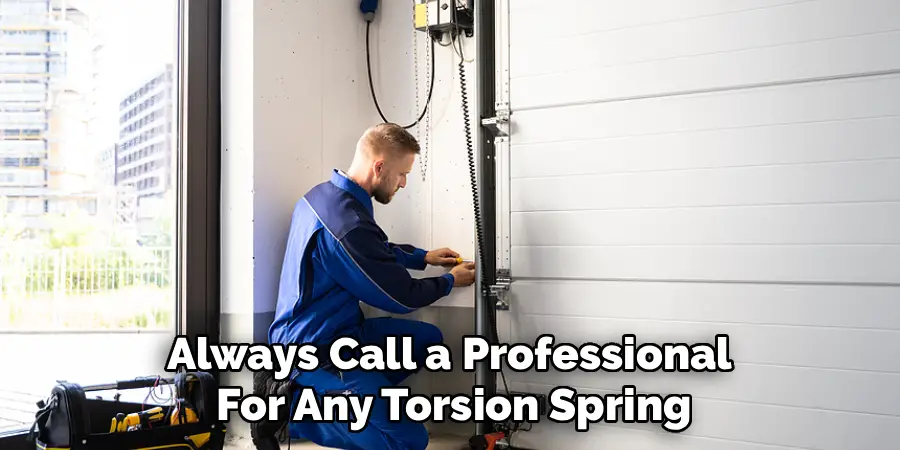
Is It Safe to Adjust Garage Door Springs Myself?
Adjusting extension springs (the type that run along the side tracks) can be done by a careful DIYer. However, you should never attempt to adjust, repair, or remove torsion springs yourself. Torsion springs are mounted above the door and are under extreme tension. They can cause severe injury or death if handled improperly. Always call a professional for any torsion spring issues.
How Do I Know If My Garage Door Is Properly Balanced?
A well-balanced door is key to the longevity of your opener. To test the balance, first, disengage the automatic opener. Manually lift the door to about halfway open and gently let go.
- If the door stays in place, it is balanced.
- If it slams shut, the spring tension is too weak.
- If it flies open, the spring tension is too strong.
Why Is There a Gap Under My Garage Door?
A gap under the door is usually the most obvious sign that it is not level. This happens when one side touches the ground before the other. This gap can also be caused by a worn-out or compressed rubber weather seal at the bottom of the door, or an uneven concrete floor. If the door itself is level, replacing the bottom seal may solve the problem.
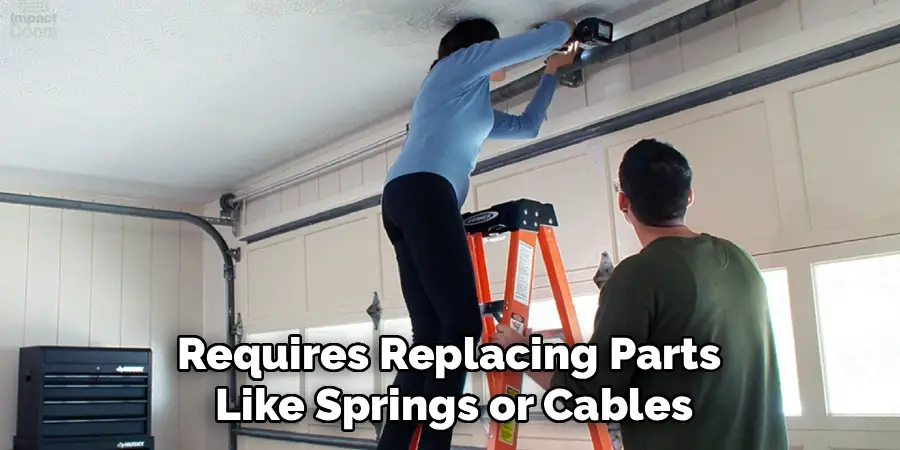
How Much Does It Cost to Have a Professional Level a Garage Door?
The cost for a professional service call can vary based on your location and the complexity of the issue. Typically, a simple adjustment and leveling service might cost between $100 and $200. If the problem requires replacing parts like springs or cables, the cost will be higher, potentially ranging from $200 to $400 or more.
Conclusion
A level garage door is essential for the security, efficiency, and proper function of your home. While the system of springs and cables may seem intimidating, making small, careful adjustments to the extension springs is a manageable task for a confident homeowner. The keys to success are a commitment to safety, a methodical approach, and patience, as it may take several small adjustments to get it perfect. By disconnecting the opener and securing the door, you can safely resolve the issue. Now that you have a clear guide on how to level garage door, you can tackle this common problem and restore your door to perfect working order.
About
Angela is the chief editor of Indoorense. She began her career as an interior designer before applying her strategic and creative passion to lifestyle and home.
She has close to 15 years of experience in creative writing and online content strategy for housekeeping and cleaning,home decorations as well as other efforts.
She loves her job and has the privilege of working with an extraordinary team. She lives with her husband, two sons, and daughter in Petersburg. When she’s not busy working she spent time with her family.