

If you own a Casio keyboard with a guided lighting system, you’ve probably noticed the keys glow to show you which notes to play. It’s a fun feature for beginners, but it isn’t for everyone. Some players find the flashing lights distracting, while seasoned musicians prefer to read sheet music or play by ear without the visual prompts. That’s where learning how to turn off key light on casio keyboard becomes really handy. The good news is that switching this feature off takes just a few simple button presses, and you don’t need any technical skills to do it.

Whether you’ve outgrown the lesson mode or you simply want a cleaner practice session, you can disable the lights in under a minute. This guide breaks everything down into plain, easy steps anyone can follow. By the time you finish reading, you’ll know exactly which buttons to press and how to keep those lights off for good. Let’s dim those keys and get you playing your way.
Why Turning Off the Key Light on Your Casio Keyboard Matters
Switching off the key light gives you more control over how you learn and play. The lighted keys are designed to guide absolute beginners, but they can hold you back once you start improving. Relying on the glow too long makes it harder to memorize finger positions or read real sheet music.
There are practical perks too. Disabling the lights can save a little battery life if you play on the go, and it removes a distraction that pulls your eyes away from the music in front of you. A darker keyboard also feels more professional during recordings or live performances, where blinking keys look out of place. Turning the feature off simply lets your keyboard match your current skill level and personal style, giving you a cleaner, more focused playing experience every time you sit down.
Step-by-Step Guide to How to Turn Off Key Light on Casio Keyboard
Step 1: Power On and Get Comfortable
Start by plugging in your keyboard or making sure the batteries have plenty of charge, then press the power button to switch it on. Give the instrument a moment to fully boot up, since some models run a quick startup sequence before they respond to button presses. Sit comfortably in front of the panel so you can clearly see all the labels above and around each button. Take a few seconds to glance over the control layout. Knowing where everything sits now will save you confusion later, especially when you’re hunting for the function and lesson buttons in the upcoming steps.

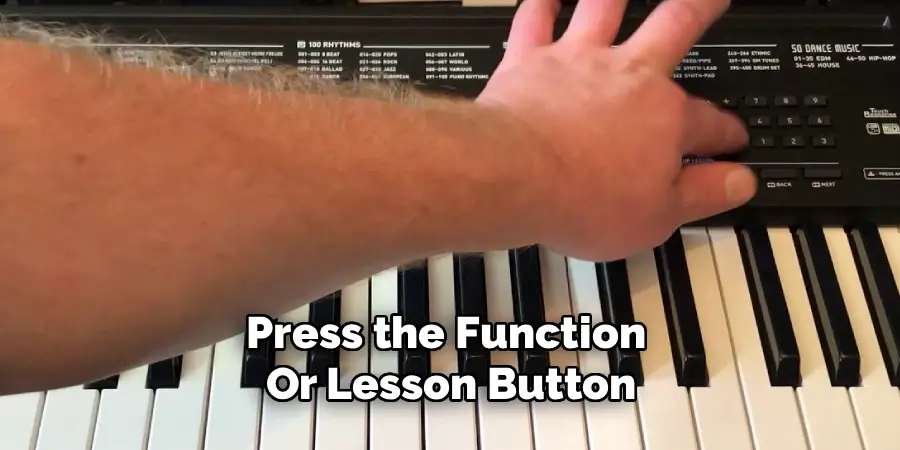
Step 2: Locate the Lesson or Function Button
Most Casio keyboards control the lighted keys through a “Lesson,” “Step Up Lesson,” or “Function” button. Look along the top row of controls, usually near the display screen or the song bank section. The exact label depends on your model, so check the small printed text above each button carefully. If you can’t spot it right away, your manual lists the precise location for your specific keyboard. This button is the gateway to the key lighting settings, so identifying it correctly is the most important part of the process. Once you’ve found it, you’re ready to dive into the menu and make your change.
Step 3: Keyboard Using the Menu
Press the function or lesson button to open the settings menu on your display. Use the arrow keys, the dial, or the plus and minus buttons to scroll through the available options until you reach the one labeled “Key Light,” “Lighting,” or something similar. On certain models, this setting hides inside a lesson submenu, so you may need to press the button a couple of times to cycle through. Take your time reading each menu item as it appears on the screen. When the lighting option shows up, you’re just one press away from switching the glow off completely and reclaiming a distraction-free keyboard.
Step 4: Select and Disable the Lighting Option
With the key light setting highlighted on your display, change its value from “On” to “Off.” Depending on your model, you’ll do this by pressing the minus button, turning the dial counterclockwise, or tapping a dedicated toggle. Watch the screen closely to confirm the value actually switches to “Off.” Some keyboards flash a brief confirmation message, while others simply update the display.
If the lights are still glowing after this, don’t worry, you may need to exit and save the setting in the next step. For now, focus on making sure the menu clearly shows the lighting feature is now disabled.
Step 5: Save the Setting and Exit the Menu
After disabling the lights, you need to lock in your choice so it doesn’t reset. Press the “Enter,” “Set,” or “Exit” button to confirm the new setting and back out of the menu. On many Casio models, simply pressing the function button again closes the menu and saves your selection automatically.
Avoid switching the keyboard off too quickly, since some instruments need a second to write the change to memory. Once you’ve exited, the display should return to its normal home screen. Your keys should now stay dark, ready for a cleaner, lights-free playing session whenever you sit down.

Step 6: Light on Casio Keyboard Permanently
If the lights keep returning every time you power on, your keyboard may be resetting to factory defaults at startup. To make the change stick, look for a “User Setup,” “Memory,” or “Auto Resume” feature in the function menu. Enabling this tells the keyboard to remember your custom settings, including the disabled lighting, even after you turn it off. Save this preference the same way you saved the lighting setting in the earlier steps. Not every model offers this option, but when it’s available, it’s the surest way to keep those keys dark for the long haul without repeating the process daily.
Step 7: Test Your Keyboard
Now it’s time to check your work. Play a few notes across different sections of the keyboard and watch the keys closely to confirm none of them light up. If you use song bank or lesson modes, start one briefly to make sure the lights stay off even during guided playback. Should any keys still glow, head back to the lighting menu and confirm the setting reads “Off,” then save it once more. Testing right away helps you catch any missed steps while everything is fresh. Once the keys stay dark through your test, you’re all set to enjoy playing distraction-free.

Frequently Asked Questions
Why Do the Lights Turn Back On After I Restart My Keyboard?
This usually happens because your Casio keyboard resets to its default settings whenever it powers off. Many models don’t automatically save custom preferences. To fix this, look for an “Auto Resume,” “User Setup,” or “Memory” option in the function menu and enable it. Saving your preferences there tells the keyboard to remember your choices, keeping the lights off every time you switch the instrument back on.
Does Every Casio Keyboard Have Lighted Keys?
No, lighted keys are a feature found mainly on Casio’s beginner and lesson-focused models, like the LK series. Higher-end digital pianos and many standard portable keyboards don’t include this guided lighting at all. If your keyboard’s keys never glow during play or lessons, then it simply doesn’t have the feature, and there’s nothing you need to turn off. Check your model number against the manual to confirm what your instrument supports.
Will Turning Off the Lights Affect Other Functions?
Not at all. Disabling the key lighting only stops the keys from glowing during lessons and song playback. Your sounds, tones, rhythms, recording features, and lesson scoring all keep working exactly as before. The lights are purely a visual guide, so removing them has no impact on the audio or the keyboard’s core performance. You can switch them back on anytime without losing any of your other settings or saved data.
Can I Turn Off the Lights for Just One Song?
In most cases, the key light setting applies to the whole keyboard rather than individual songs. Once you disable it through the function or lesson menu, the lights stay off across all songs and modes until you turn them back on. Some advanced models may offer per-lesson lighting controls, but this is rare. For everyday use, treat the setting as a single global switch that covers your entire playing session.
What If I Can’t Find the Key Light Setting?
If the lighting option isn’t showing up, the menu layout likely differs slightly on your model. Start by pressing the function or lesson button a few times to cycle through hidden submenus. Your owner’s manual remains the best resource, since it maps out every setting for your exact keyboard. You can also find a digital copy on Casio’s official support website by searching your model number for a full, step-by-step breakdown.
Conclusion
Switching off those glowing keys is a quick task that gives you far more control over your practice and performance. With just a few button presses through the lesson or function menu, you can disable the lighting, save the setting, and test it to make sure the keys stay dark. Remember to enable a memory or auto-resume feature if your model keeps resetting, so you don’t have to repeat the steps every day.
Now that you know how to turn off key light on casio keyboard, you can play in a way that matches your skill level and personal style, free from distractions. So grab your keyboard, follow these steps, and enjoy a cleaner, more focused playing experience. Once the lights are off, you’ll be able to concentrate fully on your music and keep growing as a player.
Rick is a handyman who grew up helping his dad with his business. He learned a lot from him about how to fix things, and also about how to work hard and take care of business. These days, Rick is still into fixing things- only now, he’s doing it for a living.
Rick is always looking for new ways to help people grow and develop. That’s why he started contributing to this blog: to share all his experience and knowledge so that he can help people who are interested in DIY repair.