
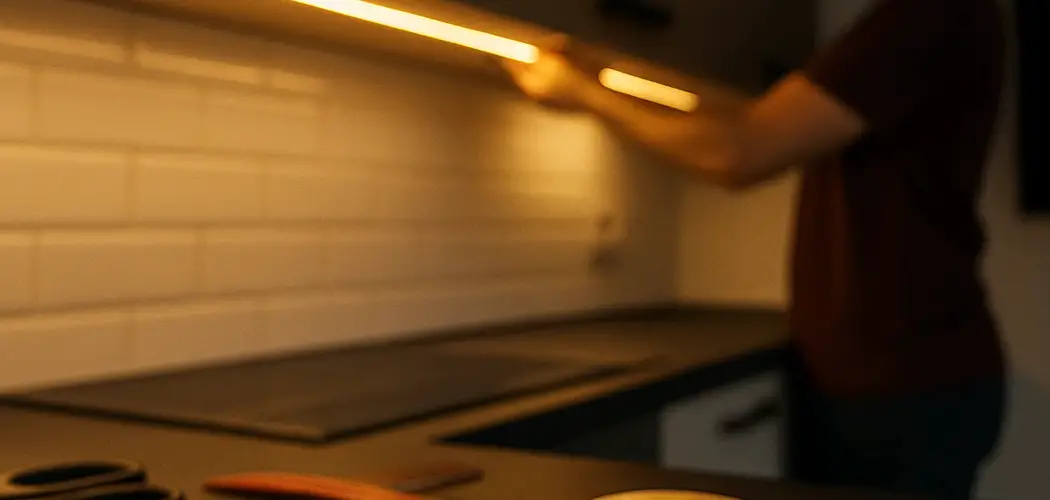
Those glowing strips behind your TV or along your ceiling looked amazing when you first put them up. But now you’re redecorating, moving out, or simply ready for a change, and you’re staring at the wall wondering how to take LED lights off the wall without leaving a mess behind. It’s a common worry, and the good news is that the process is much easier than most people expect. With a little patience and a few items you probably already own, you can remove your strips cleanly, protect your paint, and even save the lights for reuse later.

This guide walks you through every step in plain, simple terms. You’ll learn how to loosen stubborn adhesive, peel slowly to avoid damage, and clean up any sticky residue left behind. We’ll also answer the questions beginners ask most. By the time you finish reading, you’ll feel ready to tackle the job with confidence and zero stress. Grab a hairdryer and let’s get started.
Why Removing LED Lights From the Wall Matters
Taking your strips down the right way protects two things you care about: your walls and your lights. Yanking strips off in a hurry can peel paint, leave gummy residue, or even pull away chunks of drywall, turning a quick task into an expensive repair job. A careful approach keeps your surfaces smooth and ready for whatever comes next, whether that’s fresh paint or a new set of lights.
There’s also the money side. Quality LED strips aren’t cheap, so removing them gently means you can reuse them in another room or your next home instead of tossing them out. That saves cash and cuts down on waste. Doing it properly simply makes good sense for your wallet and your space.
Step-by-Step Guide to How to Take Led Lights Off the Wall
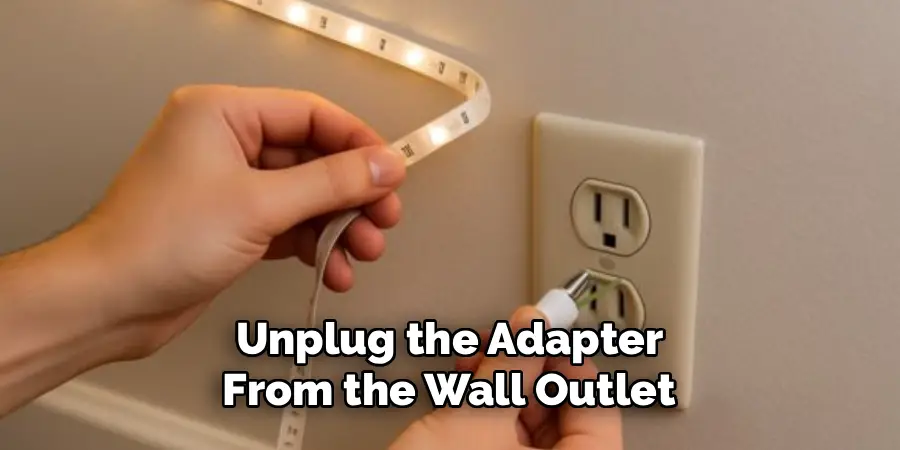
Step 1: Switch Off and Unplug the Power
Before you touch a single strip, cut the power completely. Unplug the adapter from the wall outlet or flip off the switch that controls the lights. This keeps you safe from any small electrical shocks and stops the strip from heating up while you work. If the lights have been running for a while, give them a couple of minutes to cool down. Working with cool, powered-off strips makes the whole job smoother and far safer. Once everything is dark and disconnected, you can move forward knowing there’s no electricity flowing through the strip in your hands.
Step 2: Warm the Adhesive With a Hairdryer
The sticky backing on LED strips grips tight, especially after months on your wall. Heat is the secret to loosening it. Set a hairdryer to low or medium and hold it a few inches away from the strip. Move it slowly along each section for about thirty seconds, letting the warmth soften the glue underneath. Don’t blast one spot for too long, since too much heat can damage the diodes or melt the plastic coating. You’re aiming for gently warm, not hot. This simple trick relaxes the adhesive so the strip releases without a fight, protecting both your wall and your lights.
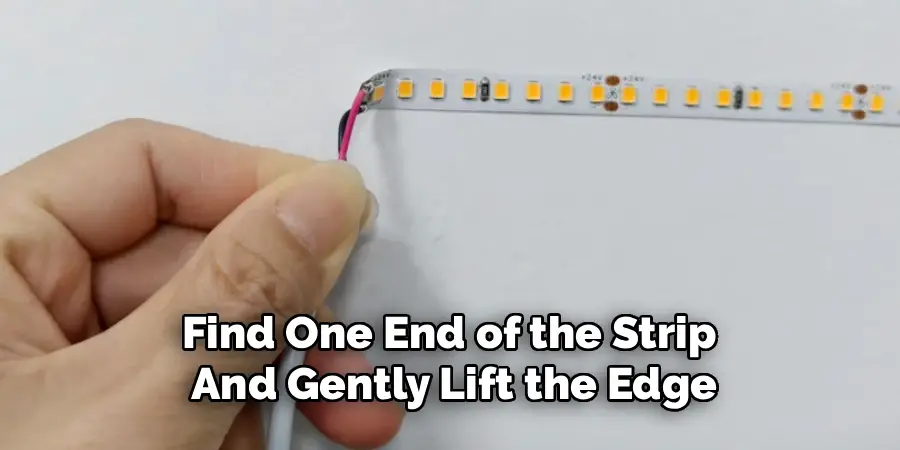
Step 3: Peel Slowly From One Corner
Find one end of the strip and gently lift the edge using your fingernail or a thin plastic card. Pull at a low angle, keeping the strip close to the wall rather than yanking it straight outward. Move slowly, peeling just an inch at a time. If you feel the strip resisting or sticking hard, stop and reheat that section with your hairdryer before continuing. Rushing here is the biggest mistake people make when figuring out how to take LED lights off the wall, and it almost always leads to torn paint or bent strips. Stay patient and let the heat do the heavy lifting.
Step 4: Use a Plastic Tool for Stubborn Spots
Sometimes a section just won’t budge no matter how much you peel. Reach for a plastic putty knife, an old gift card, or a guitar pick to gently work underneath the strip. Slide the edge of the tool beneath the adhesive and ease it forward in small movements, applying a little reheating as you go. Avoid metal tools, because their sharp edges can scratch your wall or slice into the strip’s circuits. Plastic gives you enough firmness to lift the backing without causing harm. Take your time with these tricky areas, and the stubborn glue will eventually give way cleanly.
Step 5: Tackle Leftover Adhesive Residue
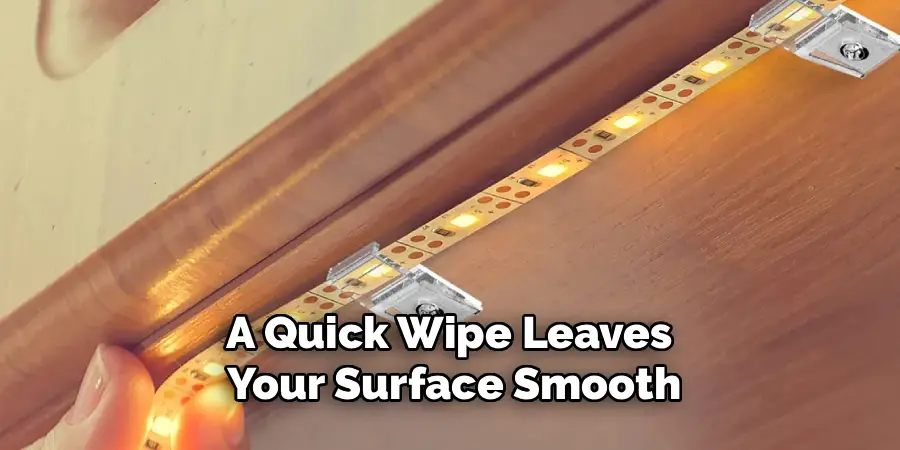
Once the strip is off, you’ll often spot a gluey film clinging to the wall. Don’t panic, this wipes away easily. Dampen a soft cloth with a little rubbing alcohol or a gentle adhesive remover, then rub the sticky area in slow circles. The residue should soften and lift within moments. For painted walls, test a small hidden patch first to make sure the cleaner won’t dull the finish. Knowing how to take LED lights off the wall includes this cleanup step, since leaving residue behind attracts dust and looks messy. A quick wipe leaves your surface smooth and ready for whatever you plan next.
Step 6: Clean and Inspect the Strip
Turn your attention to the strip itself now. Wipe the back with a soft cloth lightly dampened with rubbing alcohol to lift away old glue and grime, but keep moisture away from the connectors. As you clean, look closely for any cracks, bent sections, or damaged diodes. Catching problems early helps you decide whether the strip is worth reusing. If everything looks intact and the lights worked before removal, you’re in great shape. A clean, undamaged strip will bond much better when you stick it up somewhere new, so this little inspection pays off down the road.
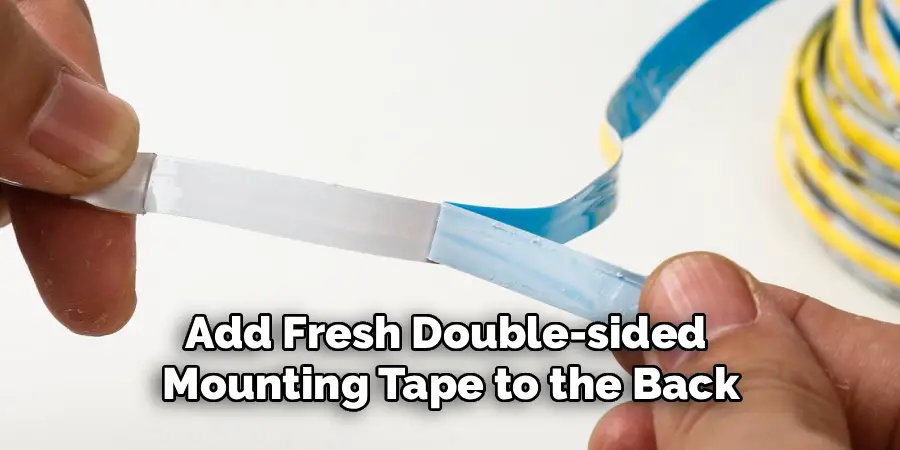
Step 7: Store or Reinstall Your Strips
With your strips clean and checked, decide your next move. If you’re reinstalling soon, add fresh double-sided mounting tape to the back, since the original adhesive rarely sticks well after removal. For storage, coil the strip loosely into a wide circle, never folding it sharply, as hard creases can crack the internal wiring. Tuck the coil into a sealable bag along with its connectors and power adapter so nothing goes missing. Keep the bundle somewhere cool and dry, away from direct sunlight. Treating your strips with this care means they’ll be ready to glow again the moment you want them.
Frequently Asked Questions
Will Removing LED Strips Damage My Paint?
When done carefully, removal causes little to no damage. The trick is warming the adhesive with a hairdryer first, then peeling slowly at a low angle so the glue releases gently. Rushing or pulling straight out is what usually chips paint or lifts drywall. If a little residue stays behind, a soft cloth with rubbing alcohol clears it right up. Patience truly protects your walls.
Can I Reuse LED Strips After Taking Them Down?
Yes, in most cases you can reuse them. The strip itself stays fully functional as long as you peeled it off gently and avoided bending or tearing the circuits. The only part that usually needs replacing is the adhesive backing, which loses its grip once removed. Simply apply fresh double-sided mounting tape made for LED strips, and your lights are ready to shine in a brand new spot.
What Removes the Sticky Residue Left Behind?
Rubbing alcohol is your best friend for sticky residue. Dampen a soft cloth and rub the leftover glue in slow circles until it softens and lifts away. A gentle commercial adhesive remover works too, but always test a hidden patch first to protect your paint finish. Warm, soapy water can help with lighter residue. Avoid scraping with metal tools, since they scratch surfaces and make the cleanup harder.
Do I Really Need to Use Heat?
Heat isn’t strictly required, but it makes the job dramatically easier and safer. A warm hairdryer softens the adhesive so the strip peels off without tearing your paint or the lights themselves. Skipping this step often leads to stubborn pulling, damaged strips, and marked walls. Just keep the dryer on low or medium and avoid overheating any single spot. A little warmth saves you a lot of frustration.
How Should I Store LED Strips for Later Use?
Coil the strip loosely into a wide circle, never folding it sharply, because tight creases can crack the wiring inside. Wrap the coil in its original packaging or a soft cloth, then slip it into a sealable bag. Keep the connectors and power adapter together so nothing gets lost. Store everything in a cool, dry place away from sunlight and heat, and your strips will stay in great condition until you need them.
Conclusion
Taking down your light strips doesn’t have to be a stressful or messy ordeal. The whole process really comes down to a few simple habits: cut the power first, warm the adhesive with a hairdryer, peel slowly from one corner, and clean up any residue with rubbing alcohol. Add a careful inspection and proper storage, and you’ve protected both your walls and your lights for whatever comes next.
Now that you know how to take LED lights off the wall the right way, you can redecorate, move, or refresh your space with total confidence. There’s no need to worry about chipped paint or wasted strips anymore. So grab your hairdryer, set aside a little time, and give it a go. Your walls will stay flawless, your lights will be ready for their next home, and you’ll have a handy skill to use again and again.
Rick is a handyman who grew up helping his dad with his business. He learned a lot from him about how to fix things, and also about how to work hard and take care of business. These days, Rick is still into fixing things- only now, he’s doing it for a living.
Rick is always looking for new ways to help people grow and develop. That’s why he started contributing to this blog: to share all his experience and knowledge so that he can help people who are interested in DIY repair.