
Like most homeowners, you rely on your vacuum breaker to keep your home safe from water damage. But what happens if your vacuum breaker fails? Luckily, replacing a vacuum breaker is a relatively easy task that most homeowners can accomplish on their own. In this blog post, we’ll show you how to replace vacuum breaker in just a few simple steps. Stay safe and dry.

Why Vacuum Breakers Are Important
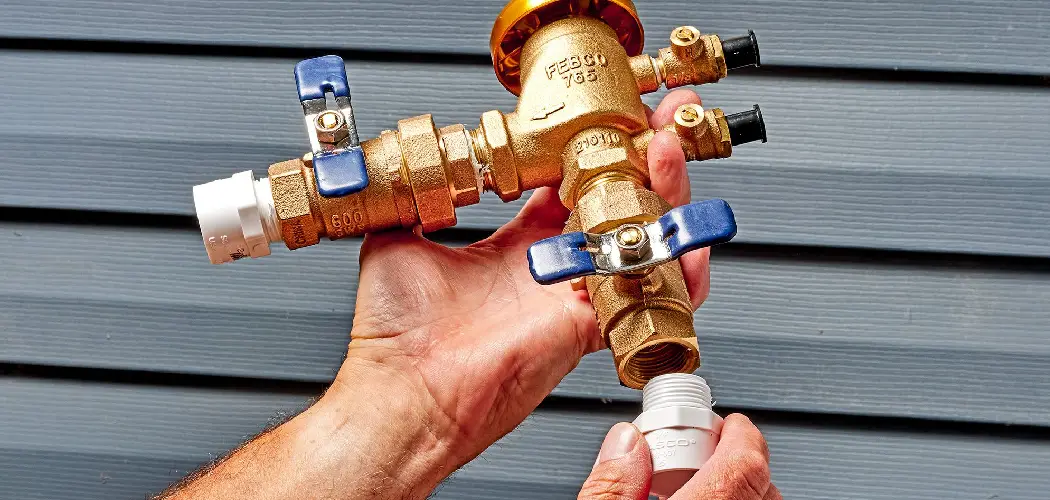
Vacuum breakers are an important part of your home’s plumbing system. They’re designed to prevent water from flowing back into your home’s water supply, which could contaminate it. Vacuum breakers are typically located near your home’s main water shut-off valve. If you suspect your vacuum breaker is failing, it’s important to replace it as soon as possible. Vacuum breakers can fail for several reasons, including corrosion and wear and tear.
What Causes Vacuum Breaker Failure?
There are a few different reasons why your vacuum breaker may have failed. The most common reason is simply due wear and tear. Over time, the seals in your vacuum breaker can degrade, allowing water to seep through. This is especially common in older homes with outdated plumbing.
Another common reason for vacuum breaker failure is corrosion. If your home has high levels of iron in the water, it can cause the internal parts of your vacuum breaker to corrode. This can lead to a loss of water pressure and, eventually, failure. Finally, if your vacuum breaker is constantly exposed to freezing temperatures, it can crack and break. This is most common in homes with outdoor spigots.
Things You’ll Need
- Replacement vacuum breaker
- Adjustable wrench
- Screwdriver
Step by Step How to Replace Vacuum Breaker
1. Shutting Off the Water
The first step is to shut off the water in your home. Next, locate the main water shut-off valve and turn it to the “off” position. Once the water is shut off, open a faucet in your home to release any remaining water pressure. If you have an outdoor spigot, be sure to turn it off as well.

2. Draining the Water Lines
Next, you’ll need to drain the water lines to your home. Locate the lowest point in your home’s plumbing system and open a faucet to allow the water to drain out. Once the water has drained, close the faucet. If you have an outdoor spigot, you’ll need to open it and allow any remaining water to drain out.
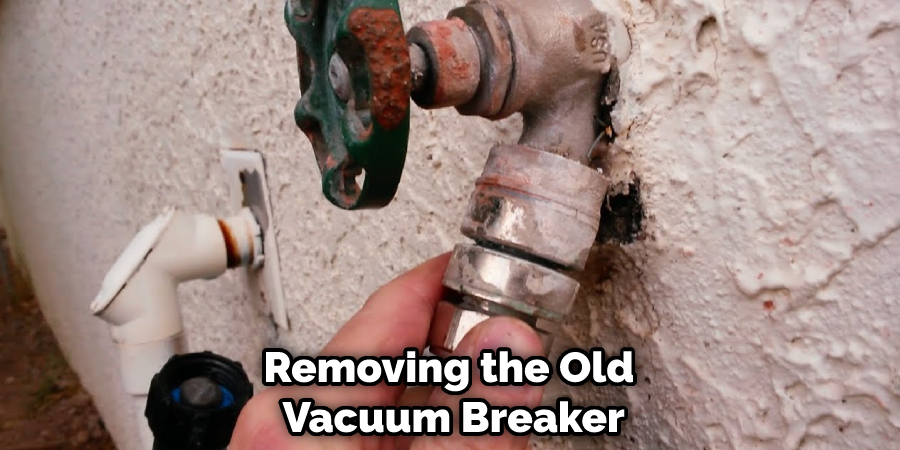
3. Removing the Old Vacuum Breaker
Once the water is shut off and the lines are drained, you can remove the old vacuum breaker. Begin by disconnecting the supply line from the vacuum breaker. Next, remove the mounting screws that hold the vacuum breaker in place. With the screws removed, you should be able to pull the vacuum breaker out. If you have any difficulty removing the old vacuum breaker, you may need to use a screwdriver or pliers.
4. Cleaning the Fitting
Now that the old vacuum breaker is removed, you’ll need to clean the fitting. Use a brush or rag to remove any dirt, debris, or corrosion from the fitting. Once the fitting is clean, you can proceed to the next step. If the fitting is severely corroded, you may need to replace it.
5. Inspecting the Mounting Location
Before you install the new vacuum breaker, take a moment to inspect the mounting location. If the location is corroded or damaged, you’ll need to repair it before proceeding. You can proceed to the next step if the location is in good condition.
6. Installing the New Vacuum Breaker
Now it’s time to install the new vacuum breaker. Start by threading the new vacuum breaker onto the fitting. Next, use the mounting screws to secure the vacuum breaker in place. Once the vacuum breaker is installed, you can proceed to the next step. If you have any difficulty installing the new vacuum breaker, you may need to consult a professional.
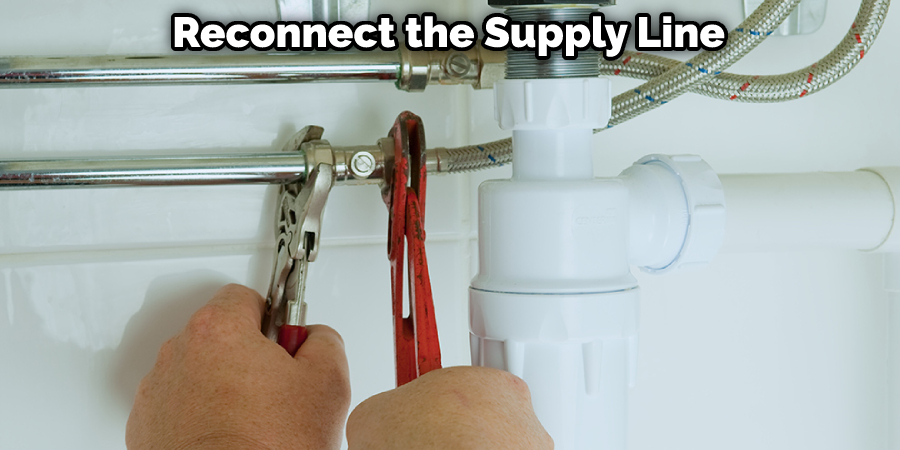
7. Reconnecting the Supply Line
With the new vacuum breaker, you can reconnect the supply line. Start by threading the nut onto the supply line. Next, use an adjustable wrench to tighten the nut. Once the nut is tight, you can proceed to the next step. Reconnecting the supply line may be difficult, so you may need to consult a professional.
8. Turning on the Water
Now that the new vacuum breaker is installed, you can turn on the water in your home. Locate the main water shut-off valve and turn it to the “on” position. Once the water is turned on, open a faucet in your home to release any air from the lines. If you have an outdoor spigot, be sure to turn it on as well.
9. Checking for Leaks
Once the water is turned on, you’ll need to check the vacuum breaker for leaks. Begin by inspecting the supply line connection for leaks. Next, check the mounting screws and make sure they’re tight. Finally, check the vacuum breaker itself for any leaks. If you find any leaks, you’ll need to shut off the water and make the necessary repairs.
10. Adjusting the Water Pressure
If you find that the water pressure in your home is too low, you may need to adjust the pressure regulator. Locate the pressure regulator and turn it to the “low” setting. Once the pressure regulator is adjusted, you can turn on the water and check the pressure. If the pressure is still too low, you may need to consult a professional.
11. Replacing the Bonnet Nut
If the bonnet nut on your vacuum breaker is damaged, you’ll need to replace it. Begin by removing the old bonnet nut. Next, thread the new bonnet nut onto the fitting. Once the new bonnet nut is in place, you can proceed to the next step. If you have any difficulty replacing the bonnet nut, you may need to consult a professional.

12. Adjusting the Water Temperature
If the water temperature in your home is too high, you may need to adjust the temperature regulator. Locate the temperature regulator and turn it to the “low” setting. Once the temperature regulator is adjusted, you can turn on the water and check the temperature. If the temperature is still too high, you may need to consult a professional.
13. Testing the New Vacuum Breaker
Now that the new vacuum breaker is installed, you’ll need to test it. Begin by opening a faucet in your home and letting the water run for a few minutes. Next, turn off the water and check the vacuum breaker for leaks. If you find any leaks, you’ll need to shut off the water and make the necessary repairs.
How Much Does It Cost to Replace a Vacuum Breaker?
The cost of replacing a vacuum breaker will vary depending on the type of vacuum breaker you need and the job’s complexity. Generally speaking, replacing a vacuum breaker will fall somewhere between $50 and $200. If you need to replace the bonnet nut, you may need to pay an additional $20 to $30.
How Should Long Vacuum Breaker Last?
Most vacuum breakers should last for many years without requiring any maintenance. However, it’s important to inspect the vacuum breaker regularly to ensure that it’s in good working condition. If you notice any leaks or damage, you should replace the vacuum breaker as soon as possible.
Tips and Warnings on How to Replace Vacuum Breaker
Tips:
- Always use gloves and safety glasses when working with or around a vacuum breaker.
- Check for any leaks in the system before and after replacing the vacuum breaker.
- If you are unsure about how to replace a vacuum breaker properly, always seek professional help.
- Never operate a system without a properly functioning vacuum breaker.
- Always consult the manufacturer’s instructions when replacing a vacuum breaker.
Warnings:
- Never attempt to repair or replace a vacuum breaker without first shutting off the water supply.
- Always consult with a professional before making any repairs to your plumbing system.
- Never use an unapproved replacement part when repairing or replacing a vacuum breaker.
- Never attempt to repair a vacuum breaker if it appears to be damaged. Instead, always replace it with a new one.
- Never operate a system without a properly functioning vacuum breaker. Doing so could result in serious injury or death.
Conclusion
This article provides step by step guide on How to Replace Vacuum Breaker. Replacing a vacuum breaker is an easy process that requires a few basic tools and some plumbing knowledge. If you can follow these simple steps, you’ll be able to replace your vacuum breaker in no time. Have any questions about the process? Leave them in the comments below, and we’ll do our best to help you out.