
When it comes time to replace a faucet handle, it’s not always easy to determine how to remove the old one. In some cases, there may be no screws or other visible fasteners holding the handle. In this article, we’ll explain how do you remove faucet handles that have no screws. We’ll also provide tips for replacing the handle once it’s been removed. Let’s get started.

Why Would a Faucet Handle Have No Screws?
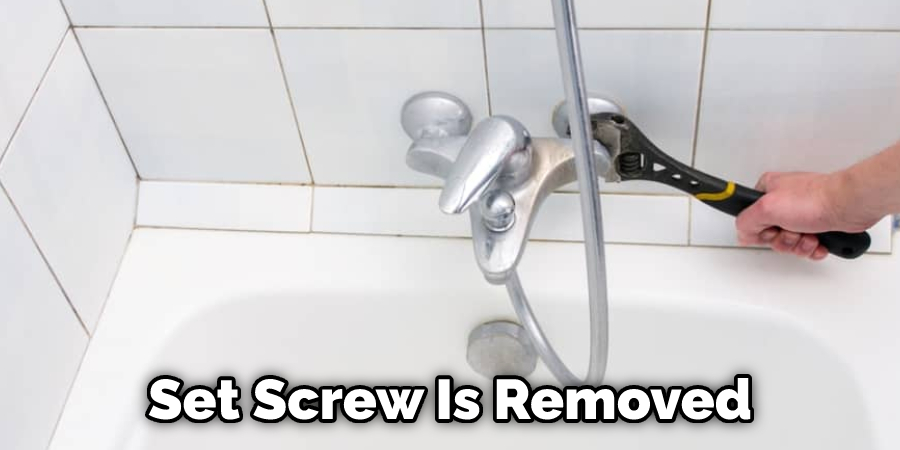
There are a few reasons why a faucet handle might not have screws. First, the handle may be held in place by a hidden set screw. This type of screw is often located under a small cap or plug on the back of the handle. To access the set screw, you’ll need to remove the cap or plug. Once the set screw is removed, the handle should come off easily.
Another possibility is a retaining clip that holds the handle in the placing clip. This clip is usually located under the escutcheonhich is the round or oval piece ocovering the sink’s holethe sink. You’ll need to access the retaining clip and release it to remove the handle. Once the clip is released, the handle should come off easily.
Finally, the handle may be simply glued or welded in place. In this case, you’ll need to use a bit of force to remove the handle. Start by gently prying up on the handle with a flat-head screwdriver. If the handle is glued in place, you may need to use a putty knife or other tool to loosen the glue. Once the handle is loose, you should be able to pull it off easily.
Things You’ll Need:
- Screwdriver
- Putty knife (optional)
- Pliers (optional)
- Hammer (optional)
Step by Step How Do You Remove Faucet Handles That Have No Screws
1. Check for a Set Screw.
The first step is to check for a set screw. As we mentioned above, this type of screw is often located under a small cap or plug on the back of the handle. To access the set screw, you’ll need to remove the cap or plug. Once the set screw is removed, the handle should come off easily. If you can’t find a set screw, move on to the next step.
2. Release the Retaining Clip.
If there’s no set screw, the handle is likely held in place by a retaining clip. This clip is usually located under the escutcheon plate, the round or oval piece of metal covering the sink’s hole. You’ll need to access the retaining clip and release it to remove the handle. Once the clip is released, the handle should come off easily.
3. Pry Up the Handle.
If the handle is simply glued or welded in place, you’ll need to use a bit of force to remove it. Start by gently prying up on the handle with a flat-head screwdriver. If the handle is glued in place, you may need to use a putty knife or other tool to loosen the glue. Once the handle is loose, you should be able to pull it off easily.
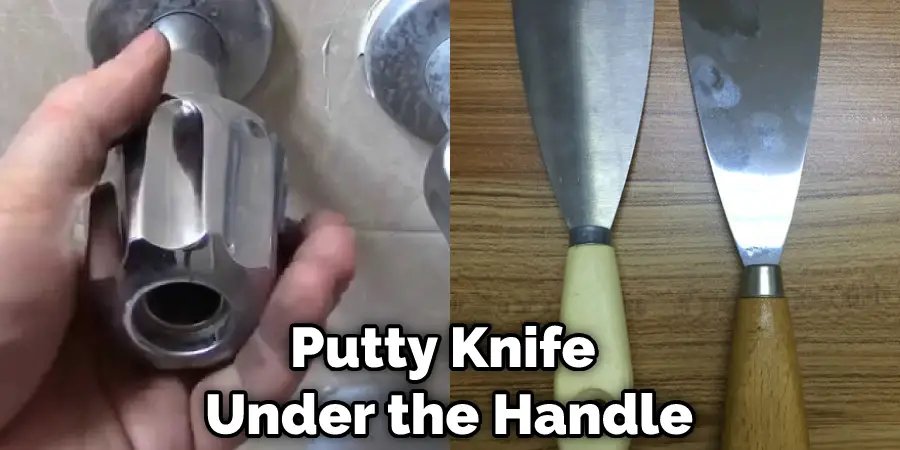
4. Use a Putty Knife or Screwdriver to Remove the Handle.
Start by inserting the flat-head screwdriver or putty knife under the handle and prying it up. If the handle is glued in place, you may need to use a putty knife or other tool to loosen the glue. Once the handle is loose, you should be able to pull it off easily.
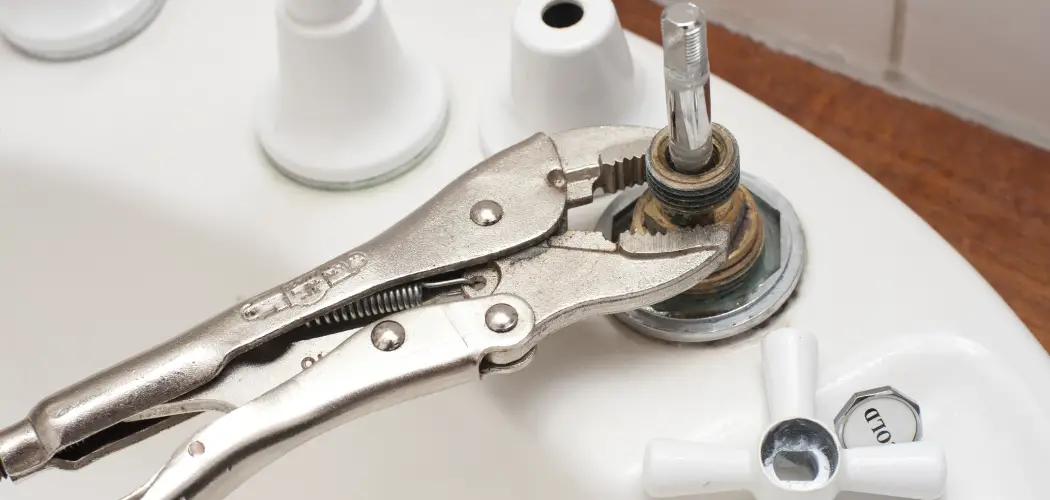
5. Use Pliers
If the handle is still tight, you may need to use a pair of pliers to remove it. Start by gripping the handle with the pliers and twisting it back and forth until it comes loose. Once the handle is loose, you should be able to pull it off easily.
6. Use a Hammer
If the handle is still tight, you may need to use a hammer to remove it. Start by tapping the handle with the hammer until it comes loose. Once the handle is loose, you should be able to pull it off easily.
7. Use a Chisel
If the handle is still tight, you can try using a chisel. Just be careful not to damage the finish on your sink. Put the chisel under the handle and tap it with a hammer until the handle pops off.
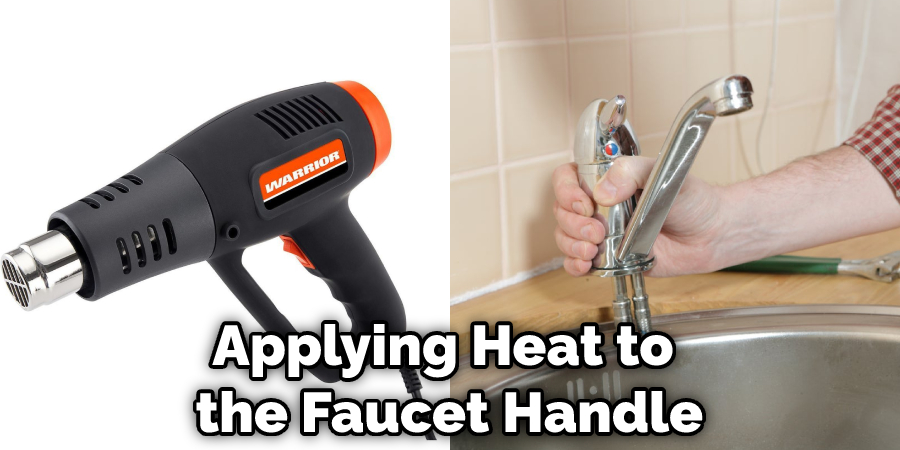
8. Apply Heat
If the previous methods don’t work, you can try applying heat to the faucet handle. This will expand the metal and may loosen the set screw. Use a hair dryer or heat gun, and hold it close to the handle for a few minutes. Then, try to remove the set screwYou can try using a candle ifgain. If you don’t have a hair dryer or a candle. Light the candle and hold the flame close to the faucet handle for a few minutes. Be careful not to burn yourself, and don’t let the flame touch the plastic parts of the faucet.
9. Use WD-40
If the set screw is still stubborn, you can try using WD-40. Just spray a liberal amount of WD-40 onto the set screw and let it sit for a few minutes. Then, try loosening the set screw again. The WD-40 should help to loosen the set screw and make it easier to remove.
10. Call a Plumber
If you’ve tried all the above methods and still can’t remove the faucet handle, it’s time to call a plumber. The handle may be frozen in place, or there may be another issue you’re unaware of. A plumber will be able to diagnose the problem and fix it quickly.
11. Replace the Handle.
Once you’ve removed the old handle, you can install a new one. If you’re using a screw-on handle, screw it into place. If you’re using a push-on handle, you may need to glue it in place. Once the new handle is in place, you can reattach the escutcheon plate and turn on the water.
12. Replace the Entire Faucet.
If your faucet is old or damaged, you may need to replace it entirely. This is a more involved project, and it’s best to leave it to a professional. A plumber can help you select the right faucet for your sink and install it quickly.
How Much Does It Cost to Replace a Faucet?
The cost to replace a faucet depends on the type of faucet you choose and the difficulty of the installation. A basic faucet can cost as little as $20, while a more sophisticated model can cost $200 or more. The installation can also cost anywhere from $50 to $200, depending on the job’s complexity. If you’re handy, you may be able to install the faucet yourself and save on labor costs.
Tips and Warnings on How Do You Remove Faucet Handles That Have No Screws
Tips:
- Be sure to turn off the water before you begin.
- Use a flathead screwdriver or butter knife to pry off the handle.
- If the handle is stuck, try using a hairdryer to heat up the area and loosen the adhesive.
- Once the handle is removed, you can see the set screw. Use a Phillips head screwdriver to remove the set screw.
- Pull the stem out of the faucet body.
- To install the new stem, reverse the steps above.
Warnings:
- Be careful not to strip the set screw.
- Do not over-tighten the set screw.
- Be careful not to damage the finish on your faucet.
- Make sure the O-ring is in place before reassembling the faucet.
- Be sure to turn the water back on slowly to avoid any leaks.
How to Prevent Faucet Handles from Coming Loose
If you’re having trouble with loose faucet handles, you can do a few things to prevent the problem. First, be sure to use the correct size screwdriver when tightening the set screw. If the screw is too large or too small, it can strip the threads and make it difficult to get a tight fit. Second, use Teflon tape or plumber’s putty on the threads of the set screw before tightening it.
This will help create a tighter seal and prevent the handle from loose. Finally, be sure to check the set screw periodically to make sure it’s still tight. If it starts to loosen, simply tighten it with a screwdriver. With a little care and attention, you can keep your faucet handles from coming loose.
Conclusion
So, there you have it. We’ve shown you how do you remove faucet handles that have no screws. All you need is a screwdriver and a little bit of patience. If all else fails, remember that WD-40 always seems to do the trick! Now get out there and start fixing those leaky faucets. If you enjoyed this article, be sure to check out our other articles on home improvement and plumbing. As always, thanks for reading.
You May Also Read: How to Lock Outside Water Faucet