
If you want to add luxury to your traditional bathroom, consider installing a Moen Widespread Bathroom Faucet. This stylish faucet is perfect for anyone who wants the look and feel of a high-end spa in their own home.

A widespread bathroom faucet offers a sleek, polished look and is perfect for traditional bathrooms. Installing a Moen widespread bathroom faucet is a project that most DIY homeowners can handle easily.
In this article, we will show you how to install moen widespread bathroom faucet using standard household tools. We recommend reading through the entire instructions before beginning the project. Happy installing!
What is a Widespread Faucet?
A widespread faucet has three separate components: the hot and cold water valves mounted on the sink or countertop, connected by supply tubes to the faucet spout in the center. Widespread bathroom faucets are available in various styles and finishes that coordinate with other bathroom fixtures.
Tools and Materials Needed to Install Moen Widespread Bathroom Faucet
You need the following tools and materials to install a Moen widespread bathroom faucet:
- Tape measure
- Wrench or adjustable pliers
- Pipe cutter or hacksaw
- Teflon tape
- Drill and 1/8 inch drill bit (if needed)
- Moen widespread bathroom faucet
- Supply lines for hot and cold water (sold separately)
11 Steps on How to Install Moen Widespread Bathroom Faucet
If you follow every step in this guide, your new Moen widespread bathroom faucet will be up and running in no time!
Here’s what you’ll need to do:
Steps 1: Start by Reading the Instructions
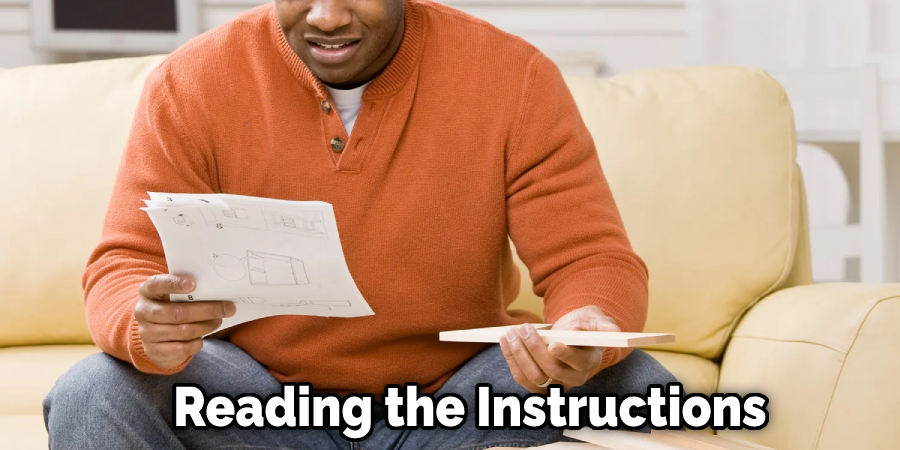
As with any Do-It-Yourself project, it is always best to start by reading the instructions with your particular Moen Widespread Faucet. These will give you a good overview of the installation process and also point out any special tools or parts you may need. No matter what, always turn off the water before starting any work on your bathroom sink, which leads to our next step.
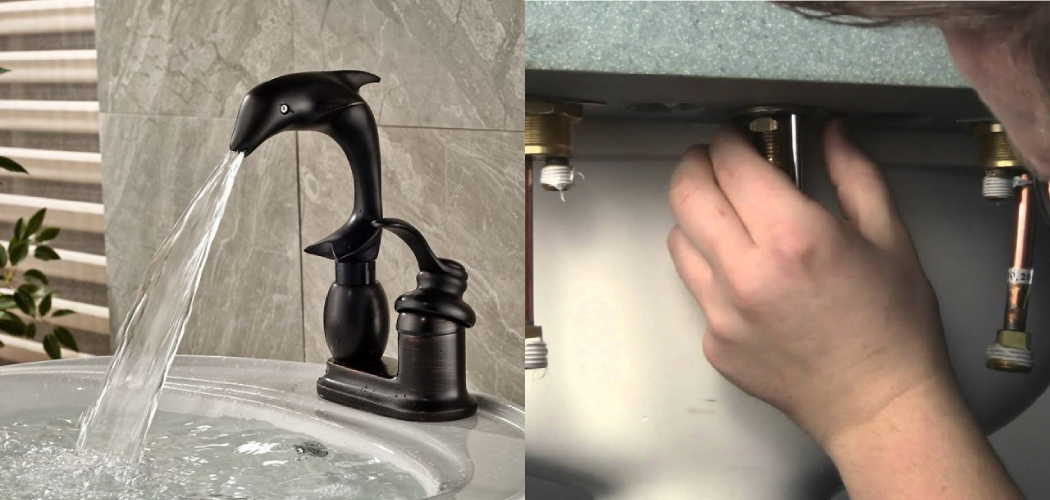
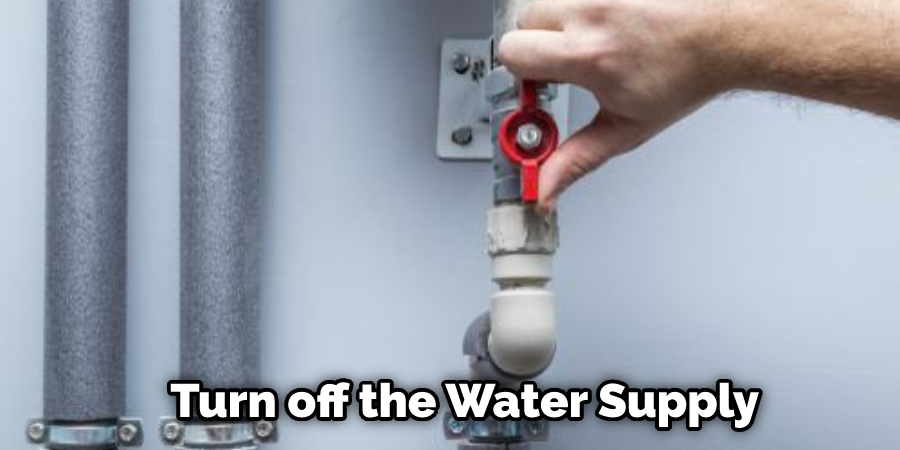
Step 2: Shut Off the Water Supply
One of the most important steps in any plumbing project is to make sure that you shut off the water supply before you start. This will prevent accidental flooding and make the entire process much more straightforward. But, of course, you must be very careful when working with water lines, so it’s always best to follow the side of caution.
Step 3: Remove the Old Faucet
Now it’s time to remove your bathroom faucet. This will involve unscrewing a few bolts and pulling the unit away from the sink. Again, you may need a wrench or pliers to loosen these bolts. Once the faucet is removed, you can proceed to the next step.
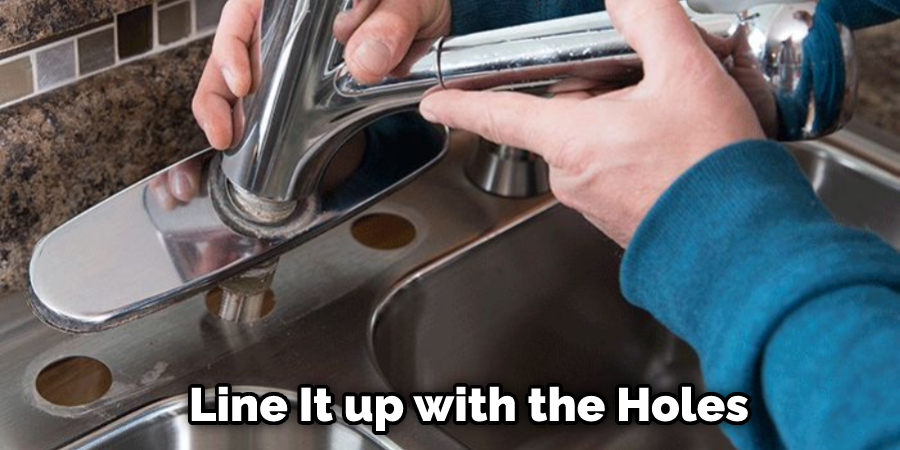
Step 4: Install the New Base Plate
In many cases, your new Moen Widespread Faucet will come with a new base plate. If this is the case, go ahead and install this now. If not, you can usually reuse the old base plate. To install the new base plate, simply line it up with the holes in your sink and then use the screws that came with your faucet to secure it.
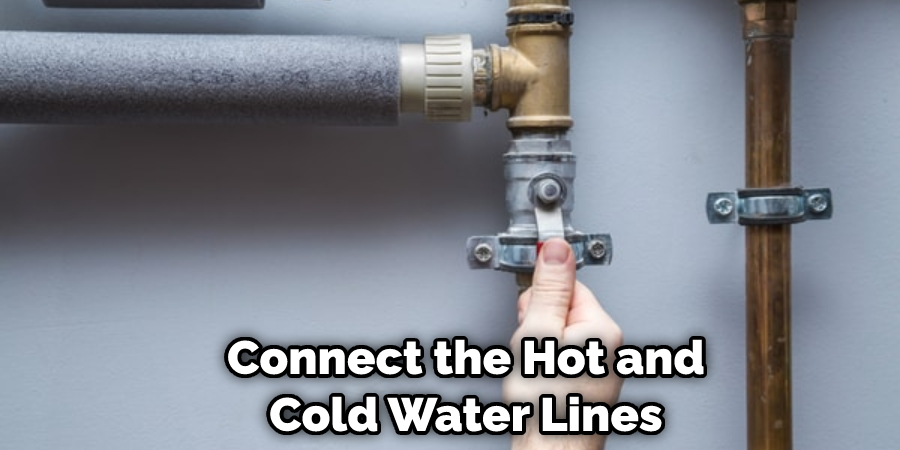
Step 5: Install the New Faucet
It’s time to install your new faucet! Start by connecting the hot and cold water lines to the appropriate supply lines. Use Teflon tape or pipe dope on all threaded connections, then tighten with a wrench. Be careful not to overtighten – you don’t want to strip the threads or damage the finish on your new faucet.
Step 6: Attach the Water Supply Lines
The next step is to attach the water supply lines to your new faucet. In most cases, you can simply reuse the old supply lines. If not, ensure the correct size and type of lines for your particular model of Moen Widespread Faucet. Once the lines are attached, you can proceed to the next step.
Step 7: Install the Faucet Handles
Installing the faucet handles is a relatively simple process. In most cases, you will simply need to line up the holes in the handles with the holes in the base plate and then use the screws that came with your faucet to secure them in place. Unless, of course, you have a single-handle faucet, in which case the handle will likely just snap into place.
Step 8: Install the Spout
Installing the spout usually involves lining it up with the holes in the base plate and then screwing it into place. Sometimes, you may need to use an additional bracket to secure the spout. Consult your Moen Widespread Faucet instructions to see if this is necessary. You must ensure that the spout is properly secured to avoid any potential leaks.
Step 9: Connect the Hot and Cold Water Lines
The next step is to connect the hot and cold water lines to your new faucet. In most cases, you can simply reuse the old supply lines. If not, ensure the correct size and type of lines for your particular model of Moen Widespread Faucet. Once the lines are connected, you can proceed to the next step.
Step 10: Turn on the Water Supply
Now it’s time to turn on the water supply and test your new faucet! Slowly turn on the water valves until water starts flowing from the faucet. Once the water is running, check for leaks and ensure that the hot and cold water lines are working correctly. If everything looks good, you’re all done!
Step 11: Attach the Drain Assembly
The next step is attaching the drain assembly to your new faucet. In most cases, you can reuse the old drain assembly. If not, ensure the size and type of drain assembly for your Moen Widespread Faucet. This is very important to avoid potential leaks.
Congratulations, you’ve just installed your new Moen Widespread Bathroom Faucet! This simple project can be completed in just a few hours and will give you your bathroom.
Safety Precautions to Keep in Mind Before Installing Moen Widespread Bathroom Faucet
- Always consult the Moen Widespread Bathroom Faucet installation instructions before starting your project.
- Be familiar with the local building code requirements and adhere to them throughout your project.
- Always turn off the water supply before beginning work on the faucet.
- Use caution when working with any tools or sharp objects.
- Be careful not to over-tighten any connections during the installation process.
- Use caution when working around hot water lines.
- Ensure all connections are secure and leak-free before turning on the water supply.
- Test the faucet for proper operation before using it.
- Do not use the faucet if it is leaking or not operating properly.
Always keep these safety precautions in mind when working on any plumbing project. Failure to do so could result in serious injury or damage to your home.
How Do You Remove a Moen Faucet Handle Without Visible Screws?
If your Moen faucet handle has hidden screws, remove the handle’s hot/cold buttons or indicator plates before accessing the screws. First, use a putty knife to gently pry off the buttons or plates, taking care not to damage them. Then, once the screws are exposed, use a Phillips screwdriver to remove them. With the screws removed, you should be able to pull off the handle.
If your Moen faucet handle has no visible screws, it is most likely held in place by a set screw underneath the hot/cold buttons or indicator plates. To access this set screw, you will first need to remove the buttons or plates as described above. Once the set screw is exposed, use a hex wrench to loosen and remove it. With the set screw removed, you should be able to pull off the handle.
How Do I Identify My Moen Faucet Model?
There are several ways to identify your Moen model number:
- First, look for the model number on the back of the spout.
- Next, find the model number on a handle. The location will vary by handle type.
- Finally, use the Model Number Locator tool on the website.
How Do You Remove the Set Screw From a Moen Faucet?
There is a set screw located under the handle. To remove it, use an Allen wrench to unscrew it. Keep track of which direction you unscrewed the set screw so you can screw it back in the same direction when you reassemble the faucet. You can also use a flathead screwdriver, but an Allen wrench will provide more torque and be less likely to strip the set screw.
Once the set screw is removed, the handle will pull off easily. If a button or cap is on the end of the handle, press it in and pull the handle off. The handle may have an O-ring that provides resistance when pulled if there is no button or cap. In this case, pull harder on the handle until it pops off.
Conclusion
Finally, you are ready to install the new Moen widespread bathroom faucet. This is very easy to do, and you will be proud of yourself when it is all finished. Be sure to read all the instructions that come with the faucet before beginning. Once you have everything gathered, installing the new faucet will only take a few minutes.
If you read the post from start to finish, you know how to install moen widespread bathroom faucet. Follow the steps, and you’ll have a brand-new faucet in no time! Thanks for reading, and good luck with your installation.