
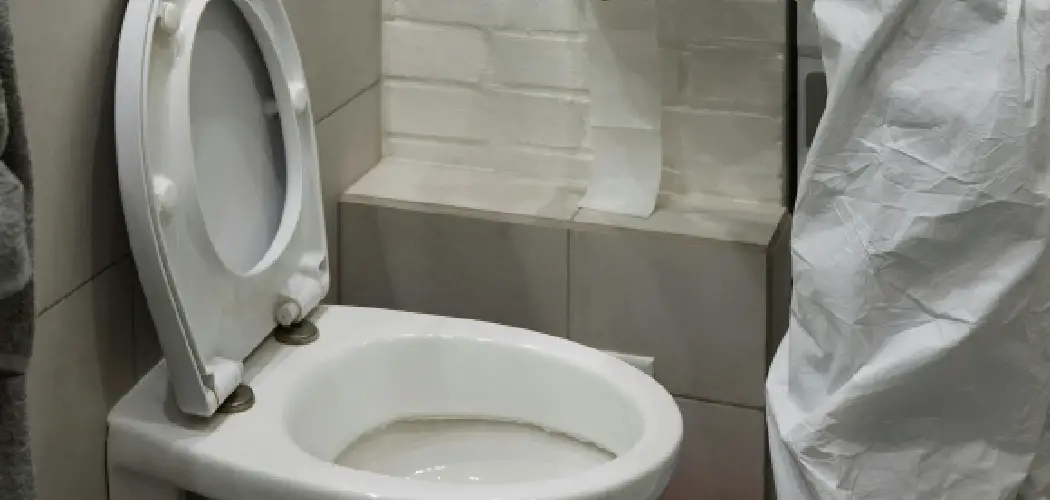
Discovering plastic stuck in your toilet can be frustrating and concerning. Whether it’s a toy, packaging, or another plastic item, addressing the situation promptly is essential to avoid potential clogs and plumbing issues. This guide will provide you with various methods on how to dissolve plastic stuck in toilet effectively. You’ll learn about safe and practical approaches to handle the situation without damaging your plumbing.
By following these steps, you’ll be better equipped to tackle the issue and restore your toilet’s functionality. Remember that while some methods focus on how to dissolve plastic stuck in the toilet, others involve physical removal techniques that may be necessary in certain situations. The goal is to ensure a hassle-free solution while maintaining the integrity of your plumbing system.
Assessing the Situation
Step 1: Identify the Type of Plastic
Before taking any action, it is crucial to assess what type of plastic is stuck in your toilet. Different types of plastics may require different approaches for removal. For instance, soft plastics like wrappers or bags may dissolve more easily than hard plastics like toys or containers. Understanding the type of plastic can help you determine the most effective removal method and avoid causing damage to your plumbing.
Step 2: Check for Visibility
Inspect how far down it is lodged if the plastic is visible in the toilet bowl. If it’s floating or accessible, you may be able to retrieve it manually. On the other hand, if it’s deeper in the trap or plumbing, you may need to consider alternative methods, such as using a toilet auger or dissolving agents. A flashlight can be useful for a more thorough inspection, helping you gauge the extent of the issue.
Step 3: Do Not Flush
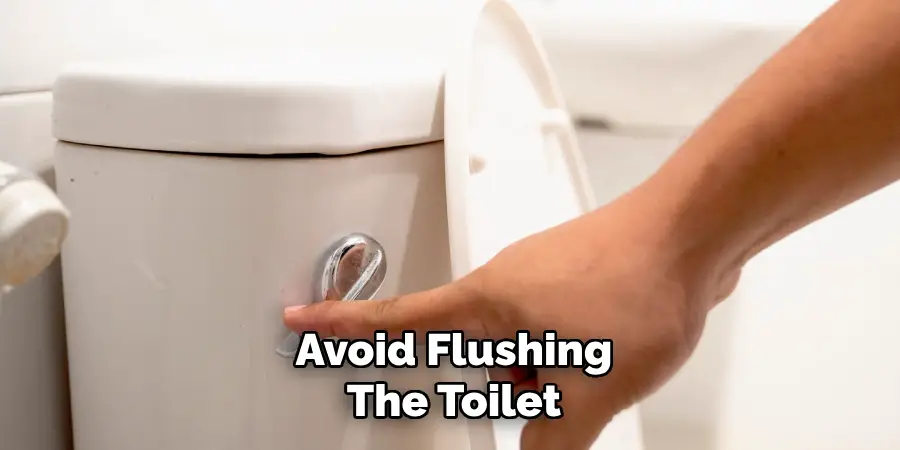
Avoid flushing the toilet if you can see plastic stuck in the trap or bowl. Flushing can push the plastic further down the plumbing system, making it harder to remove and potentially causing a blockage. It’s best to refrain from using the toilet until the plastic has been successfully extracted.
Step 4: Gather Tools and Materials
Depending on the method you choose, gather the necessary tools and materials. This may include gloves, a flashlight, a toilet auger, a wet/dry vacuum, or specific dissolving agents. Being prepared with the right equipment will make the removal process smoother and more efficient, reducing the time and effort required to resolve the problem.
How to Dissolve Plastic Stuck in Toilet: Manual Removal Techniques
Step 1: Wear Protective Gear
When dealing with any debris in the toilet, always prioritize safety by wearing rubber gloves. This will protect your hands from coming into direct contact with potentially harmful substances. Additionally, if the situation is particularly messy or produces unpleasant odors, consider wearing a mask to prevent inhalation of any fumes.
Step 2: Use a Flashlight
To improve your visibility, shine a flashlight into the toilet bowl. This will help you assess the position of the plastic and determine the best approach for its removal. A clear view is crucial for evaluating whether the plastic is easily reachable or if a more advanced technique will be needed.
Step 3: Try to Retrieve It Manually
If you can see the plastic and it is within reach, use your gloved hands to gently pull it out of the toilet. Exercise caution to ensure that you do not inadvertently push the plastic deeper into the plumbing system. This manual approach requires patience and a gentle touch to avoid causing further complications.
Step 4: Use a Toilet Auger
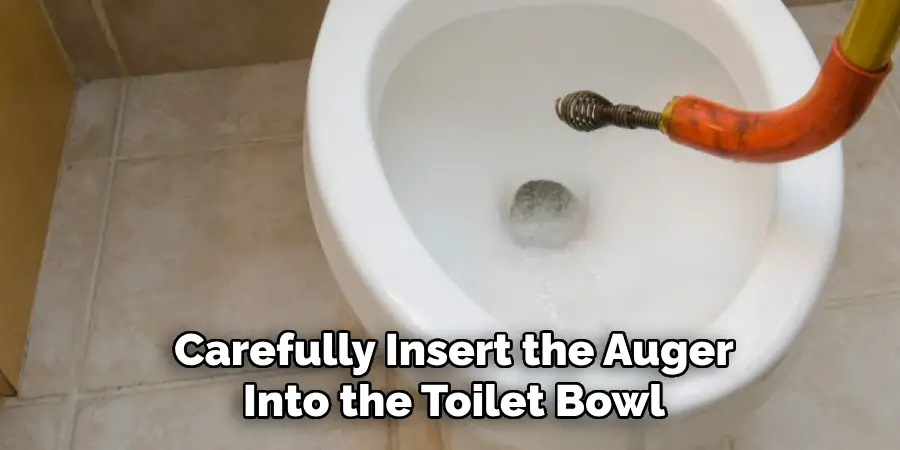
When the plastic is not easy to reach manually, a toilet auger (also known as a plumber’s snake) can be a useful tool. Carefully insert the auger into the toilet bowl, guiding it toward the location of the plastic. Rotate the handle to help the auger latch onto or dislodge the item. Maintain gentle pressure while withdrawing the auger to check if the plastic has been snagged and if it can be removed. This method may require several attempts, so persist as necessary, but avoid excessive force that could damage your plumbing.
Step 5: Wet/Dry Vacuum Method
If the plastic remains stuck despite previous efforts, consider employing a wet/dry vacuum. Start by removing any excess water from the toilet bowl, which will enhance visibility and improve the effectiveness of the vacuum. Position the vacuum nozzle over the opening where the plastic is located, ensuring a strong seal. Turn on the vacuum to attempt suction of the plastic. Use caution to avoid damaging the toilet bowl or the surrounding porcelain during the process. This technique can be particularly effective for smaller or lightweight plastic items, but patience and precision are key to avoiding creating additional plumbing issues.
How to Dissolve Plastic Stuck in Toilet: Dissolving Plastic
Step 1: Determine Suitable Dissolving Agents
If manual removal isn’t successful or feasible, consider using dissolving agents. Common household items that may help dissolve plastic include:
- Acetone: Acetone, found in nail polish remover, can help dissolve some types of plastic. However, it should be used cautiously, as it can damage porcelain and other materials. It’s important to apply it sparingly and ensure that it doesn’t come into prolonged contact with surfaces that could be harmed.
- Isopropyl Alcohol: Isopropyl alcohol can break down softer plastics. It’s a gentler option compared to acetone, but its effectiveness will depend on the type of plastic. It may prove more efficient in higher concentrations, though care should still be taken to avoid damaging your toilet’s surfaces.
- Hot Water: Pouring hot (not boiling) water into the toilet can help soften the plastic, making it easier to remove. This method is especially useful for plastics that might not require chemical dissolving agents and can often be combined with other approaches for maximal effect.
Step 2: Apply Dissolving Agent
Pour a small amount of the chosen dissolving agent into the toilet bowl, ensuring it comes into contact with the plastic. If using hot water, carefully pour it from a height to create movement in the toilet water, which will help agitate and soften the plastic. This step should be executed precisely to prevent splashing and direct the effect on the plastic itself.
Step 3: Let It Sit
Allow the dissolving agent to sit for 30 minutes to an hour. This will give it sufficient time to work on breaking down the plastic. During this waiting period, avoid flushing the toilet or adding other substances, as these could neutralize the dissolving agent and hinder its effectiveness.
Step 4: Test for Removal
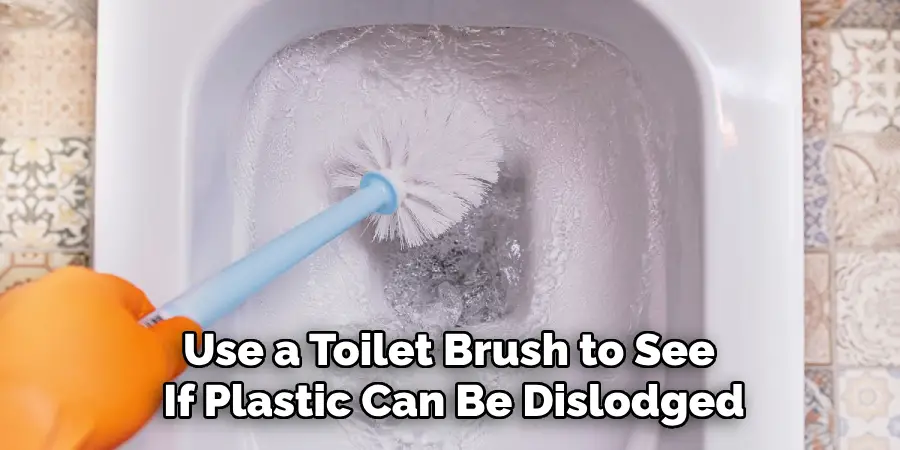
After waiting, use a toilet brush to see if the plastic can be dislodged. If it appears to have softened, try using the toilet auger again for retrieval. The softened plastic should be more amenable to these tools, potentially allowing for more successful removal. If needed, repeat the steps or try a different agent to ensure complete resolution of the blockage.
Preventing Future Issues
Step 1: Educate Household Members
To prevent future incidents, educating all household members about what should and shouldn’t go down the toilet is crucial. Remind them that toilets are not trash cans and that non-biodegradable items can lead to significant plumbing issues. Encourage everyone to dispose of trash, plastics, and other non-flushable items responsibly, considering the environmental impact and the potential for costly repairs.
Step 2: Use Toilet Trash Can
Consider conveniently placing a small trash can in the bathroom to dispose of non-flushable items, such as feminine hygiene products, wipes, and plastics. This simple addition can drastically reduce the likelihood of unwanted items entering the toilet. By making it easy and accessible for users to dispose of these items properly, you can avoid many common plumbing mishaps.
Step 3: Regular Maintenance
Perform regular maintenance on your toilet and plumbing system. This proactive approach includes checking for potential blockages, ensuring that the toilet functions efficiently, and addressing small issues before they escalate. Routine inspections can help identify wear and tear in plumbing components, allowing you to replace or repair parts before they fail completely.
Step 4: Install Toilet Locks
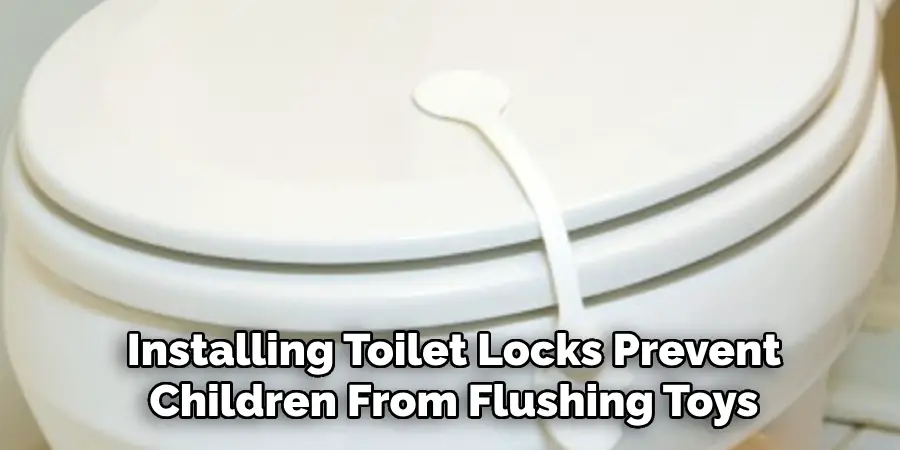
If you have small children at home, installing toilet locks might prevent them from flushing toys or other non-biodegradable items. This added precaution can help avoid accidental blockages and potential damage to the plumbing system. Toilet locks are an effective deterrent and provide peace of mind, knowing that your plumbing system is protected from curious hands.
Conclusion
Dissolving or removing plastic stuck in your toilet can be challenging, but with the right methods and tools, it is achievable. Whether you choose manual removal techniques or opt for dissolving agents, the key is to act quickly and avoid flushing to prevent further complications. Understanding how to dissolve plastic stuck in toilet systems is essential for efficient problem-solving.
After successfully resolving the issue, take preventive measures to ensure it doesn’t happen again. Educating household members, using a toilet trash can, and performing regular maintenance can all contribute to a smoother plumbing experience. Should the problem persist despite your efforts, consider consulting a professional plumber to address the situation safely and effectively. By being proactive and informed, you can maintain a functional and hassle-free toilet for your home.

About
Angela is the chief editor of Indoorense. She began her career as an interior designer before applying her strategic and creative passion to lifestyle and home.
She has close to 15 years of experience in creative writing and online content strategy for housekeeping and cleaning,home decorations as well as other efforts.
She loves her job and has the privilege of working with an extraordinary team. She lives with her husband, two sons, and daughter in Petersburg. When she’s not busy working she spent time with her family.