
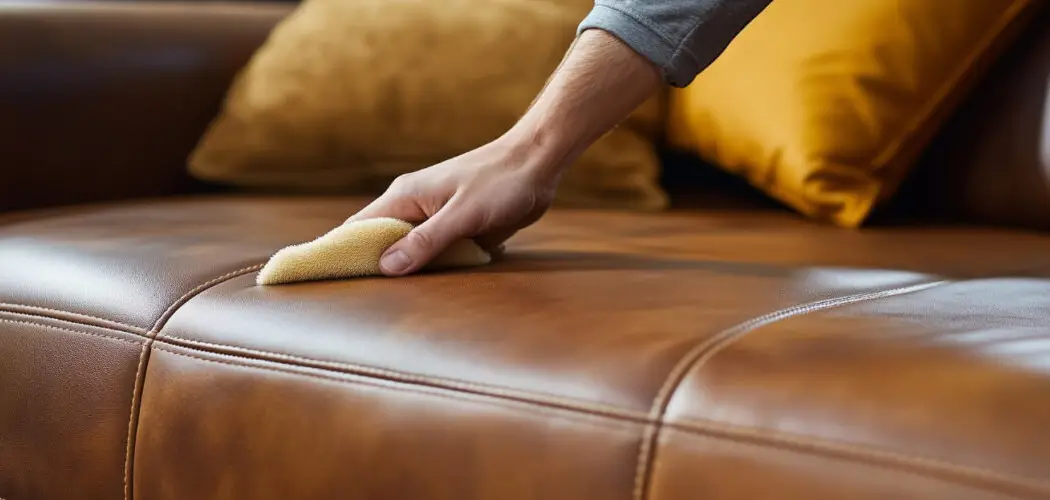
Leather sofas bring warmth, style, and a touch of luxury to any room. Yet over time, they collect dust, oils, spills, and those mysterious stains that seem to appear out of nowhere. If you’ve ever stared at your favorite couch wondering how to freshen it up without harsh chemicals or expensive products, you’re in the right place.

The good news is that one of the most effective cleaning helpers is probably already sitting in your kitchen cupboard. Learning how to clean leather sofa with baking soda is simple, affordable, and gentle enough for most leather finishes. This humble white powder lifts grease, absorbs odors, and tackles light stains without damaging the material. In this beginner-friendly guide, we’ll walk you through everything step by step. You’ll discover why baking soda works so well, how to use it safely, and the little tricks that make a big difference. By the end, your sofa will look refreshed and ready to enjoy for years to come.
Why Clean Leather Sofa With Baking Soda
Baking soda is a gentle, natural cleaner that works wonders on leather. Unlike many store-bought products packed with harsh chemicals, it’s mild enough to avoid stripping the leather’s natural oils, which keep it soft and supple. That makes it a smart choice for beginners who worry about ruining an expensive piece of furniture.
There’s more to love. Baking soda is a powerful deodorizer, neutralizing trapped smells from pets, food, or everyday use rather than just masking them. It also absorbs grease and oil, making it perfect for lifting body oils that build up where you sit most. Best of all, it’s budget-friendly and safe to keep around children and pets. With a single box, you get an effective, eco-friendly cleaning solution that delivers professional-looking results at home.
Step-by-Step Guide to How to Clean Leather Sofa With Baking Soda
Step 1: Gather Your Supplies
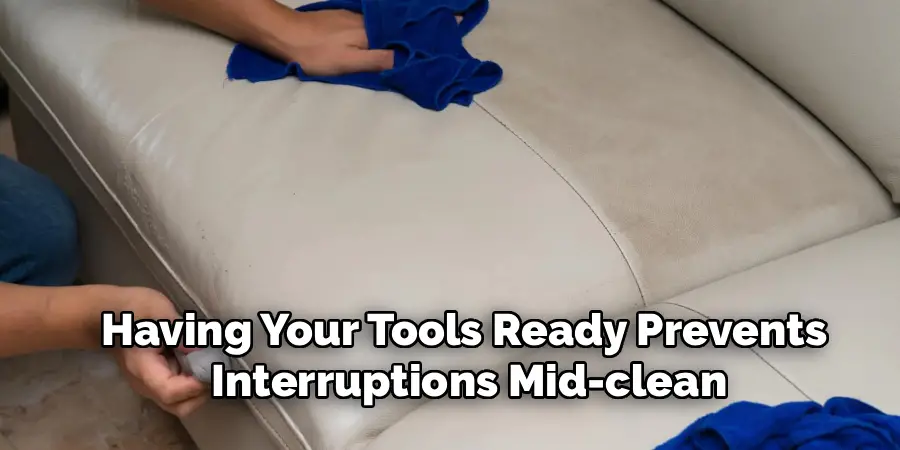
Before you begin, set yourself up for success by collecting everything you’ll need. Grab a box of baking soda, two clean microfiber cloths, a soft-bristled brush, a small bowl, and a vacuum cleaner with a brush attachment. You may also want distilled water and a leather conditioner for the final touch.
Having your tools ready prevents interruptions mid-clean, which keeps the process smooth and stress-free. Choose soft materials only, since rough brushes or paper towels can scratch the delicate surface. If you’re working on a colored or dyed sofa, keep your cloths light to avoid transferring dye. A little preparation now saves time and protects your furniture later.
Step 2: Vacuum the Surface First
Start by removing loose dirt, crumbs, and dust from your sofa. Use the brush attachment on your vacuum and gently run it across the entire surface, paying close attention to seams, folds, and the spaces between cushions where debris loves to hide.
This step matters more than people expect. If you skip it, you risk grinding tiny particles into the leather once you start scrubbing, which can cause fine scratches over time. Lift the cushions and clean underneath them too, since hidden grit often settles there. Work slowly and methodically, moving from top to bottom. A clean, debris-free surface gives the baking soda a clear path to do its job effectively.
Step 3: Test a Hidden Spot
Never apply any cleaning method to your whole sofa without testing it first. Choose a small, hidden area, such as the back corner or underneath a cushion, and apply a tiny amount of baking soda. This is the safest way to learn how to clean leather sofa with baking soda without risking visible damage.
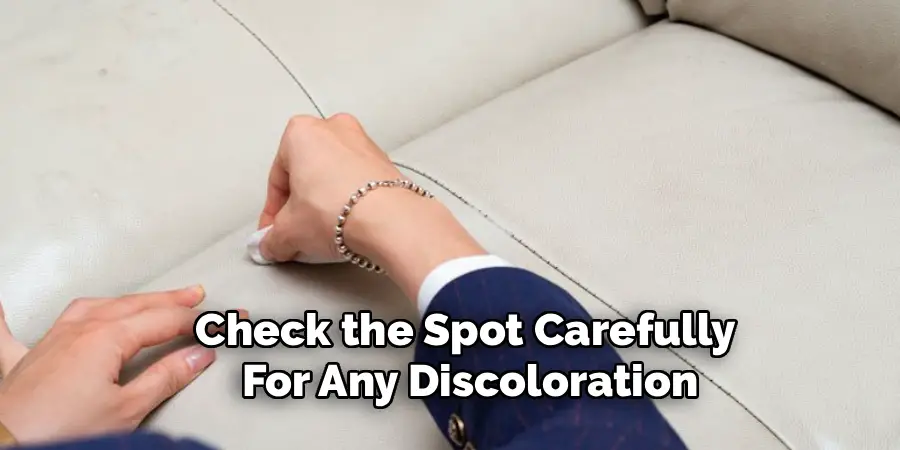
Sprinkle a light dusting, wait a few minutes, then gently wipe it away with a damp cloth. Check the spot carefully for any discoloration, dullness, or texture changes. If everything looks fine, you’re good to continue. If you notice problems, stop and consult a leather care specialist. This quick test gives you peace of mind and protects your investment.
Step 4: Sprinkle Baking Soda Over Stains
Now it’s time to treat the trouble spots. Lightly sprinkle baking soda directly onto greasy areas, stains, or spots that hold odors. You don’t need a thick layer, a thin, even dusting works best and is easier to remove later.
For oily stains, the baking soda will start drawing out the grease almost immediately, which is exactly what you want. Focus on armrests, headrests, and seat cushions, since these collect the most body oils. If you’re tackling a smell rather than a visible mark, spread a thin layer across the affected cushion. Avoid rubbing it in at this stage; simply let the powder rest on the surface so it can begin working naturally.
Step 5: Let It Sit and Absorb
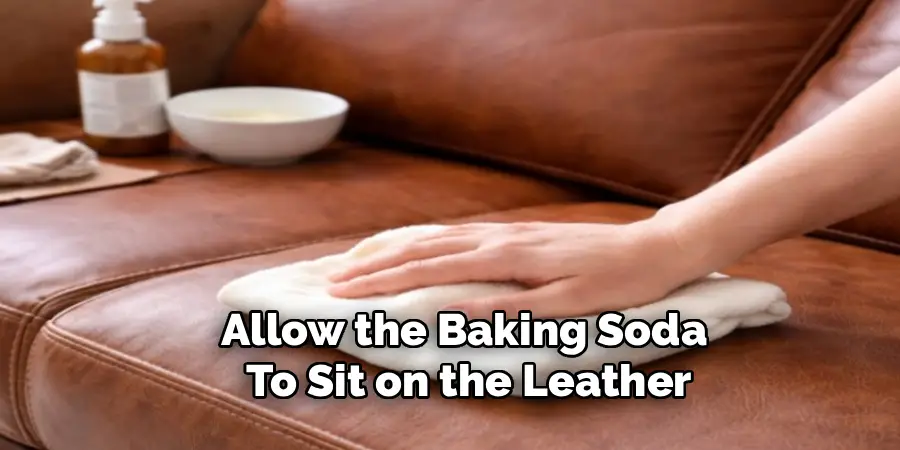
Patience pays off here. Allow the baking soda to sit on the leather for around fifteen to twenty minutes. During this time, it quietly absorbs oils and neutralizes odors trapped deep in the surface. For stronger smells or stubborn stains, you can leave it a little longer, though avoid leaving it overnight on delicate finishes.
Use this waiting period to relax or prep your conditioner for later. Resist the urge to scrub while you wait, since the magic happens through absorption, not friction. The longer the powder rests within reason, the more grease and odor it pulls away. When time’s up, you’ll be ready to remove it and reveal a fresher surface underneath.
Step 6: Gently Wipe and Brush Away
Once the waiting time is over, it’s time to remove the powder. Take a soft-bristled brush and gently sweep the baking soda away in light, circular motions. This loosens any absorbed grime and helps lift it off the leather without scratching. Follow up with a clean, slightly damp microfiber cloth to wipe the area completely clean.
Be gentle and avoid soaking the leather, since too much moisture can cause damage. Wipe in one direction for an even finish, then go over the surface once more with a dry cloth. You should already notice a difference, with reduced shine from oils and a fresher overall feel. Take your time to ensure no residue is left behind.
Step 7: Condition and Protect the Leather
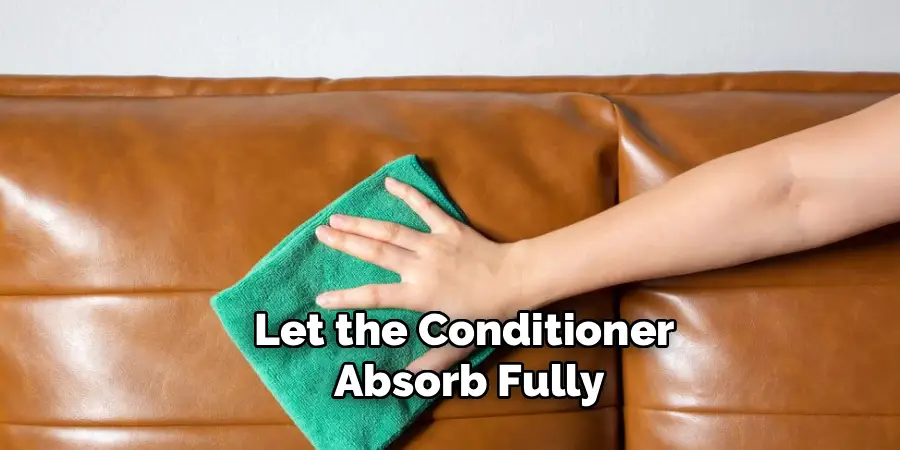
The final step keeps your sofa looking its best. After cleaning, leather can feel slightly dry, so apply a quality leather conditioner using a clean cloth. Rub it in gently with small circular motions, covering the entire surface evenly to restore softness and shine.
Conditioning isn’t just about looks; it replenishes natural oils and creates a protective barrier against future stains and cracking. Let the conditioner absorb fully, usually around an hour, before sitting on the sofa again. Make this a regular habit every few months to extend your furniture’s lifespan. With this finishing touch, your leather will look revived, feel supple, and stay protected for everyday use.
Frequently Asked Questions
Will Baking Soda Damage My Leather Sofa?
When used correctly, baking soda is gentle and safe for most leather sofas. The key is using a light dusting, not leaving it on too long, and always testing a hidden spot first. Avoid heavy scrubbing or excessive moisture, which can cause harm. For delicate or unfinished leather, proceed cautiously and consult the manufacturer’s care instructions when unsure.
How Often Should I Clean My Leather Couch?
For regular upkeep, give your leather couch a quick dusting or vacuum weekly to prevent dirt buildup. A deeper clean using baking soda is best every two to three months, or whenever you notice stains and odors. Condition the leather every three to six months to keep it soft. High-use sofas may need slightly more frequent attention to stay looking fresh.
Can I Use Baking Soda on Colored Leather?
Yes, baking soda generally works well on colored and dyed leather, but caution is essential. Always test a hidden area first to confirm it won’t cause fading or discoloration. Use light-colored cloths to avoid transferring dye, and apply only a thin layer of powder. If your sofa has a special finish or treatment, check the care label before applying anything new.
What If the Stain Doesn’t Come Out?
Some stubborn stains, especially old or deep ones, may not fully disappear after one treatment. You can repeat the process a second time for better results. For ink, dye transfer, or persistent grease, it’s wise to call a professional leather cleaner rather than risk damage. Avoid harsh chemicals or excessive scrubbing, as these often make stains and surface problems worse.
Do I Always Need to Condition After Cleaning?
Conditioning after cleaning is highly recommended, though not strictly required every single time. Cleaning can remove some natural oils, leaving leather slightly dry and prone to cracking over time. A good conditioner restores moisture, softness, and shine while adding a protective layer. If you clean frequently, conditioning every few sessions is fine, but never skip it for too long.
Conclusion
Caring for leather furniture doesn’t have to be complicated or expensive. With a single box of baking soda and a little patience, you can lift stains, banish odors, and restore your sofa’s natural beauty right at home. By following these seven simple steps, you’ll feel confident knowing exactly how to clean leather sofa with baking soda safely and effectively, even as a complete beginner.
Remember the essentials: always test a hidden spot, use light dustings rather than thick layers, avoid too much moisture, and finish with a quality conditioner to protect your investment. Make this routine part of your regular cleaning schedule, and your leather will reward you with years of comfort and style. So grab that box from your cupboard, set aside an afternoon, and give your sofa the refresh it deserves. Your furniture, and your wallet, will thank you.

Rick is a handyman who grew up helping his dad with his business. He learned a lot from him about how to fix things, and also about how to work hard and take care of business. These days, Rick is still into fixing things- only now, he’s doing it for a living.
Rick is always looking for new ways to help people grow and develop. That’s why he started contributing to this blog: to share all his experience and knowledge so that he can help people who are interested in DIY repair.