

You’d think swapping out a lightbulb or finally dusting that glass dome would be straightforward—until you look up. No screws in sight, just a glass cover that refuses to give up its secrets. If you’ve wondered how the thing even stays up there, you’re not alone. Plenty of homeowners find themselves standing on tiptoe, squinting up at the ceiling, debating whether to twist, yank, or poke until something gives.
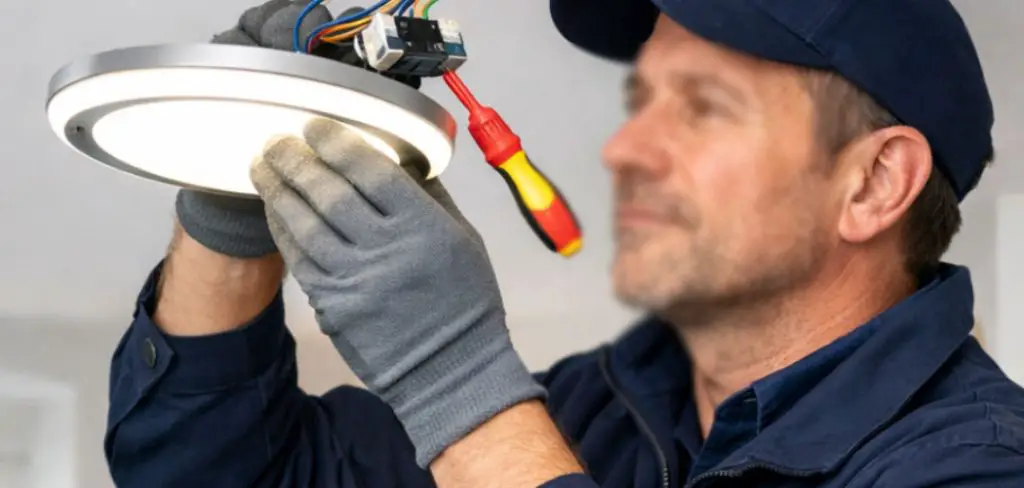
What sometimes appears mysterious is, in most instances, designed to be reasonably simple—if you know what to look for. Light fixtures like these are almost always held by tension clips inside the rim, or perhaps a clever locking groove, or occasionally a thin, central rod you can’t see from the ground. Once you understand the trick, the whole process feels much less daunting. Done with care, you can manage it without cracking the glass or startling yourself with a clatter. In this guide on how to remove ceiling light cover no screws, we’ll show you the easy methods to do it.
Tools and Materials You’ll Need
No need to haul out your entire toolbox, but those who arrive prepared will finish safer and faster. At a minimum, you’ll want a few basics:
- A stout stepladder or stool that won’t wobble
- Eye protection—dust and debris have no respect for your retinas
- Underside-gripping gloves—a blessing for slippery glass
- If you suspect trouble, a flathead screwdriver or a putty knife (not for prying with brute force, but for gentle help breaking a stubborn seal)
- Something soft—a blanket or thick towel, spread on a table or the floor, so you don’t lose your glass cover to one wrong move
7 Simple Steps on How to Remove Ceiling Light Cover No Screws
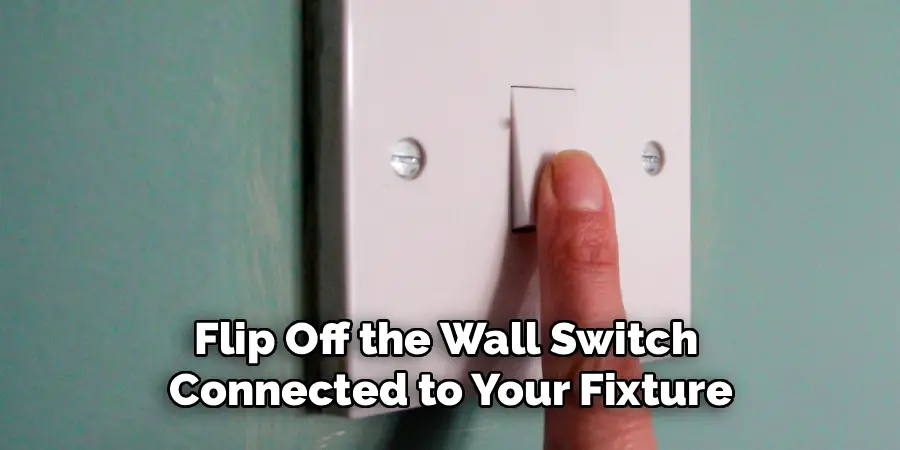
Step 1: Power Down—Seriously
First things first: don’t gamble with electricity. Flip off the wall switch connected to your fixture, but honestly, that’s not always foolproof. For real safety, swing open your circuit breaker panel and kill the power to the whole room. It takes an extra half-minute and all but erases your risk of a shocking surprise. Oh, and if the bulbs were just on? Give them a few minutes to cool—you do not want to learn just how hot incandescent gets.
Step 2: Secure Your Workspace
Nobody balances well on a rickety stool, and you’re no exception. Place your ladder directly under the light. Before climbing up, check every leg for contact with the ground and, if available, lock it in place. Remove anything you might trip over. That toss pillow beside the sofa? Get it out of kicking range. As for the soft towel or blanket, the one you placed on the floor? That’s your insurance policy against shattered glass.
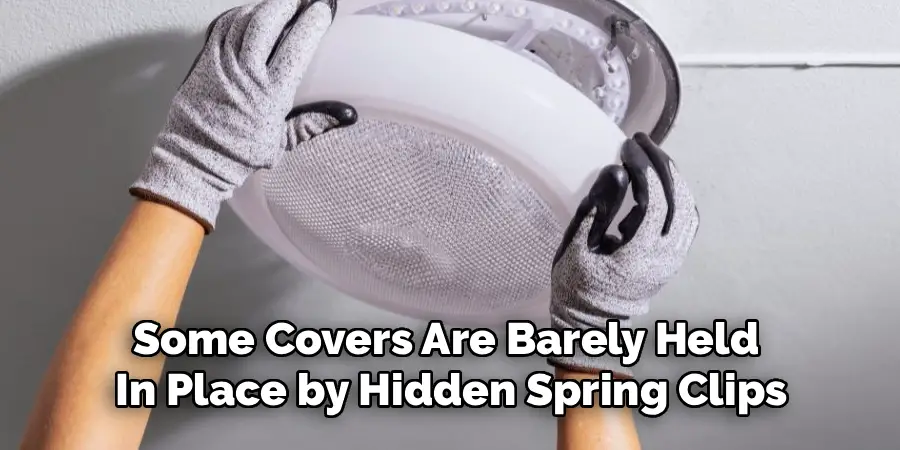
Step 3: Get Acquainted With the Fixture
Up you go. Take a moment at the top—not to admire the ceiling, but to gently probe the edge where glass meets metal. Run your fingers all the way around. Are there tiny notches, a hint of give, or seams you couldn’t spot from below? Some covers are barely held in place by hidden spring clips. Others need to be twisted a touch. If you nudge the dome and it lifts a bit, spring tension may be at play. If it doesn’t budge except to spin, you might be facing a threaded rod.
Slow it down here. It pays to get this part right. Rushing is how glass ends up on the floor.
Step 4: Twist-and-Lock—or Not
Think you’ve got a twist-and-lock model? Take a moment. Don the gloves. Grip both sides of the dome, and try pushing it very slightly upwards—just enough to release it from the groove that gravity keeps it in. Now rotate, carefully, counterclockwise, perhaps an inch or so. With any luck, you’ll feel it come loose. If it only spins but doesn’t drop, it’s likely attached to a center rod—keep spinning, but hold on. The glass will suddenly let go when you least expect it.
Step 5: Taming Those Internal Spring Clips
If your fixture refuses to twist and you feel resistance when pulling straight down, you’re probably dealing with spring clips inside. Try tugging gently, down and away from the ceiling. You may see the clips flex, or perhaps just feel them fighting back. Now, with both hands supporting the dome, reach inside and nudge one clip inward, toward the bulb. The moment you release a clip, the whole fixture tends to give way—be ready for the shift, or gravity will take over.

Step 6: The Descent
At this point, you’ve freed the glass—congratulations. Both hands should be on the dome. Don’t make the classic error of clambering down the ladder with one hand free and the other gripping a heavy, slick bowl. Instead, carefully step down, glass in hand, and lay it on the soft landing you set up earlier. Now it’s safe to swap bulbs, wipe away cobwebs, or survey the inside for anything unusual.
Step 7: Cleaning and Putting It Back
If you’ve gone this far, you might as well clean the glass. Warm, soapy water handles most dust and greasy residue. Dry it thoroughly—water streaks are surprisingly stubborn. Swap out any tired bulbs, then bring the glass back up. Whatever process worked in reverse to remove it works in reverse to replace it. Twist and lock? Align and rotate. Spring clips? Hold the glass, flex one clip, and slide the dome past before releasing, then snap it gently into place.
Following these steps on how to remove ceiling light cover no screws, you can easily maintain your ceiling lights and keep them looking brand new. You can also apply these methods to other light fixtures, like recessed lighting or pendant lights.

Common Mistakes to Watch Out For
One thing that sabotages many first-timers is brute strength. Too much force, unevenly applied, almost guarantees a hairline crack along the rim. There’s impatience, too—grabbing a steaming-hot bulb is no one’s idea of fun. Maybe you’ll get away with it once. You almost certainly won’t want to try again.
Dropping the glass because instead of supporting it with both hands, your attention drifts as you release the last clip? It happens. If the fixture won’t move at all, there’s a good chance you missed a hidden clip—don’t force it. And for heaven’s sake, skip the dining chair as a work platform. If it wobbles, it’s risky.
When Should You Call a Professional?
Let’s be honest: most people can manage this with a measured approach and a little patience. There’s no shame, though, in calling in an electrician if something feels off. Sometimes, years of dust and heat glue the cover to the metal rim or the ceiling itself. Prying too hard could shatter the glass. Or perhaps the cover does come down, only to reveal melted wires or scorch marks.
The faint scent of burning? That’s your signal to put down the tools and reach for the phone. There’s rarely a need to involve a pro for basic cleaning or bulb replacement, but actual electrical issues are not worth gambling with.
Frequently Asked Questions
Q1: How Do I Tell What Kind of Light Cover I Have?
Most of the time, you can figure it out by touch. A slight twist that yields is a notch-and-groove type. Strong downward resistance hints at internal spring clips. It pays to be gentle—a broken fixture is rarely cheaper than taking a minute to investigate.
Q2: Can I Change the Bulb Without Removing the Whole Cover?
Usually, no. The very design of these flush-mount, screwless covers means the bulbs are tucked up neatly inside. There’s just no way to get a hand in without popping the dome free.
Q3: What If the Dome Feels Glued In Place?
It might be, in a sense, that years of bulb heat can bond the rim to the paint, or moisture could be at fault. Slide a thin plastic putty knife (never metal, which could chip the glass or plate) around the perimeter to loosen the seal before you try twisting or pulling.
Conclusion
Yes, the screwless ceiling light might seem like a puzzle at first glance. But once you identify what holds it in place, the rest is much less intimidating. Take your time; safety is always worth the small inconvenience.
With a stable ladder, cool bulbs, and both hands on the glass, you’re equipped to keep your fixtures dust-free, your bulbs bright, and your ceiling intact. Enjoy the confidence that comes from understanding how these hidden mechanisms work—you may even find yourself volunteering to help a puzzled neighbor. Thanks for reading this guide on how to remove ceiling light cover no screws.
Rick is a handyman who grew up helping his dad with his business. He learned a lot from him about how to fix things, and also about how to work hard and take care of business. These days, Rick is still into fixing things- only now, he’s doing it for a living.
Rick is always looking for new ways to help people grow and develop. That’s why he started contributing to this blog: to share all his experience and knowledge so that he can help people who are interested in DIY repair.