

The garage door is a huge part of your home’s facade, often making up a third or more of its street-facing appearance. When it becomes chalky, faded, and dull from years of sun and weather exposure, it can significantly detract from your home’s overall curb appeal. Many homeowners assume the only solution is an expensive replacement or a professional paint job. However, you can often bring back the original color and shine with a little bit of effort and the right products. This guide provides clear, beginner-friendly instructions on how to restore faded garage door, helping you boost your home’s appearance in a single weekend.
Restoring a faded garage door may seem like a daunting task, but it’s much simpler than it appears. With some basic supplies and a little bit of time, you can revitalize your garage door, saving money while dramatically improving your home’s exterior. Whether it’s due to harsh sunlight, weather conditions, or simply the passage of time, this process can help restore the door’s vibrant finish and protect it from further wear.
Tools and Materials
To restore your faded garage door, you will need the following tools and materials:
- Soft bristle brush or sponge
- Mild detergent or garage door cleaner
- Bucket of water
- Sandpaper or sanding block (if needed)
- Painter’s tape
- Drop cloth or plastic sheeting
- Exterior-grade paint or gel stain
- Paintbrush, roller, or sprayer
- Clear sealant or protective topcoat
- Ladder (if your garage door is tall)
- Safety gear (gloves, protective eyewear, and mask)
Having these supplies ready will ensure a smooth and efficient restoration process.
7 Step-by-Step Guide on How to Restore Faded Garage Door
Step 1: Deep Clean the Garage Door
The first and most crucial step is to thoroughly clean the door. Over the years, it has accumulated dirt, grime, pollen, and a chalky layer of oxidized paint. For this, you will need a bucket of warm water, a mild detergent like dish soap or a specialized exterior cleaner, and a soft-bristle brush or microfiber cloths. Scrub the entire surface, working in sections from top to bottom. Pay extra attention to any grooves or textured areas where dirt can hide. A pressure washer on a low setting can also be effective, but be careful not to damage the paint or seals.

Step 2: Let It Dry Completely
After scrubbing, you must rinse all the soap residue and loosened grime from the surface. Use a garden hose to rinse the door completely. Any leftover soap film can interfere with the restoration products you will apply later. Once rinsed, the door must be allowed to dry completely. This can take several hours, depending on the weather. You can speed up the process by wiping the door down with clean, dry towels. Do not proceed to the next step until the surface is bone-dry to the touch, as moisture can get trapped and cause issues.
Step 3: An Essential Step for How to Restore a Faded Garage Door: Address Heavy Oxidation
For garage doors with heavy fading and a thick, chalky residue, a simple cleaning may not be enough to remove all the oxidation. In this case, you may need a slightly more abrasive approach. A solution of water and white vinegar can help break down the chalky layer. For more stubborn oxidation on metal doors, using a cleaning product specifically designed to remove oxidation, paired with a non-abrasive scrubbing pad, can be very effective. The goal is to remove the white, powdery layer and get back to the stable paint underneath without scratching the surface.
Step 4: Choose a Restoration Product
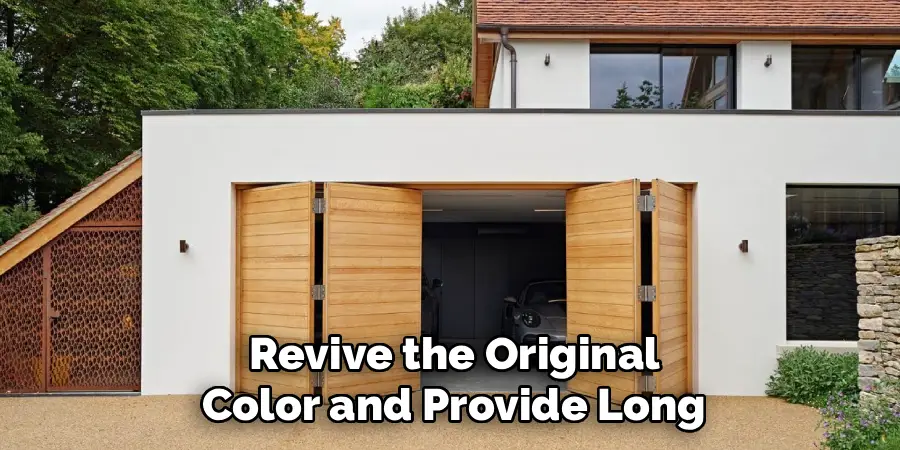
With the door clean and dry, it’s time to choose your restoration method. For doors with moderate fading, a high-quality automotive wax or a specialized polish can often bring back the shine. For more significant fading, a dedicated surface restoration product is the best choice. These are typically clear-coat formulas designed to penetrate the dried-out paint, replenish lost oils, and create a new, glossy protective layer. Products like Polytrol or other surface restorers are popular choices that can dramatically revive the original color and provide long-lasting UV protection.
Step 5: Apply the Restorer
Before you commit to applying any product to your entire garage door, it is absolutely essential to test it on a small, inconspicuous area first. Choose a spot near the bottom corner of the door. Apply a small amount of the wax, polish, or restoration product according to its directions. Let it dry and observe the results. This test will confirm that the product gives you the desired finish, doesn’t react negatively with your door’s material, and that you are happy with the color enhancement. This simple check prevents potentially irreversible mistakes.
Step 6: Apply the Restoration Product
Once your test spot is successful, you can proceed with applying the restorer to the entire door. Work in small, manageable sections, such as one panel at a time. Apply the product using a clean, lint-free cloth or an applicator pad, using even, circular or back-and-forth motions. Follow the manufacturer’s instructions carefully; some products require you to wipe off the excess after a certain amount of time, while others are a wipe-on, leave-on application. Maintain a wet edge to avoid overlap marks between sections, ensuring a uniform finish.
Step 7: Allow It to Cure
After applying the product according to its directions, you may need to buff the surface. If the instructions say to remove excess product, use a separate, clean microfiber cloth to gently buff the area. This removes any haziness and brings out a brilliant shine. Once the application is complete, the product will need time to fully cure. This curing process can take anywhere from a few hours to a full day. During this time, it is best to avoid touching the door or exposing it to rain or moisture to ensure a durable, long-lasting finish.
Additional Tips for Maintaining a Glossy Finish
- Regularly dust and clean the surface with a soft cloth to prevent buildup of dirt or grime.
- Avoid using harsh chemicals or abrasive cleaners on the glossy finish, as they can damage or dull the shine.
- If any scratches or scuff marks appear, gently buff them out with a high-quality automotive polishing compound. Be sure to test it in an inconspicuous area first.
- Consider applying a protective wax or sealant specifically designed for glossy surfaces to further enhance and protect the shine.
- In high traffic areas, such as entry doors, consider adding a clear coat sealant every few months to maintain the glossy finish.
Frequently Asked Questions
What Causes a Garage Door to Fade?
Garage door fading is primarily caused by prolonged exposure to the sun’s ultraviolet (UV) rays. These UV rays break down the pigments in the paint or finish, causing them to lose their color and vibrancy. This process is called oxidation. Over time, this oxidation creates a chalky, powdery layer on the surface. Weather, rain, and environmental pollutants can also contribute to the deterioration and fading of the door’s finish.
Can I Just Paint Over a Faded Garage Door?
You can, but proper preparation is key. Simply painting over a chalky, oxidized surface will result in poor adhesion, and the new paint will likely start to peel and flake within a short time. To paint a faded door, you must first thoroughly clean and remove all the oxidation. Then, you should lightly sand the surface to create a texture for the primer to grip, apply a high-quality exterior primer, and finally, apply your top coats of paint.
What Is the Best Product to Restore a Faded Garage Door?
The best product depends on the level of fading.
- Minor Fading: A high-quality carnauba car wax can often restore shine and color.
- Moderate Fading: A polish or a light-duty rubbing compound may be needed.
- Heavy Fading/Oxidation: A dedicated surface restorer like Owatrol Polytrol or a similar clear-coat restoration product is most effective. These penetrate the paint to replenish oils and provide UV protection.
How Long Will the Restoration Last?
The longevity of the restoration depends on the product used and your local climate. A simple wax application might need to be redone every six months to a year. A high-quality dedicated restoration product can last several years before needing reapplication. To extend the life of the finish, it’s a good idea to wash your garage door periodically to remove dirt and grime.
Will These Methods Work on Any Type of Garage Door?
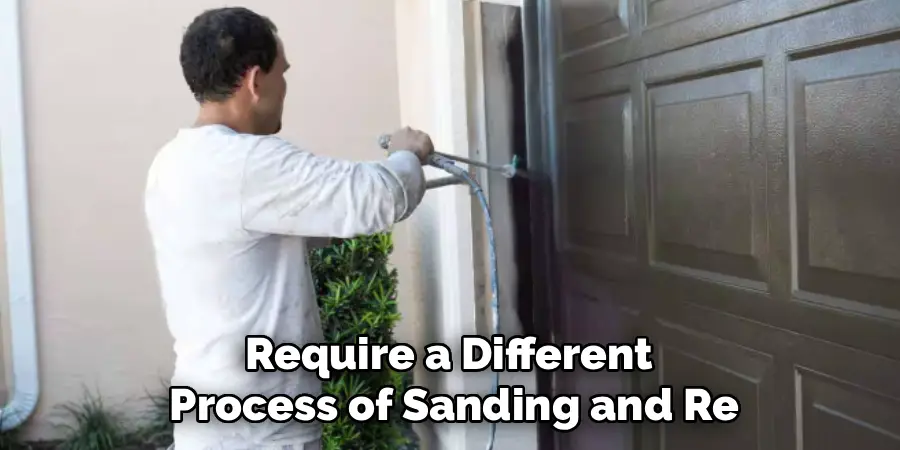
These methods work best on painted metal (steel or aluminum) and fiberglass garage doors, which are the most common types to suffer from oxidation and fading. They can also work on some composite doors. However, these techniques are generally not suitable for natural wood garage doors, which require a different process of sanding and re-staining or sealing to restore their appearance.
Conclusion
A faded, chalky garage door doesn’t have to be a permanent blemish on your home. With a bit of cleaning and the right restoration product, you can erase years of sun damage and bring back the original rich color and shine. The process is straightforward and well within the capabilities of a DIY homeowner, requiring no special skills—just careful preparation and application. By following these steps, you can dramatically improve your home’s curb appeal in a single afternoon. Now that you have this guide on how to restore faded garage door, you are ready to give your home a well-deserved facelift.
About
Angela is the chief editor of Indoorense. She began her career as an interior designer before applying her strategic and creative passion to lifestyle and home.
She has close to 15 years of experience in creative writing and online content strategy for housekeeping and cleaning,home decorations as well as other efforts.
She loves her job and has the privilege of working with an extraordinary team. She lives with her husband, two sons, and daughter in Petersburg. When she’s not busy working she spent time with her family.