
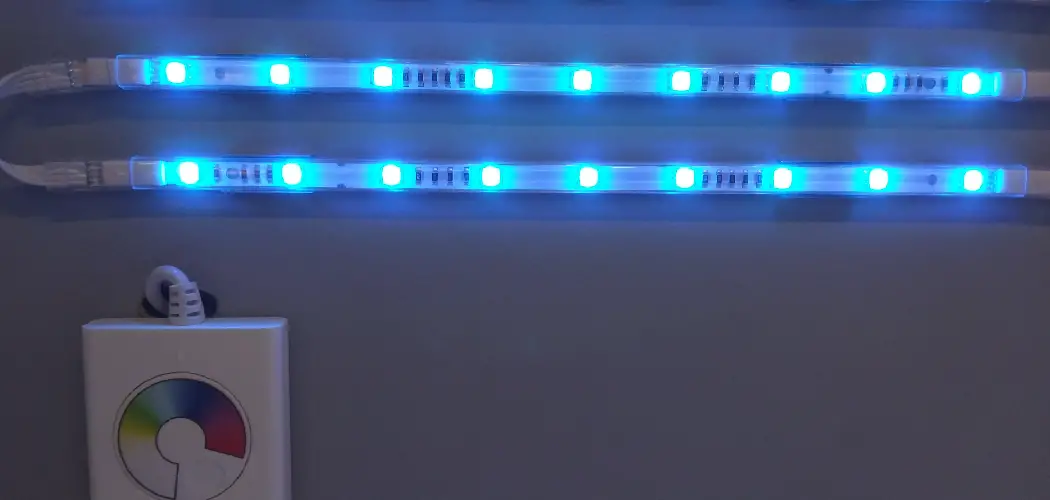
LED strip lights add a warm, colorful glow to any room, but eventually you may want to take them down. Maybe you’re redecorating, moving out, or simply ready for a fresh look. Whatever the reason, learning how to remove led strip lights from wall surfaces the right way saves you from peeling paint, sticky residue, and frustrating damage.
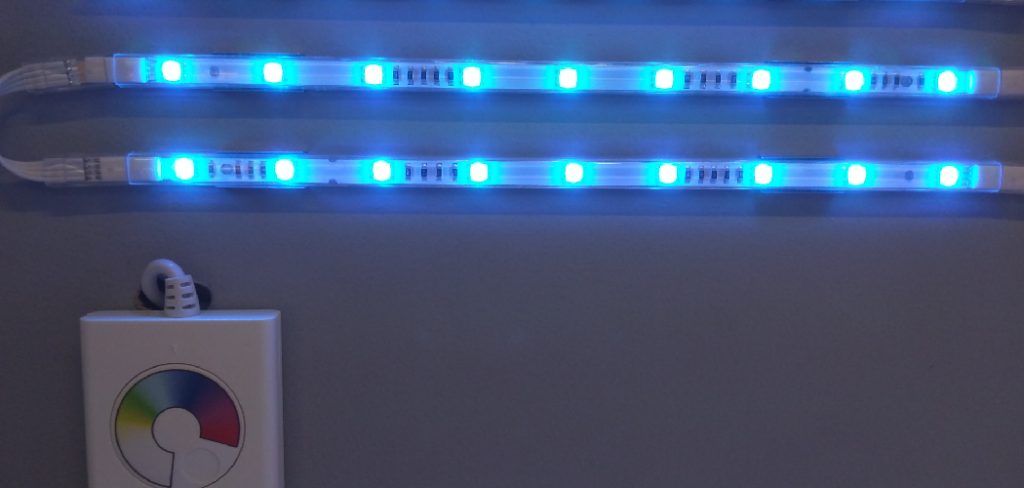
The good news? This is a task anyone can handle, even if you’ve never done it before. With a little patience and a few common household items, you can lift those strips cleanly and protect your walls in the process. Rushing the job is where most people go wrong, so we’ll walk you through each step slowly and clearly.
In this guide, you’ll discover exactly what tools to gather, how to loosen the adhesive safely, and how to clean up afterward. By the end, your wall will look as good as new, ready for whatever comes next. Let’s make this easy, stress-free, and damage-free from start to finish.
Why Removing LED Strip Lights From Your Wall Matters
Taking your LED strips down carefully is about more than just tidiness. The adhesive backing on most strips is surprisingly strong, and pulling too hard can rip away paint, plaster, or even chunks of drywall. That means costly repairs and repainting you’d rather avoid.
Doing it right also protects the strips themselves. If you plan to reuse them in another spot, gentle removal keeps the connectors and LEDs intact. Beyond that, a clean wall boosts your home’s appearance and value, which matters a lot if you’re renting or selling. A careful approach gives you confidence and control. You’ll spend a few extra minutes now to save hours of patching and painting later. That trade-off is always worth it.
Step-by-Step Guide to How To Remove LED Strip Lights From Wall
Step 1: Gather Your Tools and Prepare the Area
Before you touch the strips, set yourself up for success. You’ll want a hairdryer or heat gun, a plastic scraper or old credit card, rubbing alcohol, a soft cloth, and some adhesive remover like Goo Gone. Clear the space below the lights so nothing gets in your way.
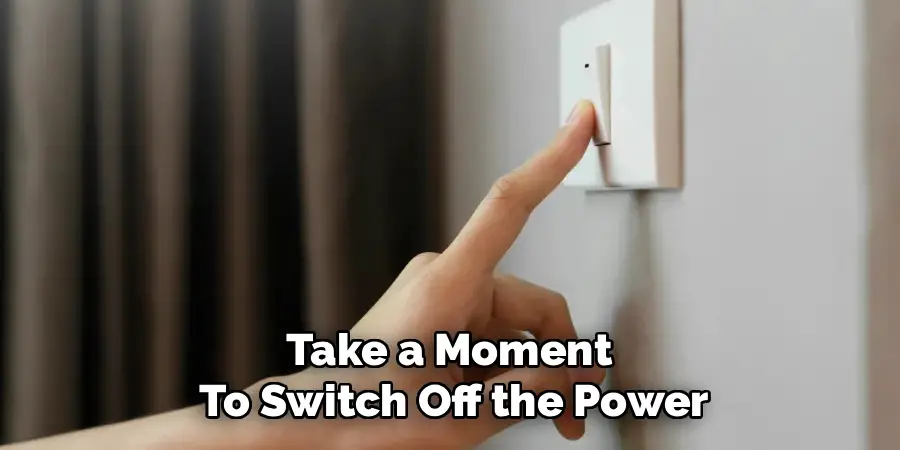
Take a moment to switch off the power and unplug the strips at the source. This keeps you safe and prevents any electrical surprises. Lay a towel beneath the work area to catch falling debris. Having everything within reach means you won’t have to stop midway, which keeps the whole process smooth and frustrating-free.
Step 2: Disconnect the Power Supply
Safety always comes first. Locate the power adapter or controller connected to your LED strips and unplug it completely from the wall outlet. If your strips are hardwired or connected to a dimmer switch, turn off the corresponding breaker to be extra safe.
Give the strips a minute to cool down if they’ve been running, since warm LEDs can be slightly uncomfortable to handle. Disconnecting the power also prevents accidental short circuits while you peel and tug. This small step takes seconds but protects both you and your equipment. Once everything is powered down, you’re ready to start loosening the adhesive without any risk.
Step 3: Warm the Adhesive With Heat
This is where the magic happens. Set your hairdryer to medium heat and hold it about six inches from the strip. Move it slowly along a small section, warming the adhesive underneath for roughly twenty to thirty seconds. The heat softens the sticky backing, making it far easier to lift.
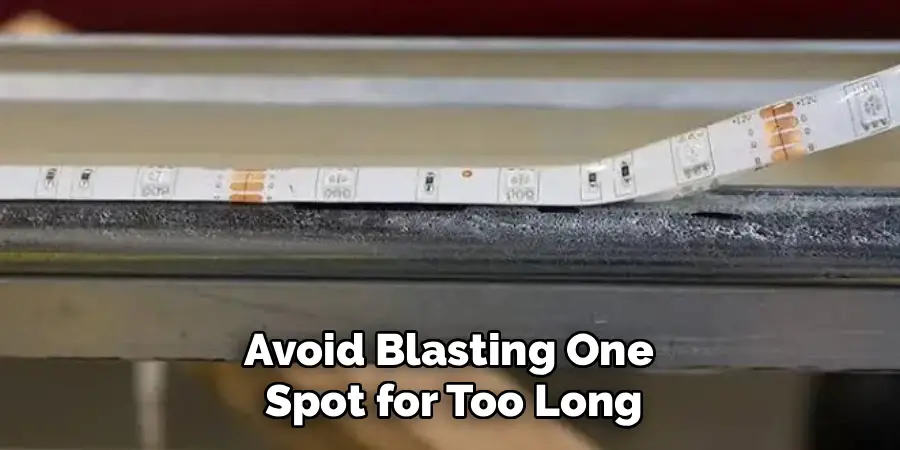
Avoid blasting one spot for too long, as excessive heat can damage paint or the strip itself. Work in short sections rather than trying to heat the whole strip at once. You’ll notice the edges starting to loosen, which is exactly what you want. Warm, patient work here is the secret to learning how to remove led strip lights from wall without leaving a mess.
Step 4: Peel the Strip Slowly and Gently
Now comes the satisfying part. Starting from one corner, slip your fingernail or a plastic scraper under the edge of the warmed strip. Gently lift it away from the wall at a low angle, pulling slowly rather than yanking. A shallow angle reduces stress on the paint beneath.
If you feel resistance, stop and apply more heat to that spot. Forcing it is the quickest way to peel paint or snap the strip. Keep peeling steadily, reheating as needed, until the entire length comes free. Take your time here, because patience now means a clean wall later. Roll the removed strip loosely if you plan to reuse it.
Step 5: Remove the Leftover Adhesive
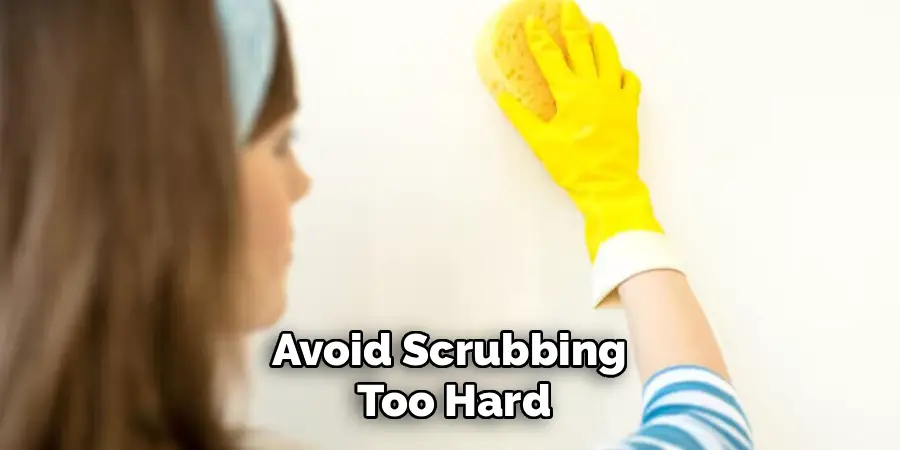
Even after peeling, sticky residue often clings to the wall. This is normal and easy to fix. Dab a soft cloth with rubbing alcohol or a small amount of adhesive remover, then gently rub the affected area in circular motions. The residue will soften and lift away within moments.
For stubborn spots, let the remover sit for a minute before wiping again. Avoid scrubbing too hard, which can dull or strip the paint. When you understand how to remove led strip lights from wall completely, clearing this leftover gunk is the final touch that makes the surface look untouched. Work patiently and the adhesive disappears with surprisingly little effort.
Step 6: Clean and Inspect the Wall
With the adhesive gone, give the wall a proper clean. Wipe the area with a slightly damp cloth to remove any remover residue, then dry it with a fresh towel. Step back and inspect the surface in good lighting to spot any marks, scuffs, or peeled paint you might have missed.
Small imperfections are easy to touch up now while you have your supplies out. Run your hand across the wall to feel for sticky patches that need another wipe. A clean, smooth surface signals a job well done. This inspection step ensures you won’t be surprised by hidden residue or damage later.
Step 7: Repair and Restore if Needed
If any paint chipped or you spot tiny holes from mounting clips, this is your moment to fix them. Apply a dab of spackle to small holes, let it dry, then sand it smooth. For paint touch-ups, use a matching color and a small brush to blend the area seamlessly.
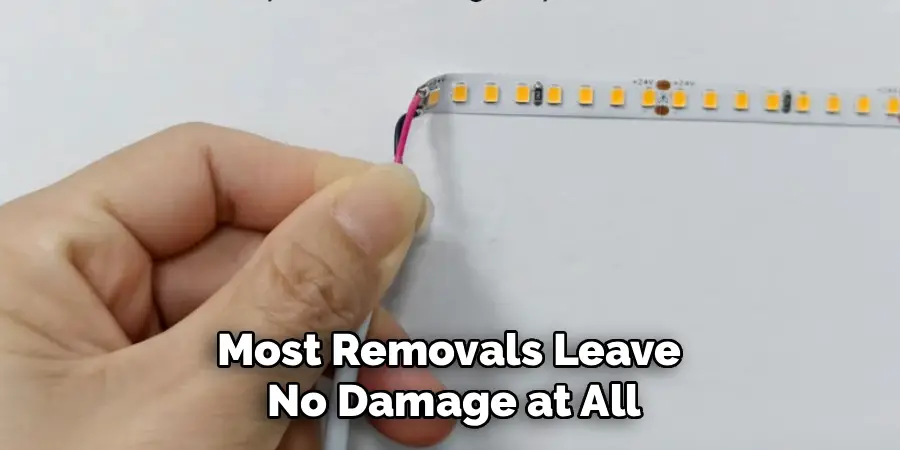
Most removals leave no damage at all, especially when you’ve worked slowly. But addressing minor issues now restores your wall to its original condition. Once everything is dry and smooth, your space is ready for new decor, fresh lights, or simply a clean look. You’ve successfully finished the job from start to finish.
Frequently Asked Questions
Will Removing LED Strips Damage My Paint?
Not if you work carefully. The biggest risk comes from pulling too fast or skipping the heating step. Warming the adhesive with a hairdryer softens it so the strip lifts cleanly. Peel slowly at a low angle, and most walls stay perfectly intact. If small chips do appear, a quick paint touch-up restores everything in minutes.
Can I Reuse LED Strips After Removing Them?
Yes, often you can. If you peel gently and avoid stretching or kinking the strip, the LEDs and connectors usually stay functional. However, the original adhesive backing rarely sticks well a second time. You’ll likely need new mounting tape or adhesive clips to reinstall them. Test the strip by reconnecting the power before committing to a new location.
What Household Items Remove Sticky Residue?
Several everyday items work wonderfully. Rubbing alcohol is the most reliable, lifting residue without harming most painted surfaces. Cooking oil or a paste of baking soda and water can also soften stubborn glue. Commercial removers like Goo Gone are excellent too. Always test a small hidden area first, then rub gently with a soft cloth until the residue disappears.
How Long Does the Whole Process Take?
For an average room, expect roughly thirty minutes to an hour. The exact time depends on how much strip you’re removing and how strong the adhesive is. Heating each section takes a little patience, and cleaning residue adds a few minutes. Rushing leads to mistakes, so allow yourself extra time. Working calmly usually means a cleaner result and fewer touch-ups afterward.
Do I Need to Turn Off the Power First?
Absolutely, always disconnect the power before you begin. Unplug the adapter or switch off the breaker for hardwired setups. This protects you from electrical risk and prevents accidental short circuits while handling the strips. It also lets warm LEDs cool down for safer handling. This simple safety habit takes seconds and gives you peace of mind throughout the entire project.
Conclusion
Taking down your light strips doesn’t have to be stressful or messy. As you’ve seen, the key is patience, gentle heat, and the right cleaning supplies. By warming the adhesive, peeling slowly, and tackling residue with rubbing alcohol, you protect both your walls and your strips for future use.
Now that you know how to remove led strip lights from wall surfaces safely, you can redecorate, relocate, or refresh your space with total confidence. Gather your tools, set aside a little time, and follow each step at your own pace. Your wall will look spotless, and you’ll feel proud of a job done right. Ready to give it a try? Grab that hairdryer and get started today.

Rick is a handyman who grew up helping his dad with his business. He learned a lot from him about how to fix things, and also about how to work hard and take care of business. These days, Rick is still into fixing things- only now, he’s doing it for a living.
Rick is always looking for new ways to help people grow and develop. That’s why he started contributing to this blog: to share all his experience and knowledge so that he can help people who are interested in DIY repair.